Introduction
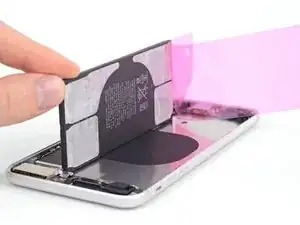
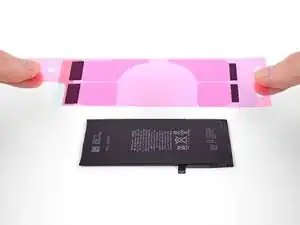
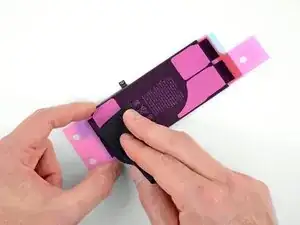
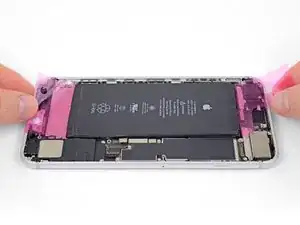
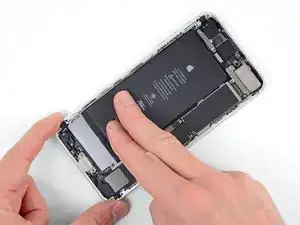
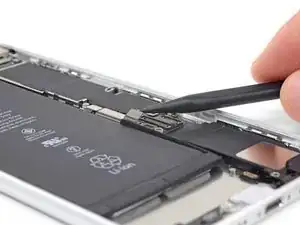
Use this guide to correctly apply replacement battery adhesive strips for rectangular shaped iPhone batteries. Use the list below to check if your phone is compatible.
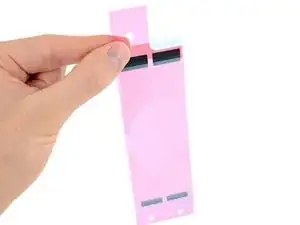
If your replacement battery doesn't come with adhesive strips pre-installed, or you're reusing your existing battery, these strips must be replaced. The strips are easily damaged if not applied correctly, so you may want to have a spare set of strips on hand when following this guide for the first time.
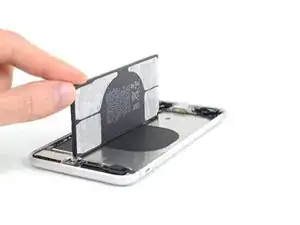
These adhesive strips are different from those in prior-generation iPhones due to the presence of the wireless charging coil. The coil lies directly underneath the battery, which is secured with four adhesive strips that are contoured around the coil to avoid damaging it.
Before you begin, you should have removed the battery by following a guide like the ones linked below:
- iPhone 8 Battery Replacement
- iPhone 8 Plus Battery Replacement
- iPhone XR Battery Replacement
- iPhone SE 2020 Battery Replacement
- iPhone 11 Battery Replacement
- iPhone 12 Battery Replacement
- iPhone 12 Mini Battery Replacement
- iPhone 12 Pro Battery Replacement
- iPhone 13 Battery Replacement
- iPhone 13 Mini Battery Replacement
- iPhone 14 Battery Replacement
- iPhone 14 Plus Battery Replacement
If you need to replace the adhesive strips in a different model iPhone, use one of the following guides:
Tools
Parts
-
-
If your new battery came with adhesive strips already installed, skip to Step 8.
-
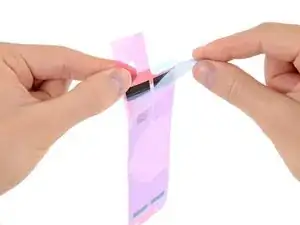
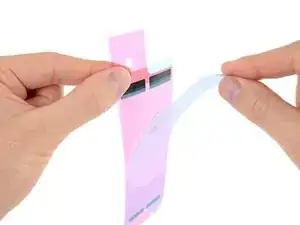
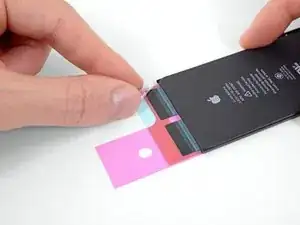
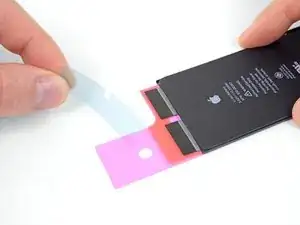
Otherwise, peel off the large blue plastic liner from your new set of adhesive strips, and discard it.
-
-
-
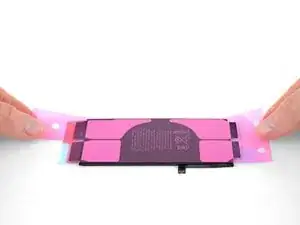
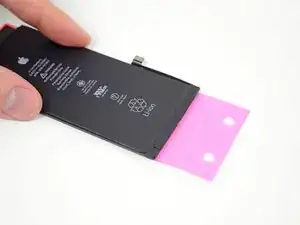
Double-check the orientation of the adhesive strips, and then stick them to the back side of your new battery.
-
Make sure the two shorter strips are nearest the battery cable connector.
-
Center the strips so that the two pairs of black tabs protrude evenly from each side of the battery.
-
-
-
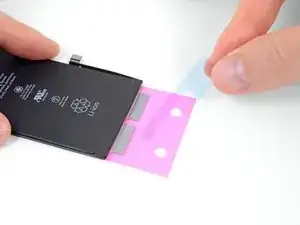
Flip the battery over, then peel away and discard the two blue plastic liners covering the ends of the adhesive strips.
-
-
-
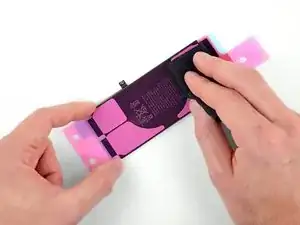
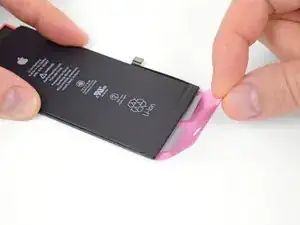
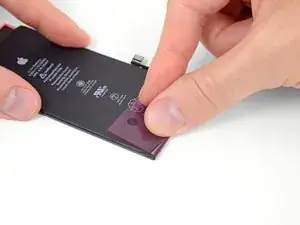
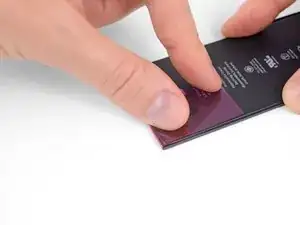
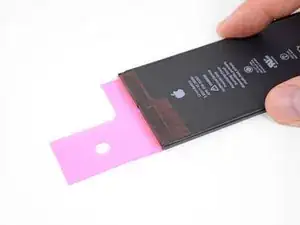
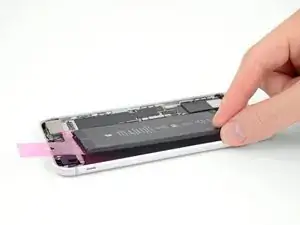
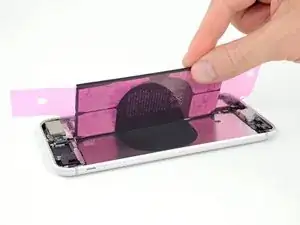
Grab the pink plastic liner at the bottom edge of the battery, and gently pull it taut.
-
Fold the liner over onto the battery and press down.
-
Let go of the liner, and the two black ends of the adhesive strips should remain stuck to the bottom edge of the battery.
-
-
-
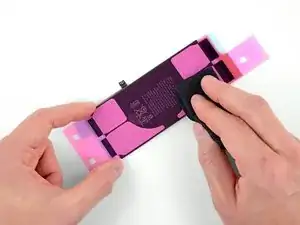
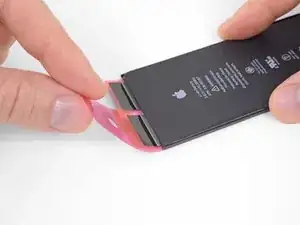
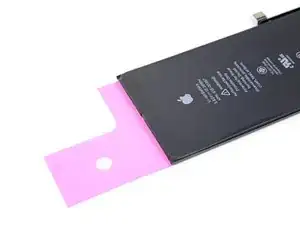
Repeat the previous step to adhere the ends of the two remaining strips at the top edge of the battery.
-
-
-
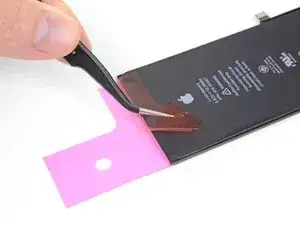
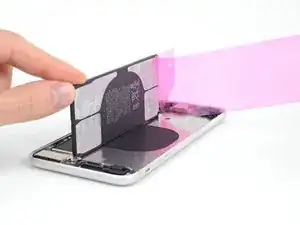
Peel away and discard the small orange release liner covering the ends of the adhesive strips at the top of the battery.
-
-
-
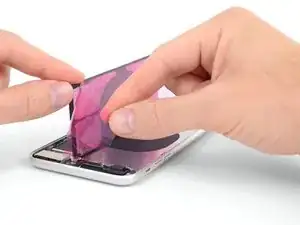
Lifting from the outside edge, tilt the battery onto its side so you can access the final release liner.
-
-
-
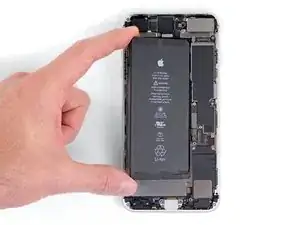
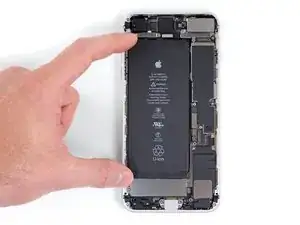
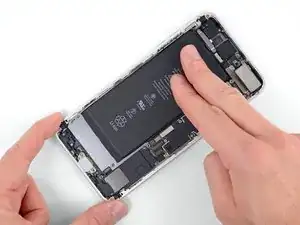
Press the top and bottom areas of the battery firmly into place, allowing the adhesive strips to stick to the rear case.
-
To reassemble your iPhone, return to the guide you used to remove the battery and follow the remaining steps in reverse order.
- iPhone 8 Battery Replacement
- iPhone 8 Plus Battery Replacement
- iPhone XR Battery Replacement
- iPhone SE 2020 Battery Replacement
- iPhone 11 Battery Replacement
- iPhone 12 Battery Replacement
- iPhone 12 Mini Battery Replacement
- iPhone 12 Pro Battery Replacement
- iPhone 13 Battery Replacement
- iPhone 13 Mini Battery Replacement
- iPhone 14 Battery Replacement
- iPhone 14 Plus Battery Replacement
Remember to take your old battery to an R2 or e-Stewards certified recycler.
3 comments
Can I make my own adhesive strips from 3M double-sided tape?
Joel -
No. While the 3M has quality tapes, their product is too thick. Purchase the item here and do the job correctly. You'll be happy that you used the correct adhisive.
First time Do-It-Yourself-er here so I want to ask, do you need to replace/add the adhesive strips (adhesive in general)? If so, why?
It feels like it would be more convenient for the next time you need to replace your battery.
Again, just looking for a little clarification & insight.
