Introduction

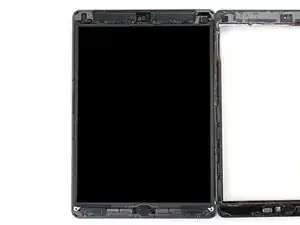
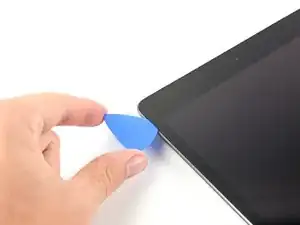
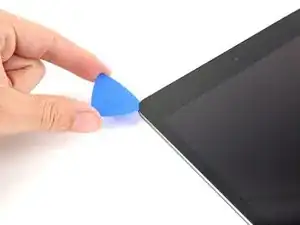
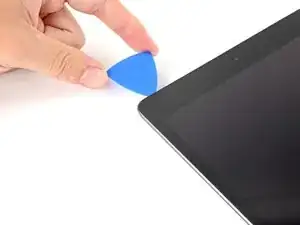
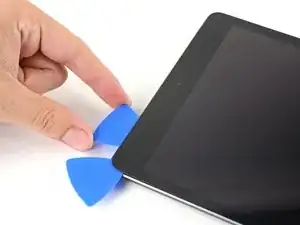
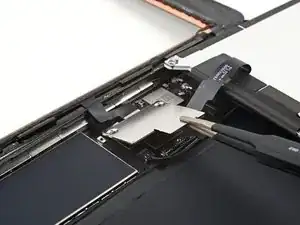
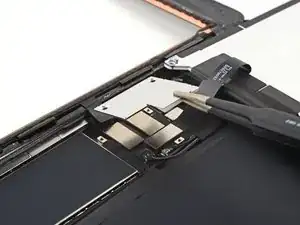
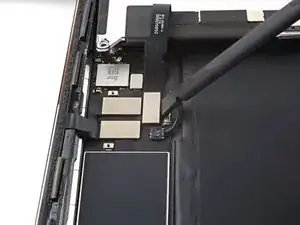
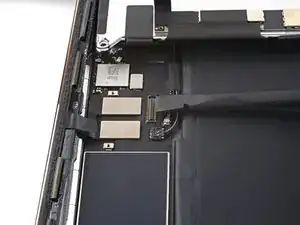
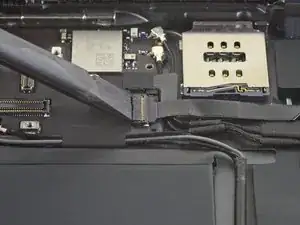
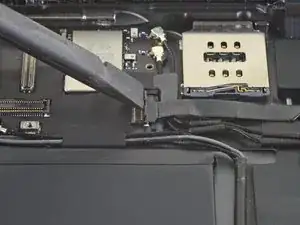
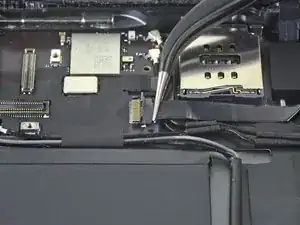
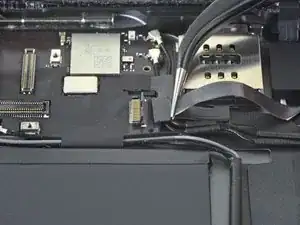
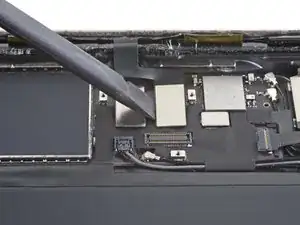
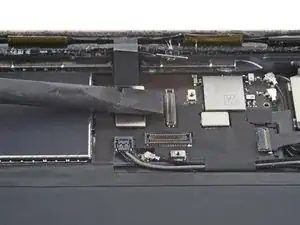
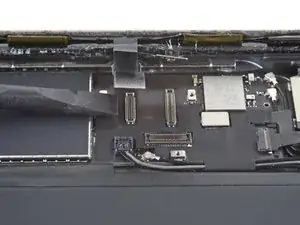
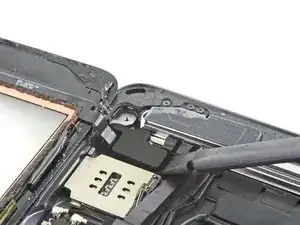
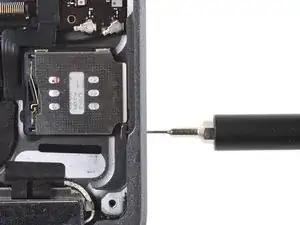
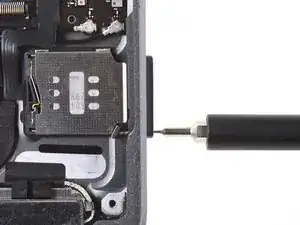
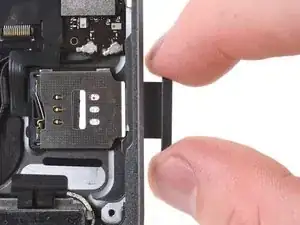
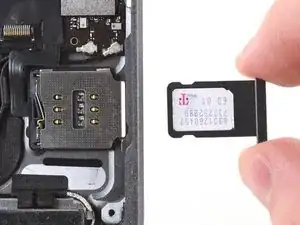
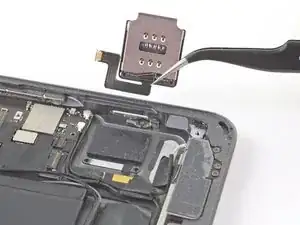
Use this guide to replace the SIM card reader in your iPad 8 LTE.

Note: this guide is for the LTE version only. For the Wi-Fi version, click here.

Be very careful when you isolate the battery using a battery blocker. The battery contacts are easily bent or broken, resulting in irreversible damage. If you choose to complete the guide without isolating the battery, avoid using metal tools except when completely necessary (like when removing screws) to prevent shorting the battery and damaging sensitive circuit components.

Some photos in this guide are from a different model and may contain slight visual discrepancies, but they won't affect the guide procedure.

  1. THxeZqAlU4lI3Dsj
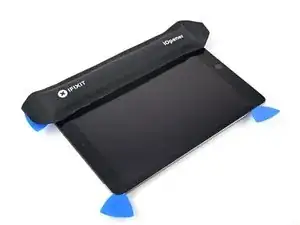
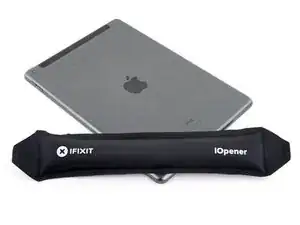
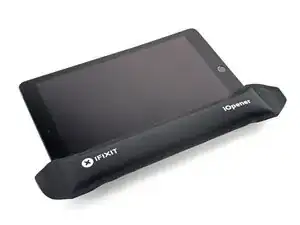
    • Heat an iOpener and apply it to the left edge of the device for two minutes.

  2. BRY15JSctKOZ3CkU
    BRY15JSctKOZ3CkU
    LLyoJyrOLVZBYT2x
    GwocxG65kALerIpv
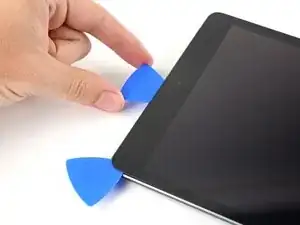
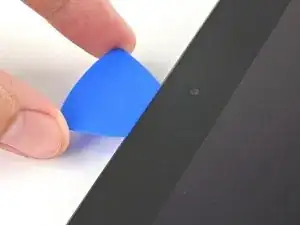
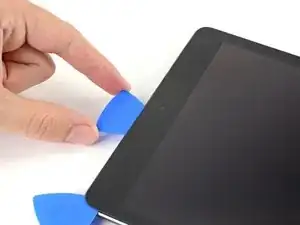
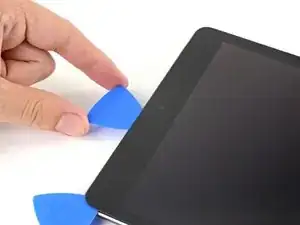
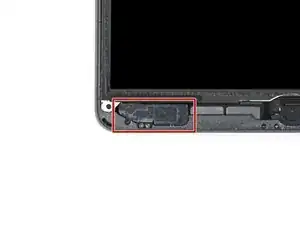
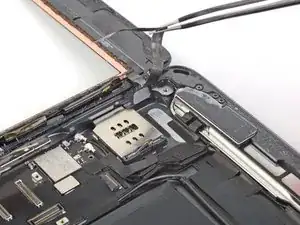
    • While you're waiting for the adhesive to loosen, note the following areas that are sensitive to prying:

    • Front camera

    • Antennas

    • Display cables

  3. uOo5GDYE1sDjILfl
    uOo5GDYE1sDjILfl
    TEBTxM4fOTWS1FVt
    fBP2MSoxPdqOOidK
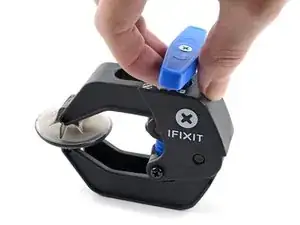
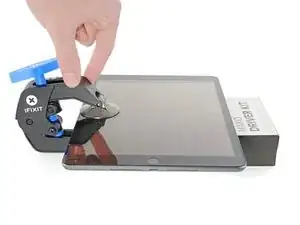
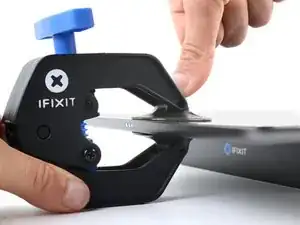
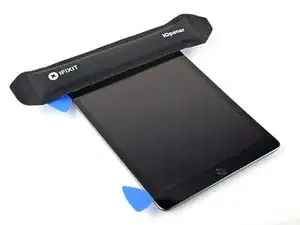
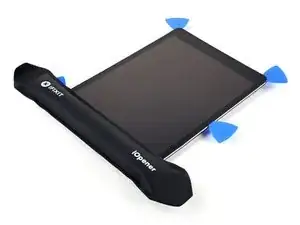
    • The next three steps demonstrate the Anti-Clamp, a tool we designed to make the opening procedure easier. If you aren't using the Anti-Clamp, skip down three steps for an alternate method.

    • For complete instructions on how to use the Anti-Clamp, check out this guide.

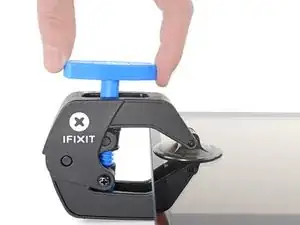
    • Pull the blue handle backwards to unlock the Anti-Clamp's arms.

    • Place an object under your iPad so it rests level between the suction cups.

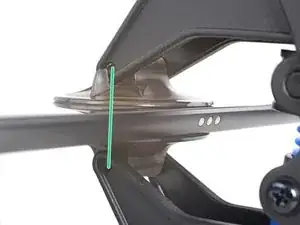
    • Position the suction cups near the middle of the left edge—one on the top, and one on the bottom.

    • Hold the bottom of the Anti-Clamp steady and firmly press down on the top cup to apply suction.

    • If you find that the surface of your iPad is too slippery for the Anti-Clamp to hold onto, use tape to create a grippier surface.

  4. VPvkY3PWHLgRDghu
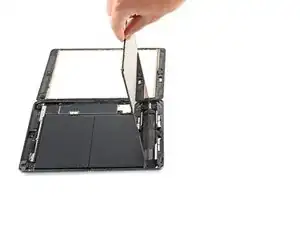
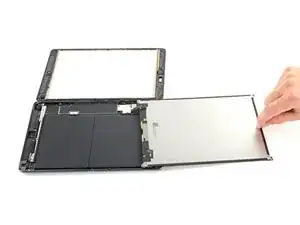
    VPvkY3PWHLgRDghu
    Ebh4MaZKTDbNAmII
    rl4YhlDY2gIZAmaK
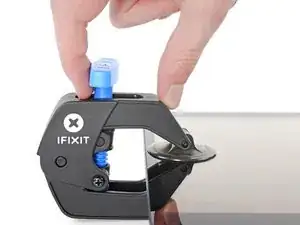
    • Pull the blue handle forward to lock the arms.

    • Turn the handle clockwise 360 degrees or until the cups start to stretch.

    • Make sure the suction cups remain aligned with each other. If they begin to slip out of alignment, loosen the suction cups slightly and realign the arms.

  5. J3PWjGDXWWEJEqcM
    J3PWjGDXWWEJEqcM
    NWOv1Dmbbi1pkPax
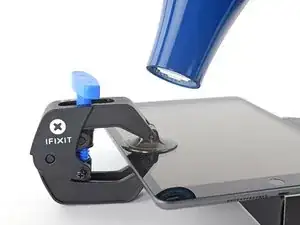
    • Wait one minute to give the adhesive a chance to release and present an opening gap.

    • If your screen isn't getting hot enough, you can use a hair dryer to heat along the left edge of the iPad.

    • For complete instructions on how to use a hair dryer, check out this guide.

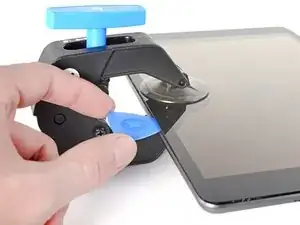
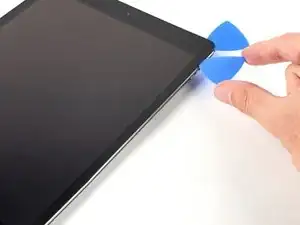
    • Insert an opening pick under the digitizer when the Anti-Clamp creates a large enough gap.

    • If the Anti-Clamp doesn't create a sufficient gap, apply more heat to the area and rotate the handle clockwise half a turn.

    • Don't crank more than a half a turn at a time, and wait one minute between turns. Let the Anti-Clamp and time do the work for you.

    • Skip the next step.

  6. J2IQvQOy1BYPtTom
    J2IQvQOy1BYPtTom
    mHcQZ3ybJlVWXZAX
    ZE5bLBVCycZZ4IXh
    • If your display is badly cracked, covering it with a layer of clear packing tape may allow the suction cup to adhere. Alternatively, very strong tape may be used instead of the suction cup. If all else fails, you can superglue the suction cup to the broken screen.

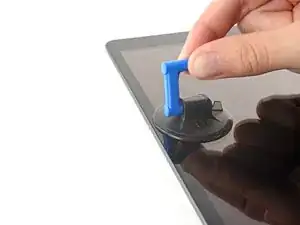
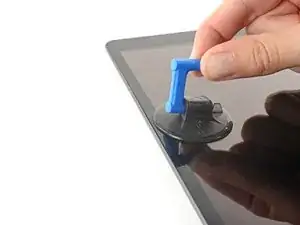
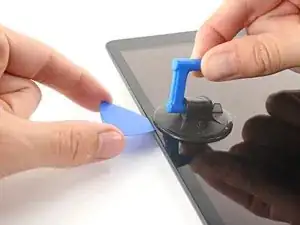
    • Once the screen is warm to touch, apply a suction handle to the left edge of the screen and as close to the edge as possible.

    • Lift the screen with the suction handle to create a small gap between the digitizer and the frame.

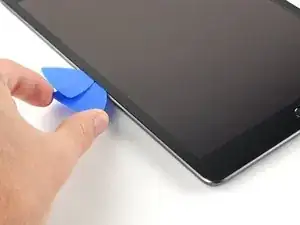
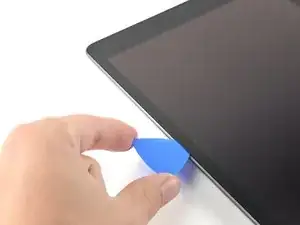
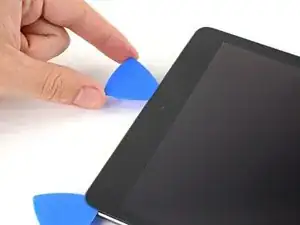
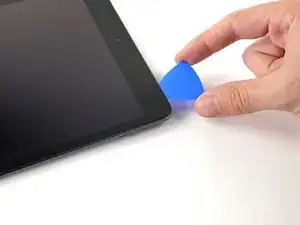
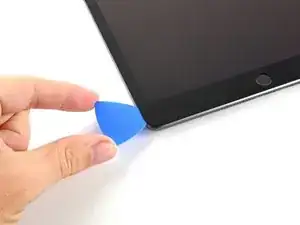
    • Insert an opening pick into the gap between the digitizer and the frame.

  7. x2uBdEGsXXD1UGux
    x2uBdEGsXXD1UGux
    dLpd1xH2K1QoGc6n
    2caJZKMEgJeYYxP4
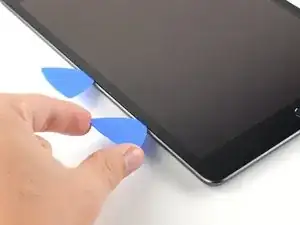
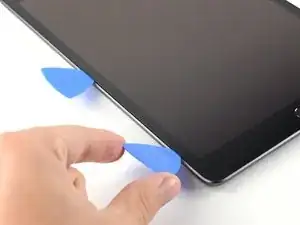
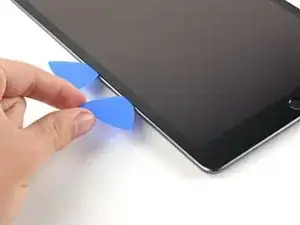
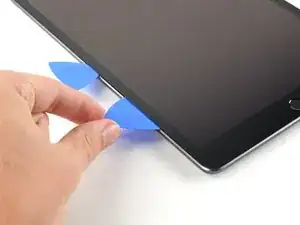
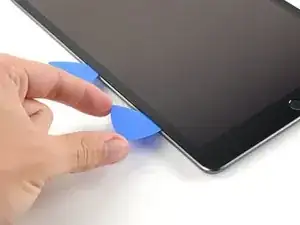
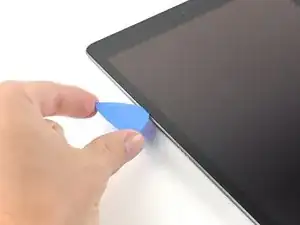
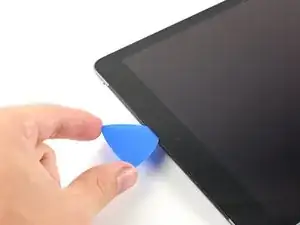
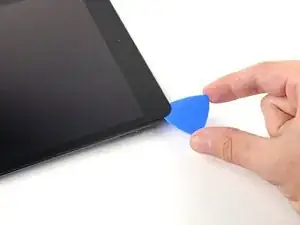
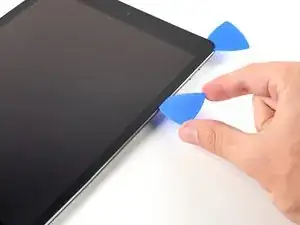
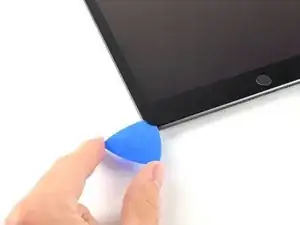
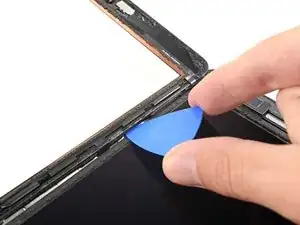
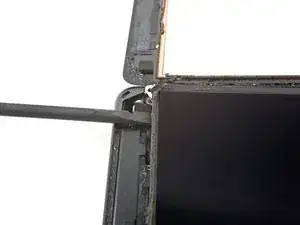
    • Insert a second opening pick into the gap you just created.

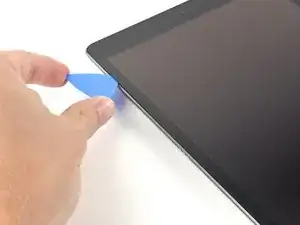
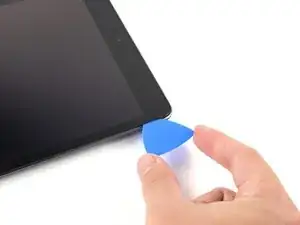
    • Slide the pick toward the bottom-left corner of the device to separate the adhesive.

    • Leave the pick in the bottom-left corner to prevent the adhesive from re-sealing.

    • Don't worry if you can see the opening pick through the digitizer—just pull the pick out. The LCD screen shouldn't be damaged, but you risk leaving behind hard-to-clean adhesive.

  8. JPsPT5ML14VHRhGe
    JPsPT5ML14VHRhGe
    ultr2KYJ6Sc1kYaH
    ZATK6B6Fo1vrYUIw
    • If the opening pick gets stuck in the adhesive, "roll" the pick along the side of the iPad to continue separating the adhesive.

  9. EaRSxNw3vj5GpMur
    EaRSxNw3vj5GpMur
    yRXg6rNGAQgVf1Cf
    W26QbH5y1V5Kv2oM
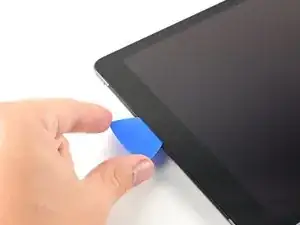
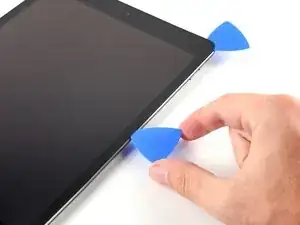
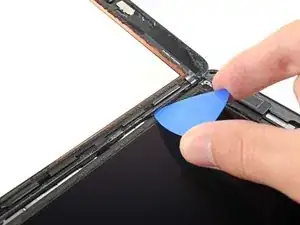
    • Slide the first opening pick towards the top-left corner of the device to separate the adhesive.

    • Leave the pick in the top-left corner to prevent the adhesive from re-sealing.

  10. FLj6SpbOQdrvVpRi
    • Heat an iOpener and apply it to the top edge of the device for two minutes.

  11. p15tb6VN1vUscQ2N
    p15tb6VN1vUscQ2N
    SocgxgkXBnLnGSWX
    oPDYoHHMVRcxhVPT
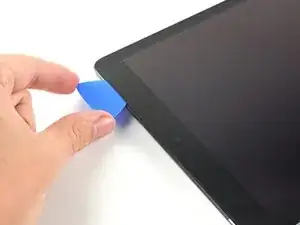
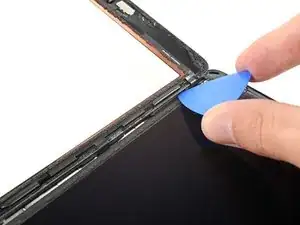
    • Rotate the pick around the top-left corner of the device to separate the adhesive.

  12. Jil3FKjTxdwCK5GP
    Jil3FKjTxdwCK5GP
    6nKHEJpQiZSaFBGo
    ROYjHt2LlrcPPDUx
    • Slide the opening pick along the top edge of the device, stopping just before you reach the front camera.

    • Avoid sliding the pick over the front camera, as you may damage the lens. The following steps will show how to prevent this.

  13. TioLriFFwlSWARE3
    TioLriFFwlSWARE3
    cBURkpbxyZsN2fs4
    fQWclYvRi615iGML
    • Pull the pick out until only the tip is between the digitizer and the frame.

    • Slide the pick above the front camera to separate the adhesive.

    • Leave the pick near the right side of the front camera before continuing.

  14. Jiwfe4BYASgflPlt
    Jiwfe4BYASgflPlt
    GNqQecAUKHkBQsFJ
    TjnBLTuM3hvFrh4t
    • Re-insert the pick and slide it towards the top-right corner of the device to completely separate the top adhesive.

    • Leave the pick in the top-right corner to prevent the adhesive from re-sealing.

  15. ZHBh3M1LZI1RNTnX
    • Heat an iOpener and apply it to the right edge of the device for two minutes.

  16. IaiyPav5brNr6jCX
    IaiyPav5brNr6jCX
    IXOuHUPJMRyyp3gb
    wKVPV5jH516oONom
    • Rotate the pick around the top-right corner of the device to separate the adhesive.

  17. uMAkRgI5TwCTd4Ks
    uMAkRgI5TwCTd4Ks
    6R5iFXyAqocMYSU4
    n3WPFtEKy3pVcab1
    • Insert a new opening pick and slide it to the middle of the iPad's right edge.

    • The display cables are located approximately halfway from the bottom of the iPad. Stop sliding once you reach three inches from the bottom of the iPad.

  18. UGjYPQYXKPD6dNES
    • Heat an iOpener and apply it to the bottom edge of the device for two minutes.

  19. ZLBC4NKlQbk3OZTD
    ZLBC4NKlQbk3OZTD
    OMqDTrkrkwxwGI5M
    A51oePiIiC2OVqED
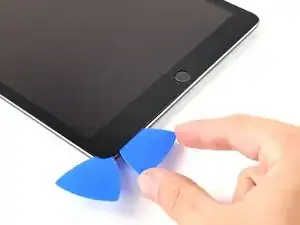
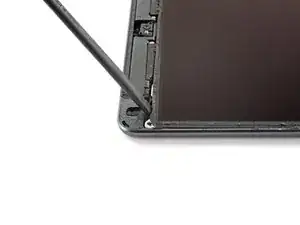
    • Slide the bottom-left pick to the bottom-left corner to separate the adhesive.

    • Don't fully rotate the pick around the corner, as you may damage the antenna.

    • Leave the pick in the corner before moving to the next step.

  20. TEwIBIf3sxmJiEN1
    TEwIBIf3sxmJiEN1
    xOEXNBRtCOWQeuFY
    22JRGthoRvQSYaRf
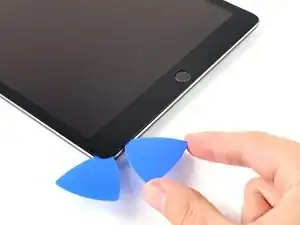
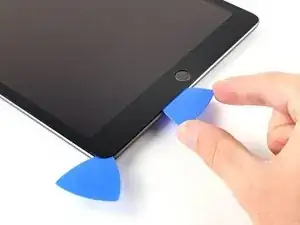
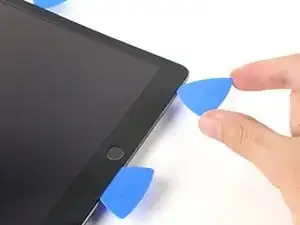
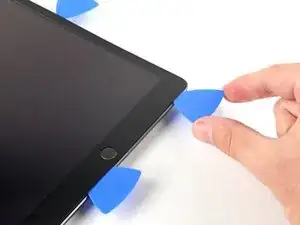
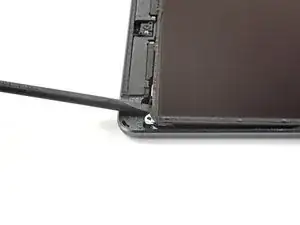
    • Insert a new opening pick into the gap you just created on the bottom edge of the iPad.

    • Slide the pick over the antenna, stopping just before the home button.

    • Only slide the pick towards the home button and not away from it, as you may damage the antenna.

    • If you need to slide the pick over this section again, remove and re-insert it at the bottom-left corner.

    • Leave the pick to the left of the home button before continuing.

  21. C2RdZwTKLextDlUC
    C2RdZwTKLextDlUC
    ZYORWWfQkWbQHeZk
    35FCdHGOd2P3tVJH
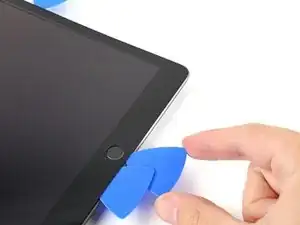
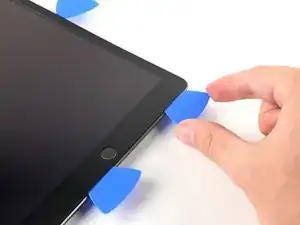
    • Insert an opening pick into the gap you just created.

    • Slide the pick underneath the home button and towards the bottom-right corner, making sure only the tip is between the digitizer and the frame.

    • Only insert the pick up to 1 mm to avoid damaging the right antenna.

  22. EdcTHHvhSmUedM5X
    EdcTHHvhSmUedM5X
    aeho4dfNWsncrbYf
    CmWXujasluPDsXpH
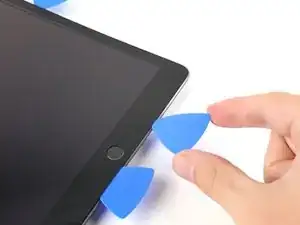
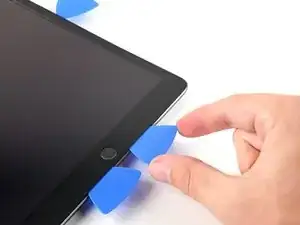
    • Re-insert the pick and slide it towards the home button to completely separate the bottom adhesive.

    • Only slide the pick towards the home button and not away from it, as you may damage the antenna.

    • If you need to slide the pick over this section again, remove and re-insert it at the bottom-right corner.

    • Leave the pick to the right of the home button before continuing.

  23. lwiCOncwPlKLg3a3
    • Heat an iOpener and apply it to the right edge of the device for two minutes.

  24. ABh5NOiTnhO15fgU
    ABh5NOiTnhO15fgU
    Ub5UlnWWBB6GLUth
    • Be very careful with this step. Take your time, ensure the adhesive is hot and soft, and make sure you separated all of the adhesive with a pick. Don't be afraid to stop and reheat.

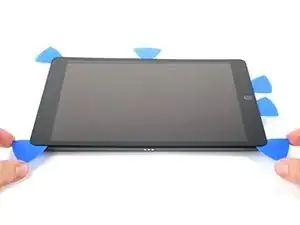
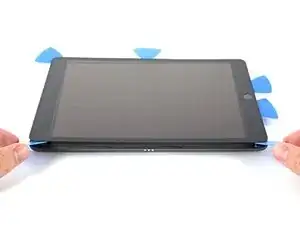
    • Twist the two opening picks on the left corners of the iPad to lift the digitizer slightly, separating the the last of the adhesive in the process.

    • If there's a significant amount of resistance, reheat the edges and work along them with an opening pick.

  25. H1yAsJZcQDoPHbPD
    H1yAsJZcQDoPHbPD
    YepL35FhpR6erNWD
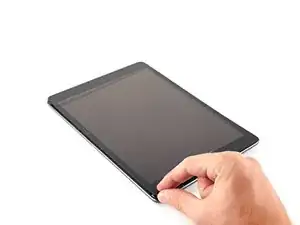
    • Lift the left edge of the digitizer upwards to further separate the adhesive along the right edge of the iPad.

  26. TuWcGklrctSA4vd1
    TuWcGklrctSA4vd1
    lCHklMQfQE6AZ6Gh
    kCab34QaCQWowvsm
    • While supporting the digitizer, slide an opening pick between the two display cables to separate the last of the adhesive.

  27. d6WFtDjCYJBQvFcC
    d6WFtDjCYJBQvFcC
    vhSOEKyqAlrBFbwH
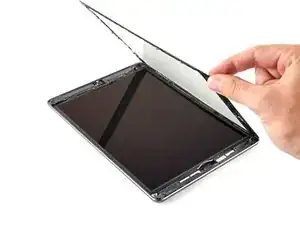
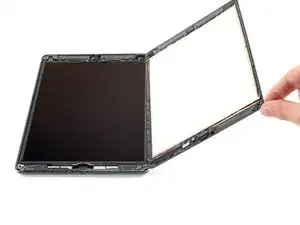
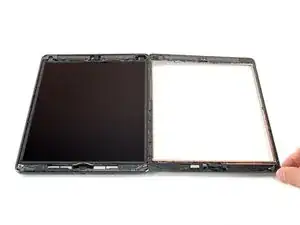
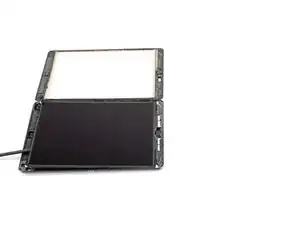
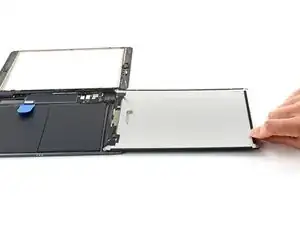
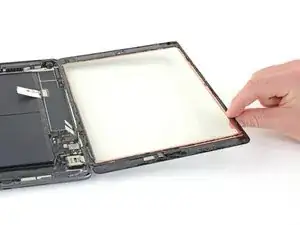
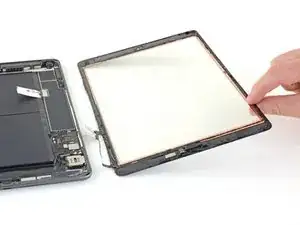
    • Once all of the adhesive has been separated, open the digitizer like a book and rest it parallel to the iPad.

    • During reassembly, clean the remaining adhesive from the frame—and the digitizer if you're re-using it—with isopropyl alcohol. Replace the adhesive with our adhesive strips or pre-cut adhesive cards.

    • Be mindful of the display cables when reassembling the device. Make sure they are folded properly underneath the LCD screen to prevent any damage.

  28. ShwnkQZwrDTfEFZS
    ShwnkQZwrDTfEFZS
    NrpeRZoGpOOl5VnH
    RWINdUuq3owMhZLV
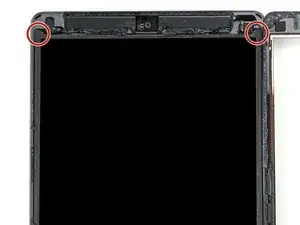
    • Use tweezers, or your fingers, to remove any tape covering the LCD screws.

  29. AHOTOYDTNn4cE2rY
    AHOTOYDTNn4cE2rY
    veDjmytHiIKeDJaM
    • Use a Phillips screwdriver to remove the four 4.3 mm screws securing the LCD screen.

  30. Va3rxfhTKrxDFdWI
    Va3rxfhTKrxDFdWI
    uhACAe1LZbDDypav
    rcsRqPFPIkJZTw54
    • The LCD is lightly adhered to the frame.

    • Insert a spudger between the frame and the top-right portion of the LCD.

    • Pry slowly with the spudger to separate the adhesive.

  31. ZlHGBMWoeFePPAJH
    ZlHGBMWoeFePPAJH
    YwEA2WqhjOGRaGPQ
    • Repeat the previous step for the top-left portion of the LCD.

  32. JKUeH31JsARUPrAJ
    JKUeH31JsARUPrAJ
    3YJ4xuUxTUjdlJuv
    DisiLvy2BSMBVFmb
    • Don't attempt to fully remove the LCD during this step, as it's still connected by a flex cable.

    • Use the flat end of a spudger to pry the LCD out of its recess just enough to grab it with your fingers.

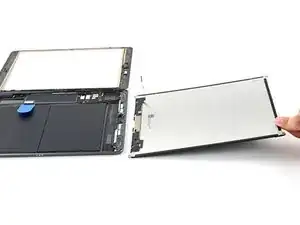
    • Flip the LCD like a page in a book, lifting near the camera and turning it over the home button end of the frame.

    • Lay the LCD on a clean, soft, lint-free surface to allow access to the display cables.

  33. l6VtKiEPeYSStHTa
    l6VtKiEPeYSStHTa
    QUXe4KWxUgiAw1Jb
    • Use a Phillips screwdriver to remove the 2.3 mm-long screw securing the battery connector to the logic board.

  34. LbqrCBOXcuG5ZbFE
    LbqrCBOXcuG5ZbFE
    wZOfMJFOUmAcCxCI
    MBEVjnYIYicfMNPP
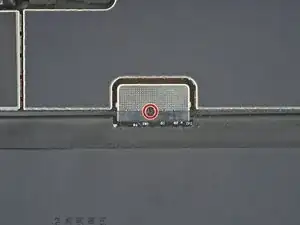
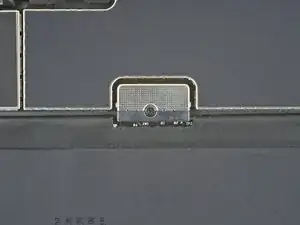
    • These photos show what the battery connector looks like underneath the logic board. Use these photos as a reference while you safely disconnect the battery.

    • Notice that the battery connector has cantilever springs on the logic board that press against the battery contact pads. Since both the logic board and battery are glued down, you'll need to slide something thin and flexible between the contact points to disconnect the battery.

  35. nPaaNkDr4mULH2Sh
    nPaaNkDr4mULH2Sh
    GXRVZ2w4TxMXjwDZ
    LWjMiXSsJZTyebtm
    • Be careful when you isolate the battery using a battery blocker. The battery contacts are easily bent or broken, resulting in irreversible damage.

    • Ensure that the iFixit logo on the battery blocker is facing up.

    • Slide the battery blocker underneath the logic board's battery connector at a 35 degree angle.

    • Don't push the battery blocker underneath the connector with excessive force. If you're having trouble fitting the battery blocker underneath the logic board, you can try using a playing card to disconnect the battery instead.

    • The battery blocker or playing card ideally should slide under the logic board without encountering any blockages. After insertion, it should rest at about a 15 degree angle.

    • Leave the battery blocker in place as you work.

  36. jYbJNTqJXvvEE4kL
    jYbJNTqJXvvEE4kL
    oS4sti3Lq6lFOIHn
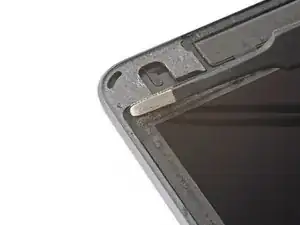
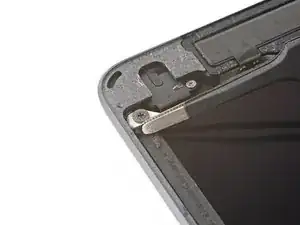
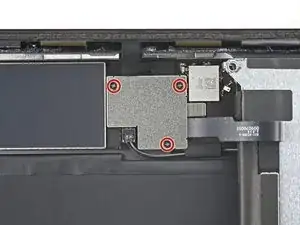
    • Use a Phillips screwdriver to remove the three 1.4 mm-long screws securing the display cable bracket.

  37. BL2XeXXUtWLRrjKC
    BL2XeXXUtWLRrjKC
    2ZhLWVdKIFmAXeGM
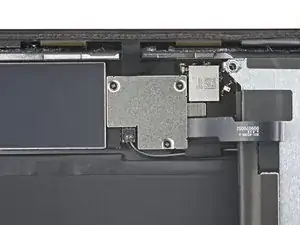
    • Use tweezers, or your fingers, to remove the display cable bracket.

  38. sclDyHWbfIIoZTUC
    sclDyHWbfIIoZTUC
    4JYeoI1EXQpasXra
    • Use the flat end of a spudger to pry up and disconnect the LCD cable press connector.

    • To re-attach press connectors like this one, carefully align and press down on one side until it clicks into place, then repeat on the other side.

    • Don't press down on the middle. If the connector is misaligned, the pins can bend, causing permanent damage.

  39. IZdBM1XCafqAoGke
    IZdBM1XCafqAoGke
    awRHuKvMdfbKar1W
    • Remove the LCD completely and rest it face down on a clean, soft, lint-free surface.

  40. 6KPZY52AArY3ldYH
    6KPZY52AArY3ldYH
    FxW6TuthD22UI1NV
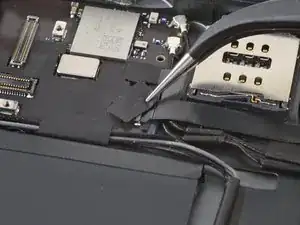
    • Use a pair of tweezers to peel off the tape covering the home button cable ZIF connector.

  41. nEphxSCUcKMkSIBR
    nEphxSCUcKMkSIBR
    tuuwcFSJJOWXNuiF
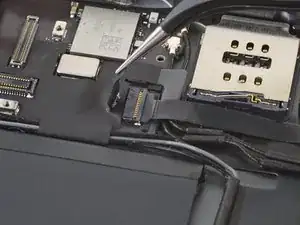
    • Use a spudger, an opening tool, or your fingernail to flip up the small, hinged locking flap on the home button cable ZIF connector.

  42. 44UkBQioXqGTVvCt
    44UkBQioXqGTVvCt
    GCAlJY232tElAv6c
    • Use a pair of tweezers to pull the home button ribbon cable straight out of the ZIF connector.

  43. ZEoFZQj5fkSYySUU
    ZEoFZQj5fkSYySUU
    Ym6oHeLOgmac4aT2
    rkgj2lNuRyc1GHwZ
    • Use the flat end of a spudger to pry up and disconnect the two digitizer cable press connectors.

    • To avoid damaging your iPad, pry only on the connectors themselves, not on the socket on the logic board.

  44. ML4AWyV2gBCc1iEi
    ML4AWyV2gBCc1iEi
    MuAxgQEiIgPQSPFj
    ywXblR3POxOmUHdi
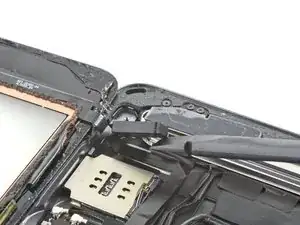
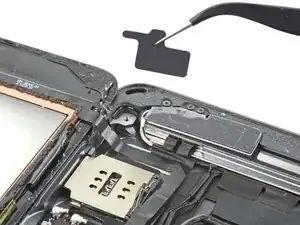
    • Use the flat end of a spudger to pry up the vibration isolator below the SIM card reader.

    • Take care not to puncture or tear the home button ribbon cable.

    • Remove the vibration isolator.

  45. ZZyODlJPmi5MMUCV
    ZZyODlJPmi5MMUCV
    ZPcGUb2tHvZrWDmd
    KBXCUATREsWpTR6O
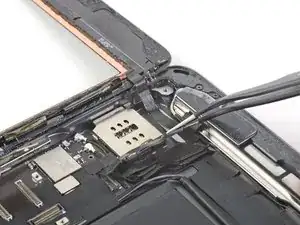
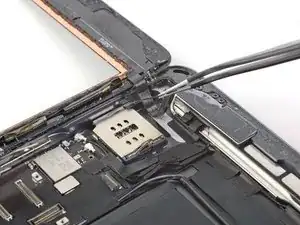
    • Use a pair of tweezers to peel the home button cable away from the rear case.

    • The cable is secured with some light adhesive.

  46. agPhoB2QbRfBCOYM
    agPhoB2QbRfBCOYM
    QT2OIDCO2LRV3apJ
    3EyOsfFkohEoVTmc
    • Remove the front panel assembly.

    • Use an opening pick to cut away any residual adhesive that may still be connecting the front panel assembly to the frame.

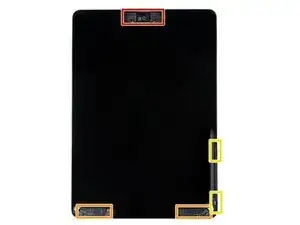
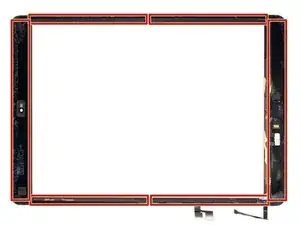
    • If you experience "ghost" or "phantom" touch input issues with your new display, this can be resolved by adding a layer of very thin insulating tape, such as Kapton (polyimide) tape, to the highlighted areas on the back of the panel. iFixit replacement digitizers come with the proper insulation and should not require the addition of any tape.

    • Without the proper insulation, these areas of the digitizer can ground out against other components, causing touch input malfunction.

    • The insulation is not visible to the naked eye and is different from the foam dust barrier strips found on many iPads.

    • During reassembly, before installing a display, remove any remaining adhesive from the iPad, and clean the glued areas with high concentration isopropyl alcohol (90% or greater) and a lint-free cloth. This helps prep the iPad for fresh adhesive and ensures that it will bond properly.

    • Test your iPad's functions and install pre-cut adhesive strips to the back of the display using our display adhesive application guide before sealing it up.

  47. eosvcMZYEJxPTwbr
    eosvcMZYEJxPTwbr
    cumj2MauGk5SDYlR
    • Insert a SIM eject tool, bit, or straightened paper clip into the SIM card tray hole.

    • Press firmly to eject the SIM card tray.

  48. USwiCRxHOggU5RiW
    USwiCRxHOggU5RiW
    UfyMaT5WsAcrNtRU
    • Remove the SIM card tray from the iPad.

  49. aapTAR6br34f5Qtv
    aapTAR6br34f5Qtv
    DE5TD6kM4bLSVXTF
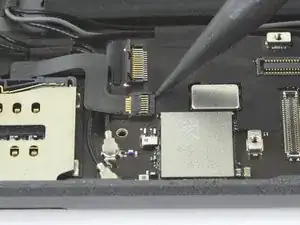
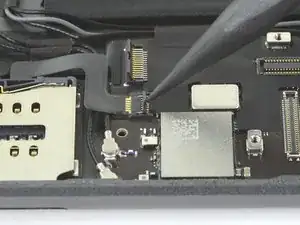
    • Use the tip of a spudger, an opening tool, or your fingernail to flip up the small, hinged locking flap on the SIM card reader cable ZIF connector.

  50. 2HwEtUmIC5uCRS6T
    2HwEtUmIC5uCRS6T
    RiVaAAtmh4RFMEo1
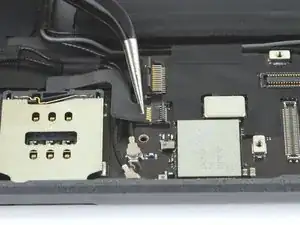
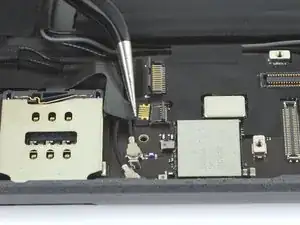
    • Use a pair of tweezers to carefully pull the SIM card reader cable straight out of the ZIF connector.

  51. GXLlOAJO4OCeeVka
    • Heat an iOpener and apply it to the bottom left corner of the rear case to soften the SIM card tray's adhesive for thirty seconds.

  52. KngVd2pJn1HFbpot
    KngVd2pJn1HFbpot
    rN6QhGykaByEGRUK
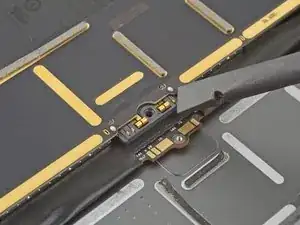
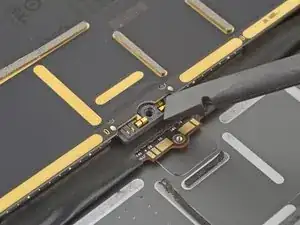
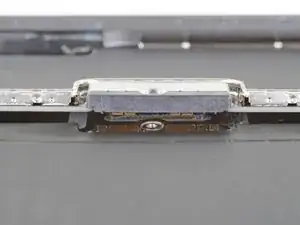
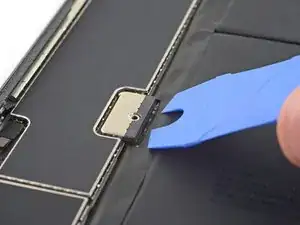
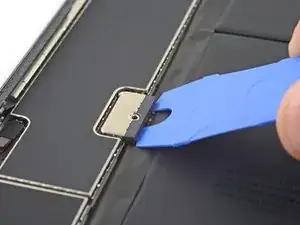
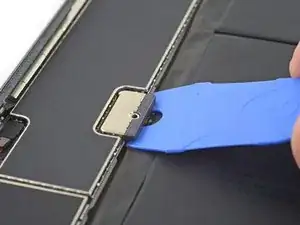
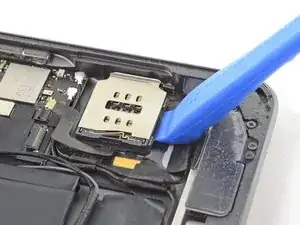
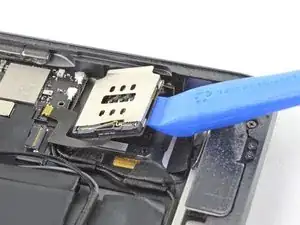
    • Use an opening tool to pry up on the bottom edge of the SIM card reader with a slow and steady force.

    • If the SIM card reader feels extra stuck, apply more heat and try again.

  53. eJx6BZhjcwM3viOT
    eJx6BZhjcwM3viOT
    XjVHMSUT3JZIkqZU
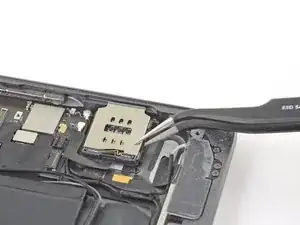
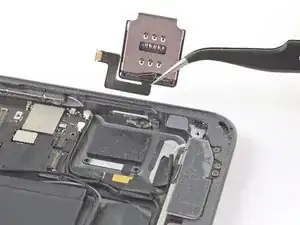
    • Remove the SIM card reader.

Conclusion

To reassemble your device, follow these instructions in reverse order.

Take your e-waste to an R2 or e-Stewards certified recycler.

Repair didn’t go as planned? Try some basic troubleshooting, or ask our iPad 8 Answers community for help.
Alex Diaz-Kokaisl

Member since: 16/01/22

117875 Reputation

0 comments