Introduction
Modern electronics contain a dizzying array of internal data and power cable connectors—and nothing brings a project crashing to a halt like accidentally breaking a connector.
Use this guide to familiarize yourself with the most common types of connectors, and learn the tools and techniques you’ll need to disconnect (and reconnect) them safely.
- ZIF Connectors
- No-Fuss Ribbon Cable Connectors
- Flat-Topped (Low Profile) Connectors
- Press Connectors
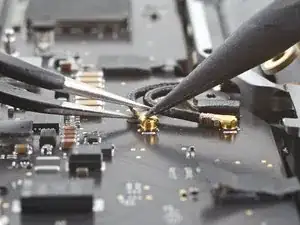
- Coaxial Cable Connectors
- Display Cable Connectors
- Other Ribbon Cable Connectors
- Sliding Connectors
- Power Cable Connectors
- Bundled Cable Connectors
- Glued-Down Cables
- SATA Cables
- Soldered Connections
- Elastomeric (ZEBRA) Connectors
- Rare & Exotic Connectors
Tools
-
-
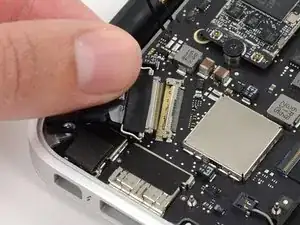
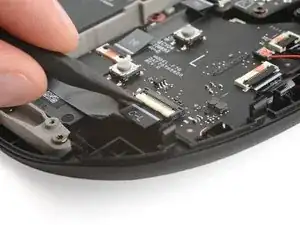
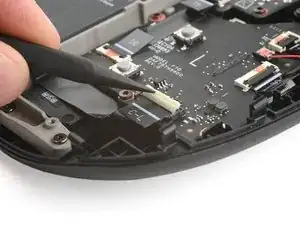
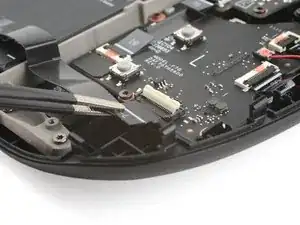
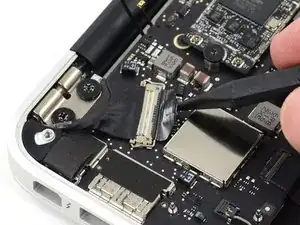
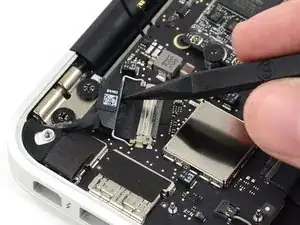
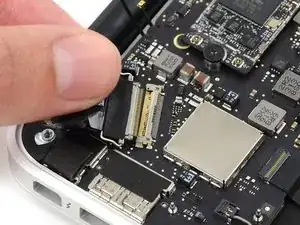
The zero insertion force (ZIF) connector often causes trouble for beginners. ZIF connectors are used to secure delicate ribbon cables, such as FFC (flat flex cables) or FPC (flexible printed circuit) cables.
-
To disconnect the cable, use the tip of a spudger or your fingernail to flip up the small locking flap. Then, you can safely pull the cable out.
-
-
-
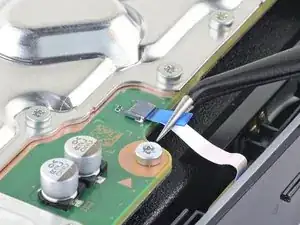
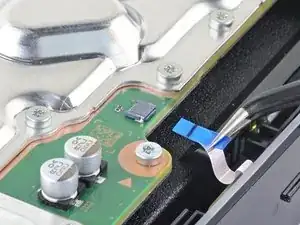
Sometimes you'll find a ribbon cable that simply pulls out of its socket, with no locking flap. The ribbon is normally sturdier than those used with ZIF connectors and the end is often reinforced with a stiff plastic film.
-
These connectors are often found on larger items such as printers, projectors and games consoles, such as this PS5 board.
-
To disconnect the cable, pull it straight out of the connector.
-
-
-
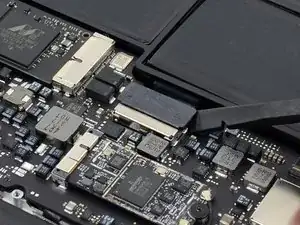
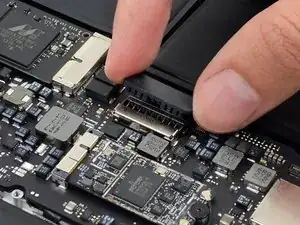
To disconnect flat connectors like this one, use a spudger to pry up each side. Then, lift the connector straight up from its socket.
-
-
-
Place the tip of your tool under the edge of the connector, and pry the connector straight up from its socket.
-
-
-
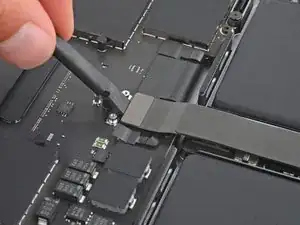
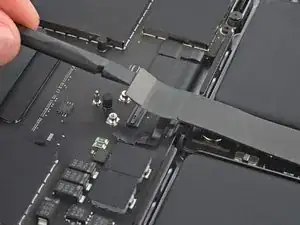
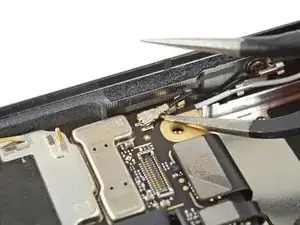
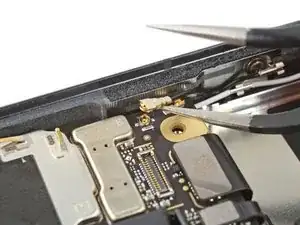
To disconnect the cable, slide a thin, ESD-safe pry tool or tweezers under the metal neck of the connector and lift straight up from the board.
-
-
-
To separate the connector, gently push the tip of a spudger under the clip. Then, swing the clip over the socket, so it lays flat against the cable.
-
Holding the clip and cable together, gently pull in the direction of the cable to remove the connector from its socket.
-
-
-
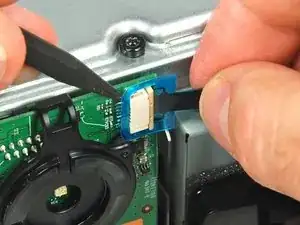
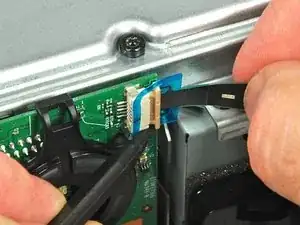
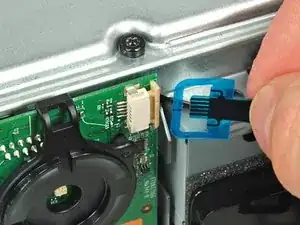
To remove it, use a spudger or clean fingernail to lift the clear blue tab away from the connector.
-
Next, use the tip of the spudger to push the plastic locking tab away from the socket—it should only move about 2 mm.
-
Pull the ribbon cable out of the connector in the direction of the cable.
-
-
-
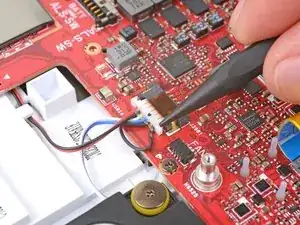
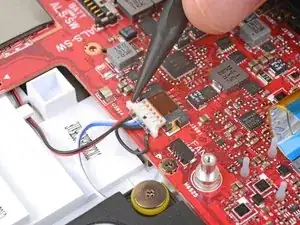
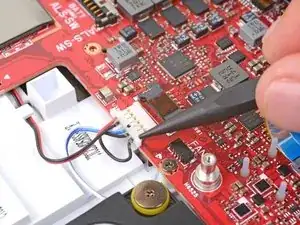
Some connectors require a little coaxing before they’ll give up their cables. This speaker cable connector on the ROG Ally has no convenient place to pry or pull.
-
To disconnect it, use the point of a spudger to push on alternating sides of the connector to "walk" it out of its socket.
-
-
-
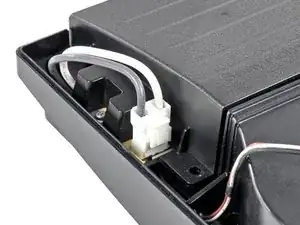
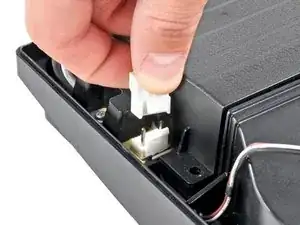
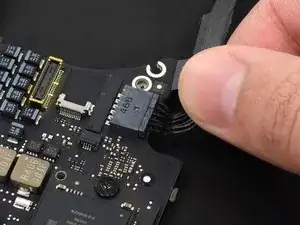
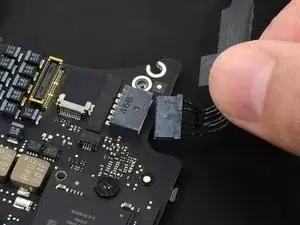
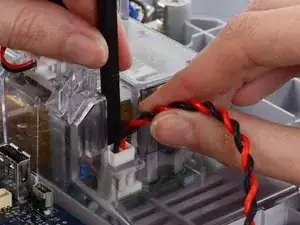
Power cable connectors like this one have a small tab on the side that locks them in place.
-
To separate the connector from its socket, squeeze the tab against the connector, and pull the connector straight up from the socket.
-
JST connectors are similar but don't have the locking tab. There are a few other similar types, with or without the tab, and having 2 or 3, sometimes up to half a dozen or more wires. These may be found connecting a microphone or speaker in a camera, or interconnecting the circuit boards in a radio.
-
-
-
If you see a cable made up of lots of individually wrapped wires leading into a single connector, pulling on the cable itself may be the best method.
-
Pull the cable away from the connector in the same direction as the individual wires are running.
-
-
-
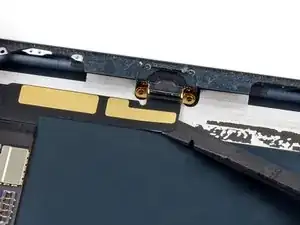
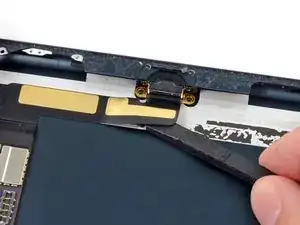
To remove it, carefully slide a spudger or guitar pick under the cable to separate its adhesive.
-
-
-
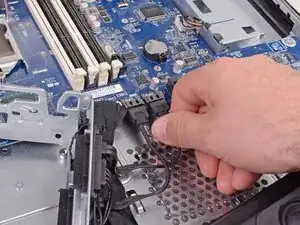
Some common internal power and data cables, like these SATA cables, work much like the regular audio/video cables you already have around the house.
-
To remove them, just pull in the direction of the cable.
-
Hold the tab down with your finger, and then pull to remove the cable.
-
-
-
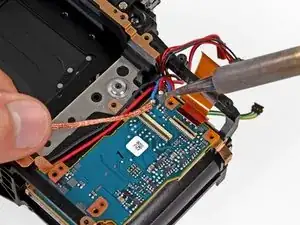
You'll also encounter wires that weren’t designed to be removed at all, and are in fact soldered into place.
-
Not to worry—a soldering iron and some soldering wick makes quick work of these little guys.
-
If soldering isn’t yet your thing, head on over to our soldering technique guide and learn a new skill!
-
-
-
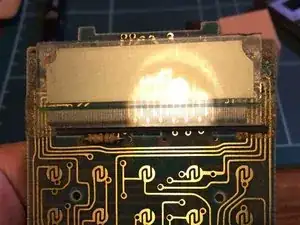
These are often found in pocket calculators, DECT phones, and other devices with a simple monochrome 7-segment or low-resolution display. They are used to connect the conductive tracks on the glass of an LCD to a set of pads on a circuit board below. (These displays sometimes suffer from dead segments or rows of pixels.)
-
Screws or twisted metal tabs commonly secure a metal frame, which compresses the elastomeric strip between the LCD and the circuit board. Release these to separate the LCD and the elastomeric strip.
-
The elastomeric strip consists of conductive and non-conductive layers which alternate along its length. There are several for every connection to the LCD, eliminating the need for precise alignment.
-
-
-
Eventually, you're bound to come across a connector that you've never seen anywhere else.
-
Inspect the connector carefully, and try to determine how it comes apart.
-
If you're still having trouble, search for guides for similar devices to see if they provide any clues, or ask for help in our Answers forum.
-
20 comments
Beautiful work. However, my modern LCD flat screen TV set uses the "No-Fuss Ribbon Cable Connectors" and I think they are fairly common in this application.
"Step 2 — No-Fuss Ribbon Cable Connectors
Occasionally, you'll find a ribbon cable that simply pulls out of its socket, with no retaining flap.
<snip>
These kinds of connectors are fairly rare, so check carefully for a way to release the connector before you resort to pulling on the ribbon cable."
Tom -
This was great! thanks for the detailed pictures. I have a question though on a very specific port used on apple tv 1.
here's the link to my post
Manny O -
It's important to note that ZIF connectors often do require force to insert, for example the digitizer ribbon cable on the Nexus 6, which has a bit of negative tension from being curved. It has to be pushed in using the little raised portion with a fingernail, and held so the line on the cable matches the line on the PCB before closing the retention bracket or else it will not connect properly.

What if I break the ZIF connector itself (were the ribbon goes), is my tablet ruin?
elainegb27 -
Unless you are good with a soldering iron or hot air station I would suggest taking it to someone that can do it.
deswaite -
“…Be sure to pry up on the hinged flap, not the connector socket….” but we’re not going to provide any further information than this and good luck with that :-)
andyescribe -
That’s what the photos are for—providing a visual example. There are a million different implementations of ZIF connector out there, so it’s not possible to provide specific instructions for each one in a single guide. For that, you need to search for the guide for your specific device. Unfortunately, looking at your post history, it appears you attempted to do that, but the guide you were following (Nexus 6) mislabeled the battery connector as a ZIF connector. I’ve corrected the guide. Sorry for the trouble!
Jeff Suovanen -
You have provide awesome tips which is very helpful. I have issue with FPC that not connecting with Cable
Ralph Vale -
hola he intentado cambiar el cristal de mi apple watch 2 despues de conseguirlo me he dado cuenta que he retirado el cable sin bajar la pestaña o no se que he doblado los pines despues de intentar una y otra vez el conector zip de la derecha ha quedado inservible es posible comprar ese conector en algun lugar o sabrian que nombre de conector debo buscar ya que no viene en ninguna expecificacion gracias
Fran Ansio -
Great tutorial, thanks. Had I not seen it, I would have irreparably damaged my keyboard. Perhaps it lacks a bit more guidance on how to place the cables back. I found that part to be the hardest actually.
Juan Dueñas -