Introduction

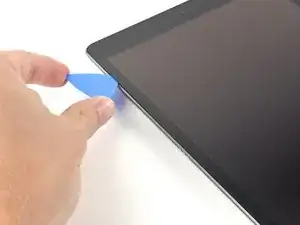
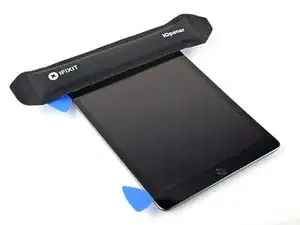
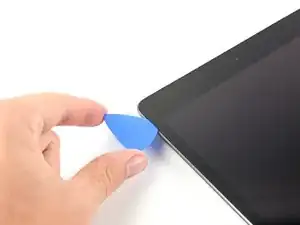
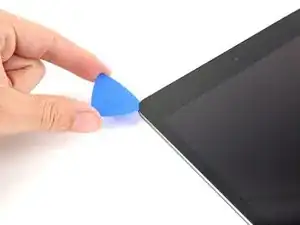
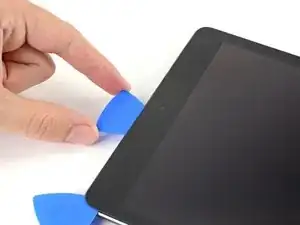
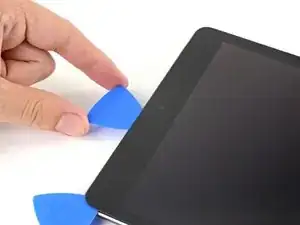
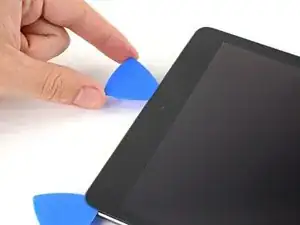
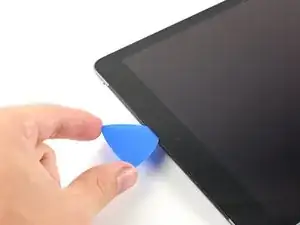
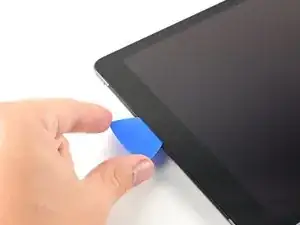
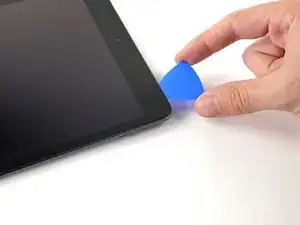
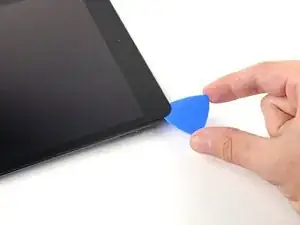
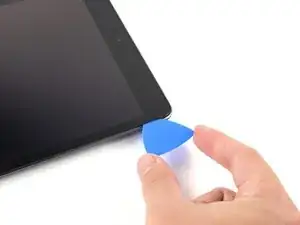
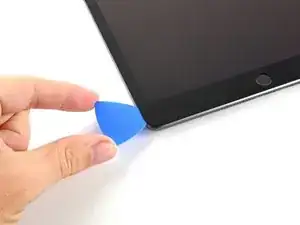
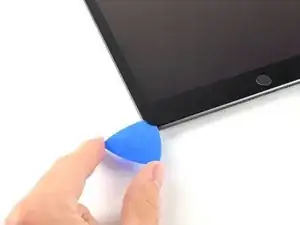
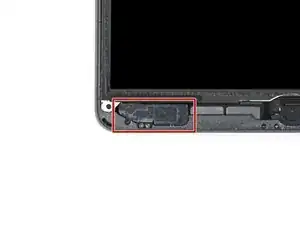
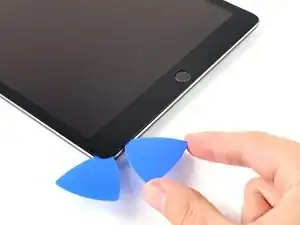
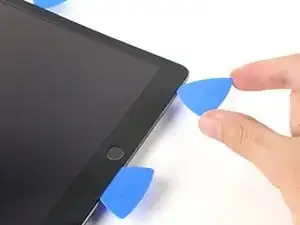
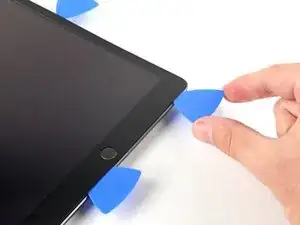
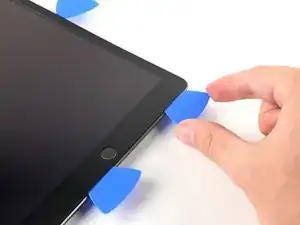
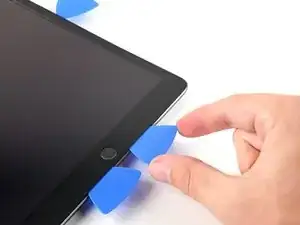
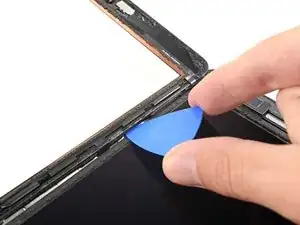
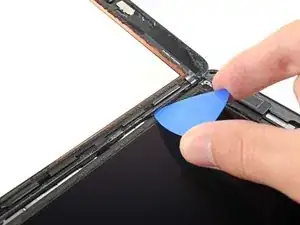
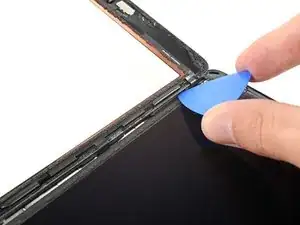
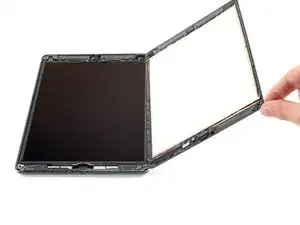
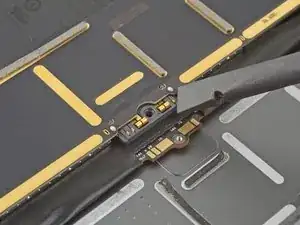
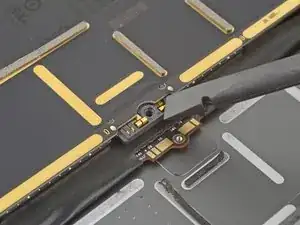
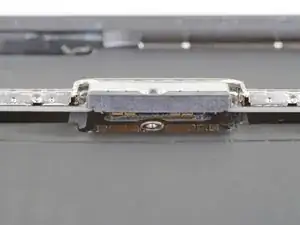
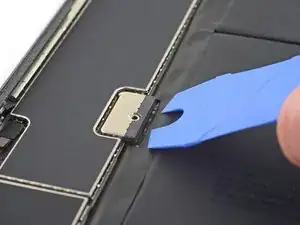
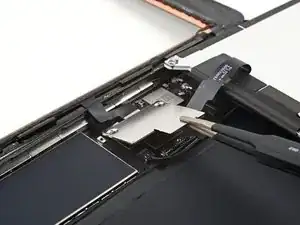
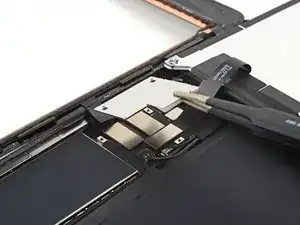
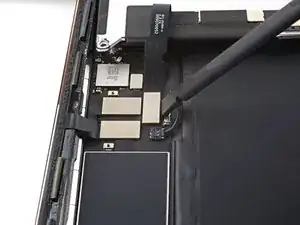
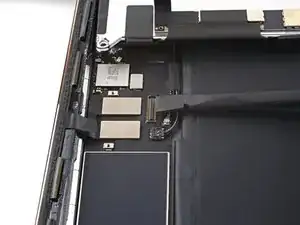
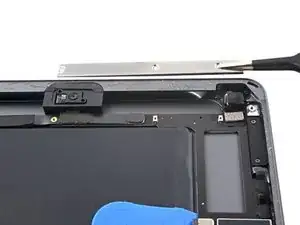
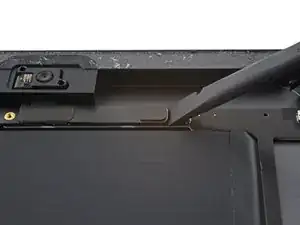
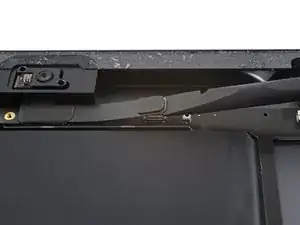
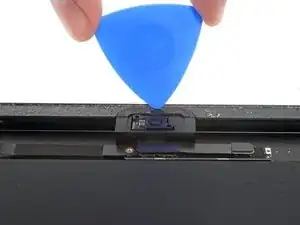
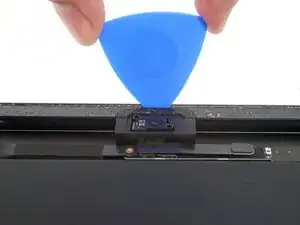
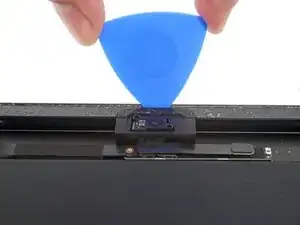
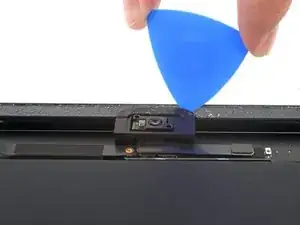
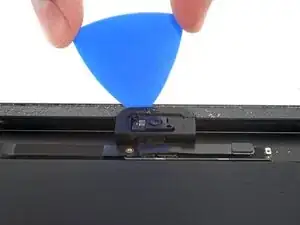
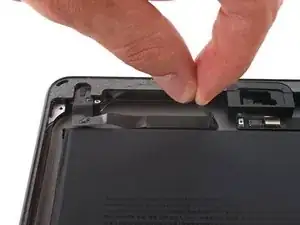
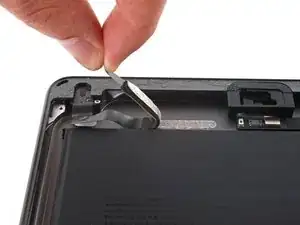
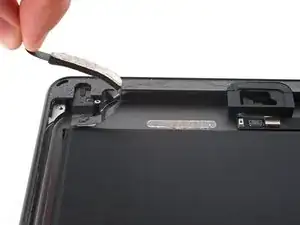
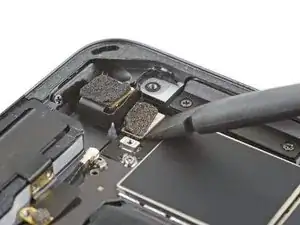
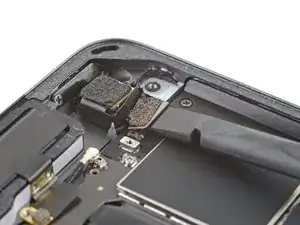
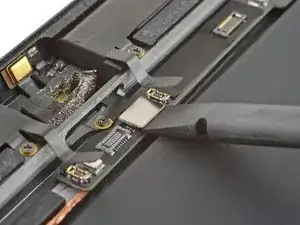
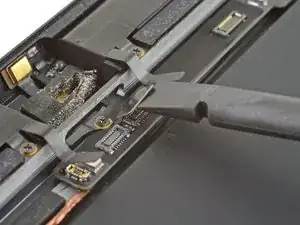
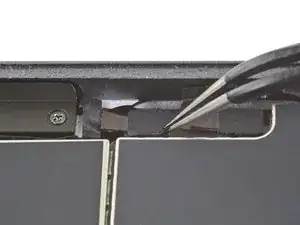
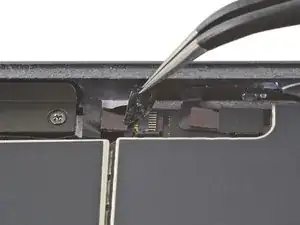
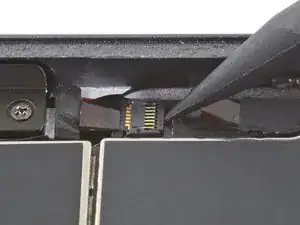
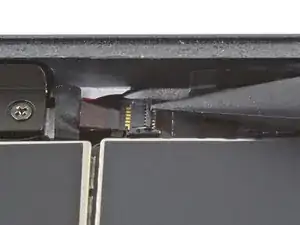
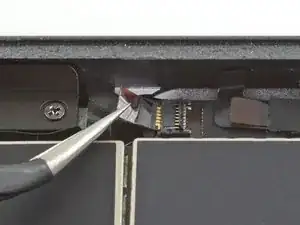
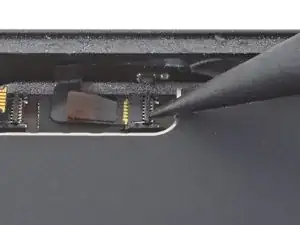
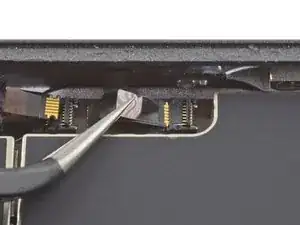
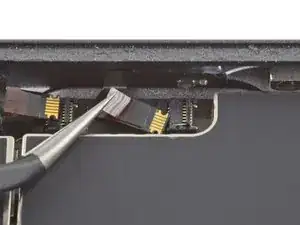
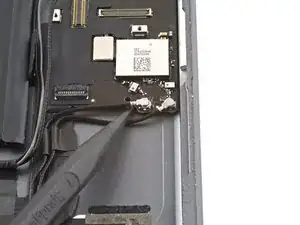
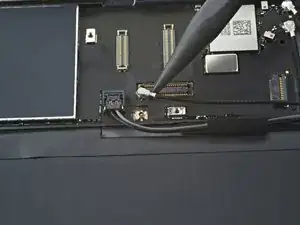
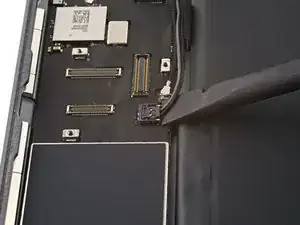
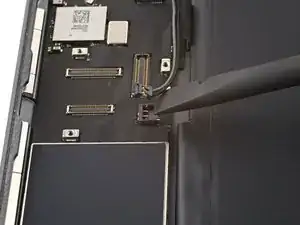
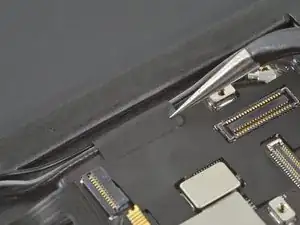
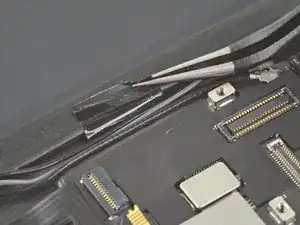
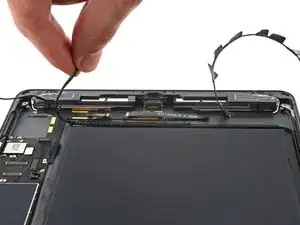
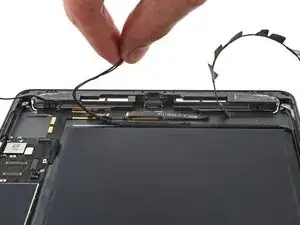
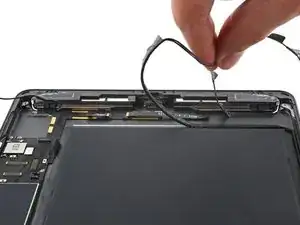
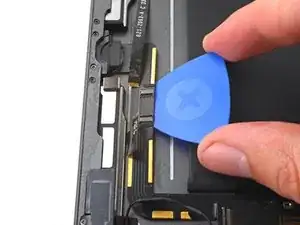
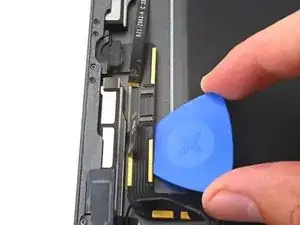
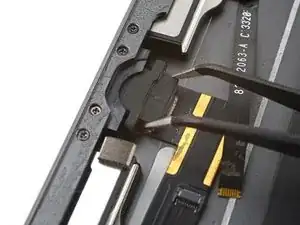
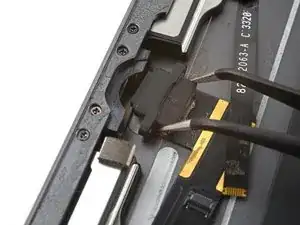
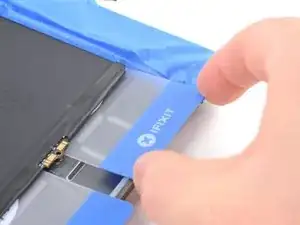
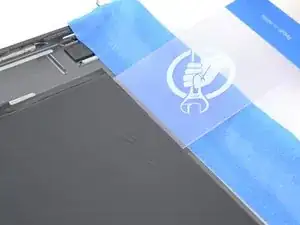
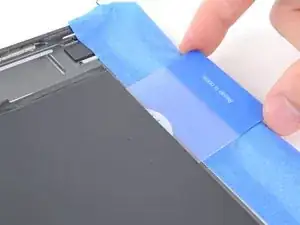
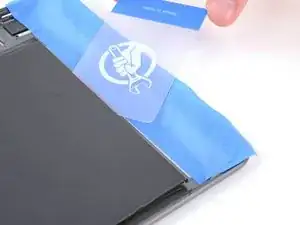
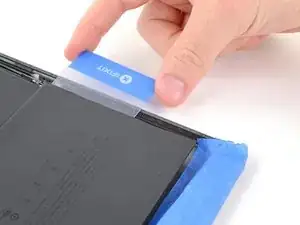
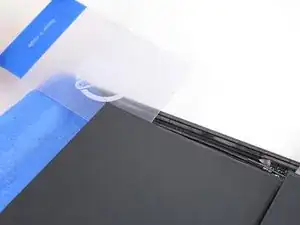
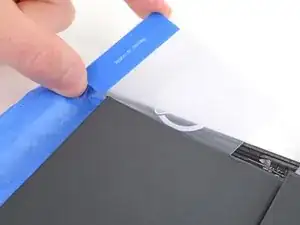
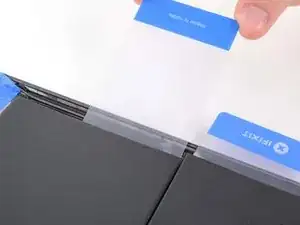
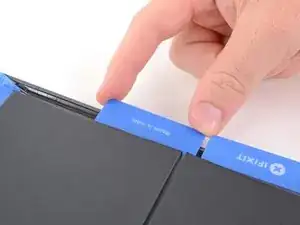
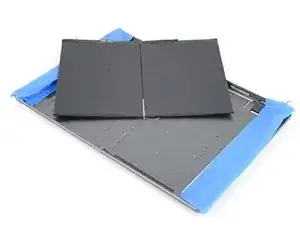
Use this guide to replace the battery in your iPad 7.

Note: this guide is for the Wi-Fi version only. For the LTE version, click here.

For your safety, discharge the battery below 25% before disassembling your iPad. This reduces the risk of fire if the battery is accidentally damaged during the repair. If your battery is swollen, take appropriate precautions.

Be very careful when you isolate the battery using a battery blocker. The battery contacts are easily damaged, resulting in irreversible damage. If you choose to complete the guide without isolating the battery, avoid using metal tools except when completely necessary (like when removing screws) to prevent shorting the battery and damaging sensitive circuit components.

Some photos in this guide are from a different model and may contain slight visual discrepancies, but they won't affect the guide procedure.

  1. THxeZqAlU4lI3Dsj
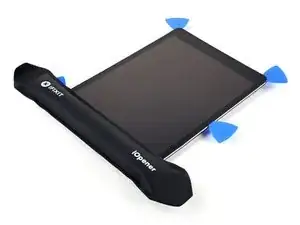
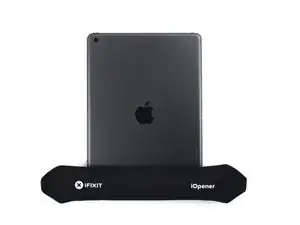
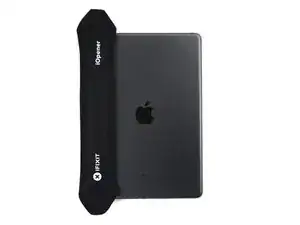
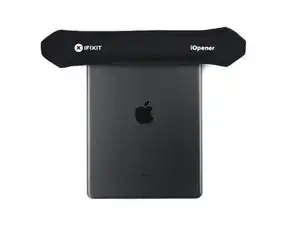
    • Heat an iOpener and apply it to the left edge of the device for two minutes.

  2. BRY15JSctKOZ3CkU
    BRY15JSctKOZ3CkU
    LLyoJyrOLVZBYT2x
    GwocxG65kALerIpv
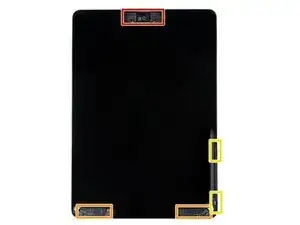
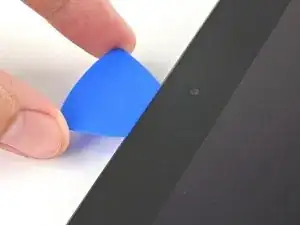
    • While you're waiting for the adhesive to loosen, note the following areas that are sensitive to prying:

    • Front camera

    • Antennas

    • Display cables

  3. BKhTiWCLNw5gfZpV
    BKhTiWCLNw5gfZpV
    ZBBKsxR5VftA3VCb
    PUfMppeQG5XXhYZQ
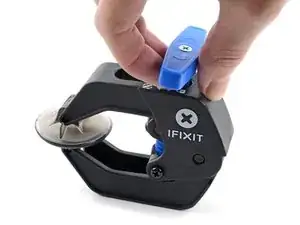
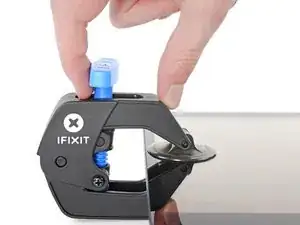
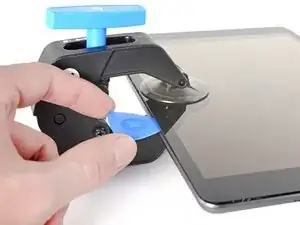
    • The next three steps demonstrate the Anti-Clamp, a tool we designed to make the opening procedure easier. If you aren't using the Anti-Clamp, skip down three steps for an alternate method.

    • For complete instructions on how to use the Anti-Clamp, check out this guide.

    • Pull the blue handle backwards to unlock the Anti-Clamp's arms.

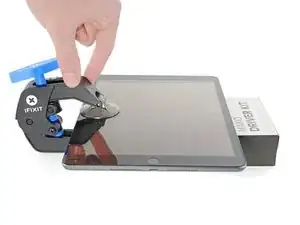
    • Place an object under your iPad so it rests level between the suction cups.

    • Position the suction cups near the middle of the left edge—one on the top, and one on the bottom.

    • Hold the bottom of the Anti-Clamp steady and firmly press down on the top cup to apply suction.

    • If you find that the surface of your iPad is too slippery for the Anti-Clamp to hold onto, use tape to create a grippier surface.

  4. opTJYtRiiInTVvaD
    opTJYtRiiInTVvaD
    BBoTfOOUWMFDN2pa
    yV2YABVAUAWpLbtc
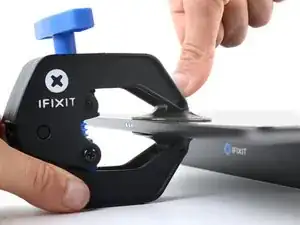
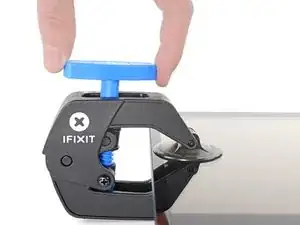
    • Pull the blue handle forward to lock the arms.

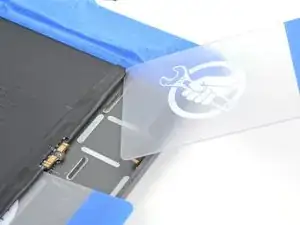
    • Turn the handle clockwise 360 degrees or until the cups start to stretch.

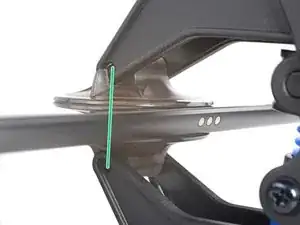
    • Make sure the suction cups remain aligned with each other. If they begin to slip out of alignment, loosen the suction cups slightly and realign the arms.

  5. NCrlvPydUbeM4wGW
    NCrlvPydUbeM4wGW
    6eTPKXJyPpiiiTte
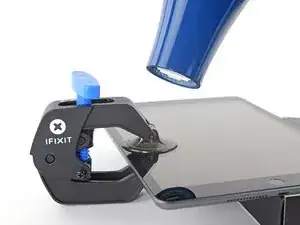
    • Wait one minute to give the adhesive a chance to release and present an opening gap.

    • If your screen isn't getting hot enough, you can use a hair dryer to heat along the left edge of the iPad.

    • For complete instructions on how to use a hair dryer, check out this guide.

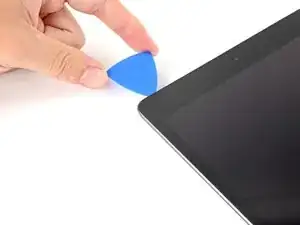
    • Insert an opening pick under the digitizer when the Anti-Clamp creates a large enough gap.

    • If the Anti-Clamp doesn't create a sufficient gap, apply more heat to the area and rotate the handle clockwise half a turn.

    • Don't crank more than a half a turn at a time, and wait one minute between turns. Let the Anti-Clamp and time do the work for you.

    • Skip the next step.

  6. J2IQvQOy1BYPtTom
    J2IQvQOy1BYPtTom
    mHcQZ3ybJlVWXZAX
    ZE5bLBVCycZZ4IXh
    • If your display is badly cracked, covering it with a layer of clear packing tape may allow the suction cup to adhere. Alternatively, very strong tape may be used instead of the suction cup. If all else fails, you can superglue the suction cup to the broken screen.

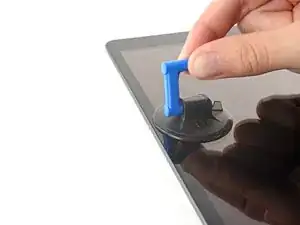
    • Once the screen is warm to touch, apply a suction handle to the left edge of the screen and as close to the edge as possible.

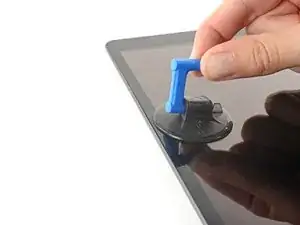
    • Lift the screen with the suction handle to create a small gap between the digitizer and the frame.

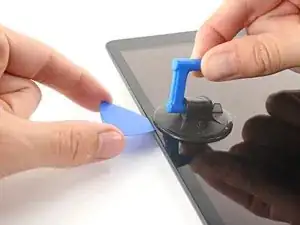
    • Insert an opening pick into the gap between the digitizer and the frame.

  7. x2uBdEGsXXD1UGux
    x2uBdEGsXXD1UGux
    dLpd1xH2K1QoGc6n
    2caJZKMEgJeYYxP4
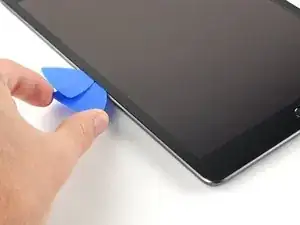
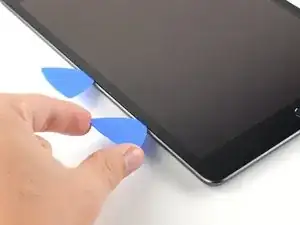
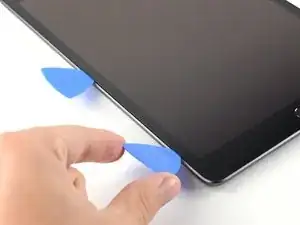
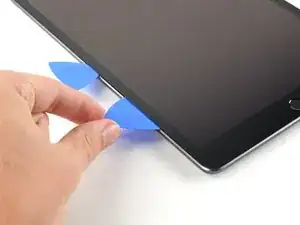
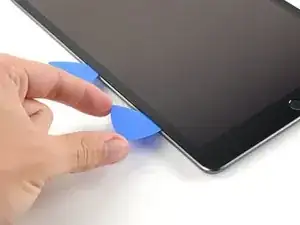
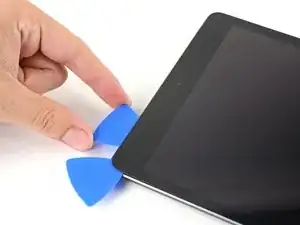
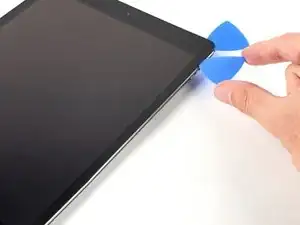
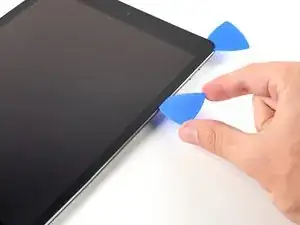
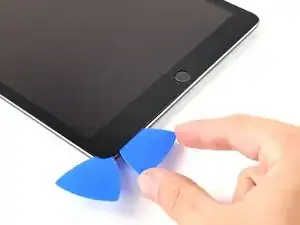
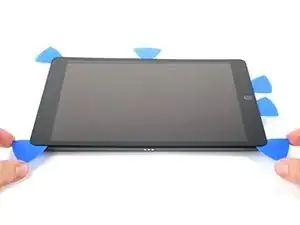
    • Insert a second opening pick into the gap you just created.

    • Slide the pick toward the bottom-left corner of the device to separate the adhesive.

    • Leave the pick in the bottom-left corner to prevent the adhesive from re-sealing.

    • Don't worry if you can see the opening pick through the digitizer—just pull the pick out. The LCD screen shouldn't be damaged, but you risk leaving behind hard-to-clean adhesive.

  8. JPsPT5ML14VHRhGe
    JPsPT5ML14VHRhGe
    ultr2KYJ6Sc1kYaH
    ZATK6B6Fo1vrYUIw
    • If the opening pick gets stuck in the adhesive, "roll" the pick along the side of the iPad to continue separating the adhesive.

  9. EaRSxNw3vj5GpMur
    EaRSxNw3vj5GpMur
    yRXg6rNGAQgVf1Cf
    W26QbH5y1V5Kv2oM
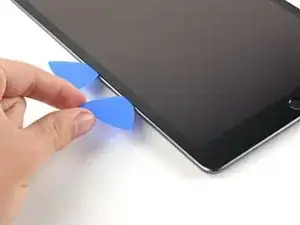
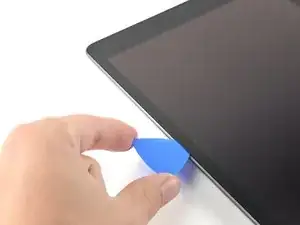
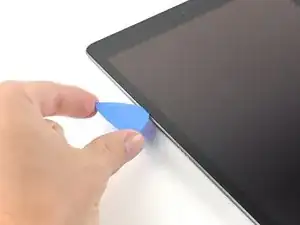
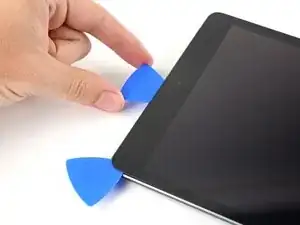
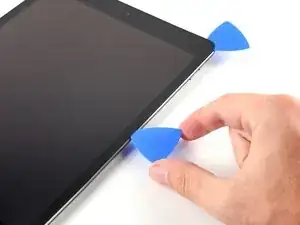
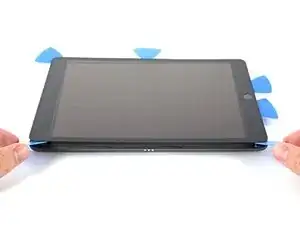
    • Slide the first opening pick towards the top-left corner of the device to separate the adhesive.

    • Leave the pick in the top-left corner to prevent the adhesive from re-sealing.

  10. FLj6SpbOQdrvVpRi
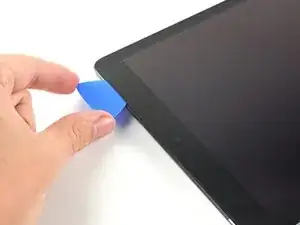
    • Heat an iOpener and apply it to the top edge of the device for two minutes.

    How do you heat the iopener?

    Steve Passmore -
  11. p15tb6VN1vUscQ2N
    p15tb6VN1vUscQ2N
    SocgxgkXBnLnGSWX
    oPDYoHHMVRcxhVPT
    • Rotate the pick around the top-left corner of the device to separate the adhesive.

  12. Jil3FKjTxdwCK5GP
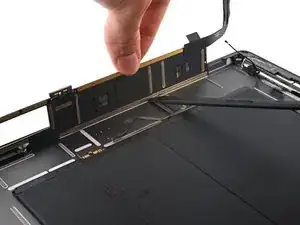
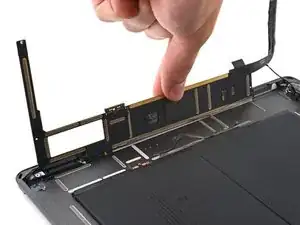
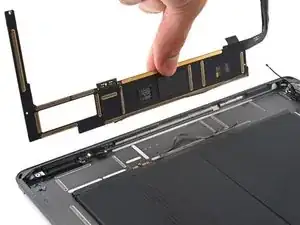
    Jil3FKjTxdwCK5GP
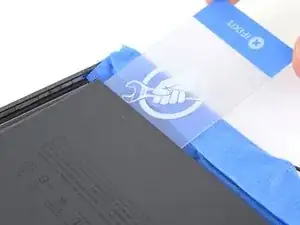
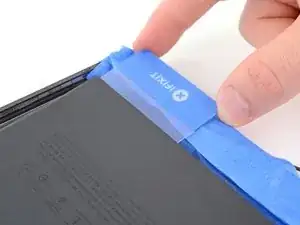
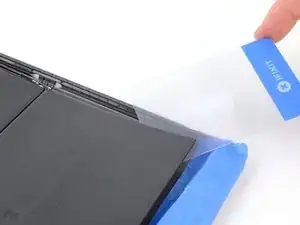
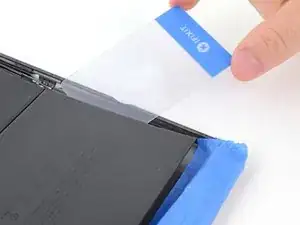
    6nKHEJpQiZSaFBGo
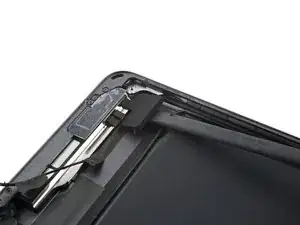
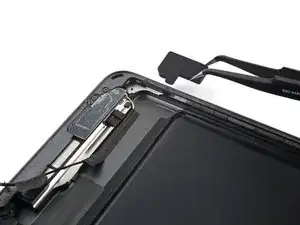
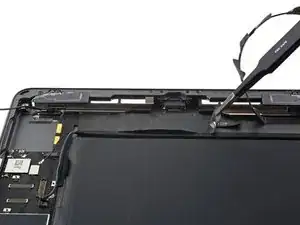
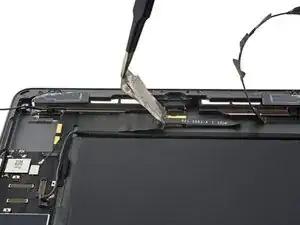
    ROYjHt2LlrcPPDUx
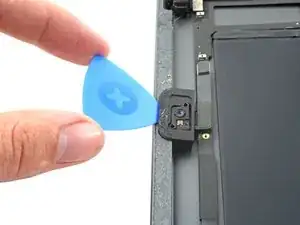
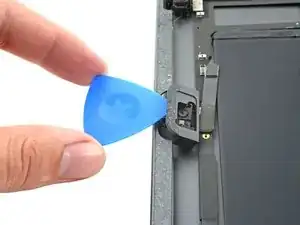
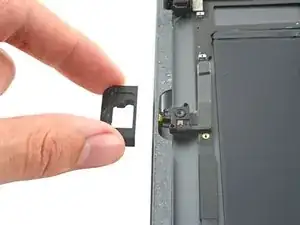
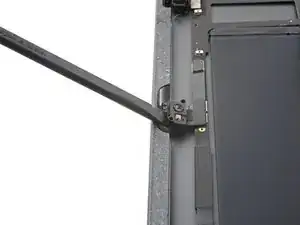
    • Slide the opening pick along the top edge of the device, stopping just before you reach the front camera.

    • Avoid sliding the pick over the front camera, as you may damage the lens. The following steps will show how to prevent this.

  13. TioLriFFwlSWARE3
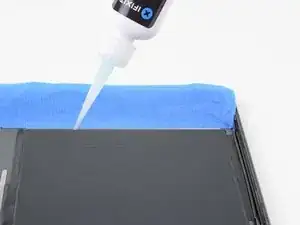
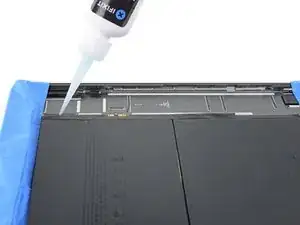
    TioLriFFwlSWARE3
    cBURkpbxyZsN2fs4
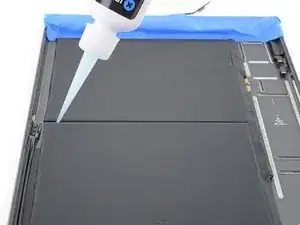
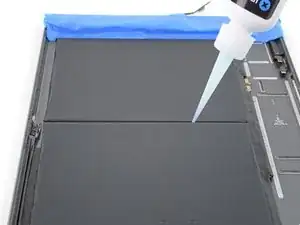
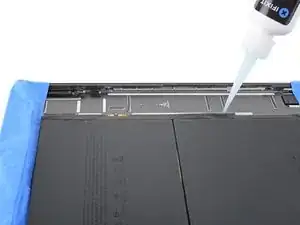
    fQWclYvRi615iGML
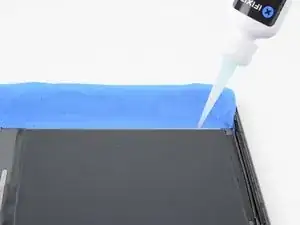
    • Pull the pick out until only the tip is between the digitizer and the frame.

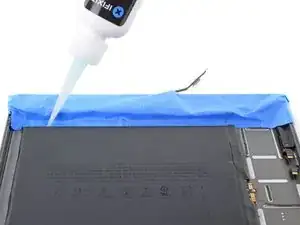
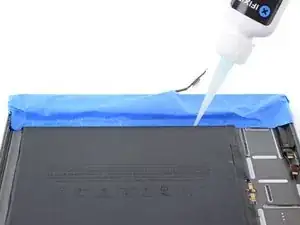
    • Slide the pick above the front camera to separate the adhesive.

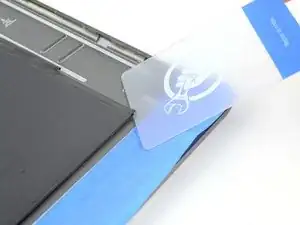
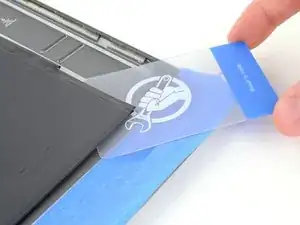
    • Leave the pick near the right side of the front camera before continuing.

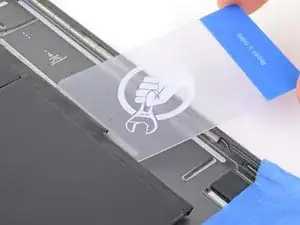
  14. Jiwfe4BYASgflPlt
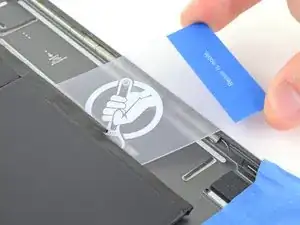
    Jiwfe4BYASgflPlt
    GNqQecAUKHkBQsFJ
    TjnBLTuM3hvFrh4t
    • Re-insert the pick and slide it towards the top-right corner of the device to completely separate the top adhesive.

    • Leave the pick in the top-right corner to prevent the adhesive from re-sealing.

  15. ZHBh3M1LZI1RNTnX
    • Heat an iOpener and apply it to the right edge of the device for two minutes.

  16. IaiyPav5brNr6jCX
    IaiyPav5brNr6jCX
    IXOuHUPJMRyyp3gb
    wKVPV5jH516oONom
    • Rotate the pick around the top-right corner of the device to separate the adhesive.

  17. uMAkRgI5TwCTd4Ks
    uMAkRgI5TwCTd4Ks
    6R5iFXyAqocMYSU4
    n3WPFtEKy3pVcab1
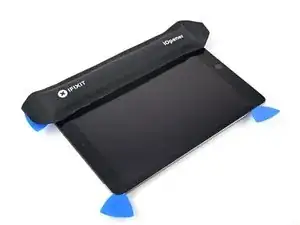
    • Insert a new opening pick and slide it to the middle of the iPad's right edge.

    • The display cables are located approximately halfway from the bottom of the iPad. Stop sliding once you reach three inches from the bottom of the iPad.

    There are sensitive display/digitizer cables no less than five inches from the bottom edge of the iPad. Insert the pick further down than this, or deeper than 1mm beyond this point and you risk irreparably damaging these cables.

    Three inches is much too far down this side of the iPad to use picks.

    rcrandall85 -
  18. UGjYPQYXKPD6dNES
    • Heat an iOpener and apply it to the bottom edge of the device for two minutes.

  19. ZLBC4NKlQbk3OZTD
    ZLBC4NKlQbk3OZTD
    OMqDTrkrkwxwGI5M
    A51oePiIiC2OVqED
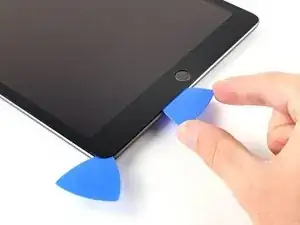
    • Slide the bottom-left pick to the bottom-left corner to separate the adhesive.

    • Don't fully rotate the pick around the corner, as you may damage the antenna.

    • Leave the pick in the bottom-left corner before moving to the next step.

  20. TEwIBIf3sxmJiEN1
    TEwIBIf3sxmJiEN1
    xOEXNBRtCOWQeuFY
    22JRGthoRvQSYaRf
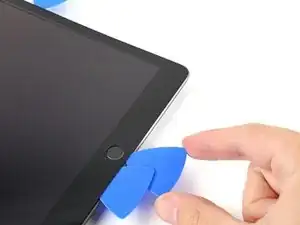
    • Insert a new opening pick into the gap you just created on the bottom edge of the iPad.

    • Slide the pick over the antenna, stopping just before the home button.

    • Only slide the pick towards the home button and not away from it, as you may damage the antenna.

    • If you need to slide the pick over this section again, remove and re-insert it at the bottom-left corner.

    • Leave the pick to the left of the home button before continuing.

  21. C2RdZwTKLextDlUC
    C2RdZwTKLextDlUC
    ZYORWWfQkWbQHeZk
    35FCdHGOd2P3tVJH
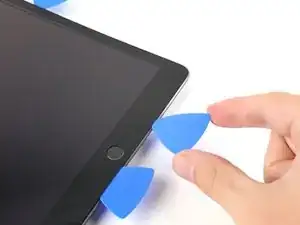
    • Insert an opening pick into the gap you just created.

    • Slide the pick underneath the home button and towards the bottom-right corner, making sure only the tip is between the digitizer and the frame.

    • Only insert the pick up to 1 mm to avoid damaging the right antenna.

  22. EdcTHHvhSmUedM5X
    EdcTHHvhSmUedM5X
    aeho4dfNWsncrbYf
    CmWXujasluPDsXpH
    • Re-insert the pick and slide it towards the home button to completely separate the bottom adhesive.

    • Only slide the pick towards the home button and not away from it, as you may damage the antenna.

    • If you need to slide the pick over this section again, remove and re-insert it at the bottom-right corner.

    • Leave the pick to the right of the home button before continuing.

  23. lwiCOncwPlKLg3a3
    • Heat an iOpener and apply it to the right edge of the device for two minutes.

  24. ABh5NOiTnhO15fgU
    ABh5NOiTnhO15fgU
    Ub5UlnWWBB6GLUth
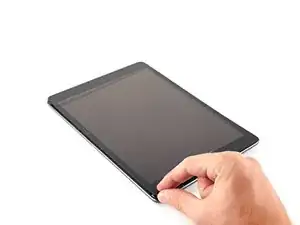
    • Be very careful with this step. Take your time, ensure the adhesive is hot and soft, and make sure you separated all of the adhesive with a pick. Don't be afraid to stop and reheat.

    • Twist the two opening picks on the left corners of the iPad to lift the digitizer slightly, separating the the last of the adhesive in the process.

    • If there's a significant amount of resistance, reheat the edges and work along them with an opening pick.

  25. H1yAsJZcQDoPHbPD
    H1yAsJZcQDoPHbPD
    YepL35FhpR6erNWD
    • Lift the left edge of the digitizer upwards to further separate the adhesive along the right edge of the iPad.

  26. TuWcGklrctSA4vd1
    TuWcGklrctSA4vd1
    lCHklMQfQE6AZ6Gh
    kCab34QaCQWowvsm
    • While supporting the digitizer, slide an opening pick between the two display cables to separate the last of the adhesive.

  27. d6WFtDjCYJBQvFcC
    d6WFtDjCYJBQvFcC
    vhSOEKyqAlrBFbwH
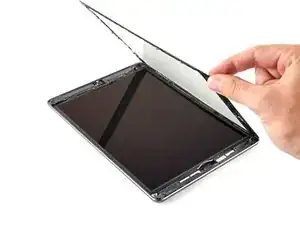
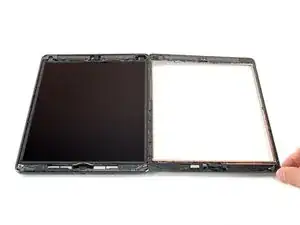
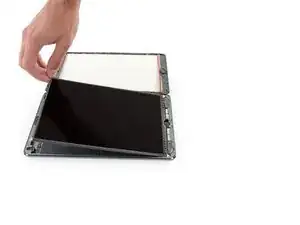
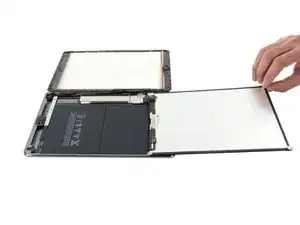
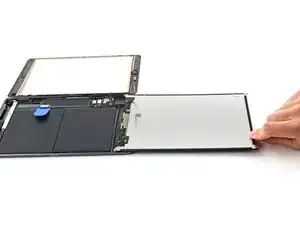
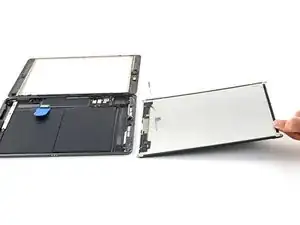
    • Once all of the adhesive has been separated, open the digitizer like a book and rest it parallel to the iPad.

    • During reassembly, clean the remaining adhesive from the frame—and the digitizer if you're re-using it—with isopropyl alcohol. Replace the adhesive with our adhesive strips or pre-cut adhesive cards.

    • Be mindful of the display cables when reassembling the device. Make sure they are folded properly underneath the LCD screen to prevent any damage.

    While reassembling, REALLY make sure the display cables and the home button cable won't be folded / bent while closing the digitizer. I'm not exactly sure what I did, but I broke the home button and touch ID since I bent the home button cable to the point that it broke. These ribbon cables are SUPER fragile.

    op_ -
  28. Zag51Fn3jeTg5XDo
    Zag51Fn3jeTg5XDo
    KEwuHhb1vSWKRMwD
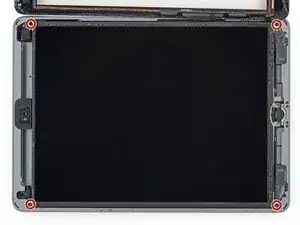
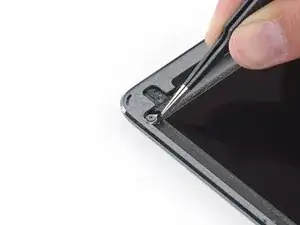
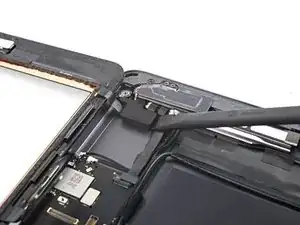
    • Use a Phillips screwdriver to remove the four 4.3 mm-long screws securing the LCD to the frame.

    • Remove any tape obscuring the LCD screws.

    • Throughout this repair, keep track of each screw and make sure it goes back exactly where it came from to avoid damaging your device.

  29. t5OjLd3WOw55haH1
    t5OjLd3WOw55haH1
    NuH1Mku1dgriUOZw
    PAASAf3r4YYAtyOW
    • Don't attempt to fully remove the LCD during this step, as it's still connected by several cables at the home button end.

    • Only lift the LCD from the front-facing camera end.

    • Use the flat end of a spudger to pry the LCD out of its recess just enough to grab it with your fingers.

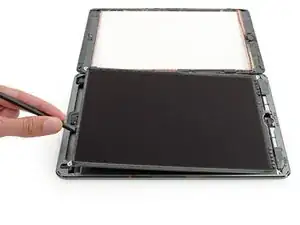
    • Flip the iPad LCD like a page in a book, lifting near the camera and turning it over the home button end of the frame.

    • Lay the LCD down onto a clean, soft, lint-free surface to allow access to the display cables.

  30. OHqXvYZRCZoeetDM
    OHqXvYZRCZoeetDM
    MfSOUYOSmKfKYySr
    • Use a Phillips screwdriver to remove the 2.3 mm-long screw securing the battery connector to the logic board.

  31. jt4vWJnpj3gdTY4b
    jt4vWJnpj3gdTY4b
    iMJKm2GEMbPyKxCY
    5jJiilcK6uVuO6UG
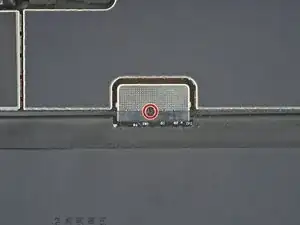
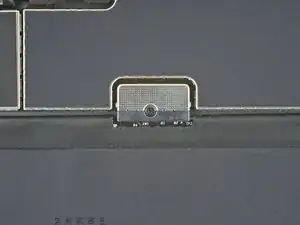
    • These photos show what the battery connector looks like underneath the logic board. Use these photos as a reference while you safely disconnect the battery.

    • Notice that the battery connector has cantilever springs on the logic board that press against the battery contact pads. Since both the logic board and battery are glued down, you'll need to slide something thin and flexible between the contact points to disconnect the battery.

  32. nsyt2uuWayDvnWSN
    nsyt2uuWayDvnWSN
    ABBJiqrXuKcEc1AL
    S5webgxEegkCKbUS
    • Be careful when you isolate the battery using a battery blocker. The battery contacts are easily bent or broken, resulting in irreversible damage.

    • Ensure that the iFixit logo on the battery blocker is facing up.

    • Slide the battery blocker underneath the logic board's battery connector at a 35 degree angle.

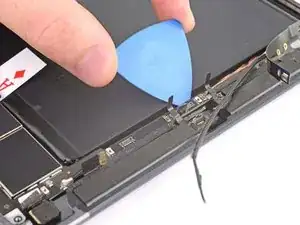
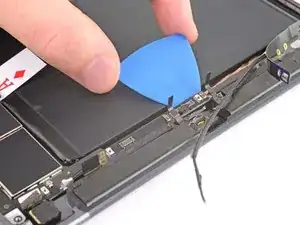
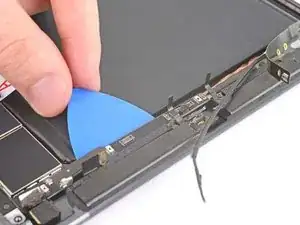
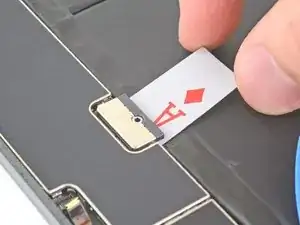
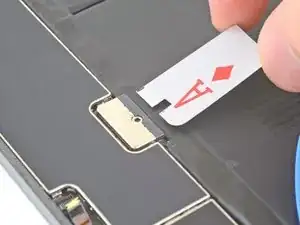
    • Don't push the battery blocker underneath the connector with excessive force. If you're having trouble fitting the battery blocker underneath the logic board, you can try using a playing card to disconnect the battery instead.

    • The battery blocker or playing card ideally should slide under the logic board without encountering any blockages. After insertion, it should rest at about a 15 degree angle.

    • Leave the battery blocker in place as you work.

  33. MXWfQNMDmRonYjDU
    MXWfQNMDmRonYjDU
    dOn5Y1RuSWoL4QdM
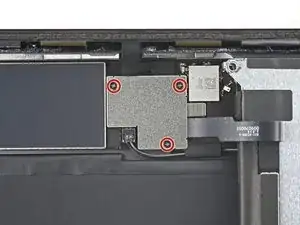
    • Use a Phillips screwdriver to remove the three 1.4 mm-long screws securing the display cable bracket.

  34. UlCmQJMnpKYMKikJ
    UlCmQJMnpKYMKikJ
    yMOZdTssB1MWKVTL
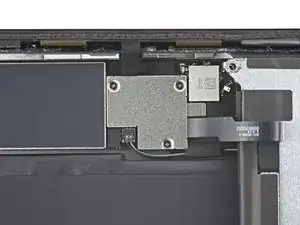
    • Remove the display cable bracket.

  35. QhlmQgZQE31VFCl5
    QhlmQgZQE31VFCl5
    jxTEr2F6FuWjOtEw
    • Use the flat end of a spudger to disconnect the LCD cable by lifting straight up on the press connector.

    • To re-attach press connectors like this one, carefully align and press down on one side until it clicks into place, then repeat on the other side. Do not press down on the middle. If the connector is misaligned, the pins can bend, causing permanent damage.

  36. VLaIW1hJHEqGLUak
    VLaIW1hJHEqGLUak
    CJyrorPwAjB3kvkI
    • Remove the LCD completely and rest it face down on a clean, soft, lint-free surface.

  37. dBgHCbiwHw1WMWQf
    dBgHCbiwHw1WMWQf
    ntxnwIlQBB2Yco2O
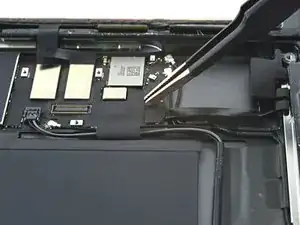
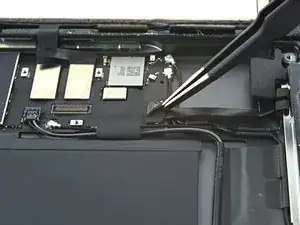
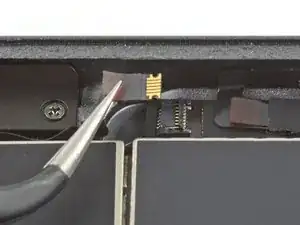
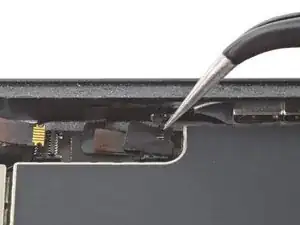
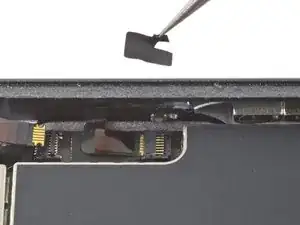
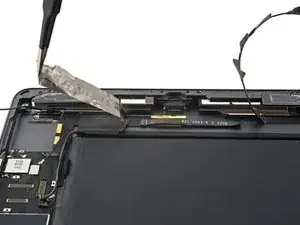
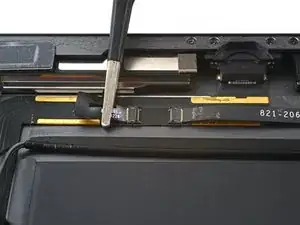
    • Use a pair of tweezers to peel off the tape covering the home button cable ZIF connector.

  38. w4eXX2BdWPHkxcYR
    w4eXX2BdWPHkxcYR
    vJ4GAR4ONBjjWxHG
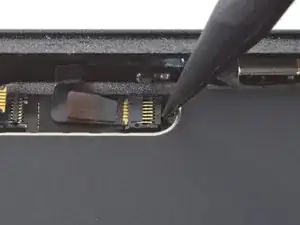
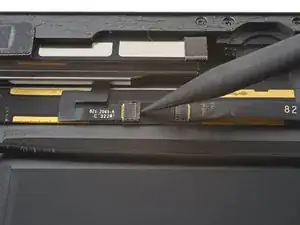
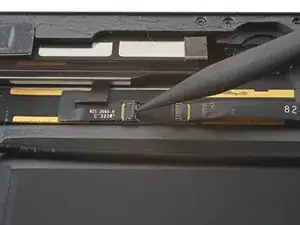
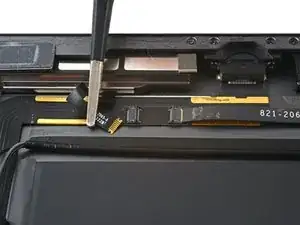
    • Use a spudger, an opening tool, or your fingernail to flip up the small, hinged locking flap on the home button cable ZIF connector.

  39. CDBsVjWQNOmeZ3pH
    CDBsVjWQNOmeZ3pH
    DaP1reiBQRWBZboX
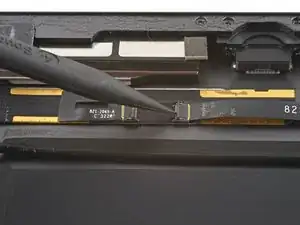
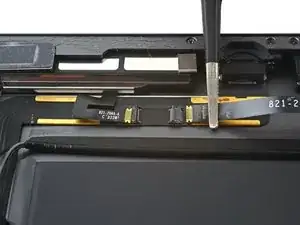
    • Use a pair of tweezers to pull the home button ribbon cable straight out of the ZIF connector.

  40. fRqjvfUDFpGwJEuM
    fRqjvfUDFpGwJEuM
    2cZUUmYT6MTjcxtl
    qqbJARxZIHM5nCan
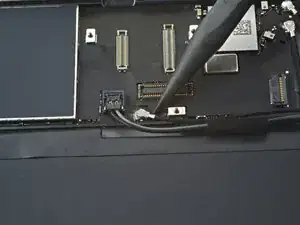
    • Use the flat end of a spudger to pry up and disconnect the two digitizer cable press connectors.

    • To avoid damaging your iPad, pry only on the connectors themselves, not on the socket on the logic board.

  41. 2Z65nIi4uMCvttCN
    2Z65nIi4uMCvttCN
    OThHsnG4ttXrfCQE
    HaUpGcXp2GltHHjW
    • Use the flat end of a spudger to pry up the vibration isolator near the bottom-right corner of the device.

    • Take care not to puncture or tear the home button ribbon cable.

    • Remove the vibration isolator.

  42. ogIaD6vOywWV4qFm
    ogIaD6vOywWV4qFm
    CF4xLynj23qvWZQO
    • The home button cable is secured with some light adhesive.

    • Use a pair of tweezers to peel the home button cable away from the frame.

  43. 6nVv2pTvXfQeJt5k
    6nVv2pTvXfQeJt5k
    edNM131pTfdaygtM
    NTLOVWWsXPM33GkA
    • Remove the front panel assembly.

    • Use an opening pick to cut away any residual adhesive that may still be connecting the front panel assembly to the frame.

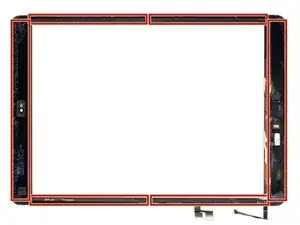
    • If you experience "ghost" or "phantom" touch input issues with your new display, this can be resolved by adding a layer of very thin insulating tape, such as Kapton (polyimide) tape, to the highlighted areas on the back of the panel. iFixit replacement digitizers come with the proper insulation and should not require the addition of any tape.

    • Without the proper insulation, these areas of the digitizer can ground out against other components, causing touch input malfunction.

    • The insulation is not visible to the naked eye, and is different from the foam dust barrier strips found on many iPads.

    • During reassembly, before installing a display, remove any remaining adhesive from the iPad, and clean the glued areas with high concentration isopropyl alcohol (90% or greater) and a lint-free cloth. This helps prep the iPad for fresh adhesive and ensures that it will bond properly.

    • Test your iPad's functions and install pre-cut adhesive strips to the back of the display using our display adhesive application guide before sealing it up.

  44. FwTuevcTaFyvHvb3
    FwTuevcTaFyvHvb3
    owRvUkXZcNvVIvX1
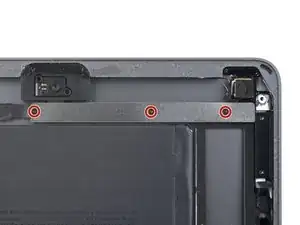
    • Use a Phillips screwdriver to remove the three 1.4 mm-long screws securing the upper component bracket.

  45. lbTfaUbRbVQlR4JI
    lbTfaUbRbVQlR4JI
    WXwdZkFd6sFMOZeK
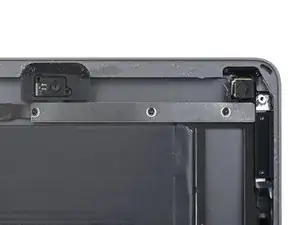
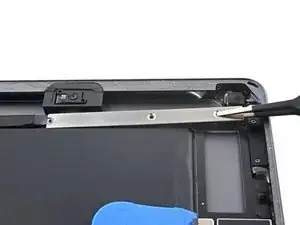
    • Use tweezers, or your fingers, to remove the upper component bracket from the frame.

  46. 1Ciw3OjuMh1kwWCQ
    1Ciw3OjuMh1kwWCQ
    CGPSdQrXAhOaQeJA
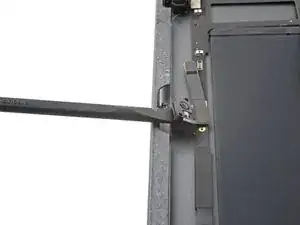
    • Use the flat end of a spudger to pry up and disconnect the front camera cable's press connector.

  47. KHXNH5VOGXdQA1Hr
    KHXNH5VOGXdQA1Hr
    cK3JjqFTg2tGCgNh
    • The front camera shell is lightly adhered to the frame.

    • Insert an opening pick between the front camera shell and the frame.

  48. sN12CDTZtMclPcCB
    sN12CDTZtMclPcCB
    WEcZttf3OQ6X3YC2
    daNa4E5EWxRqesqY
    • Slide the pick along the perimeter of the camera shell to separate the adhesive.

  49. kh6OwZRnBuCxThNE
    kh6OwZRnBuCxThNE
    WGLGAwMTKZSb1Gpj
    VKRaGYRmp621PZcf
    • Pry up with the opening pick to separate the front camera shell from the frame.

    • Remove the front camera shell.

  50. R2ooWxh6GqORBawB
    R2ooWxh6GqORBawB
    GsWWiWAXQNysMnfB
    eXCAxL2JNbYVZXYx
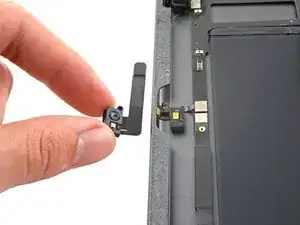
    • The front camera is mounted on microphone assembly with adhesive.

    • Insert a spudger between the front camera and the microphone assembly

    • Pry up to separate the front camera's adhesive.

    • Remove the front camera.

  51. neHvyxxnGAoTBiJ3
    neHvyxxnGAoTBiJ3
    JvEjNKScQl5F2UYA
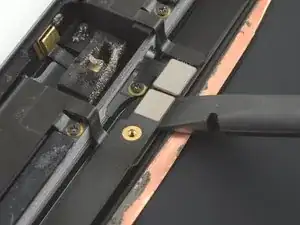
    • Use the flat end of a spudger to disconnect the headphone jack by lifting straight up on the press connector.

  52. 2YjNvaciWfbkfGr3
    2YjNvaciWfbkfGr3
    wc5HL2VaSHWwXdIu
    UuuNXVIlB6SANWRa
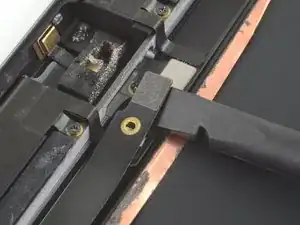
    • Use your fingers to peel the headphone jack up from the frame and fold the cable out of the way.

  53. cK3pCwYev6FcIidU
    cK3pCwYev6FcIidU
    DCmOlPD5n1RsXLHl
    • Use the flat end of a spudger to disconnect the rear camera by lifting straight up on the press connector.

  54. qstmSJusJHA6nAHS
    qstmSJusJHA6nAHS
    ESrpIU6PYfQUEXJM
    • Use the flat end of a spudger to disconnect the microphone assembly by lifting straight up on the press connector.

  55. NRUw5eKMJUsgZ2FC
    NRUw5eKMJUsgZ2FC
    CMOTS1U1KqFmDwhH
  56. xAIBQLmgRgNWinJS
    xAIBQLmgRgNWinJS
    HbhEkeNamgdoplQS
    • Use the tip of a spudger, an opening tool, or your fingernail to flip up the small, hinged locking flap on the button control cable ZIF connector.

  57. EjmTLJCGgsjQyWrb
    EjmTLJCGgsjQyWrb
    UAJ5FbVL4NLH4VK4
    • Use a pair of tweezers to carefully pull the button control cable straight out of the ZIF connector.

  58. KEBFrwXLf142kagu
    KEBFrwXLf142kagu
    FnVgNasZPedOrbGK
    • Peel off any tape covering the Smart Cover sensor cable ZIF connector.

  59. KGEInNudAMnJwjYI
    KGEInNudAMnJwjYI
    3iIehOEAXWOvHSOG
    • Use the tip of a spudger, an opening tool, or your fingernail to flip up the small, hinged locking flap on the Smart Cover sensor cable ZIF connector.

  60. o1Hc5vOIMGlopwek
    o1Hc5vOIMGlopwek
    Wgiu2uROEmPe5TFU
    • Use a pair of tweezers to carefully pull the Smart Cover sensor cable straight out of the ZIF connector.

  61. gSwYNdm3bFmhk4lV
    gSwYNdm3bFmhk4lV
    GRM4ADg2LAHDpQjs
    4SdMlNNPCLBNvLwj
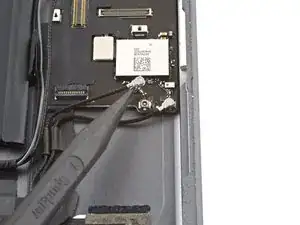
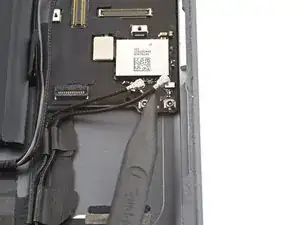
    • Use the tip of a spudger to pry up and disconnect the left antenna's coaxial cable.

    • Repeat for the right antenna's coaxial cable.

    • During reassembly, these can be tricky to reconnect. Hold each connector in place over its socket and press down with the flat end of a spudger. The connector should snap into place.

  62. GnCZlXJVKYv4vAeC
    GnCZlXJVKYv4vAeC
    uOgLB4yMthZI6MgZ
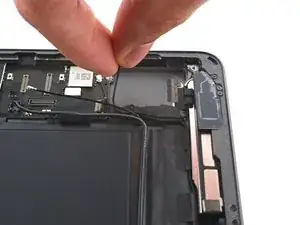
    • Peel up the right antenna cable.

    • Grip the antenna cable by the cable itself and not at its connector. Pulling coaxial cables by their connectors can break them.

  63. p2v3MFn4wMM6meJI
    p2v3MFn4wMM6meJI
    HGIKRYOTlyXobYEE
    wsDAOmxXehZQKMFP
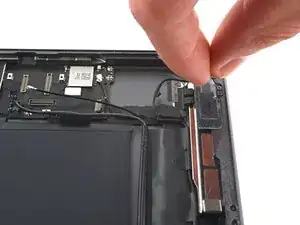
    • Peel the left antenna cable away from the frame, along the bottom edge of the iPad.

  64. OaaukrpENlEua2BC
    OaaukrpENlEua2BC
    HafKbFDQlPYxJuur
    vG5Ju2JBPSGWmCIT
    • Use the flat end of a spudger to pry up the vibration isolator at the bottom left corner of the iPad.

    • Use a pair of tweezers to remove the vibration isolator.

  65. JxdU6TUbHYEPjRt6
    JxdU6TUbHYEPjRt6
    dUgFgARLGMj12Bs3
    r34BjHf6uQYuUKUL
    • Use a pair of tweezers, or your fingers, to peel up the tape covering the speaker connectors.

  66. 4fDyHMXSVfkE2RWK
    4fDyHMXSVfkE2RWK
    AhZ2OhXAxcYKVhwU
    PYT5KfuRecimYpJN
    • Use the tip of a spudger, an opening tool, or your fingernail to flip up the small, hinged locking flap on both the left and right speaker cable ZIF connectors.

  67. IDmaGkIic5ZGGFEy
    IDmaGkIic5ZGGFEy
    gWvJ3MXfIXoZUXXV
    didiWXWvHOCtxYNE
    • Use a pair of tweezers to carefully pull the left and right speaker cables straight out of their respective ZIF connectors.

  68. QQYJBX2INAVbDgmI
    QQYJBX2INAVbDgmI
    XddxrfFDqF2nKJJp
    • Use the pointed end of a spudger to disconnect the Smart Connector coaxial cable by prying up as close to the connector as possible.

  69. CnSJjSKJRNEF5v4I
    CnSJjSKJRNEF5v4I
    tGIwsjClVUwkVh4W
    • Use a spudger to pry up and disconnect the Smart Connector cable's connector.

  70. fYOpys6GGLhGdZXp
    fYOpys6GGLhGdZXp
    PwXwkFvPwLf1xbdF
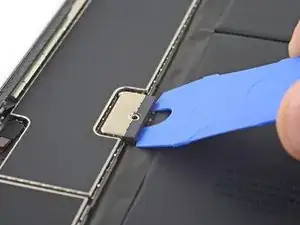
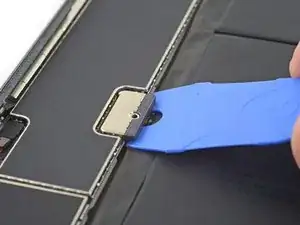
    • Use a pair of tweezers to peel back the tape securing the Smart Connector cables to the frame.

  71. BIolYAIcJSieMk3v
    BIolYAIcJSieMk3v
    2JEJLP4JoVNCKlrT
    DoWPudCXODyCbqZa
    • Peel the Smart Connector cables away from the frame.

  72. sfawXGV66i4aFwTB
    sfawXGV66i4aFwTB
    dEFsfEuASnb1PdWA
    • Use a Phillips screwdriver to remove the four screws securing the charging port to the frame:

    • Two 2.2 mm-long screws

    • Two 3.2 mm-long screws

  73. oqg4migKLfYmFApm
    oqg4migKLfYmFApm
    1gqtG1Ym52p1TrKM
    aSJvJq5wauYVoMbO
    • Heat an iOpener and apply it to the bottom, top, and logic board side of the iPad for thirty seconds in each location.

  74. IZRoHGmyvLtbcAA6
    IZRoHGmyvLtbcAA6
    1ECnYGXPnQkuDk6a
    • Insert an opening pick under the charging port cable near the logic board and slide it toward the charging port to slice the adhesive.

  75. XQviOTbTjYxypJCO
    XQviOTbTjYxypJCO
    DkdNcCMnT3plbRWS
    EQjTZUCaZMriqooq
    • Insert an opening pick under the charging port cable near the charging port and slide it towards the logic board to cut the adhesive.

  76. bpTn1dYHNxA4bRhF
    bpTn1dYHNxA4bRhF
    QnpenrIfAa161jgB
    • Pull the charging port out of its slot in the frame.

  77. uVCF6HZfEOOkqGH3
    uVCF6HZfEOOkqGH3
    XMWiUu4cq1Q1Olaq
    1agsJTCvnwDH5VcN
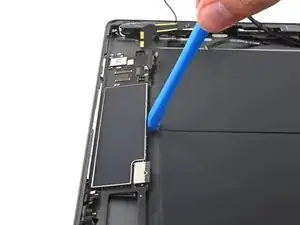
    • Insert an opening pick under the upper arm of the logic board and slide it toward the logic board to cut the adhesive securing it to the frame.

    • Leave the opening pick inserted to keep the adhesive from re-adhering.

  78. DCxTqPqYHkQJqs1R
    DCxTqPqYHkQJqs1R
    v6HFPPIatJyOFcBH
    • Remove the battery blocker.

  79. 4S2OkjQGINPIf4NK
    4S2OkjQGINPIf4NK
    HECBgeBGkBc6UUHt
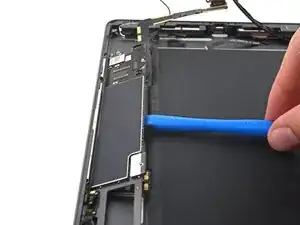
    • Insert an opening tool near the middle of the logic board and pry up with a slow and steady force to peel it away from the frame.

    • Bending or warping the logic board could lead to permanent damage. If the adhesive feels extra stubborn, apply more heat and try again.

    • If the logic board won't budge, slide an opening pick underneath the bottom edge of the logic board to slice some of the adhesive.

  80. nws1wqSbQ1fadbM4
    nws1wqSbQ1fadbM4
    GxO6kS35UA4PpYPa
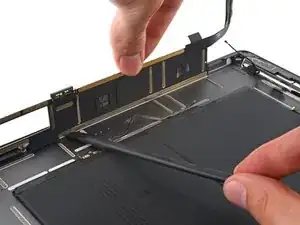
    • Use a halberd spudger or an opening pick to slice any remaining adhesive securing the logic board to the frame.

  81. BkNeLH21oitXLMqt
    BkNeLH21oitXLMqt
    XsdwPY2hGkcN6qvo
    • Remove the logic board.

    • During reassembly, ensure that there are no ribbon cables stuck under the logic board before gluing it down.

    • During reassembly, apply strips of Tesa tape if the original adhesive is too mangled to be reused.

  82. tvOGCMEsO2yTMxUR
    tvOGCMEsO2yTMxUR
    JWxousBION5C5Xiv
    SGxThe3abwXawM1G
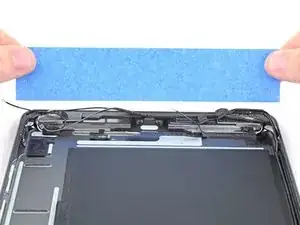
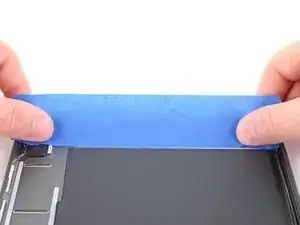
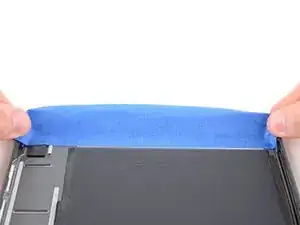
    • Before removing the battery, it's important to protect the other components in the rear case by covering them with tape.

    • Cut a strip of painter's tape or scotch tape to the width of the iPad.

    • Press the bottom edge of the tape strip onto the rear case above the speakers and bottom antennas.

    • Run your finger along the bottom edge of tape strip to ensure a good seal.

    • Press the top edge of the tape strip over the bottom components to keep any cables from intruding on the battery removal.

  83. ZE6G1gv3Alt6PNB3
    ZE6G1gv3Alt6PNB3
    fKsOSSMlujOdhTOf
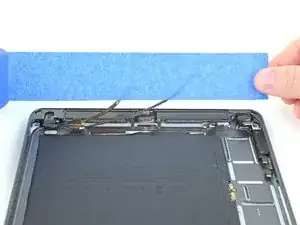
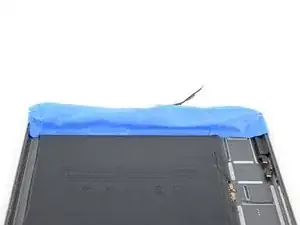
    • Cover the upper components with a strip of tape.

  84. p3kUPGufZOejLTAD
    p3kUPGufZOejLTAD
    ysEcgZFFoawjMfFp
    • iFixit adhesive remover contains acetone, a mild skin and eye irritant.

    • Wear eye protection when handling and applying the adhesive remover.

    • Do not wear contact lenses without eye protection.

    • Protective gloves are included in your kit. If you are concerned about possible skin irritation, put your gloves on now.

  85. s4KOTvGhcswC6SMA
    s4KOTvGhcswC6SMA
    3BOtb6afmcaEdpcH
    E44FACGJOgsN5CNa
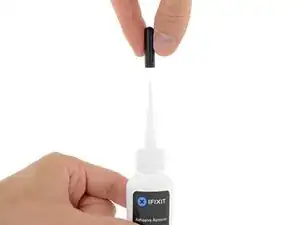
    • Pull off the black rubber stopper from your bottle of adhesive remover.

    • Twist to loosen or remove the bottle cap before you cut the applicator tip.

    • This unseals the bottle and allows the pressure to equalize before you cut the applicator tip. If you skip this step, the adhesive remover may spray out unexpectedly when the tip is cut.

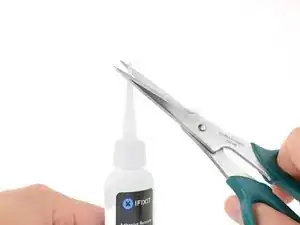
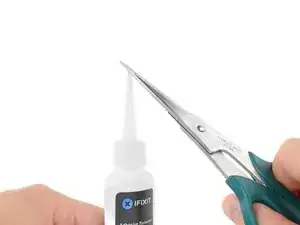
    • Use scissors to cut off the sealed tip of the applicator.

    • Cutting close to the narrow tip will give you better control so you can apply the adhesive remover in small amounts.

    • Twist and close the bottle cap securely before you proceed further.

  86. Ie2rRpC2EhCTgO1h
    Ie2rRpC2EhCTgO1h
    KFGUWE4Fq2QEJIxg
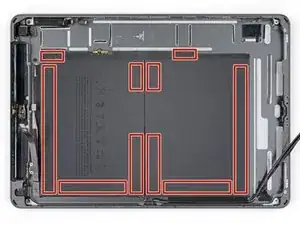
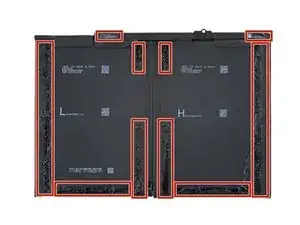
    • The red boxes show the locations of the adhesive strips that secure the battery to the rear case.

    If folks have a 3D printer with a heated bed (which is pretty common), putting the iPad on a 60 degree C bed for a few minutes really helps loosen up the glue with the alcohol. Worked for me this time around.

    Ed Leonhardt -
  87. XOmbaQRX6HUqdvps
    XOmbaQRX6HUqdvps
    lBV5dqJwJMhxgpYX
    ARrUSayxGCu2JPi5
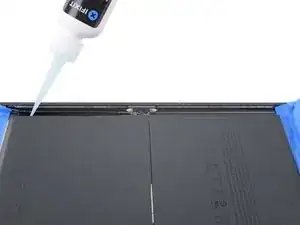
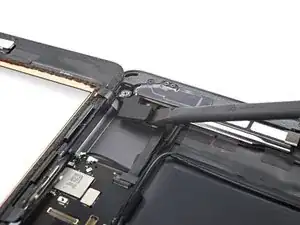
    • Apply a few drops of adhesive remover or high-concentration isopropyl alcohol along the left edge of the battery.

  88. SSKn3aVwOXHadGpJ
    SSKn3aVwOXHadGpJ
    e6Lv1yYuNMEWggUO
    • Apply a few drops of adhesive remover or high-concentration isopropyl alcohol along the bottom edge of the battery.

  89. BOjMtSIKPaOyMlXd
    BOjMtSIKPaOyMlXd
    YTFUAowom1CJUqlu
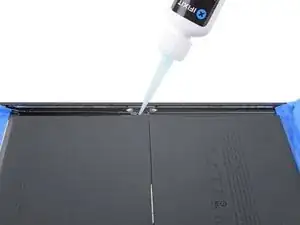
    • Apply a few drops of adhesive remover or high-concentration isopropyl alcohol between the two battery cells.

  90. dlsuNB4q5FKdfGCB
    dlsuNB4q5FKdfGCB
    LgIFxY1B4ZjWTHAf
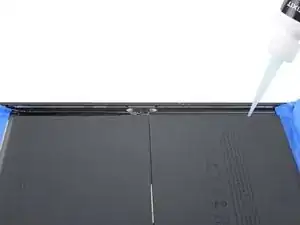
    • Apply a few drops of adhesive remover or high-concentration isopropyl alcohol along the right edge of the battery.

  91. CfC2sOC4KQHYbXdr
    CfC2sOC4KQHYbXdr
    iNIYadJ3SPTXltwq
    • Apply a few drops of adhesive remover or high-concentration isopropyl alcohol along the upper edge of the battery.

  92. CQ6H1knjpWrGQTJT
    CQ6H1knjpWrGQTJT
    TjIxZXIUCVRd31ME
    • Insert a plastic card at the bottom right corner of the battery.

    • Take care not to puncture or bend the battery with your tool—a punctured or bent battery may leak dangerous chemicals or cause a thermal event.

    • If at any point in this process the adhesive becomes very difficult to cut through, apply an iOpener to that area.

  93. P4oCmHwDVIQQMBWV
    P4oCmHwDVIQQMBWV
    nMGTl6g61josNmyR
    gpjFFF2rwUkKAEbc
    • Slide the plastic card underneath the right edge to reach the center.

    • Insert the plastic card as far as you can under the battery to cut the adhesive.

    • Remove the plastic card.

  94. F5DZG5jlPLyBplLO
    F5DZG5jlPLyBplLO
    DDWNqeLFakQcQBLA
    • Insert the plastic card below the battery connector as far as you can.

    • Leave the plastic card inserted.

  95. omEDtUZJ2EdYxSRW
    omEDtUZJ2EdYxSRW
    rwKlW22akeFesCQS
    • Insert another plastic card above the battery connector as far as you can.

  96. Fdgj5bQjSKmtdyy4
    Fdgj5bQjSKmtdyy4
    pqoXVthwnsFaZANd
    • Remove the plastic card below the battery connector and insert it under the bottom edge of the battery.

  97. OeLJwbY5bpFoBeIs
    OeLJwbY5bpFoBeIs
    sGfkRislCvDycRhT
    Y4IZVRXWtFROm5Wq
    • Slide the plastic card along the bottom edge of the battery to cut the adhesive strip.

    • When you reach the left corner of the bottom edge, insert the plastic card as far as you can.

  98. ab2gasUW5XMEBwW6
    ab2gasUW5XMEBwW6
    eEhcrCXhrLFCWrGf
    • Remove the plastic card above the battery connector and insert it under the upper edge of the battery.

    • Slide the plastic card along the top edge of the battery to cut the adhesive strip.

    • If you're having trouble loosening the battery, apply some more adhesive remover, or apply a heated iOpener to the back case.

  99. OuXNnLlgXdNor1qF
    OuXNnLlgXdNor1qF
    NEBcKCQ6uWRENDHX
    • When you reach the left corner of the upper edge, insert the plastic card as far as you can.

  100. NWyqaIsyVVk2c6Lm
    NWyqaIsyVVk2c6Lm
    xCuVSl5eHkYlrIS2
    MExlCnMecFaGCLiV
    • Insert the plastic card under the upper left corner of the battery.

    • Slide the plastic card down towards the bottom of the iPad.

    • When you reach the center edge of the battery, insert the plastic card as far as you can to cut the central adhesive strip.

  101. wOt6XdnZWKY4lwJn
    wOt6XdnZWKY4lwJn
    fZbdnffLW3vF1YAi
    • Insert the plastic card under the bottom left corner of the battery.

    • Slide the plastic card up towards the top of the iPad.

  102. DcGmEwmBPxvE3Tgr
    DcGmEwmBPxvE3Tgr
    DTfDJddPE6UIkAYA
    • When you reach the center edge, insert the plastic card as far as you can to cut the central adhesive strip.

  103. bEdBhRf1BF4X5fgA
    • Remove the battery.

    • If you're still not able to remove the battery, repeat the process of cutting through the battery adhesive.

    • Do not reuse the battery after it has been removed, as doing so is a potential safety hazard. Replace it with a new battery.

    • Remove the old battery adhesive from the rear case using tweezers and high concentration isopropyl alcohol with a lint-free cloth where needed.

    • If your battery doesn't come with preinstalled adhesive, use Tesa tape to reattach the battery to the rear case.

    • Before installing the new battery, test it by first reinserting the logic board, connecting the button control cable ZIF connector, and the LCD press connector. Then remove the battery blocker and reinstall the battery connector screw. Power on the device to ensure it still works. Go backwards through this step and then glue down the battery.

Conclusion

To reassemble your device, follow these instructions in reverse order.

For optimal performance, calibrate your newly installed battery after completing this guide.

Take your e-waste to an R2 or e-Stewards certified recycler.

Repair didn’t go as planned? Try some basic troubleshooting, or ask our iPad 7 Answers community for help.


Alex Diaz-Kokaisl

Member since: 16/01/22

117875 Reputation

One comment

amazing this tutorial is a life safer i hoped the pictures was GIF

سلام -