Introduction
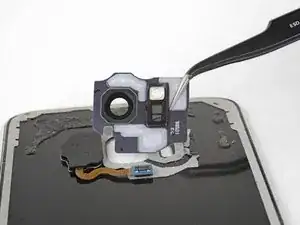
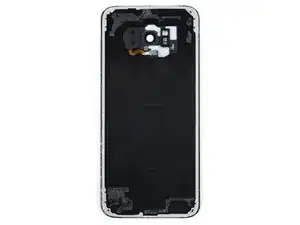
Use this guide to replace the rear camera bezel, including the glass camera lens cover, in your Samsung Galaxy S8 Plus.
If your replacement part does not come with adhesive mounted on it, you will also need to purchase adhesive for the rear camera bezel. You can buy pre-cut adhesive, or thin high-bond tape.
Tools
Parts
-
-
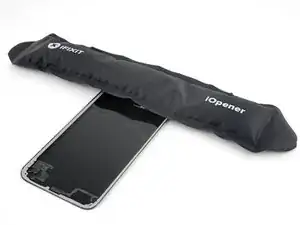
Prepare an iOpener and heat the back of the phone along its left edge for about two minutes. This will help soften the adhesive securing the back cover.
-
-
-
In the following steps, you'll be cutting through the adhesive securing the back cover.
-
As seen from outside the phone, you'll be slicing through the adhesive in the areas shown:
-
Thick portions of adhesive
-
Thin areas of adhesive
-
Avoid prying or slicing in this area, to protect the fingerprint sensor flex cable.
-
-
-
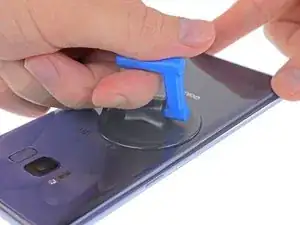
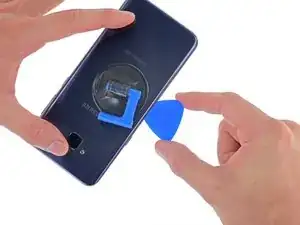
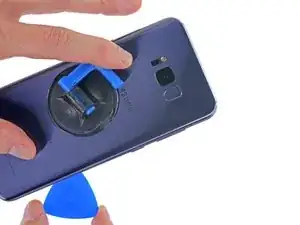
Secure a suction cup to the back cover, as close to the heated edge as possible.
-
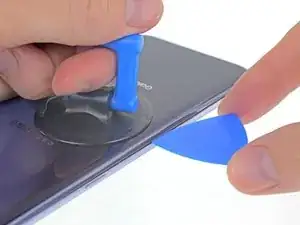
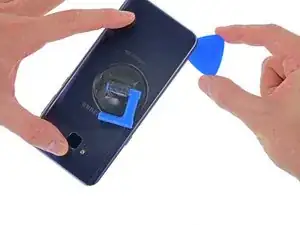
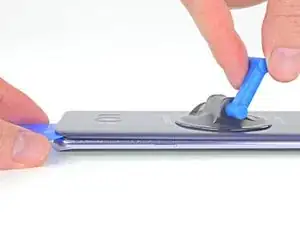
Lift the back cover's left edge with your suction cup, opening a slight gap between the back cover and the frame.
-
-
-
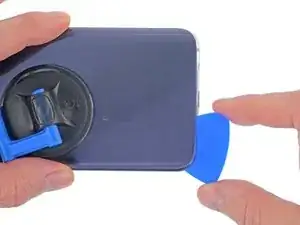
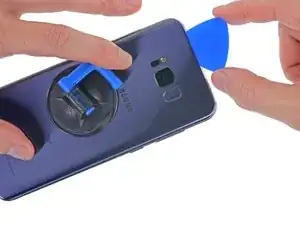
Slide your opening pick along the left edge of the phone to slice through the adhesive securing the back cover.
-
-
-
Continue slicing through the adhesive along the bottom edge of the phone.
-
Again, it may help to leave the opening pick in place and grab another one for the following step.
-
-
-
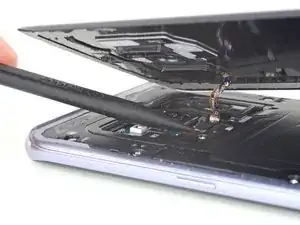
Then, use the flat end of your spudger to gently snap the connector into place by pressing it straight down.
-
-
-
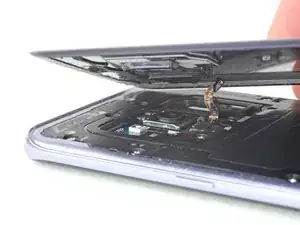
Remove the back cover.
-
Use tweezers to peel away any remaining adhesive from the phone's chassis. Then clean the adhesion areas with high concentration isopropyl alcohol (at least 90%) and a lint-free cloth to prep the surface for the new adhesive.
-
Peel the adhesive backing off of the new rear glass, carefully line up one edge of the glass against the phone chassis, and firmly press the glass onto the phone.
-
-
-
Prepare an iOpener and apply it to the rear camera bezel at the top of the rear glass for at least two minutes.
-
You may need to reheat and reapply the iOpener several times to get the phone warm enough. Follow the iOpener instructions to avoid overheating.
-
-
-
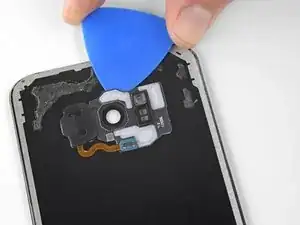
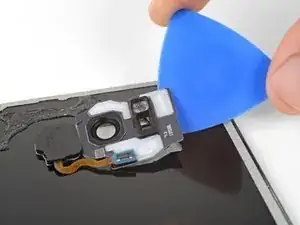
Insert an opening pick under top edge of the rear camera bezel.
-
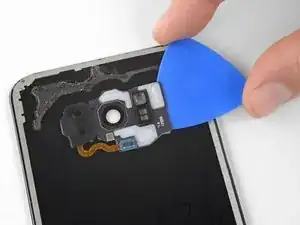
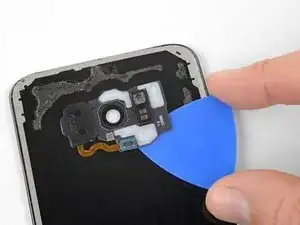
Slide the opening pick around the edges of the camera bezel to separate the adhesive securing it to the rear glass.
-
Do not pry on the side that sits against the fingerprint sensor.
-
-
-
Use an opening pick to pry the camera bezel away from the rear glass.
-
Take care to avoid catching the camera bezel on the fingerprint cable as you remove it.
-
If you encounter resistance, use an opening pick to cut any remaining adhesive.
-
Remove the camera bezel.
-
-
-
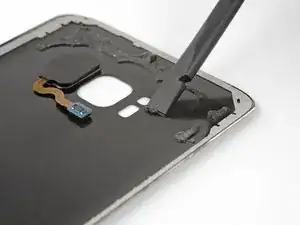
Use tweezers to peel away the adhesive left by the rear camera bezel.
-
Use a spudger to scrape away any remaining adhesive where the camera bezel adheres to the rear glass.
-
Clean the adhesion area with high concentration isopropyl alcohol (at least 90%) and a lint-free cloth. Swipe in one direction only, not back and forth. This will help prep the surface for the new adhesive.
-
-
-
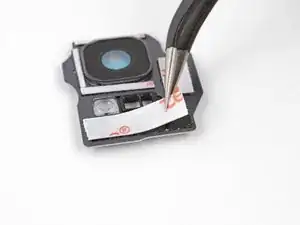
Cut pieces of tape to the appropriate size so they fit along the edges of the camera bezel. When in doubt, use a narrower size tape than you think you might need.
-
Use tweezers to apply the tape to the metal surface of the bezel, on the side where the camera lens cover protrudes.
-
Try to cover most of the metal surface of the bezel with tape. Avoid overlapping tape onto any plastic or glass areas.
-
-
-
Carefully line up the rear camera bezel with the cutouts on the rear glass. With the bezel's adhesive side facing the glass, set the bezel down on the glass so that the camera lens cover sits in its cutout in the glass.
-
Make sure the camera lens cover is completely seated in the rear glass' camera cutout so that the bezel lays flat against the glass.
-
Use your fingers to apply even pressure to the bezel for 30 seconds to make sure the adhesive bonds properly.
-
Right before you install the rear glass and seal the phone, peel off the blue backing covering the camera glass.
-
To reassemble your device, follow the above steps in reverse order.
After you've completed the repair, follow this guide to test your repair.
Take your e-waste to an R2 or e-Stewards certified recycler.
Repair didn’t go as planned? Check out our Answers community for troubleshooting help.
