Introduction

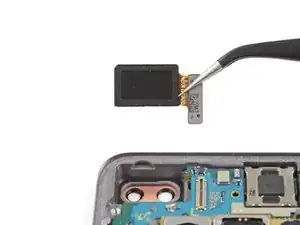
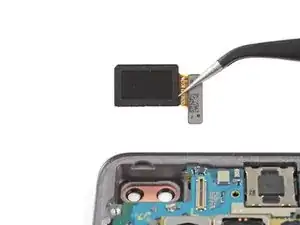
Follow this guide to replace the front-facing camera module for the Galaxy S10+. The module includes both front-facing cameras.

The hardest part of this guide is removing the glass back from the phone.

  1. VNJWOk5uXsFsKQ4r
    VNJWOk5uXsFsKQ4r
    Eh4FYYLoEXlTnWZJ
    IYUva6oJxZJVSgXc
    • Unplug and power off your phone before you begin.

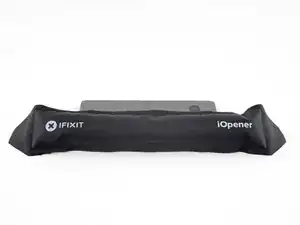
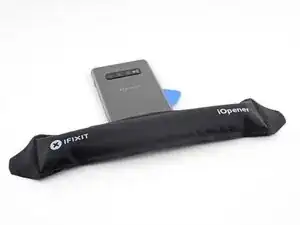
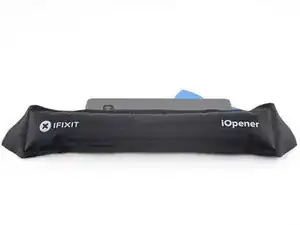
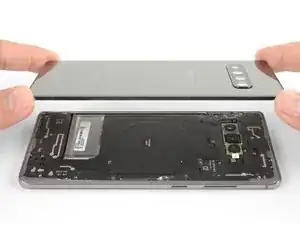
    • Heat an iOpener and apply it to the back cover's right edge for two minutes.

    • A hair dryer, heat gun, or hot plate may also be used, but be careful not to overheat the phone—the display and internal battery are both susceptible to heat damage.

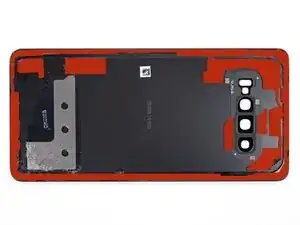
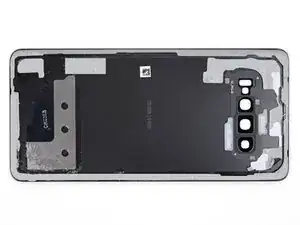
    • As you wait, take a look at the image of the removed back cover and take note of where the adhesive is located.

  2. Qfu3LmrkWkCATpCU
    Qfu3LmrkWkCATpCU
    MgLKHx2ww2ApNlPq
    5bjWvEiyhNRGk6iP
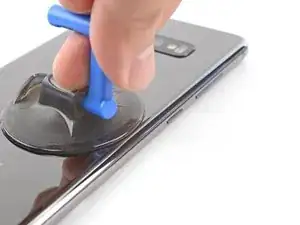
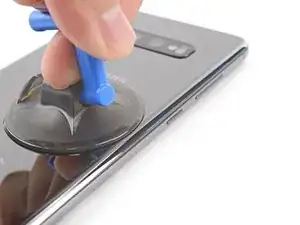
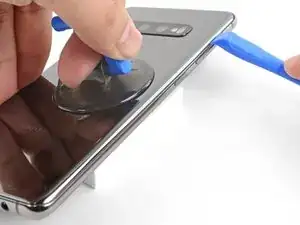
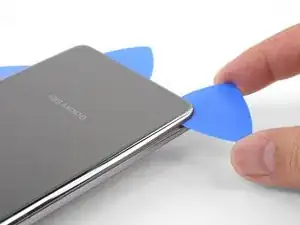
    • Apply a suction cup to the back of the phone, as close to the center of the right edge as possible (where the adhesive is narrowest).

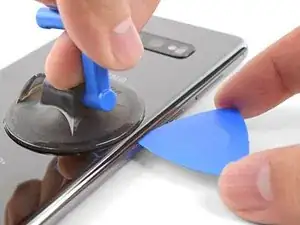
    • Pull on the suction cup with strong, steady force to create a gap between the back cover and the frame.

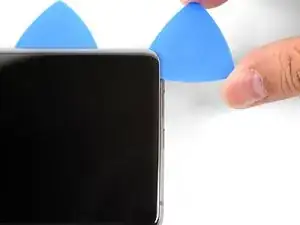
    • Insert the point of an opening pick into the gap.

    • Due to tight tolerances, this may take multiple attempts.

    • If you are having trouble creating a gap, your best bet is to apply more heat to the edge and try the previous step again.

    • You can try applying a few drops of high concentration (over 90%) isopropyl alcohol into the seam to help loosen the adhesive.

    • Do not apply excessive force with the pick, or you will risk cracking the back cover glass.

    I can’t get the back cover to seperate, I’ve been trying for several hours now, it just stays with the rest of the phone. I’m fairly certain my phone is hot enough as I touched the back and I can’t place my hand there for more than a few seconds at a time. It’s just not coming off and I’m so frustrated! Any help?

    fiona Xie -

    Hi Fiona,

    The back adhesive can be very difficult! Have you tried the suggestions in step 3? It may take a few heat cycles to weaken the adhesive. You can use a hairdryer to heat it pretty hot along the edge.

    Arthur Shi -

    My back cover glass is shattered but not coming apart! What do I do?

    Otto Plutoonium -

    I was able to use my fingernails first (with the assistance of the suction cup) to get in the gap, and then, with my fingernails still in the gap there was enough room to put in the pick. I couldn't get the pick in there by itself even after 10 minutes of warming and suction cup prying... but my fingernails could get in, and then I used them to hold the space open and pull a little more so the pick could be inserted.

    Alan Miller -

  3. RgT1qlOnx2TouXUg
    RgT1qlOnx2TouXUg
    PAUGMI6QiCLoVDTF
    NYVAKADcHXBGobws
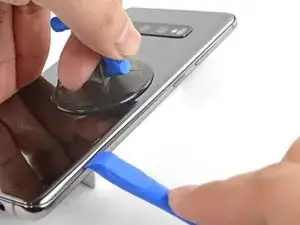
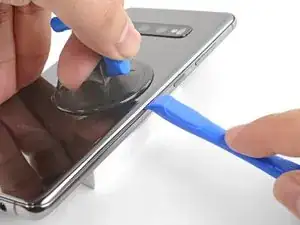
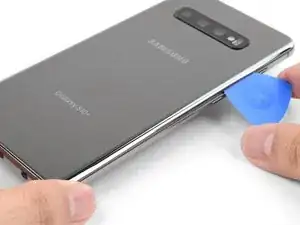
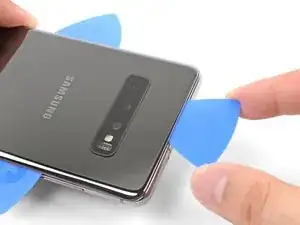
    • Rest the heated right edge of the phone on something that is about 0.5 inches (13 mm) thick. This angles the phone for the opening tool.

    • Brace the left edge of the phone with your fingers so that the phone won't slide. Pull on the suction cup with firm pressure.

    • Press the edge of an opening tool into the seam between the back cover and the frame.

    • Slide the opening tool back and forth along the seam a few times.

  4. xCBSghGY4CSckGdE
    xCBSghGY4CSckGdE
    qwD1B5HKVSckdbTE
    iYOuZuRvE6ICSBBy
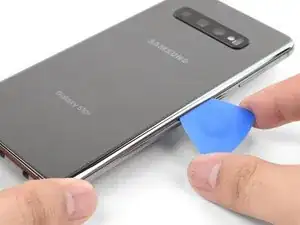
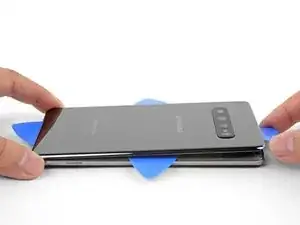
    • Slide the opening pick along the edge of the phone, slicing through the adhesive.

    • Do not attempt to slice the adhesive holding the corners down before applying heat. If you do, you may crack the back cover.

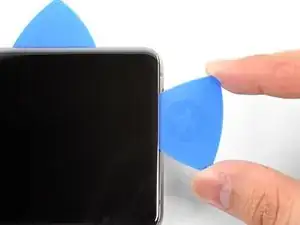
    • Leave a pick in the seam to prevent the adhesive from re-sealing.

  5. JxVkdPKwLoItHKbF
    • Apply a heated iOpener to the bottom edge of the phone for two minutes.

  6. VORcDx1rpGPbuVuI
    VORcDx1rpGPbuVuI
    uPqEVKnBUVdqFYxZ
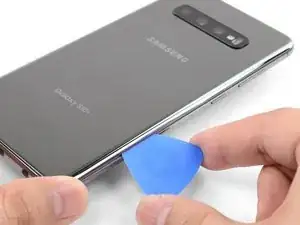
    • Insert an opening pick into the right edge near the bottom right corner.

    • Carefully slide the pick around the corner. Continue cutting along the bottom edge and around the bottom left corner.

    • If the cutting feels difficult, re-apply heat to the edge before continuing.

    • Leave an opening pick in the seam to prevent the adhesive from re-sealing.

  7. o3kSUBvmJbya3T1K
    o3kSUBvmJbya3T1K
    oa1Bi6qICOxAccYB
    jDglUsgfHSkbXHVu
    • Continue heating and slicing around the remaining edges of the phone.

    • When cutting around corners, be sure that the corner is thoroughly heated.

  8. LhrFfWLYlXAudNsv
    LhrFfWLYlXAudNsv
    GprId5rHaoj5VRSn
    O36i5VnLAZlJ46mm
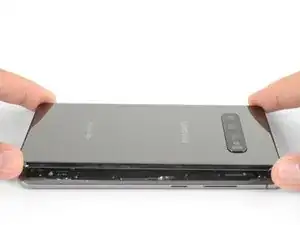
    • Once you have sliced around the phone, twist an opening pick in one of the edges to help separate the back cover from the frame.

    • Lift the back cover slowly. Use opening picks to slice any remaining adhesive.

    • Remove the back cover.

    • During reassembly, this is a good point to power on your phone and test all functions before you seal the back cover in place. Be sure to power your phone back down completely before you continue working.

    • Follow this guide to reinstall the back cover, transfer and install the camera bezel, and replace the adhesive.

  9. qCcSJyviYRDGPiIu
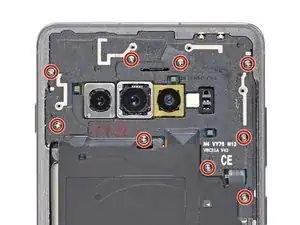
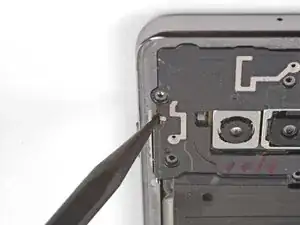
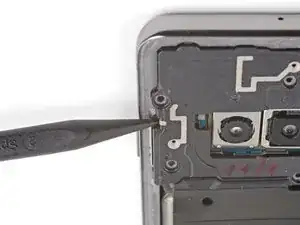
    • Remove the nine 4 mm Phillips screws securing the top midframe to the phone.

  10. AisYk1QSSSFnCucJ
    AisYk1QSSSFnCucJ
    fuQGavMuhv4HtXjW
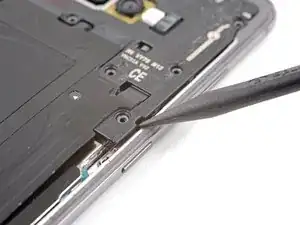
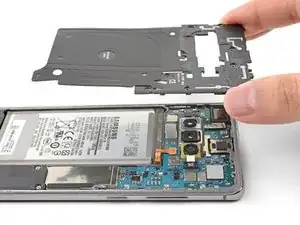
    • The midframe is still held in place by a few plastic clips around the edge.

    • Insert the point of a spudger into the notch on the right edge of the midframe, near the Bixby button.

    • Pry up to loosen the midframe from the phone.

  11. wL2v2OWWaIPENNSw
    wL2v2OWWaIPENNSw
    2E6cYHQBhovu3T6N
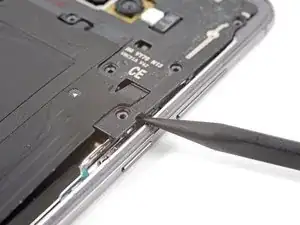
    • Insert the point of a spudger into the notch on the left edge of the phone, located near the power button.

    • Pry up to loosen the midframe from the phone.

  12. sDQoNqHPwIBiBuAt
  13. DjdhNZYNVrsBAZlB
    DjdhNZYNVrsBAZlB
    6N5dlcWWbIjZEhRD
    MJuMHYGCEAaq2HOH
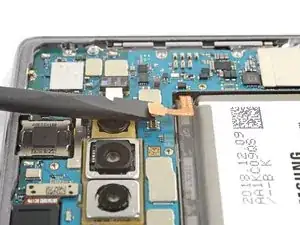
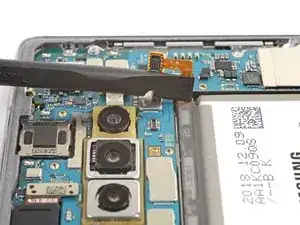
    • Insert the flat end of a spudger underneath the battery connector, which is attached to the motherboard below the rear-facing camera.

    • Pry upwards to disconnect the connector from its socket.

    • When you disconnect connectors like these, be careful not to dislodge the small surface-mounted components surrounding the socket.

    • Gently push the battery's flex cable away from the motherboard socket to prevent accidental contact.

  14. aabBEpssQUrL2RVU
    aabBEpssQUrL2RVU
    t1T3XUlgvKOQNBPK
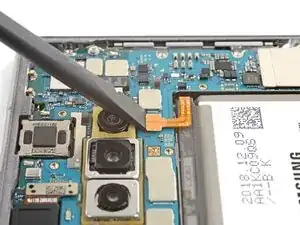
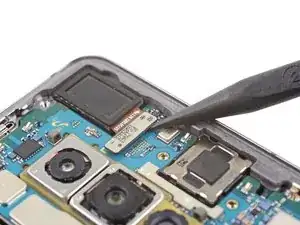
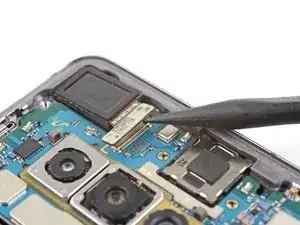
    • Use the point of a spudger to pry up and disconnect the front-facing camera connector from its motherboard socket.

    • To re-attach press connectors like this one, carefully align and press down on one side until it clicks into place, then repeat on the other side. Do not press down on the middle. If the connector is misaligned, the pins can bend, causing permanent damage.

  15. NSxQbSbCSR4MJJHL
    • Remove the front-facing camera module.

Conclusion

To reassemble your device, follow these instructions in reverse order.

After you've completed the repair, follow this guide to test your repair.

Repair didn’t go as planned? Check out our Answers community for troubleshooting help.
Arthur Shi

Member since: 03/01/18

248651 Reputation

0 comments