Introduction
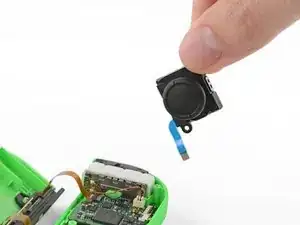
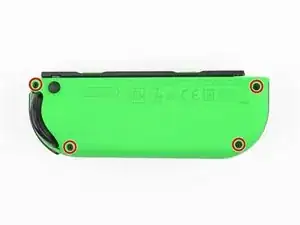
The Nintendo Switch comes with two Joy-Con controllers. This guide will show you how to replace the joystick of the right Joy-Con. The procedure for repairing the left Joy-Con is different, so be sure to follow the correct set of instructions for your controller.
Please note that this repair does not have the same steps as the left Joy-Con. If you are looking to replace the left Joystick, please follow my other guide with the specific details.
Tools
Parts
-
-
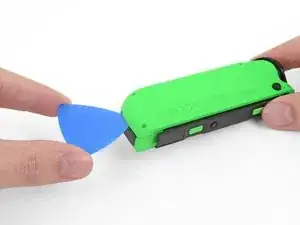
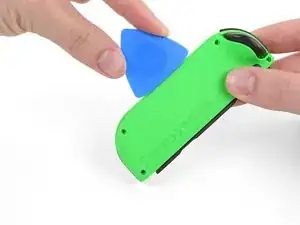
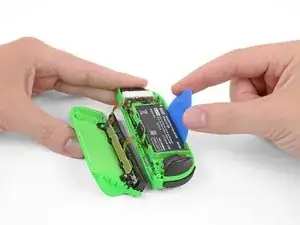
Insert an opening pick under the lower side of the back panel (opposite the R and ZR buttons).
-
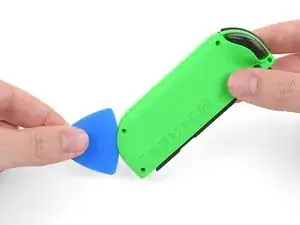
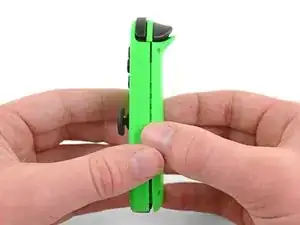
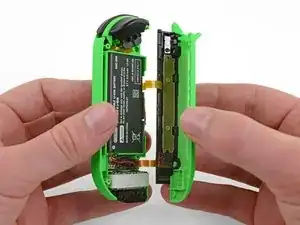
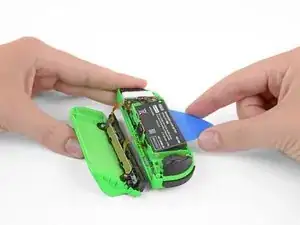
Slide the flat edge of an opening pick up the side of the Joy-Con.
-
-
-
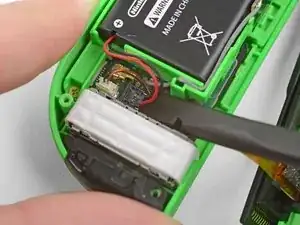
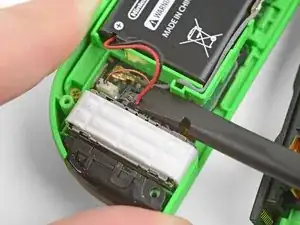
Use a spudger to gently pry the battery connector from its socket on the motherboard. This will keep the Joy-Con from powering on during the repair.
-
-
-
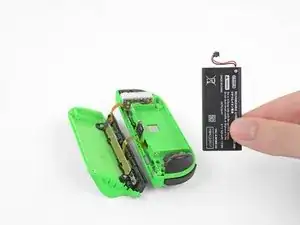
Insert an opening pick between the battery and the Joy-Con housing. Gently pry out the battery, which is lightly taped in place.
-
-
-
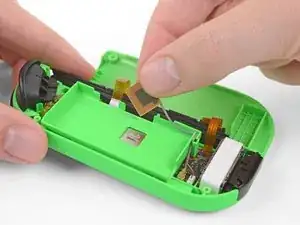
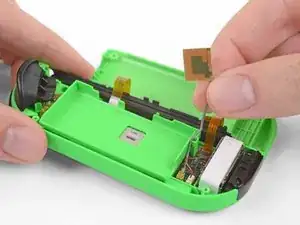
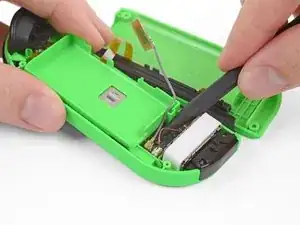
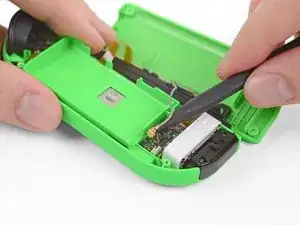
Pry up with the pointy end of a spudger to disconnect the antenna cable's coaxial connector from the motherboard.
-
Remove the grey antenna cable.
-
-
-
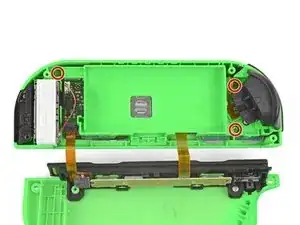
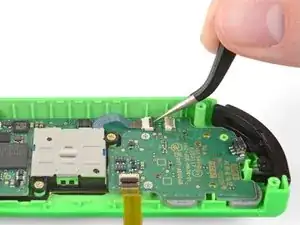
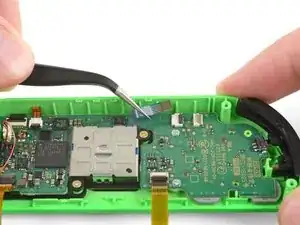
The ZR button cable is locked in place by a small ZIF connector on the motherboard. Use tweezers or a spudger to flip up the ZIF connector lock.
-
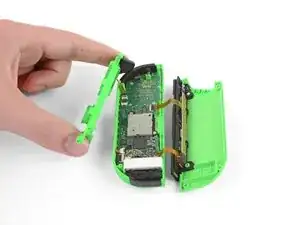
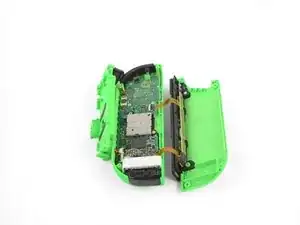
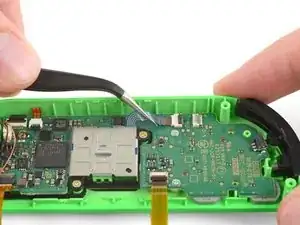
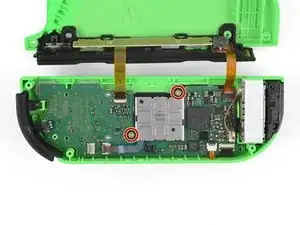
Use tweezers to gently pull the ZR button flex cable out of the ZIF connector socket. The midframe is now disconnected and can be removed.
-
If you choose to leave the cable connected, be careful. Work slowly and do your best to keep the midframe from moving around as you perform the last few steps to avoid damaging the cable.
-
-
-
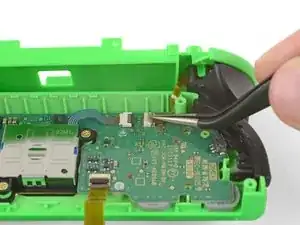
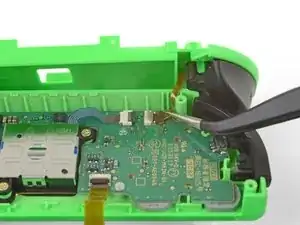
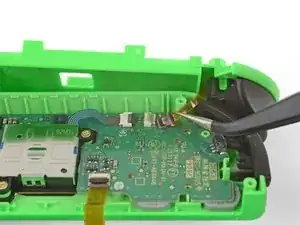
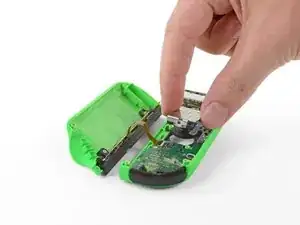
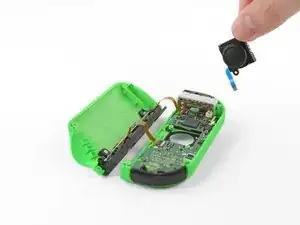
The joystick cable is also locked into place by a ZIF connector. Use tweezers or a spudger to flip the ZIF lock upward and carefully disconnect the cable.
-
To reassemble your device, follow the above steps in reverse order.
Take your e-waste to an R2 or e-Stewards certified recycler.
Repair didn’t go as planned? Check out our Answers community for troubleshooting help.
59 comments
A good guide though for the antenna instead of disconnecting the cable it would be easier to simply slide out the plate and wire from the side of the battery tray
Agree with Tyler - no need to disconnect the antenna.
Thanks for the guide!
David K -
The antenna and battery don’t need to be disconnected, you can easily move them out of the way.
When reassembling, reconnecting the ribbon cable for the RL button is fiddly, easier if you can avoid disconnecting it as well. Just rotate the plastic battery plate a quarter turn counterclockwise to get it out of the way and access the analog stick.
You can test the controller immediately after seating the joystick to make sure the ribbon cable is properly connected.
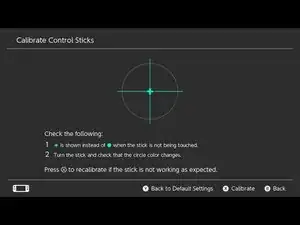

I found it easier to remove the rubber cover over the joystick before changing it, and to remove it on the replacement before installing it. So that would be step 1 for me next time.
kmcrawford111 -
Si tienes cuidado no hay que desconectar nada. Sólo el cable del joystick, evidentemente, todos los demás se pueden dejar conectados, sobre todo el de la batería para que te ayude a probar si todo funciona antes de cerrar y atornillar todo de nuevo.
Te ahorras 15 minutos y muchas posibilidades de romper cosas.
Víctor SLB -