Introduction
The Nintendo Switch comes with two Joy-Con controllers. This guide shows how to replace the joystick of the left Joy-Con. The procedure for repairing the right Joy-Con is different, so be sure to follow the correct set of instructions for your controller.
Tools
Parts
-
-
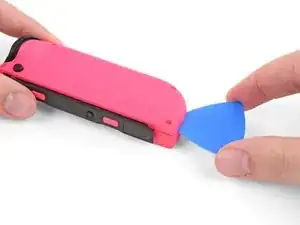
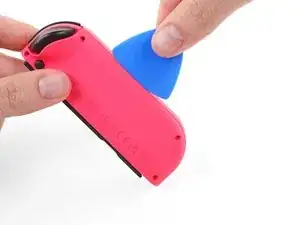
Insert an opening pick into the seam at the bottom edge of the controller (opposite the L and ZL buttons).
-
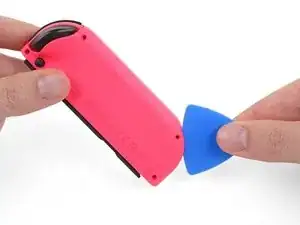
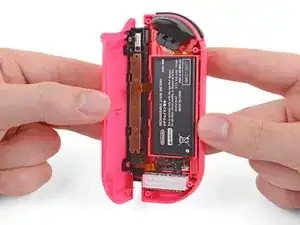
Slowly slide the flat edge of your opening pick up the side of the Joy-Con.
-
-
-
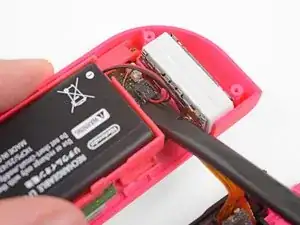
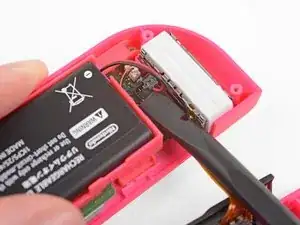
Use a spudger to gently pry the battery connector straight up from its socket on the motherboard. This will keep the Joy-Con from powering on during the repair.
-
-
-
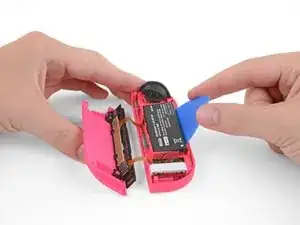
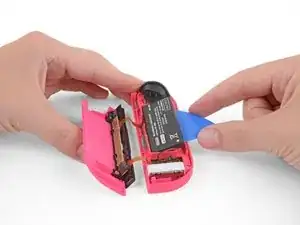
Insert an opening pick between the battery and the Joy-Con housing.
-
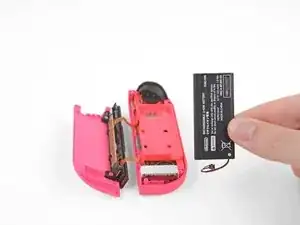
Gently pry out the battery, which is lightly taped in place.
-
-
-
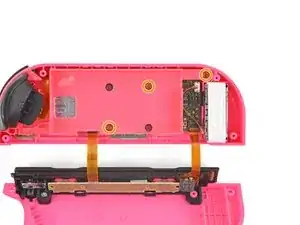
Carefully flip the midframe over, away from the motherboard, as if you were turning the page of a book.
-
-
-
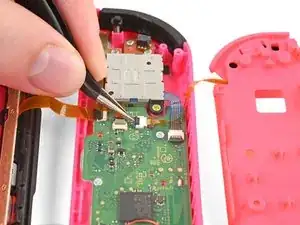
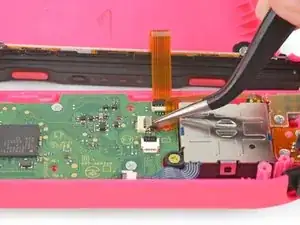
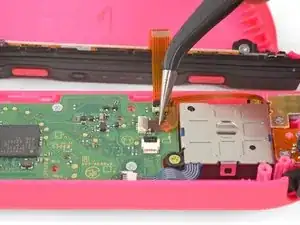
The ZL button cable is locked in place by a small ZIF connector on the motherboard. Use tweezers or a spudger to flip up the ZIF connector lock opposite the cable.
-
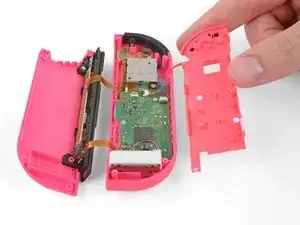
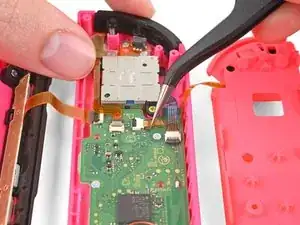
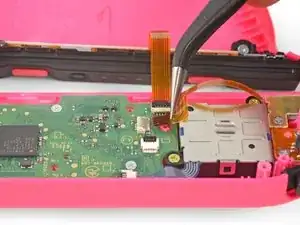
Use tweezers to gently pull the ZL button flex cable out of the ZIF connector socket. The midframe is now disconnected and can be removed.
-
-
-
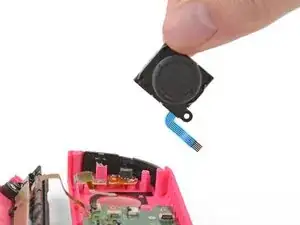
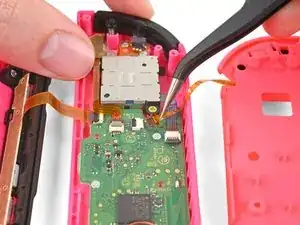
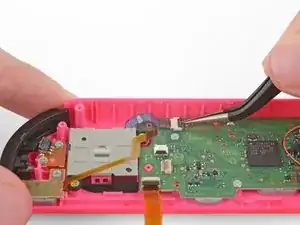
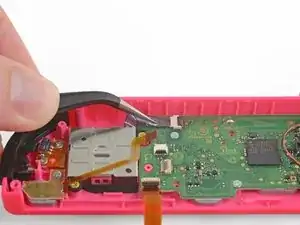
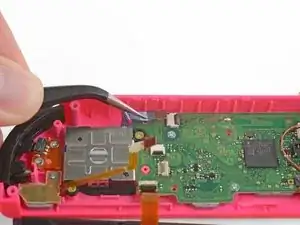
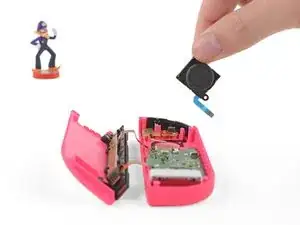
Finally, the joystick is locked into place by one last ZIF connector. Carefully flip the ZIF lock upward and disconnect the cable.
-
To reassemble your device, follow the above steps in reverse order.
Take your e-waste to an R2 or e-Stewards certified recycler.
Repair didn’t go as planned? Check out our Answers community for troubleshooting help.
149 comments
Thx This really helped
Thanks Kyler - I just replaced 4 joysticks and they’re all working perfectly.
One final step to remember to go in and calibrate the controller.
David K -
You're welcome I'm glad I could assist you in your repairs!
Thanks. This was just the right amount of info and now my left stick drift is gone….for now.
I would recommend at least once a month take a can of compressed air and spray the joystick internals to clear it of any dust or debris.
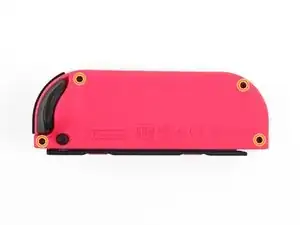




Try-Point screws are not magnetic
Ramon Sanchez -
Si vous avez des difficultés à dévisser les 4 vis, vous pouvez chauffer les 4 vis avec un sèche-cheveux pendant 1 à 2 minutes.
olivier pepito -
une des vis me résiste, et le sèche cheveux n’y change rien. avez vous une autre solution ?
quentin.roehn -
These tri-point screws are very easy to strip—be careful!
Jared Cook -
Si tienes cuidado no hay que desconectar nada. Sólo el cable del joystick, evidentemente, todos los demás se pueden dejar conectados, sobre todo el de la batería para que te ayude a probar si todo funciona antes de cerrar y atornillar todo de nuevo.
Te ahorras 15 minutos y muchas posibilidades de romper cosas.
Víctor SLB -
No es recomendable trabajar en electrónicos que tengan corriente/voltaje através de los componentes. Como mínimo deben desconectar la batería.
John Penaranda -
Die 4. Schraube lässt sich nicht rausdrehen. Den Föhntipp hab ich versucht. Gibt‘s weitere Lösungsvorschläge bitte?
gudrun_oberleitner -
I can't get the last screw out either, stripped it...
Valentine Briese -