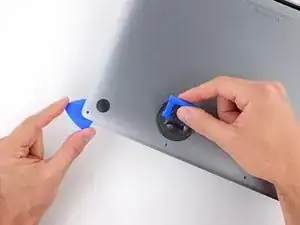
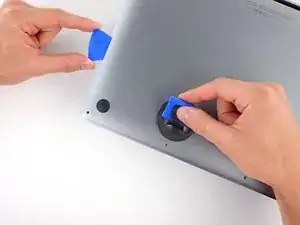
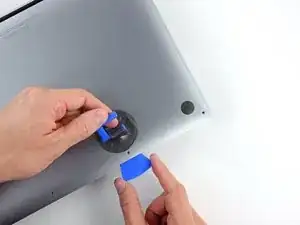
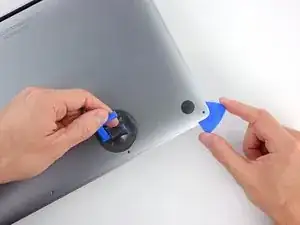
Introduction

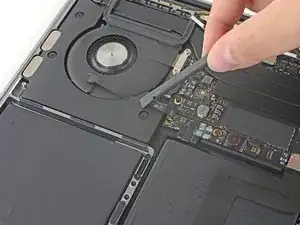
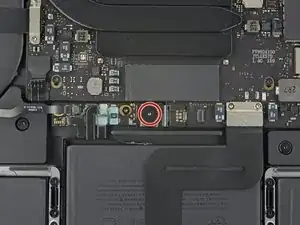
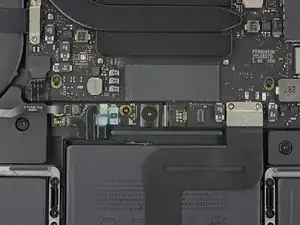
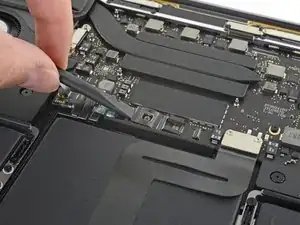
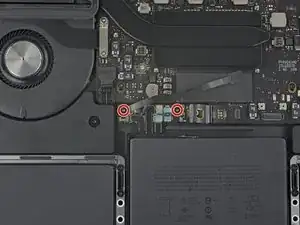
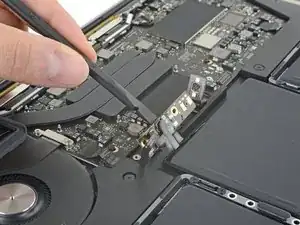
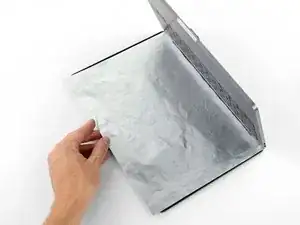
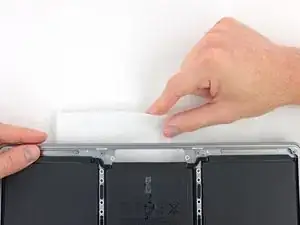
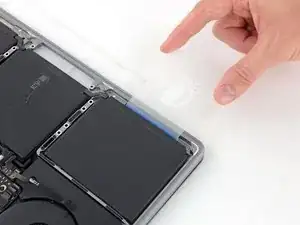
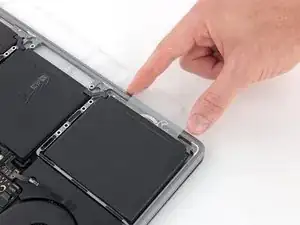
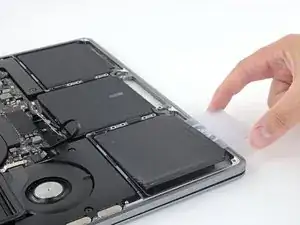
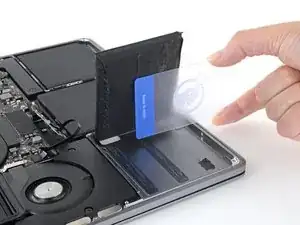
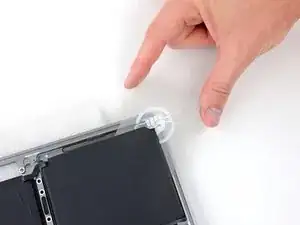
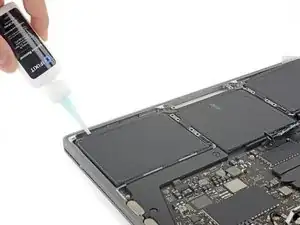
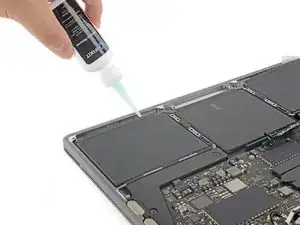
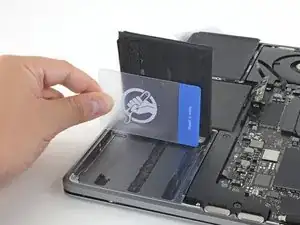
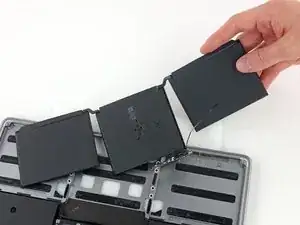
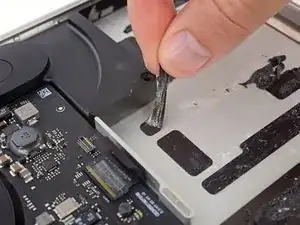
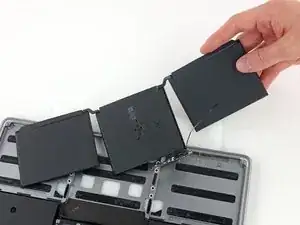
Use this guide to safely remove the glued-in battery from your MacBook Pro with the help of an iFixit kit with adhesive remover. The adhesive remover will dissolve the adhesive securing the battery, allowing you to remove it with ease.

Replacing the battery does not require you to remove the logic board, making this procedure significantly easier.

To minimize risk of damage, turn on your MacBook and allow the battery to fully discharge before starting this procedure. A charged lithium-ion battery can create a dangerous and uncontrollable fire if accidentally punctured. If your battery is swollen, take extra precautions.

iFixit adhesive remover is flammable. Perform this procedure in a well-ventilated area. Do not smoke or work near an open flame during this procedure.

Note: The adhesive remover can damage certain plastics. Follow all instructions and take care where you apply the adhesive remover.

Some photos in this guide are from a different model and may contain slight visual discrepancies, but they won't affect the guide procedure.

  1. Q1wvDeNfY4uOiyKt
    • Before starting this procedure, you should disable your Mac's Auto Boot feature. Auto Boot powers on your Mac when you open the lid, and may be accidentally triggered during disassembly. Use this guide to disable Auto Boot.

    • If your MacBook is running Big Sur v11.1 or later, disabling Auto Boot may not work. You can proceed normally, but make sure to disconnect the battery as soon as you're inside.

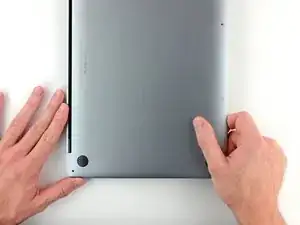
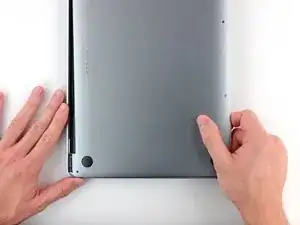
    • Completely power off and unplug your MacBook before you start. Close the display and flip the entire laptop upside-down.

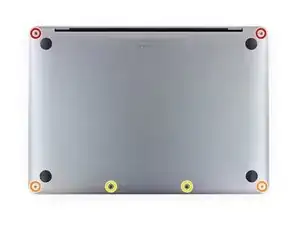
    • Use a P5 Pentalobe driver to remove the six screws securing the lower case:

    • Two 6.8 mm screws

    • Two 5.3 mm screws

    • Two 3.4 mm screws

    • Throughout this repair, keep track of each screw and make sure it goes back exactly where it came from to avoid damaging your device.

    I use a empty egg carton to place screws in in the order of removal from computer

    robert -

    That's a good idea Robert!

    Tom Kingsley -

  2. HNcAU1OxShTMSVcH
    HNcAU1OxShTMSVcH
    RV2F6vZPN4bDRjpF
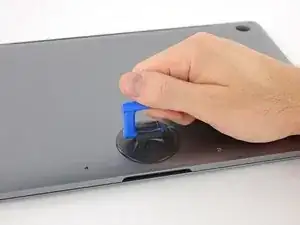
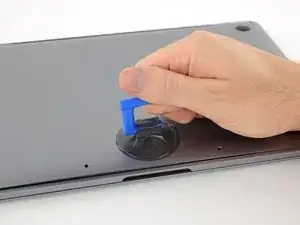
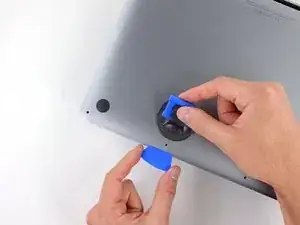
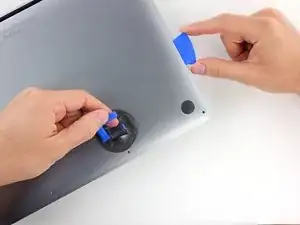
    • Apply a suction handle to the lower case near the front-center area of the MacBook Pro.

    • Lift the suction handle to create a slight separation between the lower case and the chassis.

  3. fBkwTalJQNyTPwSp
    fBkwTalJQNyTPwSp
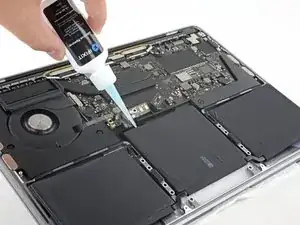
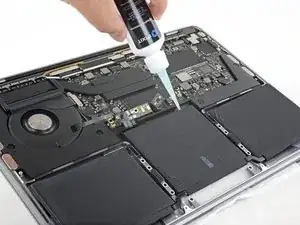
    6KuUDjvctvBQpU6F
    aKYwtXFASPKBPNFN
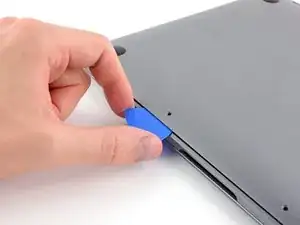
    • Insert one corner of an opening pick into the space between the lower case and the chassis.

    • Slide the opening pick around the nearest corner and halfway up the side of the case.

    • This releases the first of the hidden clips securing the lower case to the chassis. You should feel and hear the clip pop free.

  4. R2wEm6jobOXjQloV
    R2wEm6jobOXjQloV
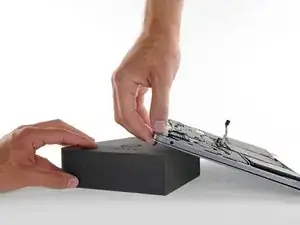
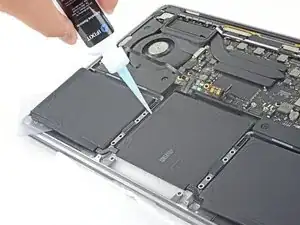
    ZMvhcRVcNbRarUlR
    pIAj3iNjoHmrl5eD
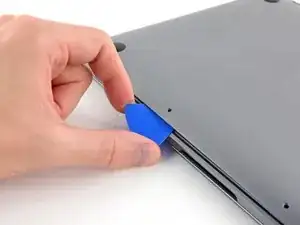
    • Repeat the previous step on the opposite side, sliding your opening pick under the lower case and up the side to pop the second clip free.

  5. CnvC3ADHsHWCSorW
    CnvC3ADHsHWCSorW
    ZNEgaHfCsrAb11eC
    r5umcQAM1T4f4AXQ
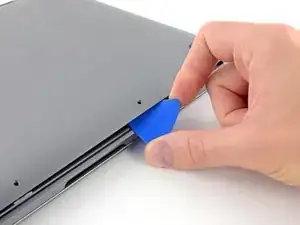
    • Insert your opening pick once again under the front edge of the lower case, near one of the two centermost screw holes.

    • Give the pick a firm twist to pop free the third clip securing the lower case to the chassis.

    • Repeat this procedure near the other of the two centermost screw holes, popping the fourth clip free.

  6. Be4XcBdPlUxGlirO
    Be4XcBdPlUxGlirO
    4IVGUAoP6imcUgqT
    LKAkvpHxVvOHEU2S
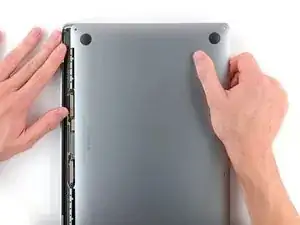
    • Pull the lower case firmly towards the front of the MacBook (away from the hinge area) to separate the last of the clips securing the lower case.

    • It may help to pull first at one corner, then the other.

    • Pull to the side—not up.

    • This may require a lot of force.

    • The edges of the case can be sharp, so grip the sides carefully.

    Be mindful of finger placement as the inside edges of the case are very sharp and may cut you.

    Shane Samuelson -

    literally just cut myself

    Jaiden Daniel Arnett -

    I used the suction cup to pull/slide the lower case from the back clips

    Richard Dunn -

    This is probably the most difficult step. It doesn't come easily, you have to be careful but very firm and apply plenty of force. The edges are somewhat sharp, but I didn't cut myself. Just don't slide your fingers along the edges. I had the best luck orienting the computer in portrait (like the pictures) and pushing on the front right edge of the main chasis with my right hand fingers while pushing the opposite direction on the bottom lid with my left hand fingers (place your fingers right in the crack of the hinge).

    Hudson Gomez -

  7. gBJPsmHQnCcGuQGP
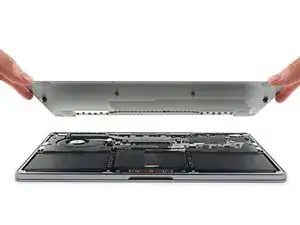
    • Remove the lower case.

    • To reinstall the lower case:

    • Set it in place and align the sliding clips near the display hinge. Press down and slide the cover toward the hinge. It should stop sliding as the clips engage.

    • When the sliding clips are fully engaged and the lower case looks correctly aligned, press down firmly on the lower case to engage the four hidden clips underneath. You should feel and hear them snap into place.

  8. 4fxcSwlNeTWUfaNc
    4fxcSwlNeTWUfaNc
    L1j1MRZCosVLrlH2
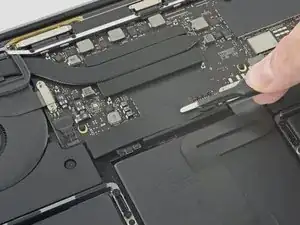
    • Carefully peel up the large piece of tape covering the battery connector, on the edge of the logic board nearest the battery.

    • Remove the tape.

  9. X1eMBkm2fAmXKLZt
    X1eMBkm2fAmXKLZt
    5iCBA1UK3Y1VGBUd
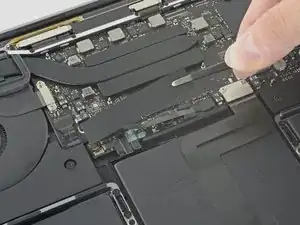
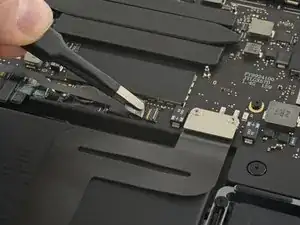
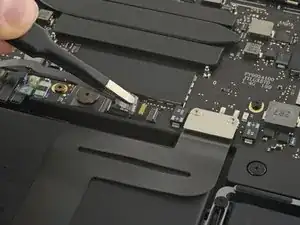
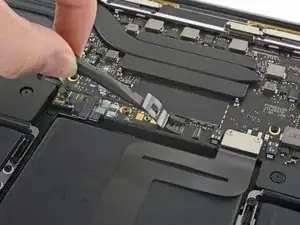
    • Gently peel back the small piece of tape covering the battery board data cable connector.

    • The tape is integrated into the ribbon cable and will not detach completely. Simply peel it back enough to access the connector.

  10. m2ZMQiqkPMUNCckG
    m2ZMQiqkPMUNCckG
    ySdWyeoNwF1mIGE1
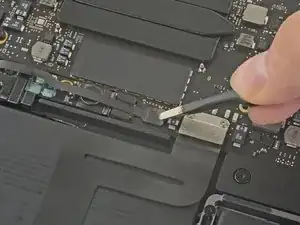
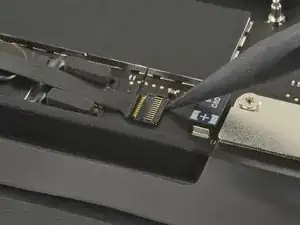
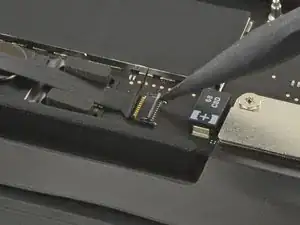
    • Use the tip of a spudger to flip up the small black locking tab securing the cable in its connector.

    • Locking tabs on ZIF connectors are fragile, so be gentle when using the tip of the spudger.

  11. ssX4BEtvDiq3BC2S
    ssX4BEtvDiq3BC2S
    AgTwyOsjGHYBeqWy
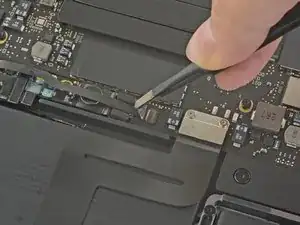
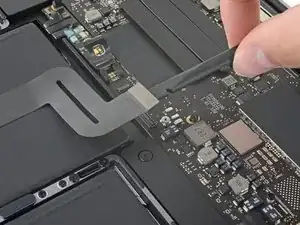
    • Disconnect the battery board data cable by sliding it out from its socket.

    • Slide parallel to the logic board, in the direction of the cable.

  12. 2hRujNSkWYa1yBhH
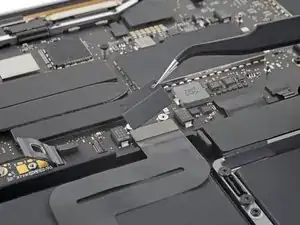
    • Fold the battery board data cable back and out of the way.

    • If you're replacing your battery, you may need to completely remove and transfer this cable to your new battery. Disconnect both ends and carefully remove the cable. During installation, be careful not to install it upside-down or backwards—note the orientation in the photos.

  13. lSaMKOjmtmpvMSgC
    lSaMKOjmtmpvMSgC
    bLADI3bSOZ4yUiH2
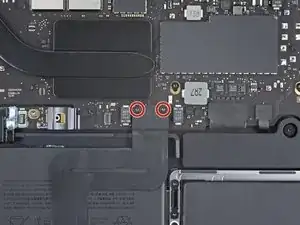
    • Use a T5 Torx driver to remove the 3.7 mm pancake screw securing the battery power connector.

    io ho trovato un Torx T4 invece del T5.

    Stefano Supino -

    Ciao Stefano! Grazie per il commento. Infatti c’è sempre una certa tolleranza fra il cacciavite e la testa delle viti. Quindi è possibile che un cacciavite più grande o più piccolo sia più “comodo” in certi casi. Buona riparazione!

    Claire Miesch -

    konnte diese Verbindung nicht lösen. Zu sehr angezogen

    Lang Werner -

  14. RVQlOAm2qrSPBPss
    RVQlOAm2qrSPBPss
    NhCLsrVJdF6AhpAy
    • Use a spudger to gently lift the battery power connector, disconnecting the battery.

    • Lift the connector high enough so that it stays separated from its socket.

    • If it accidentally makes contact during the course of your repair, it could damage your MacBook Pro.

    Hello, I have damaged this connector and it is now loose with the logic board. It is possible to replace this connector?

    Thanks

    deejaygav -

    Please save yourself a pile of money and read this before doing this step: I bricked my MacBook by not being extremely careful and making sure to NOT touch the connector together as I took it apart. Ouch ouch ouch. 😫

    Hudson Gomez -

  15. NOmk3aTn5SvEQM4E
    • Use a T5 Torx driver to remove the two 1.9 mm screws securing the trackpad cable connector bracket.

  16. 5YfgP32fHw2n4Wqc
    • Remove the trackpad cable connector bracket.

  17. ZR2IDdxWMfCngk5R
    ZR2IDdxWMfCngk5R
    43gd5FYWjqBlN3rO
    • Use a spudger to disconnect the trackpad ribbon cable by gently prying its connector straight up from the logic board.

  18. jSlPDRqIu56Jvt1e
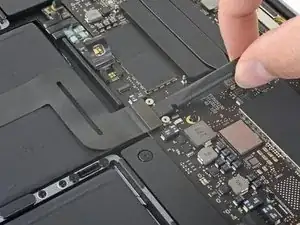
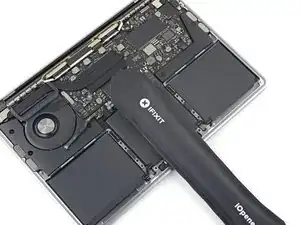
    • Prepare an iOpener and lay it on top of the trackpad ribbon cable for about a minute, in order to soften the adhesive securing the trackpad ribbon cable to the top of the battery.

    • If you don't have an iOpener, use a hair dryer to warm up the cable instead. The cable should be warm, but not too hot to touch. Be careful not to overheat the battery.

  19. GicrFqeqDWCDtNso
    GicrFqeqDWCDtNso
    MxYTA2EBx5JKB5F6
    VqOUGQ6uFgHCkxnc
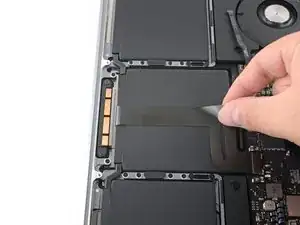
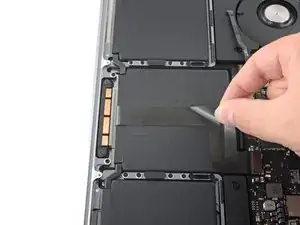
    • Carefully peel the trackpad ribbon cable up off the battery, and push it out of the way.

    • Do not fold or tear the cable.

  20. LSFSSLWCda6X6H6m
    • Use a T5 Torx driver to remove the ten screws securing the trackpad assembly:

    • Two 4.2 mm screws

    • Eight 5.8 mm screws

  21. YRUFwg1Zvge4lIFI
    YRUFwg1Zvge4lIFI
    tTNowZG4GVoxPfVJ
    4RAOs3sPHNVROfvA
    • Remove the trackpad assembly.

    • You'll need to swing the display open slightly to remove the trackpad.

    • Take care to feed the trackpad ribbon cable through the MacBook Pro's frame without snagging.

    • Be sure not to lose the six small washers (two circular and four rectangular) resting on the underside of the trackpad.

  22. UWRmY5HGWW4jywxK
    • Use a T5 Torx driver to remove the two 3.1 mm screws securing the battery board.

    • These screws lie under the battery board data cable. You may need to gently maneuver the cable from side to side to access each screw.

    • Either screw may have a water damage indicator sticker on the top. If so, remove it with a pair of tweezers and set it aside before removing the screw.

  23. NQ1Gd4fkaBkd2NRC
    • The battery board is permanently attached to the battery. Check to make sure it has adequate clearance to come out together with the battery, without snagging on other components.

    • Insert the flat edge of a spudger under the battery board on the side nearest the logic board.

    • Lift the battery board to an angle of about 45 degrees. If necessary, lift the battery power connector out of the way to give the battery board extra clearance.

  24. xidFbwX6pHQGUAfb
    xidFbwX6pHQGUAfb
    6hv6PDkrAWFed1qD
    • The liquid adhesive remover provided in your kit can affect the antireflective coating on your MacBook Pro's display.

    • To protect your display, place a sheet of aluminum foil between the display and keyboard and leave it there while you work.

    • Additionally, layer an absorbent towel directly underneath the trackpad area to soak up any excess adhesive remover.

  25. GCF5RjQbJT2SMBlW
    GCF5RjQbJT2SMBlW
    LJvXK3aNeSTT6vSC
    • Now that your MacBook Pro is fully prepped, it's time to prep yourself.

    • iFixit adhesive remover contains acetone, a mild skin and eye irritant.

    • Wear eye protection when handling and applying the adhesive remover. (Eye protection is included in your kit.)

    • Do not wear contact lenses without eye protection.

    • Protective gloves are also included in your kit. If you are concerned about possible skin irritation, put your gloves on now.

  26. dyg6ZYvNc3h1sTbE
    dyg6ZYvNc3h1sTbE
    r3O6kivgtS3dpZve
    sAqTRwX5xRVdh4Hg
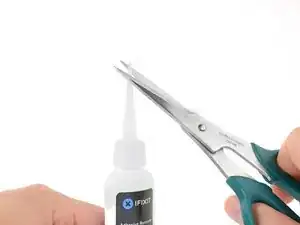
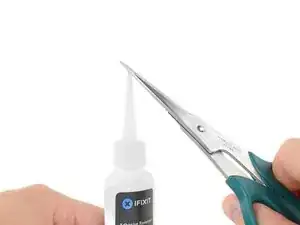
    • Pull off the black rubber stopper from your bottle of adhesive remover.

    • Twist to loosen or remove the bottle cap before you cut the applicator tip.

    • This unseals the bottle and allows the pressure to equalize before you cut the applicator tip. If you skip this step, the adhesive remover may spray out unexpectedly when the tip is cut.

    • Use scissors to cut off the sealed tip of the applicator.

    • Cutting close to the narrow tip will give you better control so you can apply the adhesive remover in small amounts.

    • Twist and close the bottle cap securely before you proceed further.

  27. HQtCBPKPjuTjEq4Y
    HQtCBPKPjuTjEq4Y
    2peXWJf4mnWCGxP3
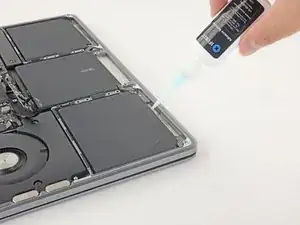
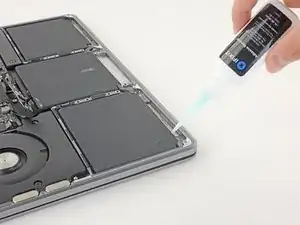
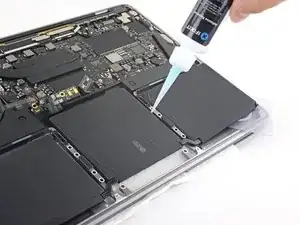
    • Apply a few drops of adhesive remover underneath the front edge of the battery cell that lies nearest the fan.

    • You don't need to use very much. The small bottle contains more than twice the amount of solvent needed to remove all the battery cells.

  28. WmaRxF3pTBP3MGrh
    • Tip the front edge of your MacBook Pro up at a slight angle so that the liquid adhesive remover flows underneath the battery cell.

    • Wait 2-3 minutes before you proceed to the next step, in order to give the adhesive remover time to work.

  29. vAFrQRfWOxn6khea
    vAFrQRfWOxn6khea
    rURSqKVOuHQlR6pO
    jFLbgshjas2yFUCJ
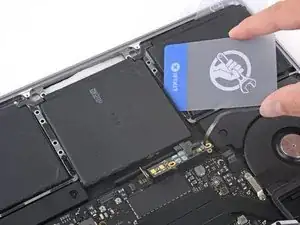
    • After 2-3 minutes have passed, slide a plastic card under the edge of the battery cell where you applied the adhesive remover.

    • It may help to gently twist the card to open up a slight gap between the battery cell and the MacBook Pro's case.

  30. uWjrSqQFVsMLeYcF
    uWjrSqQFVsMLeYcF
    yNVObe1hWq5vVAaQ
    • Gently work the card deeper under the battery cell to break up the adhesive securing it in place.

    • This should not require much force—the adhesive remover does most of the work. If you aren't able to get your card under the battery cell, apply a bit more adhesive remover as instructed above and wait 2-3 minutes before trying again.

  31. tGiO3uPdcSufAnf2
    tGiO3uPdcSufAnf2
    YkOc3n33BAPnXbTT
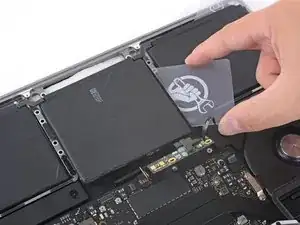
    • Twist the card to raise the battery cell until it fully separates from the aluminum case.

    • Don't try to remove the battery cell completely just yet—it's still attached to the remaining cells.

  32. ApDZnaTDuHfRO3Xw
    • Leave the plastic card temporarily in place underneath the battery cell.

    • This prevents the cell from re-adhering to the case while you work on separating the remaining cells.

  33. XUFTvAx4gcAXZsha
    XUFTvAx4gcAXZsha
    6o4mAtUNjLdOuSOH
    oKKWP44CjcRfUDMK
    • Repeat the previous six steps to separate the other outer battery cell, on the opposite side.

  34. PklDwQuFJOgA1FHq
    PklDwQuFJOgA1FHq
    JP2YMKBENZhpnKuT
    6fVQ3A4YkE4rsQKv
    • To separate the center battery cell, raise the back edge of the MacBook Pro and prop it up on a foam block or book, so that the adhesive remover will flow away from the logic board.

    • Apply a few drops of adhesive remover along the back edge of the battery cell.

  35. JQfPeuJ54KHYRTaV
    JQfPeuJ54KHYRTaV
    XNuySJSc3OqShAiO
    • Cutouts in the aluminum case between the center battery cell and trackpad may prevent the adhesive remover from flowing all the way underneath the battery.

    • To compensate, apply a few more drops of adhesive remover along each side of the center battery cell.

    • Wait 2-3 minutes before proceeding to the next step.

  36. 5OeyK6CRaGmpCfVh
    5OeyK6CRaGmpCfVh
    VkmBVRS4gkZQXv5K
    • Slide a plastic card under one of the side edges of the center battery cell.

    • Try to keep your card well clear of the logic board as to not risk damaging fragile components.

    • It may help to gently twist the card to open up a slight gap between the battery cell and the MacBook Pro's case.

  37. bLOFZMbmIdwb6ZR2
    • Use the card to lift the battery cell until it fully separates from the aluminum case.

  38. 5n6Vx1PpgBZndsp6
    5n6Vx1PpgBZndsp6
    YRKPM1WNfOcXZCOA
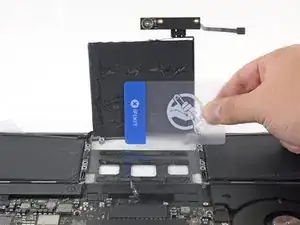
    • Lift and remove the battery.

    • Before installing your new battery, remove all the old adhesive from the MacBook Pro's case.

    • With a little luck, you can slowly pull out each strip of adhesive with your fingers.

    • Otherwise, soak each strip of adhesive with a bit of adhesive remover for 2-3 minutes, and then scrape it out with a plastic tool. This can take quite a bit of work, so be patient.

    • Mop up any remaining adhesive remover and give your MacBook Pro a few minutes to air dry.

    • The replacement battery included in your iFixit kit comes with adhesive pre-installed. Test the battery's fit and alignment carefully before peeling off the film covering the adhesive, and then press each cell firmly into place. If any additional films/liners are present that weren't on your original battery, remove them now.

    • Calibrate your newly installed battery: charge it to 100%, and keep charging it for at least 2 more hours. Unplug and use it normally to drain the battery. When you see the low battery warning, save your work, and keep your laptop on until it goes to sleep due to low battery. Wait at least 5 hours, then charge your laptop uninterrupted to 100%.

    • If you notice any unusual behavior or problems after installing your new battery, you may need to reset your MacBook Pro's SMC.

Conclusion

Compare your new replacement part to the original part—you may need to transfer remaining components or remove adhesive backings from the new part before installing.

To reassemble your device, follow the above steps in reverse order.

Take your e-waste to an R2 or e-Stewards certified recycler.

Repair didn’t go as planned? Try some basic troubleshooting or search our Answers community for help.

Carsten Frauenheim

Member since: 10/03/20

110978 Reputation

10 comments

Thanks for the guide 👍🏻

Can’t see a link to a new battery though - is it available on iFixit? Which one should I get as a replacement?

in_sympathy -

Thank you.

Do you have any tips on aligning the trackpad during reinstallation so it’s even on all sides?

Scott -

Scott, I recommend tightening the trackpad screws until they're finger-tight, open the MacBook and center the trackpad, then tighten the screws the rest of the way down. Best of luck!

Carsten Frauenheim -

Any tips to find a good battery? iFixit doesn’t seem to stock them?
Dominic Cazenove -

Definitely need to get the adhesive remover. I did it without and used Isopropyl Alcohol and it didn’t make much of difference so I had to work very hard with a credit card to free the batter which also had me bang the motherboard a few times. So get the remover. I wish Ifixit would just sell the alcohol only and not the whole kit. Everyone doesn’t need all the added stuff. But everything so working fine despite the extra work.

DiyNY -

Wie immer:

perfekt und mehr als hilfreich, weil nicht zu notwendig zu lösende Schrauben im Gerät verbleiben. ;-))

Eine alte Kreditkarte war zum Ablösen des Akkus ausreichend.

An den Ecken anfagen und "mutig" unter die Akkus drücken. Danbei eine weinig hin und her bewegen.

Den neuen Akku bei Ifixit bezogen, der war nach 2 Tagen da.

THX

Norbert -

Used the adhesive remover but it was still very difficult for me to slide the card in the battery. I realized that, at least for me, that you have to start from one of the corners and use the card and a spudger to pull the battery out. Once I figured that out, it was pretty easy to do the rest of the cells with the adhesive remover.

Eli Dinh -

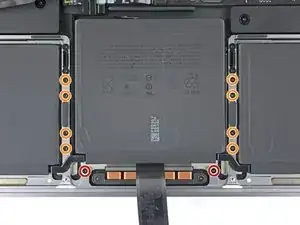
After fixing the battery, the battery icon shows X and service recommended. Does anyone know how I can fix this?
Priscilla Lai -

And where is the guide to actually replace it, rather than just remove the battery? What steps do I need to take to put it in again - and what to connect?

Samuel -

Everything is in the last step. For the connections, simply read the instructions backwards :-)

Daniel Hug -