Introduction

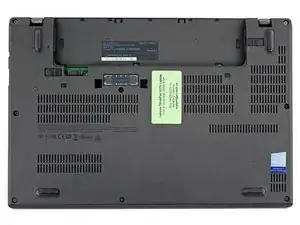
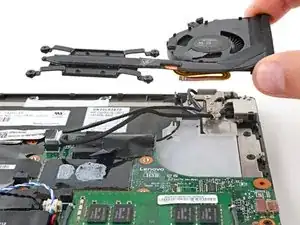
Use this guide to replace the heatsink and fan in your Lenovo ThinkPad X270 laptop.

You may need to replace the heatsink and fan if your laptop is overheating.

Note: The heatsink and fan are connected and must be replaced as one assembly.

  1. VIBMroSOUymXYah6
    VIBMroSOUymXYah6
    V2fLxjfVxRJI6sS6
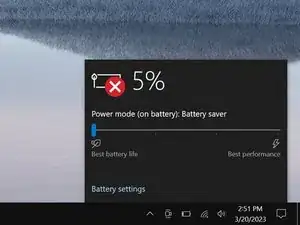
    • Allow your laptop's battery to drain below 25% before starting this repair—a charged battery may catch fire if damaged.

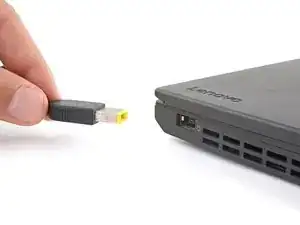
    • Unplug all cables and fully shut down your laptop.

  2. mUmLDuHe3GyTVTHQ
    mUmLDuHe3GyTVTHQ
    DVWBS2jZZFXjGVlZ
    MSHmLwMG1gCAd2iV
    • A SIM eject tool or bit isn't long enough to eject the tray.

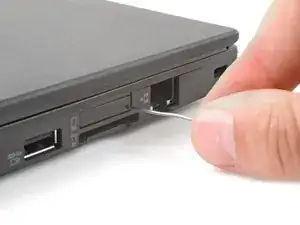
    • Insert a straightened paper clip into the micro SIM card tray hole on the right edge of the laptop.

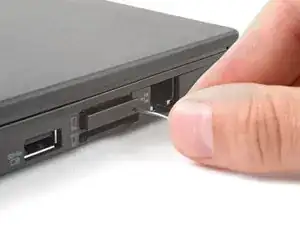
    • Press the paper clip firmly into the hole to eject the tray.

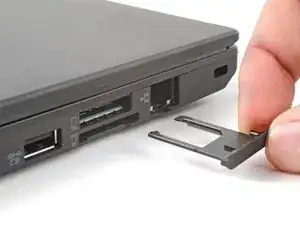
    • Remove the tray.

    • When reinserting the tray, slide the arms of the tray into the rectangular metal slot.

  3. LIHyQgaTf4TbdHK6
    LIHyQgaTf4TbdHK6
    nXJZJyYfGNOesBfP
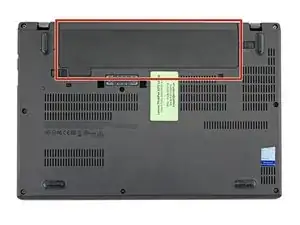
    • Lay your laptop upside down to access the external battery.

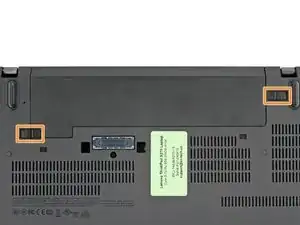
    • Two sliding tabs secure the battery.

  4. pkECKUCcrXg6Js6r
    pkECKUCcrXg6Js6r
    rnWccOJwkItouoM4
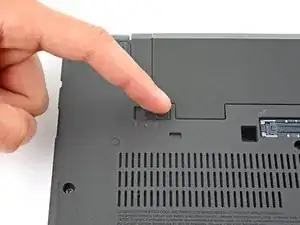
    • Slide the left tab, labeled 1, to the unlocked position—it'll click into place and release the left side of the battery.

  5. kt6NxXCAbd5baSSE
    kt6NxXCAbd5baSSE
    Ln1ulxGQ4fKCZLtx
    jJdjenBBfbsGCjCS
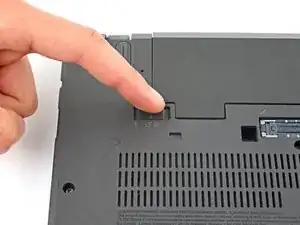
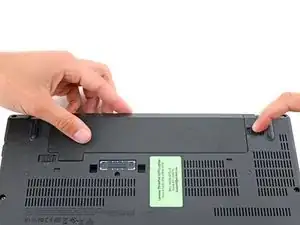
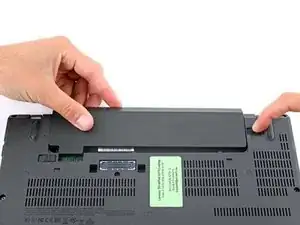
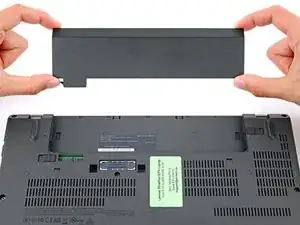
    • Hold the right tab, labeled 2, in the unlocked position and slide the battery out of its recess.

    • During reassembly, slide the battery into its recess until both tabs engage.

    • Never reuse a deformed or damaged battery—it's a fire hazard. Replace it with a new battery.

  6. 5nQQWBUA1pXjtIff
    5nQQWBUA1pXjtIff
    aZZebWSAnrAdIdD2
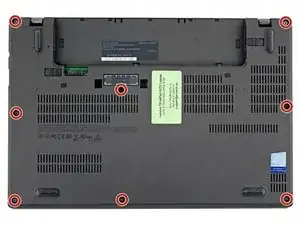
    • Use a Phillips screwdriver to loosen the eight captive screws securing the back cover.

    • Don't try to completely remove the screws—they're secured to the back cover with delicate, plastic clips.

  7. 3MPBZiYCo12WhVlQ
    3MPBZiYCo12WhVlQ
    cOHcNnalXpMQxUw2
    AGKMsV2ZZMaEgtUq
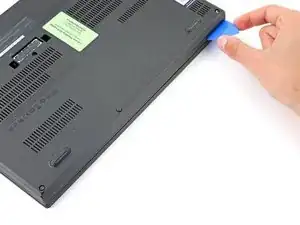
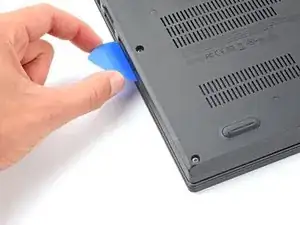
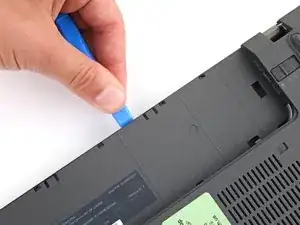
    • Plastic clips secure the back cover to the frame. You'll hear and feel the clips release.

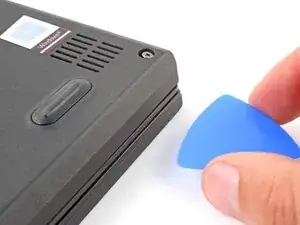
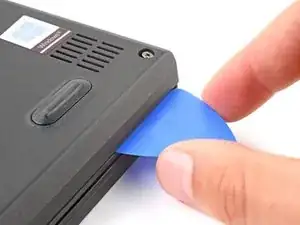
    • Insert the flat side of an opening pick between the bottom right edge of the back cover and frame.

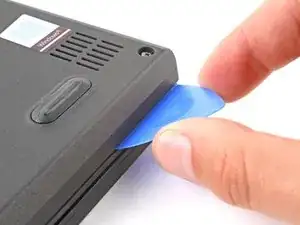
    • Pry up the back cover to release the bottom right clips.

    • Leave the pick inserted in the bottom right corner.

  8. QFPyqtaRBGSYRmVI
    QFPyqtaRBGSYRmVI
    dVYX51415mQZBNoe
    oup2LwsEKHv13Q2O
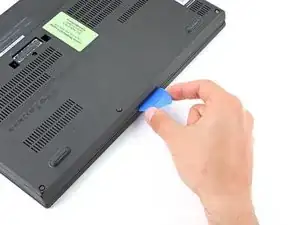
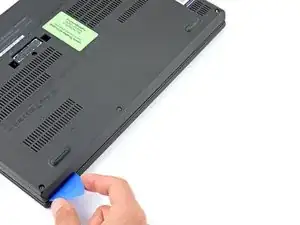
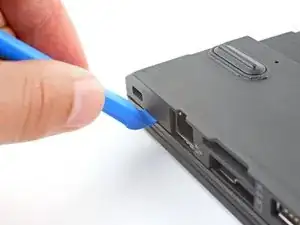
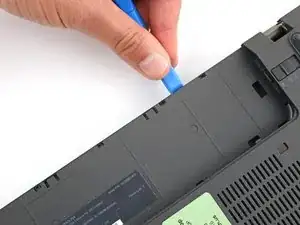
    • During the next two steps, position your pick downward at a 45-degree angle to help release the clips.

    • Slide the pick to the bottom left corner to release the bottom clips.

  9. lTXePJnXxBSog1Zy
    lTXePJnXxBSog1Zy
    VuJLkUXE4cTHNHJ2
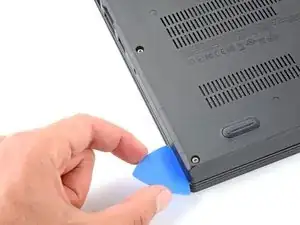
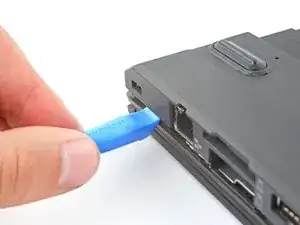
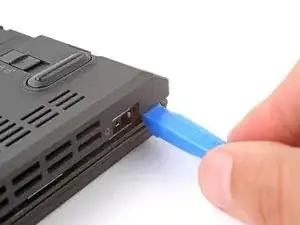
    • Insert your pick in the bottom left corner and slide the pick to the first USB port to release the left clips.

  10. 63TrHxL3QCJkO2Is
    63TrHxL3QCJkO2Is
    HTvHfW2BA2CGltvd
    THrpvYNvOhSPcwRP
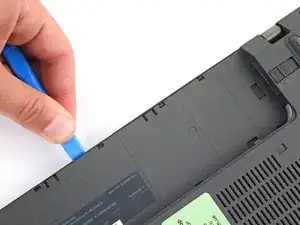
    • Insert an opening tool between the top left corner of the back cover and frame.

    • Pry the back cover up to release the clips securing its top left corner.

    • Repeat the process on the top right corner.

  11. jeYJuqxtiNiQFY4O
    jeYJuqxtiNiQFY4O
    rw5ATQ4RpkJiCu4T
    JGpS1A5dMOkaIXYV
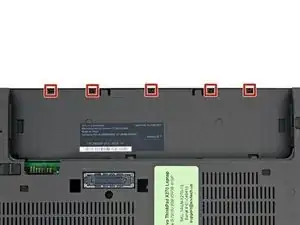
    • Five clips secure the top edge of the back cover.

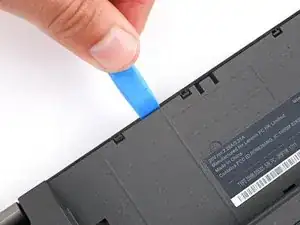
    • Insert an opening tool in the gap between the back cover and frame, next to one of the clips.

    • Push the opening tool into the gap until the clip releases.

  12. xXPEVEotV2CyMNRs
    xXPEVEotV2CyMNRs
    JYcxASdvHSQ22PKH
    TKSUmaQARnO1xWqU
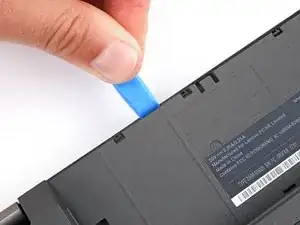
    • Push the opening tool between the back cover and frame at different points along the top edge to release the remaining clips.

  13. qKPM4mNXATFDRCcP
    qKPM4mNXATFDRCcP
    I3il4PaAcmkM5RZy
    XDvsJQfXTfGRvOxk
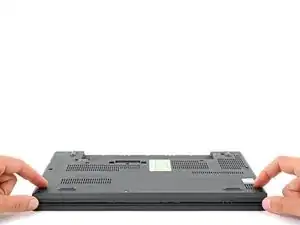
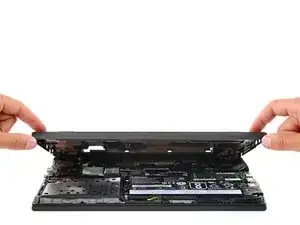
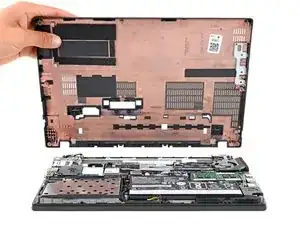
    • Remove the back cover.

    • During reassembly, lay the back cover on the frame and press firmly around the perimeter to engage all the clips.

  14. RFKmUE1dHVZpIZu6
    RFKmUE1dHVZpIZu6
    SuBpS2Wo1MeT2SOo
    ZHvO2bQfAdkoFDyq
  15. SLdRLscUYDXL3tT2
    SLdRLscUYDXL3tT2
    TNDdAhbPyTMSxKWR
    uuiaN6YDOnTnMRjc
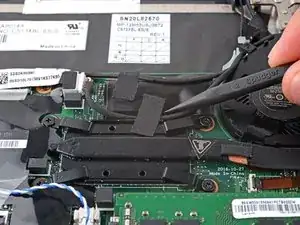
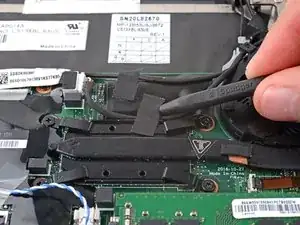
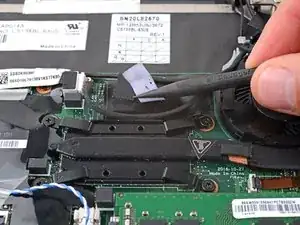
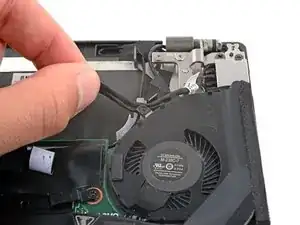
    • Use a spudger or your fingers to peel up the tape securing the display cable to the top of the heatsink.

  16. VoLacbUb6Qfh5e2b
    VoLacbUb6Qfh5e2b
    1YRRsOrXNAHrNLyU
    gGcKkkKOklKDhEXX
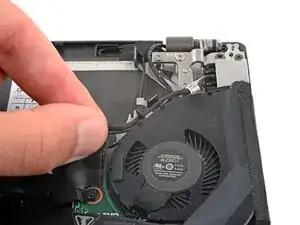
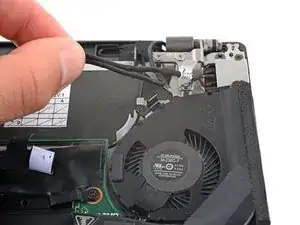
    • Guide the display cables out of their clips on the upper edge of the fan.

  17. nPrbqyZQfdZJ1VZv
    nPrbqyZQfdZJ1VZv
    Z2aC1vREF5e6rNej
    bZJk6Z6Yb3KNLXjQ
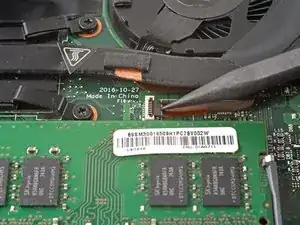
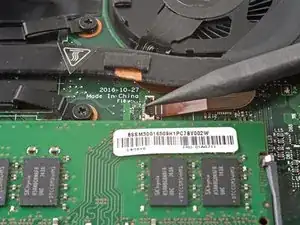
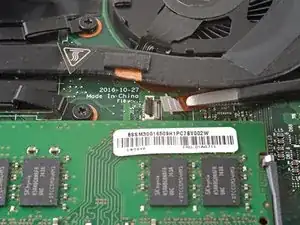
    • Use the tip of a spudger or a clean fingernail to flip up the small, hinged locking flap on the fan cable ZIF connector.

    • Use a pair of blunt nose tweezers or your fingers to gently slide the fan cable out of its socket.

    • Pull the cable by its tab, and not the cable itself.

  18. wZUuQVCgBJGAsEAI
    wZUuQVCgBJGAsEAI
    hTPOIuHYhiF3522C
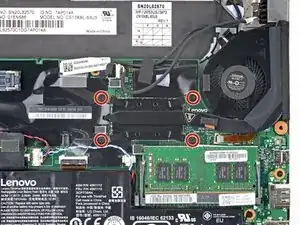
    • Use a Phillips screwdriver to loosen the four captive screws securing the heatsink and fan.

    • During reassembly, tighten the heatsink screws in an "X" pattern. For example: top left, bottom right, top right, bottom left.

  19. lbITiOogGVYty2gr
    lbITiOogGVYty2gr
    dAkU2sbo4wKjKyye
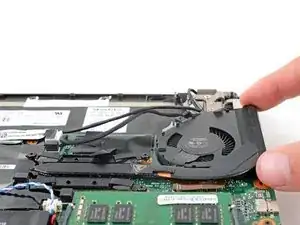
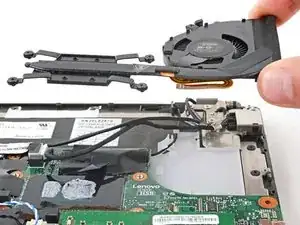
    • Remove the heatsink and fan.

    • You may feel slight resistance when removing the heatsink and fan, as thermal paste bonds them to the CPU.

  20. SulTTUnwEnUBYWES
    SulTTUnwEnUBYWES
    ks5nmGxA5ldPFchP
    mDLK3RWuYOXLwQkh
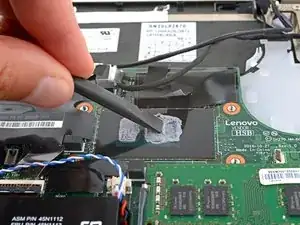
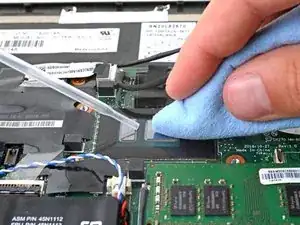
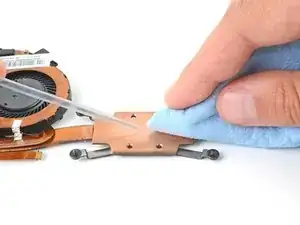
    • Before installing a new heatsink, follow this guide to clean the CPU and heatsink and reapply thermal paste.

Conclusion

To reassemble your device, follow these instructions in reverse order.

Check your repair by running hardware tests with Lenovo Diagnostics.

Take your e-waste to an R2 or e-Stewards certified recycler.

Repair didn’t go as planned? Try some basic troubleshooting, or ask our Answers community for help.
Spencer Day

Member since: 14/09/22

49372 Reputation

0 comments