Introduction
This repair guide was authored by the iFixit staff and hasn’t been endorsed by Google. Learn more about our repair guides here.
Use this guide to replace the earpiece speaker in your Google Pixel 7.
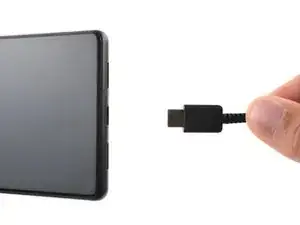
For your safety, discharge the battery below 25% before disassembling your phone. This reduces the risk of fire if the battery is accidentally damaged during the repair. If your battery is swollen, take appropriate precautions.
Caution: The Pixel 7 contains class 1 lasers. Disassembly could result in exposure to invisible infrared laser emissions.
Note: Retaining water resistance after the repair will depend on how well you reapply the adhesive, but your device will lose its IP (Ingress Protection) rating.
You'll need replacement adhesive in order to complete this repair.
Tools
Parts
-
-
During the removal procedure, make sure to insert your opening picks in the right position to avoid separating the screen from its safety frame instead of the phone assembly.
-
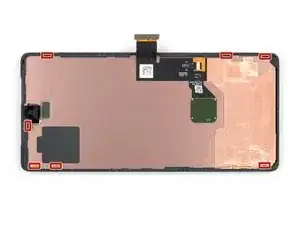
There are several plastic clips around the whole screen. In case your opening pick gets blocked during the screen removal procedure it means you inserted your pick too deep underneath the screen.
-
-
-
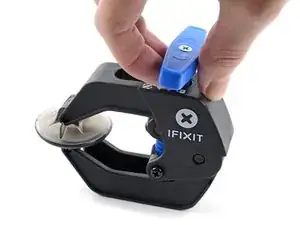
Pull the blue handle backwards to unlock the Anti-Clamp's arms.
-
Slide the arms over either the left or right edge of your phone.
-
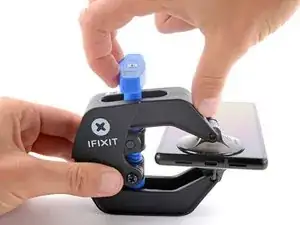
Position the suction cups near the bottom edge of the phone—one on the front, and one on the back.
-
Squeeze the cups together to apply suction.
-
-
-
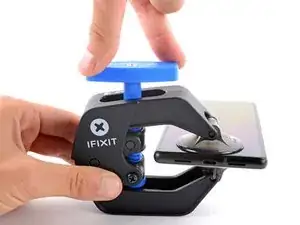
Pull the blue handle forward to lock the arms.
-
Turn the handle clockwise 360 degrees or until the cups start to stretch.
-
Make sure the suction cups remain aligned with each other. If they begin to slip out of alignment, loosen the suction cups slightly and realign the arms.
-
-
-
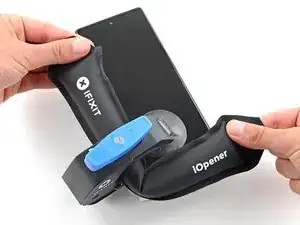
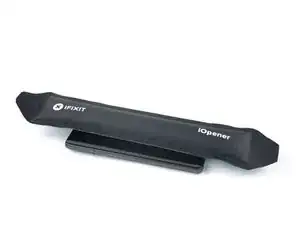
Heat an iOpener and thread it through the arms of the Anti-Clamp.
-
Fold the iOpener so it lays on the bottom edge of the phone.
-
Wait one minute to give the adhesive a chance to release and present an opening gap.
-
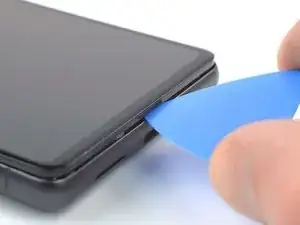
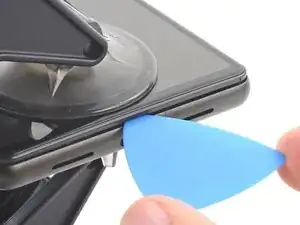
Insert an opening pick under the screen frame when the Anti-Clamp creates a large enough gap.
-
Skip the next two steps.
-
-
-
Apply a heated iOpener to the screen to loosen the adhesive underneath. Apply the iOpener for at least 3 minutes.
-
-
-
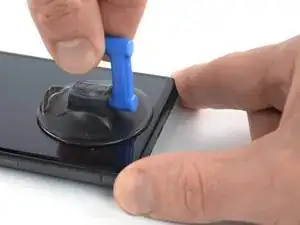
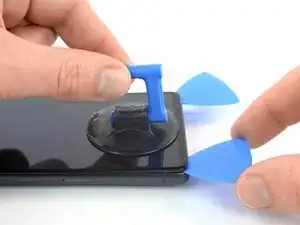
Once the screen is warm to the touch, apply a suction handle to the bottom edge of the screen.
-
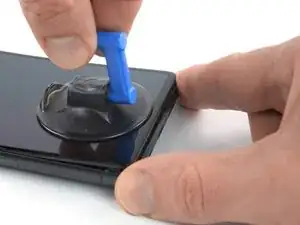
Lift the screen including its safety frame with the suction handle to create a small gap between the screen and the phone assembly.
-
Insert an opening pick into the gap.
-
-
-
The screen cable is a little less than halfway up the left edge of the phone. Be very careful here to avoid tearing the cable.
-
There are many spring contacts around the perimeter of the phone. Be very careful in these areas to avoid bending the contacts.
-
-
-
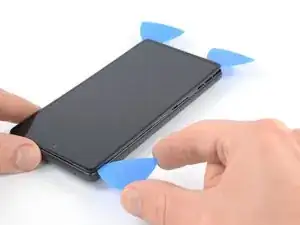
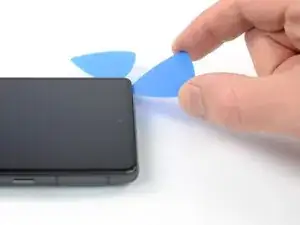
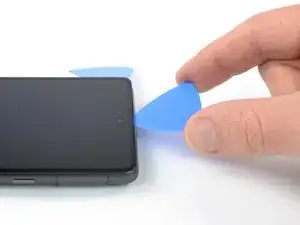
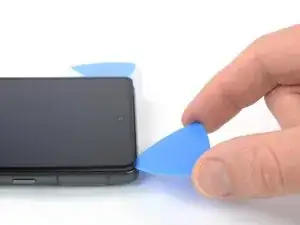
Slide the opening pick to the bottom right corner of the screen to slice its adhesive.
-
Leave the opening pick in place to prevent the adhesive from resealing.
-
-
-
Insert a second opening pick at the bottom edge and slide it to the bottom left corner of the screen to slice the adhesive.
-
Leave the opening pick in place to prevent the adhesive from resealing.
-
-
-
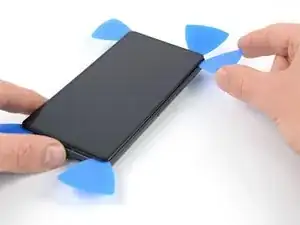
Insert a third opening pick underneath the bottom left corner of the screen.
-
Slide the opening pick along the left edge of the screen to slice the adhesive and to release the plastic clips.
-
Leave the opening pick in the top left corner to prevent the adhesive from resealing.
-
-
-
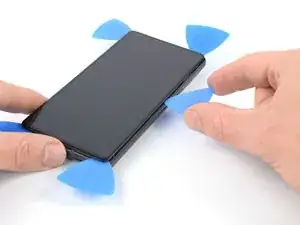
Insert a fourth opening pick at the top left corner of the screen.
-
Slide the opening pick along the top edge of the phone to slice the adhesive.
-
Leave the opening pick in the top right corner to prevent the adhesive from resealing.
-
-
-
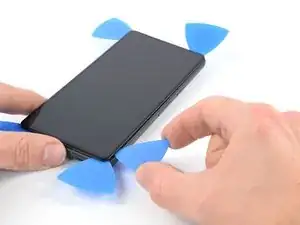
Insert a fifth opening pick and slide it along the right edge of the phone to slice the remaining adhesive and release the right plastic clips.
-
-
-
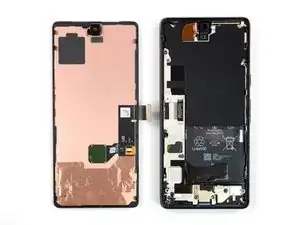
Lift the right edge of the screen up and towards the left side of the device, like opening a book.
-
Rest the screen upside down and parallel to the frame before continuing.
-
-
-
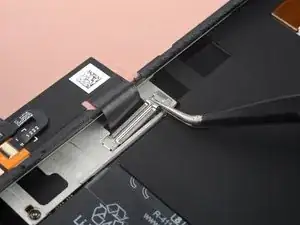
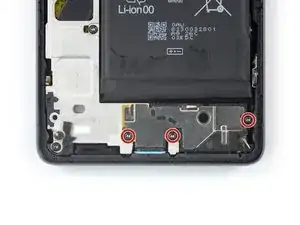
Insert one arm of a pair of tweezers into the opening at the upper end of the display cable bracket.
-
Push the bracket inwards and pry up to release it.
-
-
-
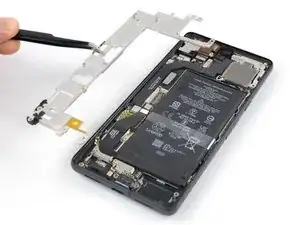
Use a pair of tweezers to remove the display cable bracket by pulling it from underneath the midframe and in direction of the cameras.
-
-
-
Use a spudger to disconnect the display flex cable by prying the connector straight up from its socket.
-
-
-
Separate the screen from the phone.
-
Check that all screws are tightened and there are no loose parts.
-
Reconnect the screen and test your phone to make sure it works. Power it back down and continue reassembly.
-
Apply new adhesive where it's necessary after cleaning the relevant areas with isopropyl alcohol (>90%).
-
Follow this guide if you're using custom-cut adhesives for your device.
-
Follow this guide if you're using a pre-cut adhesive card.
-
-
-
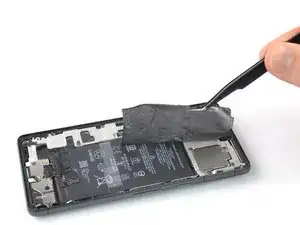
Use a pair of tweezers to carefully peel the upper graphite foil off the battery and midframe.
-
-
-
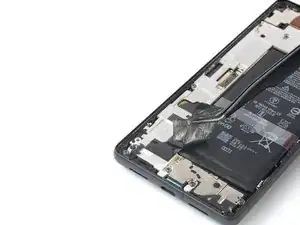
Use a pair of tweezers to carefully peel the lower graphite foil off the battery and midframe.
-
-
-
Use a spudger to disconnect the battery cable by prying the connector straight up from its socket.
-
-
-
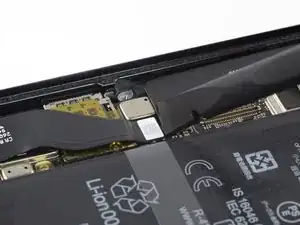
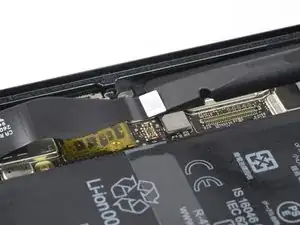
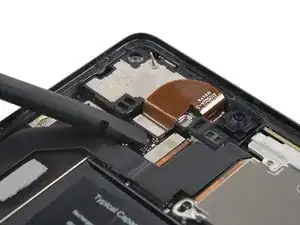
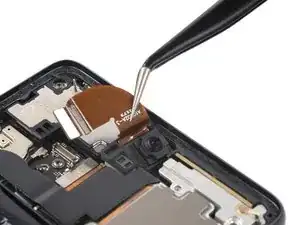
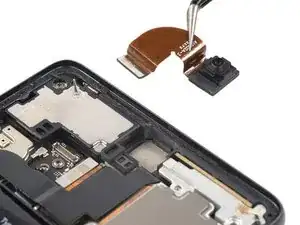
Use a spudger to disconnect the front facing camera cable by prying the connector straight up from its socket.
-
-
-
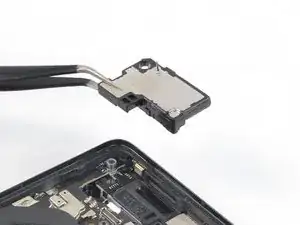
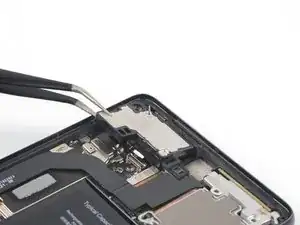
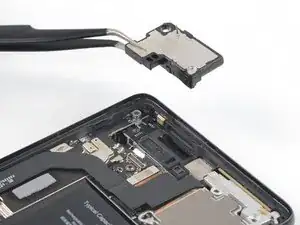
Insert the pointed end of a spudger underneath the bottom edge of the earpiece speaker.
-
Pry upwards to loosen the earpiece speaker.
-
Compare your new replacement part to the original part—you may need to transfer remaining components or remove adhesive backings from the new part before you install it.
To reassemble your device, follow these instructions in reverse order.
To run a diagnostics test with the built-in Pixel Diagnostic tool, click here.
Repair didn’t go as planned? Try some basic troubleshooting, or ask our Google Pixel 7 answers community for help.


























i replaced my pixel 7 screen, I noticed that my proximity sensor is no longer working, I have tried to calibrate it using 3rd part apps and it ddisnt work,i tried using developer settings to switch the proximity sensor and i also updated my android version...all these didnt work
Ian -