Introduction

This repair guide was authored by the iFixit staff and hasn’t been endorsed by Google. Learn more about our repair guides here.

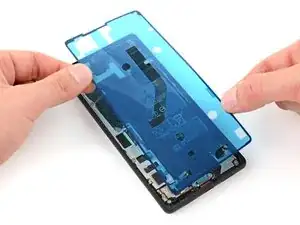
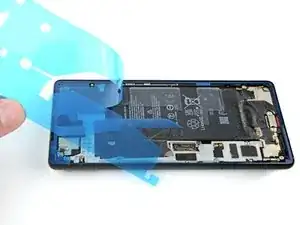
Use this guide to apply new screen adhesive in your Google Pixel 7 following a repair.

Retaining water resistance after the repair will depend on how well you reapply the adhesive, but your device will lose its IP (Ingress Protection) rating.

Note: This guide is written with the Pixel 6, but the procedure is the same.

  1. FMMmDS4NHPcCEGXX
    FMMmDS4NHPcCEGXX
    nFSaENRYloNc4iHd
    IUliStATsQWJIuQq
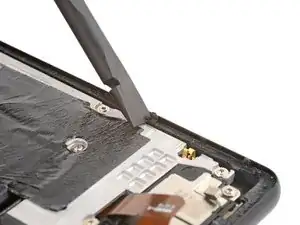
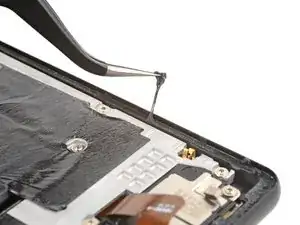
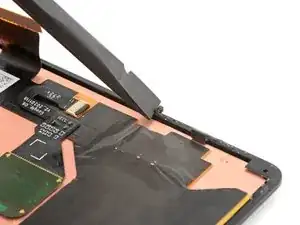
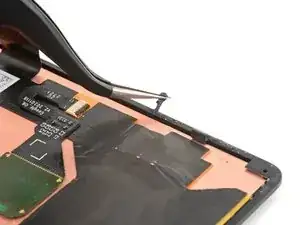
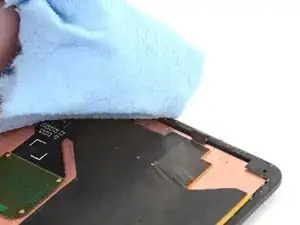
    • Any residual adhesive or debris will prevent your screen from sealing properly.

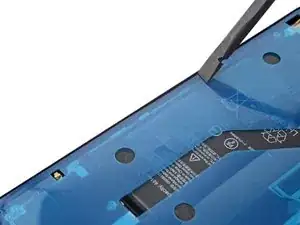
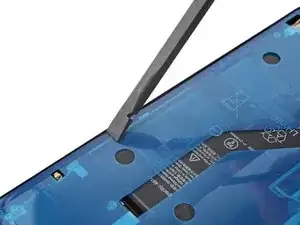
    • Use the flat end of your spudger to scrape off as much adhesive as you can.

    • Use caution not to damage the spring connectors near the perimeter of the frame.

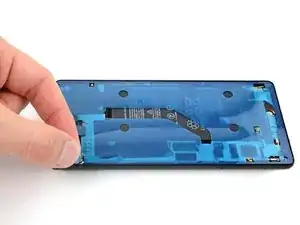
    • Use tweezers or your fingers to peel and remove any remaining adhesive.

    • Clean the perimeter of the frame with a small amount of highly-concentrated isopropyl alcohol (over 90%) and a lint-free or microfiber cloth.

  2. D15AeZfLxoVLV5PP
    D15AeZfLxoVLV5PP
    DIrKwqUbWdslDbbH
    4gtZbBSWZyGQaE6H
    • If you're reusing your screen, clean it as you did for the frame.

  3. wbWQ1WYIoqAHHASP
    wbWQ1WYIoqAHHASP
    OtToUXWCcX1MfkwA
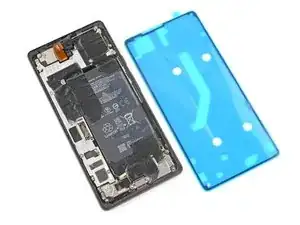
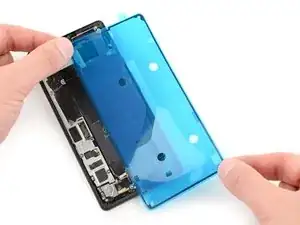
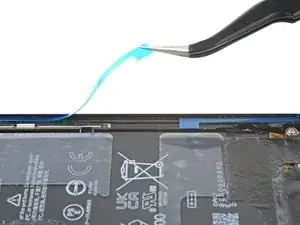
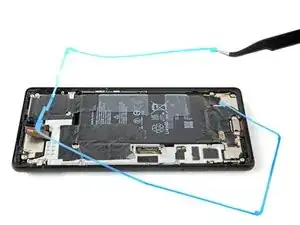
    • Before applying the new adhesive, lay it over the frame to find its proper orientation.

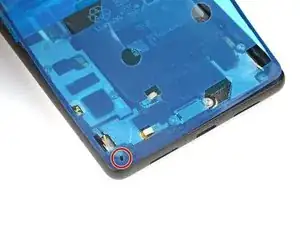
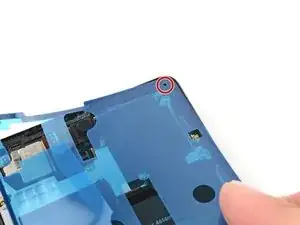
    • Use features such as the upper loudspeaker cutout, lower left hole, and upper right hole to orient the adhesive.

  4. SRVbG2u2lnSM6ZE6
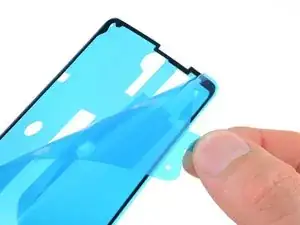
    • Use the pull tab on the top of the adhesive to remove the protective backing.

    • This will expose the adhesive that sticks to the frame.

  5. EqVBPhJRsPOS2rYx
    EqVBPhJRsPOS2rYx
    n3JGbjmfgFoPhbX5
    D2lPi1vk4XJXFTwG
    • Be very careful during this step! The adhesive is very sticky and can't be repositioned once it sticks. Misaligned adhesive can lead to an improper seal.

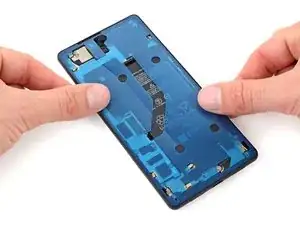
    • Lay the adhesive onto the frame, starting with the bottom or top edge. Make small corrections as you go.

    • There are holes in the bottom left and top right corners to help align the adhesive.

  6. JIssKlOsKVaUXYbG
    JIssKlOsKVaUXYbG
    b2EcjNiejPrC1THR
    QZWmnK3We1HxXhjq
    • Use a spudger or your fingers to firmly press along the perimeter of the adhesive and adhere it to the frame.

    • Be careful not to damage the spring connectors near the perimeter of the frame.

  7. p6g4f2aoXmohTL3D
    p6g4f2aoXmohTL3D
    YCTnyydoSQdgID14
    vVlCP2ulLi5TkbwW
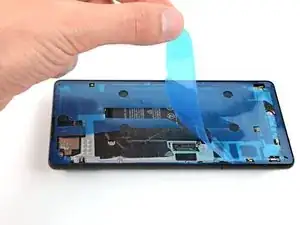
    • Grab the pull tab on the upper left of the frame and peel off the main liner.

  8. RPedlaFw6kbOLMBy
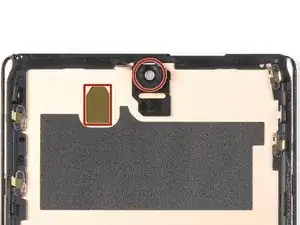
    • If you replaced the screen, check the front-facing camera hole and sensor cutout on the replacement screen and remove any remaining protective liners in it.

  9. H2CqVG2UNhwye1hM
    • Return to your phone's guide and continue reassembly.

    • Remember to reinstall the screen connector bracket.

    • Finish this guide when your screen is installed and you're ready to seal the phone up.

    My new screen came with a tab on the selfie camera opening. Remove before sealing!

    Alex Thengvall -

    Guide fails to add step or note to reinstall the metal bracket and screw sitting on top of the display cable connector. I followed guide and resealed my phone only to realize this was not mentioned and now my phone is sealed without the bracket..

    Derek -

    Hi Derek, we're sorry that an instruction was missed! In this case, which guide did you follow to continue reassembly?

    Clay Eickemeyer -

    Would be good to add some tips on re connecting the display cable connector - took a bit of fiddling.

    bogdan dobrin -

  10. VJbNash5eiqUZ2nA
    VJbNash5eiqUZ2nA
    kH4ewXTUg4ut5Uqr
    lKv6OushZQpTIKKX
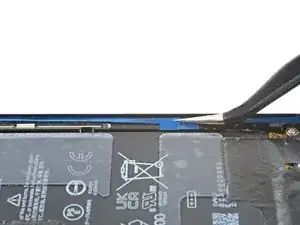
    • Take care not to puncture the battery with your tweezers—a punctured battery may leak dangerous chemicals or cause a fire.

    • Grab the pull tab on the lower right of the frame and peel off the liner covering the perimeter adhesive.

    • Make sure the adhesive doesn't peel up with the liner.

    Add an image of the screen already connected with the display cable. It should eliminate any confusions (it's way easier to fiddle connecting the display cable when you don't have to worry about touching the adhesive (like I did).

    bogdan dobrin -

  11. TkAkRLEQkKbKhBsk
    TkAkRLEQkKbKhBsk
    p2TE4fwBsRQVfLBH
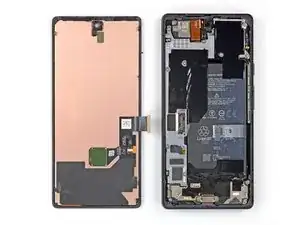
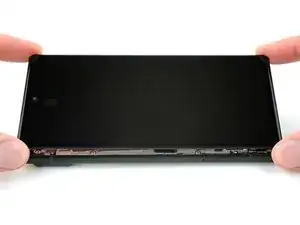
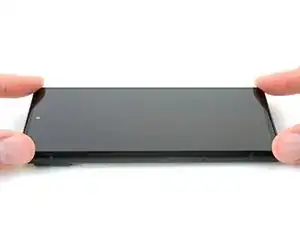
    • Flip the screen over and lay it onto the frame.

    • Press along the perimeter of the screen to secure it.

  12. NwAtTv6AriWRfDrA
    NwAtTv6AriWRfDrA
    3ZgBh3qGSwjGnKJZ
    c5oA2BK5vIbKFHo6
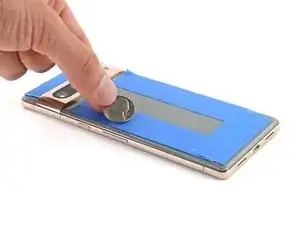
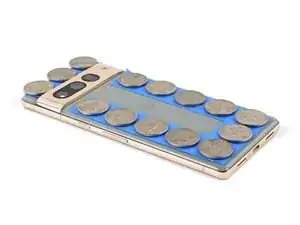
    • To evenly compress your Pixel and strengthen the bond of the screen to the frame, you need to account for the camera bar.

    • If you have screen vise clamps, you can work around the camera bar. Secure the clamps to the perimeter of the device.

    • Apply tape to the perimeter of your rear glass to protect its finish.

    • Place coins or similarly thick objects along the edges of the rear glass. Make sure they're as thick or thicker than the camera bar.

    • Stack multiple books or other heavy objects on your phone. Leave them in place for thirty minutes or longer. Ideally, leave them stacked overnight.

    Would be useful to list these coins (spacers) as a requirement for the installation. Not everyone has coins or similar spacers around.

    bogdan dobrin -

Arthur Shi

Member since: 03/01/18

248651 Reputation

2 comments

Fantastic guide. Read through it first. Go slowly and re-read each section as you do it. Get the iFixit tools. They are invaluable.

msqualls -