Introduction
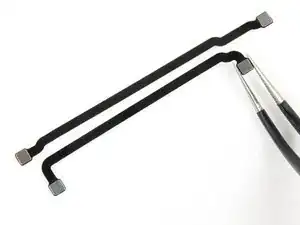
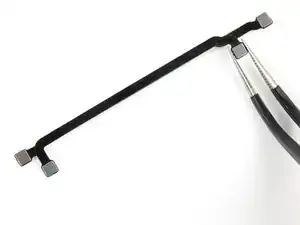
Use this guide to remove the two interconnect cables from the logic board of your iPhone 5. Be very careful, as the connector cables are delicate.
Tools
Parts
-
-
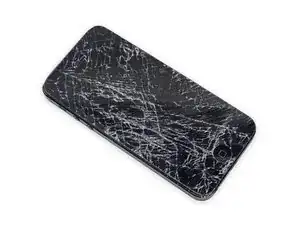
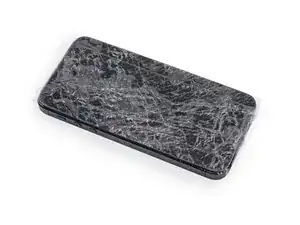
Lay overlapping strips of clear packing tape over the iPhone's display until the whole face is covered.
-
-
-
Power off your iPhone before beginning disassembly.
-
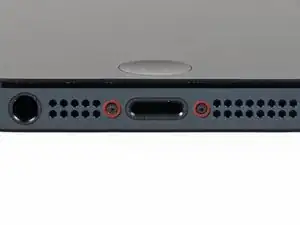
Remove the two 3.6 mm Pentalobe screws next to the Lightning connector.
-
-
-
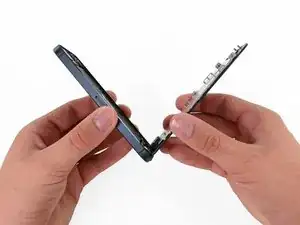
Regardless of the tool you use, you need to be sure you pull up the entire display.
-
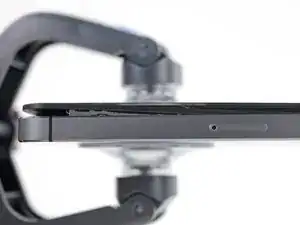
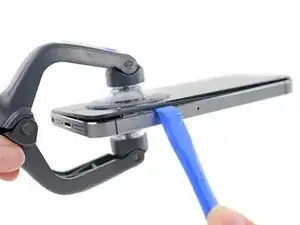
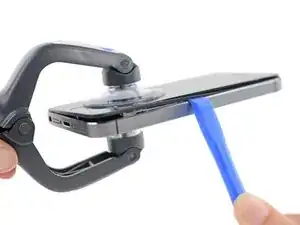
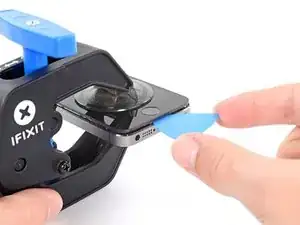
If the glass begins to separate from the plastic, as shown in the first image, slide a plastic opening tool between the plastic frame and the metal phone body to pry the metal clips out of the case.
-
-
-
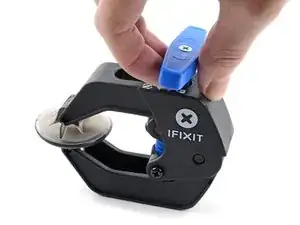
Pull the blue handle backwards to unlock the Anti-Clamp's arms.
-
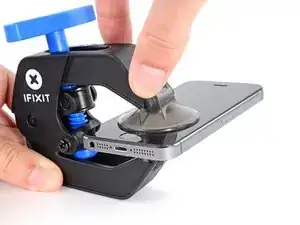
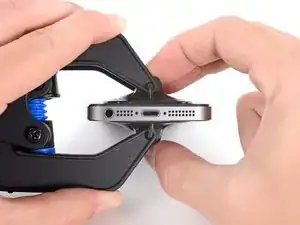
Slide the arms over either the left or right edge of your iPhone.
-
Position the suction cups near the bottom edge of the iPhone just above the home button—one on the front, and one on the back.
-
Squeeze the cups together to apply suction to the desired area.
-
-
-
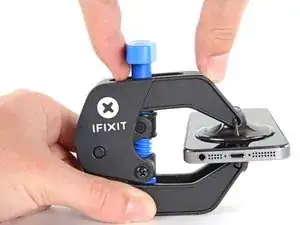
Pull the blue handle forwards to lock the arms.
-
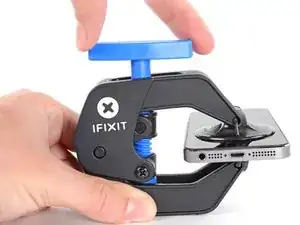
Turn the handle clockwise 360 degrees or until the cups start to stretch.
-
Insert an opening pick under the screen when the Anti-Clamp creates a large enough gap.
-
Skip the next two steps.
-
-
-
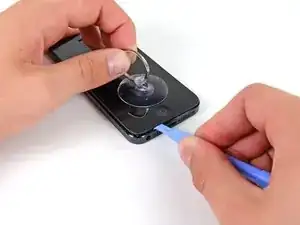
While holding the iPhone down with one hand, pull up on the suction cup to slightly separate the front panel assembly from the rear case.
-
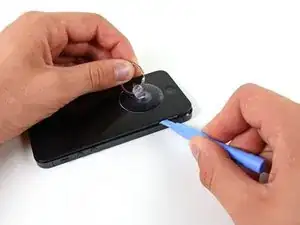
With a plastic opening tool, begin to gently pry the rear case down, away from the screen, while you pull up with the suction cup.
-
-
-
Continue to pry up around the sides of the front panel assembly, detaching the clips along the left and right side.
-
-
-
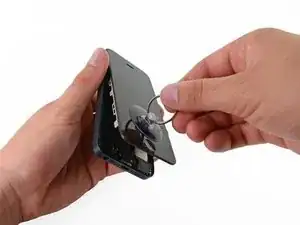
Once the clips have been released on the bottom and sides of the front panel assembly, pull the bottom of the assembly away from the rear case.
-
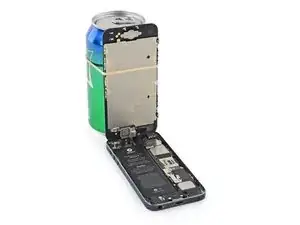
Open the display to about a 90º angle, and lean it against something to keep it propped up while you're working on the phone.
-
Add a rubber band to keep the display securely in place while you work. This prevents undue strain on the display cables.
-
-
-
Remove the following two screws securing the metal battery connector bracket to the logic board:
-
One 1.8 mm Phillips screw
-
One 1.6 mm Phillips screw
-
-
-
Use a plastic opening tool to gently pry the battery connector up from its socket on the logic board.
-
-
-
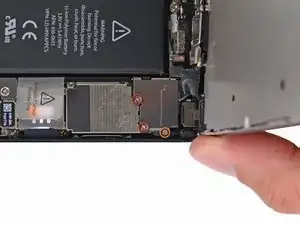
Remove the following screws securing the front panel assembly cable bracket to the logic board:
-
Two 1.2 mm Phillips screws
-
One 1.6 mm Phillips screw
-
-
-
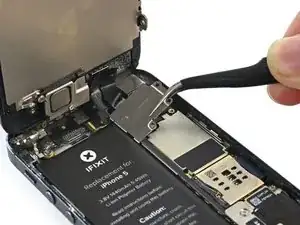
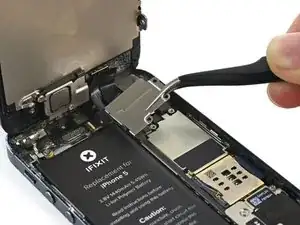
Lift the display cable bracket toward the battery to unhook it, and remove it from the iPhone.
-
-
-
Use a plastic opening tool or a fingernail to disconnect the three front panel assembly cables:
-
Front-facing camera and sensor cable
-
LCD cable
-
Digitizer cable
-
-
-
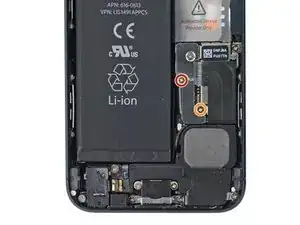
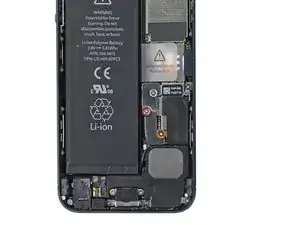
Remove the following two screws securing the metal battery connector bracket to the logic board:
-
One 1.8 mm Phillips screw
-
One 1.6 mm Phillips screw
-
-
-
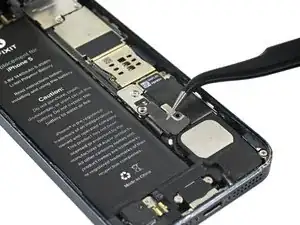
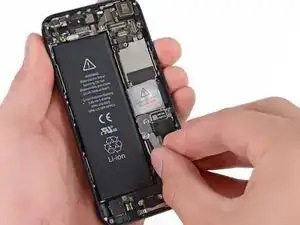
Use a plastic opening tool to gently pry the battery connector up from its socket on the logic board.
-
-
-
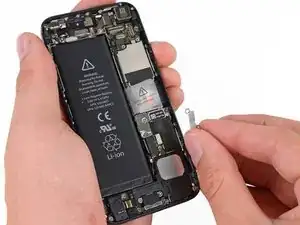
Remove the single 1.2 mm Phillips screw remaining in the mid logic board bracket.
-
Remove the mid logic board bracket.
-
-
-
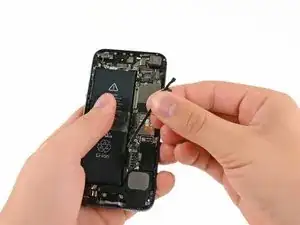
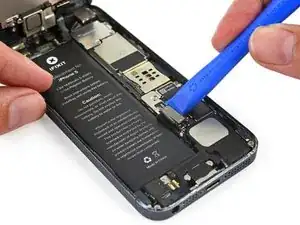
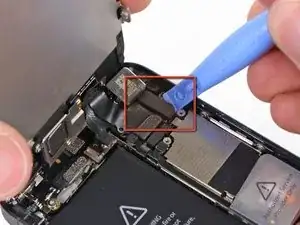
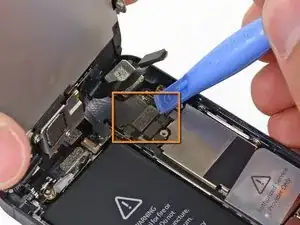
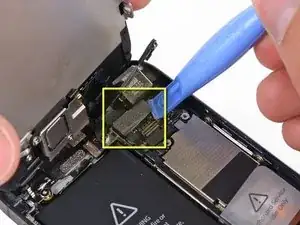
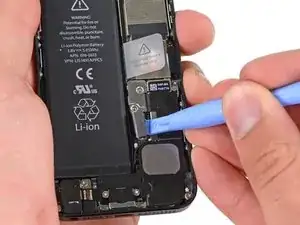
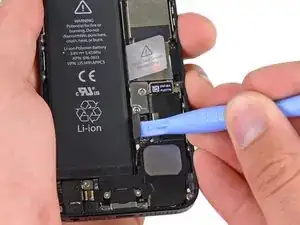
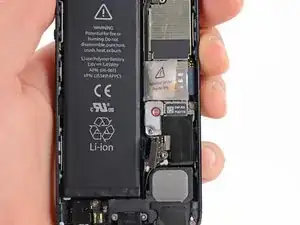
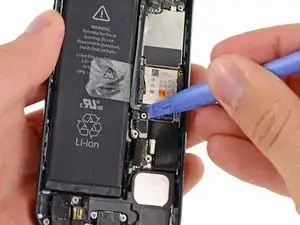
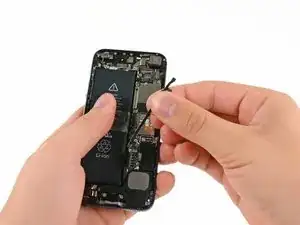
Use a plastic opening tool to pry the two interconnect cables up from their sockets at the top of the logic board.
-
-
-
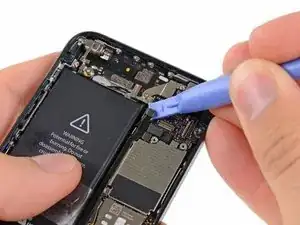
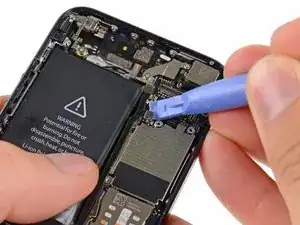
Disconnect the two interconnect cables from the bottom of the logic board in the same manner described above.
-
To reassemble your device, follow these instructions in reverse order.
2 comments
Please someone help me. Im having cellular signal issues. What's the purpose of two strips in iphone board. Msg me at whatsapp 03454494079
io ho cambiato la batteria , la batteria funziona e funziona tutto ma non prende più la rete , i cavi sono tutti attaccati bene , cosa posso aver toccato ? grazie


Having completed this repair using the rear camera part from Ifixit I have to comment that the camera is noticeably lower quality. Its not huge - You don't notice it looking at the photos scaled down to fit but viewing one for one there is significant detail lost. My staff member has an Iphone 5 bough at exactly the same time as mine so I was able to take a photo side by side on his and mine after my repair and when you view 1 for 1 pixel in product boxes on mine the text was just a colored blur where on his although you couldn't read the text it was more obviously text. Overall though its still better than having a camera that wouldn't focus at all and being that Apple seem to refuse to supply genuine spare parts (Which there has to be a low against??? - Imagine if a car manufacturer did that) its still good buying one from someone who gives good support. At the end of the day its a phone camera not an SLR and its still better than the older Iphone 4 camera.
matt -
The majority of product manufacturers are not required to provide parts, and apple will fix items under the various warranties it offers. Car manufacturers on the other hand are required to make parts available by law. It is part of the regulation of their industry. They get a lot of protection for their business model, but have some obligations too. It's why the EV1 was pulled, they didn't want to have to make the parts, and why there are so many Delorian parts.
William Leeper -