
Introduction
This guide shows how to remove and replace the front facing camera for the iPad Pro 12.9".
This guide is written for the Wi-Fi model. If you have the cellular model, you’ll need to do some additional disassembly (not noted in this guide).
-
-
Completely power down your iPad before you begin.
-
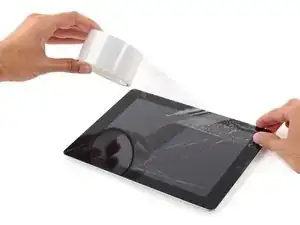
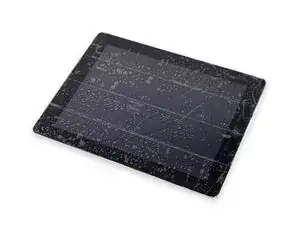
If your screen is cracked, lay overlapping strips of clear packing tape over the iPad's screen until the whole face is covered.
-
Do your best to follow the rest of the guide as described. However, once the glass is broken, it will likely continue to crack as you work, and you may need to use a metal prying tool to scoop the glass out.
-
-
-
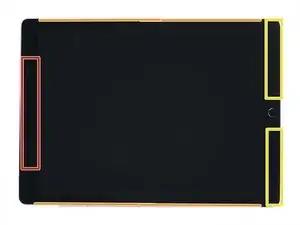
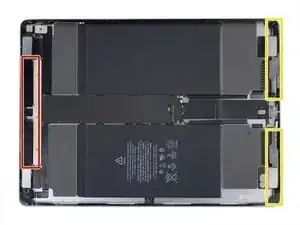
As you slice through the adhesive, note the following:
-
The top has a large patch of thick adhesive. You'll need to slice 1/2" deep in order to cut the adhesive.
-
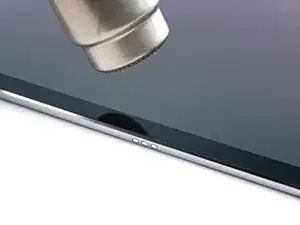
Don't slice deeper than 2 mm along the long edges of the iPad, or you risk damaging the display panel.
-
The lower edge also has thick patches of adhesive, but there are delicate flex cables in each corner. Don't slice deeper than 1/4" around the lower corners.
-
-
-
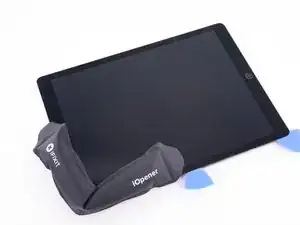
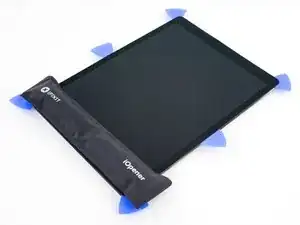
Heat an iOpener and lay it over the left edge of the iPad to soften the adhesive holding the screen in place.
-
Wait two minutes for the adhesive to soften before proceeding to the next step. The edge should be slightly too hot to the touch.
-
-
-
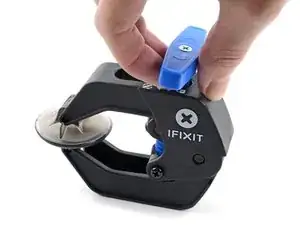
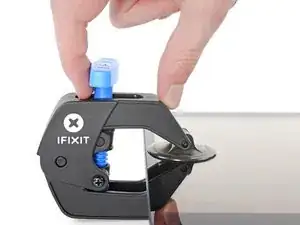
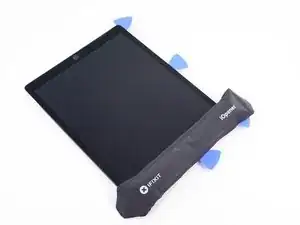
Pull the blue handle backwards to unlock the Anti-Clamp's arms.
-
Place an object under your iPad so it rests level between the suction cups.
-
Position the suction cups near the middle of the left edge—one on the top, and one on the bottom.
-
Hold the bottom of the Anti-Clamp steady and firmly press down on the top cup to apply suction.
-
-
-
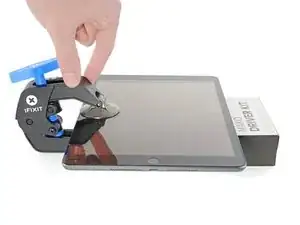
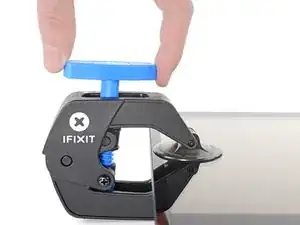
Pull the blue handle forward to lock the arms.
-
Turn the handle clockwise 360 degrees or until the cups start to stretch.
-
Make sure the suction cups remain aligned with each other. If they begin to slip out of alignment, loosen the suction cups slightly and realign the arms.
-
-
-
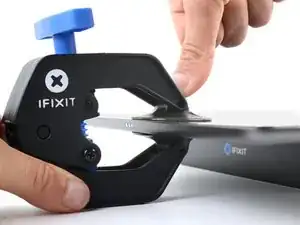
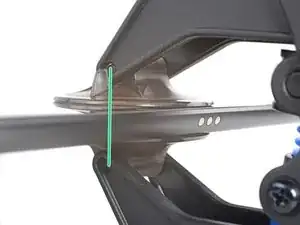
Wait one minute to give the adhesive a chance to release and present an opening gap.
-
If your screen isn't getting hot enough, you can use a hair dryer to heat along the left edge of the iPad.
-
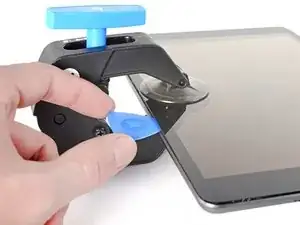
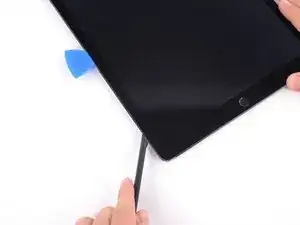
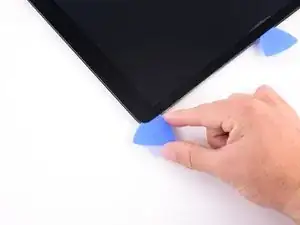
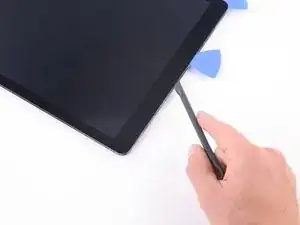
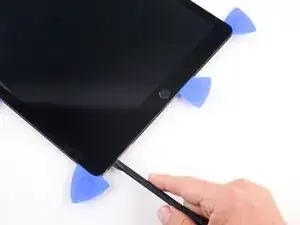
Insert an opening pick under the screen when the Anti-Clamp creates a large enough gap.
-
Skip the next two steps.
-
-
-
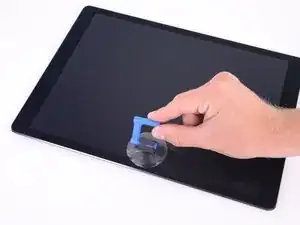
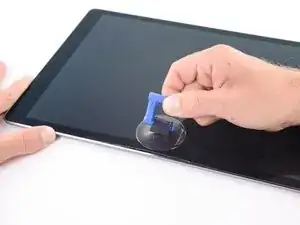
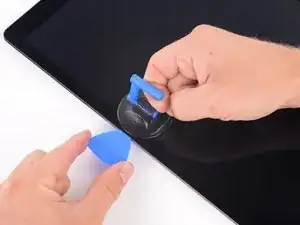
While holding down the corners of the iPad, repeatedly pull up on the screen, then ease it back down to weaken the adhesive. This will eventually create a small gap in the seam.
-
Once you've created a small gap, insert the tip of an opening pick into the gap.
-
-
-
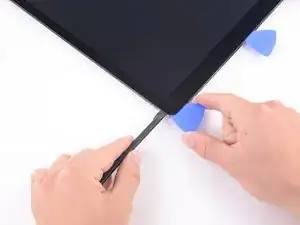
Lay a hot iOpener along the bottom left corner of the iPad, spanning from the opening pick to the home button.
-
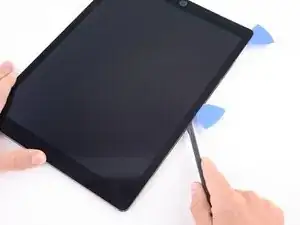
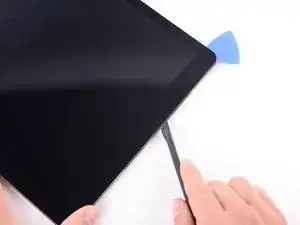
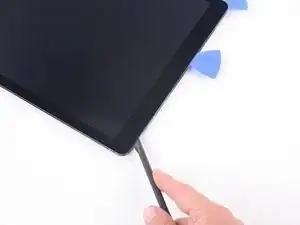
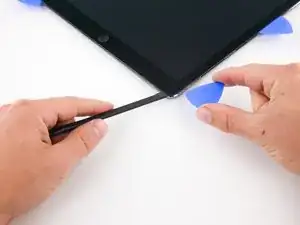
After letting the adhesive soften, insert an opening pick or halberd spudger into the gap next to the Smart Connector.
-
Use an opening pick or halberd spudger to slice the adhesive along the bottom left side of the iPad. If the slicing becomes difficult, reheat the edge and try again.
-
-
-
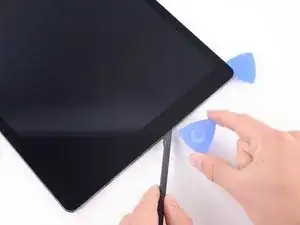
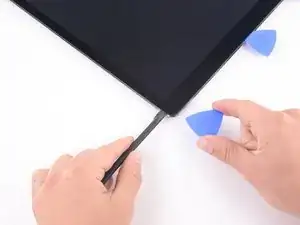
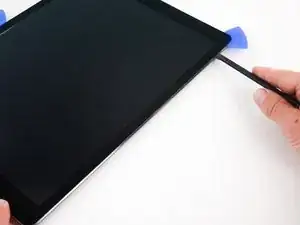
Lay a hot iOpener along the upper left corner of the iPad, spanning from the opening pick to the front-facing camera. Wait a minute to let the adhesive soften.
-
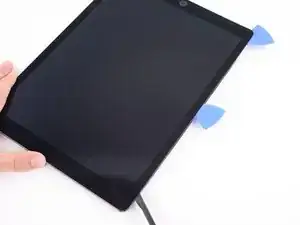
Use an opening pick to slice the adhesive along the upper left side of the iPad. If the slicing becomes difficult, reheat the edge and try again.
-
-
-
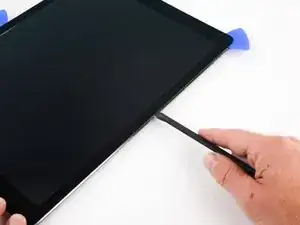
Reheat your iOpener and lay it over the top edge of the device. Wait a couple minutes for the adhesive to soften.
-
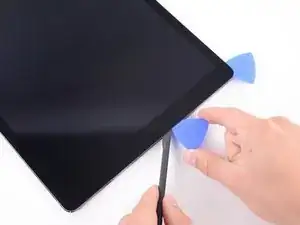
Use an opening pick to slice through the top edge of the iPad, stopping before you reach the front-facing camera.
-
If the slicing becomes hard, reheat the edge and try again.
-
-
-
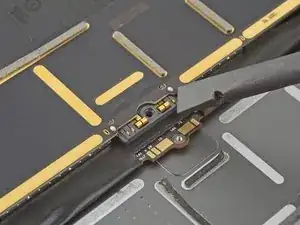
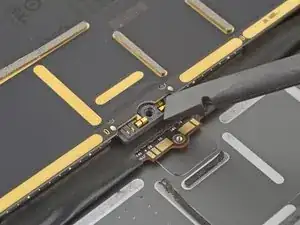
Insert an opening pick just before the front-facing camera to keep the adhesive from resealing.
-
-
-
Reheat your iOpener and lay it over the top edge of the device. Wait a couple minutes for the adhesive to soften.
-
Insert an opening pick or a halberd spudger blade just past the front-facing camera.
-
Use the opening pick to slice through the adhesive in the upper right corner.
-
If the slicing becomes hard, reheat the edge and try again.
-
-
-
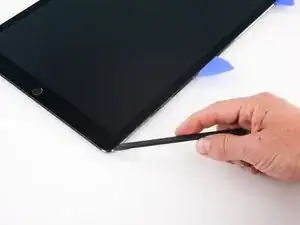
Soften the adhesive by heating the right edge of the iPad using an iOpener.
-
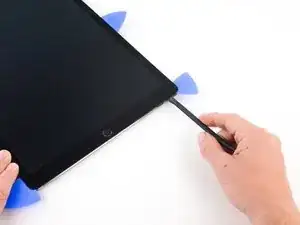
Use an opening pick or halberd spudger to slice along the right edge of the iPad, till you reach the lower right corner.
-
Leave an opening pick in the middle of the right edge to prevent the adhesive from resealing.
-
-
-
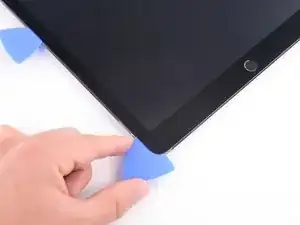
Leave an opening pick in the lower right corner of the iPad to prevent the adhesive from resealing.
-
-
-
Use an iOpener to heat the lower edge of the iPad.
-
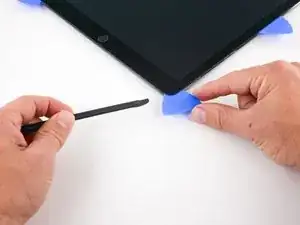
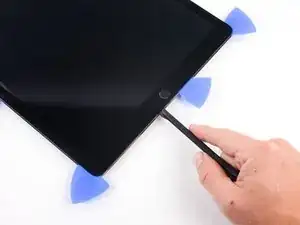
Insert an opening pick or a halberd spudger blade 1/4" into the lower right corner of the iPad.
-
Slide the opening pick along the lower edge of the iPad, stopping short about 1/2" before reaching the home button.
-
-
-
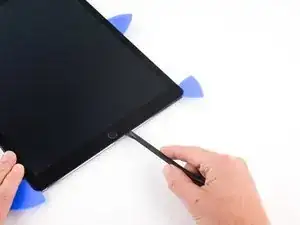
Slide the tip of an opening pick or a halberd spudger to cut the adhesive below the home button.
-
-
-
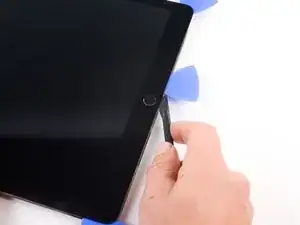
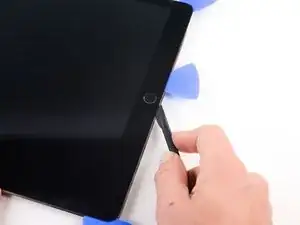
After you slice below the home button, reinsert the tip of an opening pick or a halberd spudger blade 1/4" into the lower edge.
-
Slice along the lower edge until you reach the opening pick.
-
-
-
At this point, you've sliced through most of the screen adhesive. Use an opening pick to carefully slice any remaining adhesive along the edges until the screen is freed. If some parts are stubborn, heat the area with an iOpener to loosen the adhesive.
-
-
-
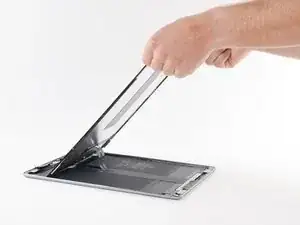
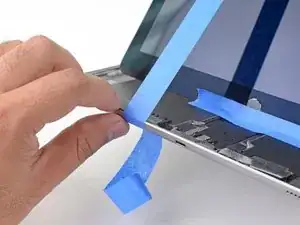
Lift up the upper edge of the screen and slide the entire screen towards the front-facing camera to access the iPad's internal components.
-
Use masking tape to tape the lower edge of the screen to the frame to prevent the screen from slipping.
-
-
-
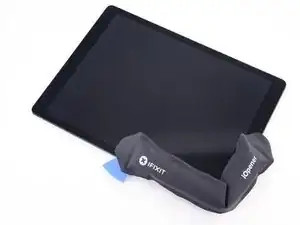
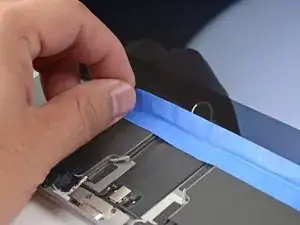
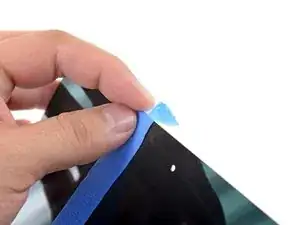
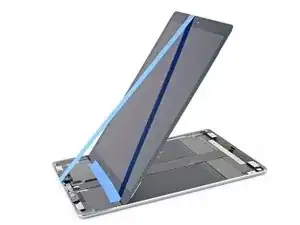
Attach a long strip of masking tape to the top edge of the screen. Fold the tape over the edge and make sure that the tape is attached securely.
-
Attach the other end of the strip to the bottom edge of the iPad frame to hold the screen at an angle. Make sure the tape attaches securely to the frame.
-
-
-
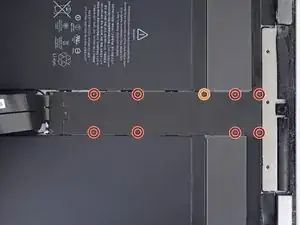
Use a Phillips screwdriver to remove the nine screws securing the logic board EMI shield:
-
Eight 1.2 mm screws
-
One 2.4 mm screw
-
-
-
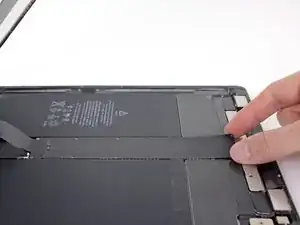
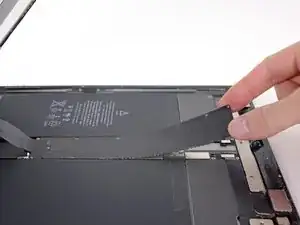
Lift the logic board EMI shield from the edge nearest the top of the iPad.
-
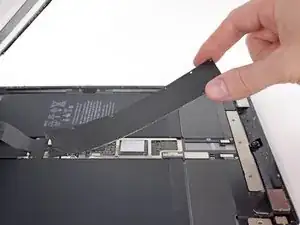
Peel up and remove the EMI shield from the logic board.
-
Remove the logic board EMI shield.
-
-
-
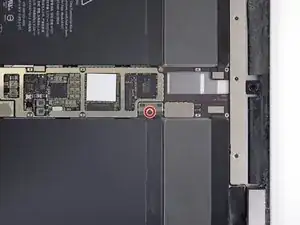
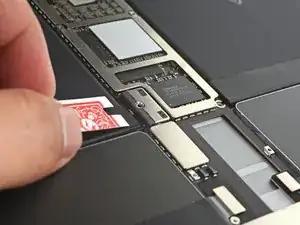
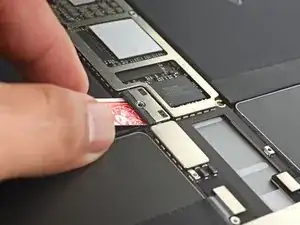
Make a battery blocker using a playing card and slide it underneath the logic board connector to disconnect the battery.
-
Leave the blocker there to prevent the battery connector leads from making contact until you have completed your repairs.
-
-
-
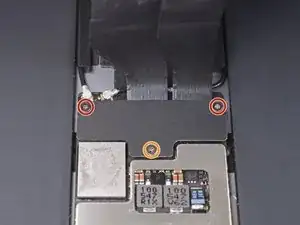
Use a Phillips screwdriver to remove the three screws securing the display cable bracket:
-
Two 2.4 mm screws
-
One 1.2 mm screw
-
Remove the display cable bracket.
-
-
-
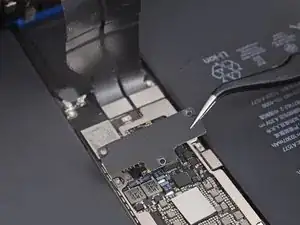
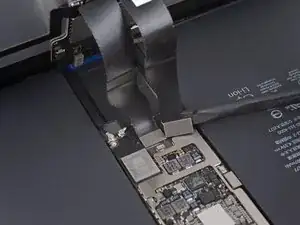
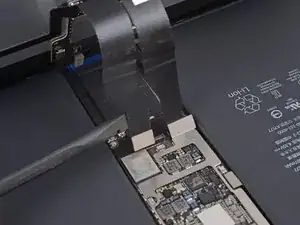
Use the flat end of a spudger to pry up and disconnect the display and digitizer cables from their logic board sockets.
-
-
-
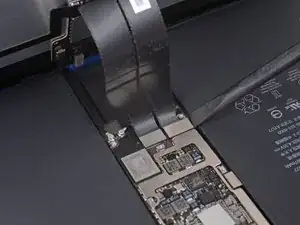
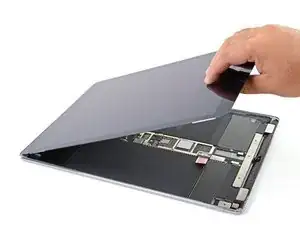
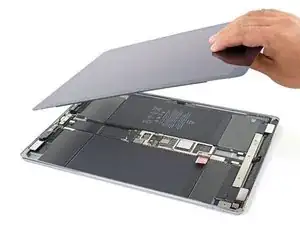
Remove the screen.
-
If your screen didn't come with pre-applied adhesives, use our screen adhesive application guide to install fresh pre-cut adhesive strips when reassembling your iPad.
-
-
-
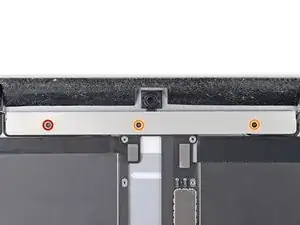
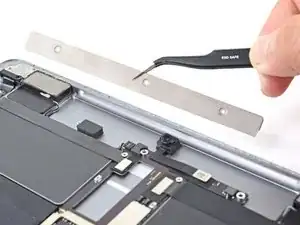
Use a Phillips screwdriver to remove the three screws securing the top bracket:
-
One 1.2 mm screw
-
Two 2.3 mm screws
-


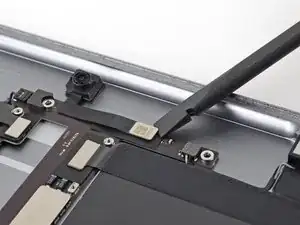
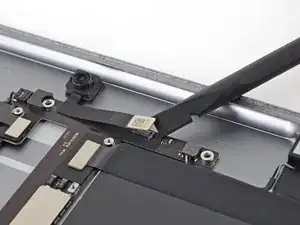
To reassemble your device, follow these instructions in reverse order.
Take your e-waste to an R2 or e-Stewards certified recycler.
Repair didn’t go as planned? Try some basic troubleshooting, or ask our Answers community for help.

I have an A1652 iPad pro 12.9” that was originally my wife’s. The battery doesn’t hold a charge very long in use so I read through this guide and ordered the kit and battery. This iPad has a gold colored case that appears to wrap over the edges of the screen. As a result I could not find any place to slice through the adhesive. Model number brought up on the “about” screen is ML3P2LL/A and serial is DLXR3M7LGMW5. Is this possibly a transition model? Any ideas?
wavose -
Hello! Based on the model number, it looks like you have the 1st generation cellular version of the iPad Pro 12.9". This guide should work for you. The tolerances on the iPad are very tight—you're looking for the seam between the black bezel and the gold case. You'll need a lot of heat in order to loosen the bezel.
Arthur Shi -