Introduction

MacBook Pro 13" 2022 (M2) trackpad prerequisite.

  1. U4tX5XhwIpXpMgAL
    U4tX5XhwIpXpMgAL
    JDHMEXiFS41MZUkD
    RkvsgLmL1lgYZR1h
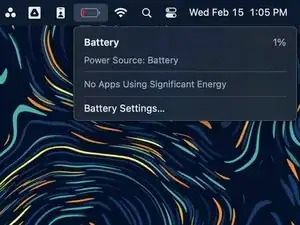
    • Allow your MacBook's battery to drain below 10% before starting this repair. A charged battery may catch fire if damaged during the repair.

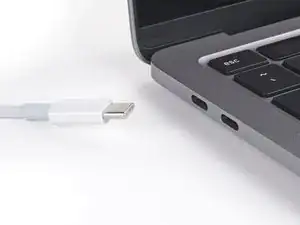
    • Unplug all cables and fully shut down your MacBook.

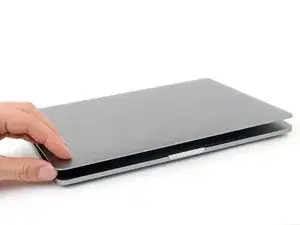
    • Close the lid and flip your MacBook over. Keep the lid closed until you've physically disconnected the battery.

    • Opening the lid will power on your MacBook. If you're using macOS Big Sur v11.1 or earlier, disable this function using this guide.

  2. 6XfeiGHUxrLpTDuJ
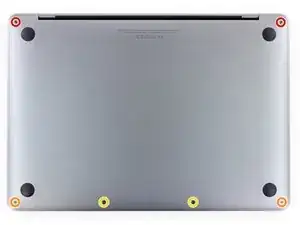
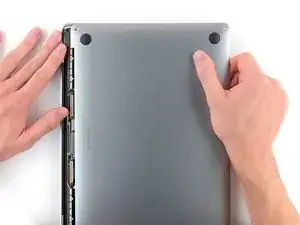
    • Use a P5 Pentalobe driver to remove the six screws securing the lower case:

    • Two 6.8 mm screws

    • Two 5.3 mm screws

    • Two 3.4 mm screws

    • Throughout this repair, keep track of each screw and make sure it goes back exactly where it came from.

  3. FJBBEPdfhWkcDVnU
    FJBBEPdfhWkcDVnU
    eSePKZl2oNOPZD5O
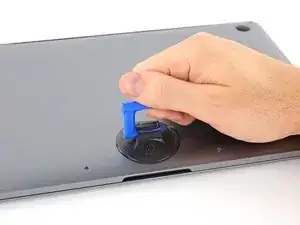
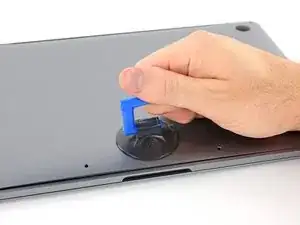
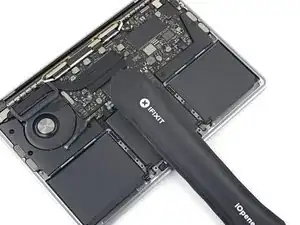
    • Apply a suction handle near the front edge of the lower case, between the screw holes.

    • Pull up on the suction handle to create a gap between the lower case and the frame.

  4. uXYNwNrFnnZjWVPG
    uXYNwNrFnnZjWVPG
    JNhb2FLsMAf1dNPU
    2PoKZfpFYl2lNLYh
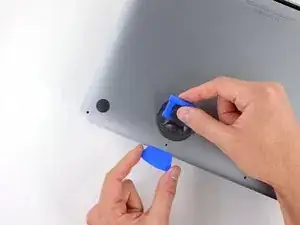
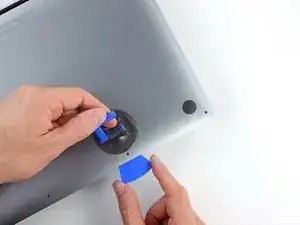
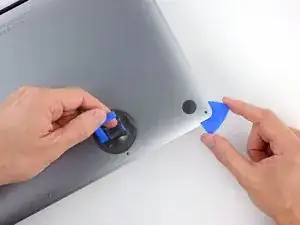
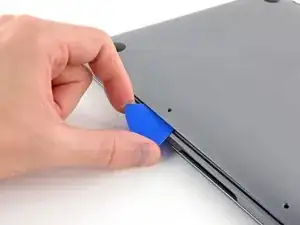
    • Insert an opening pick between the lower case and the frame.

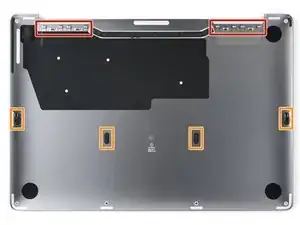
    • Slide the pick around the left corner to release the first set of clips.

    • You'll hear and feel a pop when each clip releases.

  5. pTJx2mXBdFFAC2xb
    pTJx2mXBdFFAC2xb
    WR2c3Yu2DWmJKVhV
    lDMHIrQViLC6AQgH
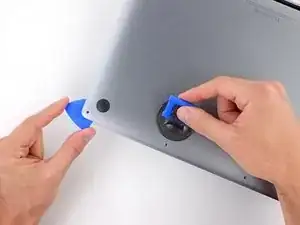
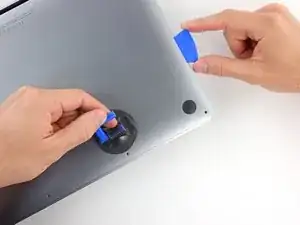
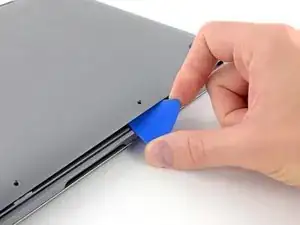
    • Slide your opening pick around the right corner to release the second set of clips securing the lower case.

  6. CNlaKYGMcLuNXCGt
    CNlaKYGMcLuNXCGt
    DUNrcpQtrqnnZSXS
    MnCyZXeeVgduQT4W
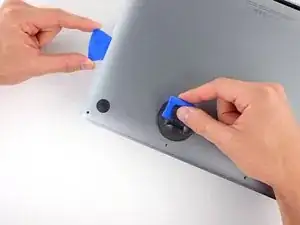
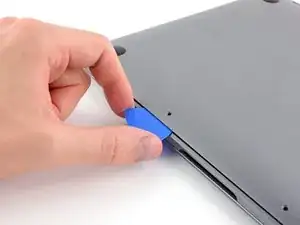
    • Insert your opening pick between the lower case and the frame near the middle left screw hole.

    • Firmly twist the pick until the clip releases.

    • Repeat this procedure for the clip near the middle right screw hole.

  7. NlrkASaaCpv5ZyBF
    NlrkASaaCpv5ZyBF
    CJfKKO6CGHPoWtmT
    gcntTllNIv2KSqDR
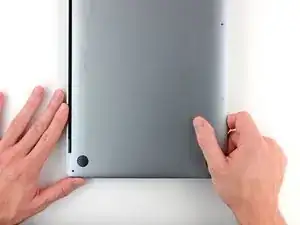
    • Firmly pull the lower case away from the screen hinges to release the last clips securing it to the frame.

    • This motion requires significant force. Don't pull the lower case up, as you may bend the clips.

    • If it feels stuck, pull one corner at a time.

  8. EfuMeVIqhauZxFC2
    EfuMeVIqhauZxFC2
    ZWvSfoMJNAwTd1nw
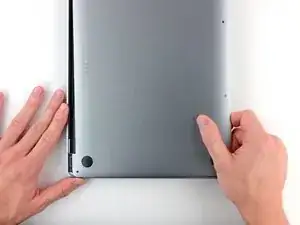
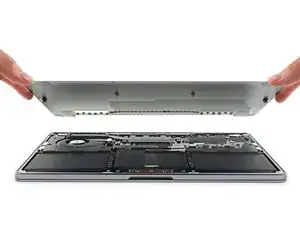
    • Remove the lower case.

    • To reinstall the lower case:

    • Set it in place and align the sliding clips near the display hinges. Press down and slide the lower case toward the hinges.

    • Once the lower case is secured near the hinges, press down firmly to engage the remaining four clips.

    • You'll hear and feel a pop when each clip engages.

  9. MLesCrdxYCfEJgCd
    MLesCrdxYCfEJgCd
    DULy5mtfFQAeo34T
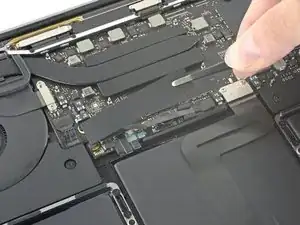
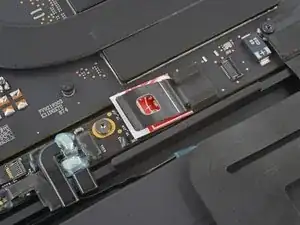
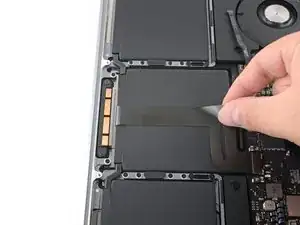
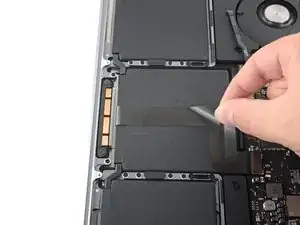
    • Use blunt noise tweezers or your fingers to peel and remove the cover from the battery board, just above the middle battery cell.

  10. djKmHALNFbNqlmNu
    djKmHALNFbNqlmNu
    PReLk2QetgDSIcGi
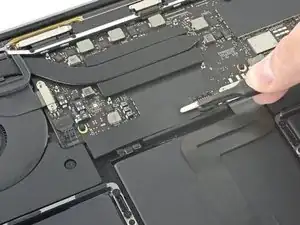
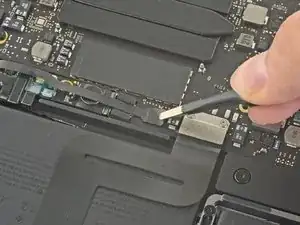
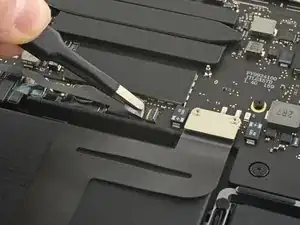
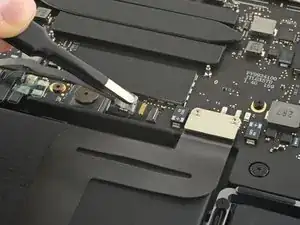
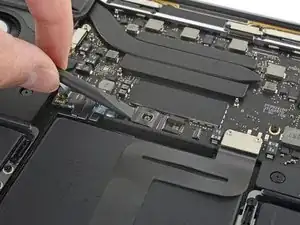
    • Use blunt nose tweezers to gently peel back the pull tab covering the battery data connector.

    • Don't remove or tear the pull tab, as it's attached to the head of the connector.

  11. UGJWjJYILha4fPq3
    UGJWjJYILha4fPq3
    TAoMyDaI4LVFjf4S
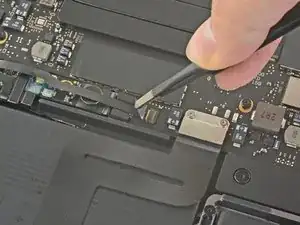
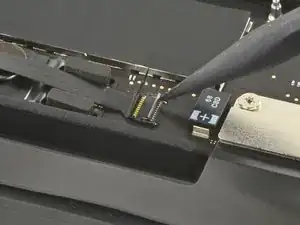
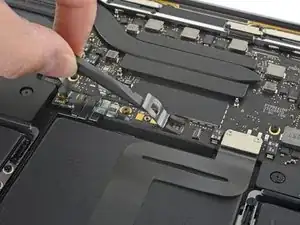
    • Use the point of a spudger to flip up the small locking tab securing the battery data connector.

    • Locking tabs on ZIF connectors are fragile—be gentle with your spudger.

  12. XPNKXSPTH6XONurY
    XPNKXSPTH6XONurY
    QT4O2PQjklnOKaOq
    tBiZIq2FwprSY1LV
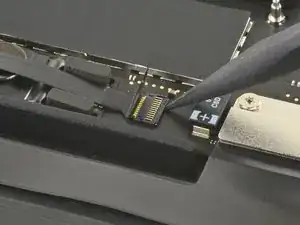
    • Use blunt nose tweezers or your fingers to grab the battery data cable pull tab and slide it straight out of its socket.

    • Move the cable to the left, out of the way of the battery board.

    • Don't strain the cable, as it's still attached to the battery board.

  13. hUPr6omhrEWEurAS
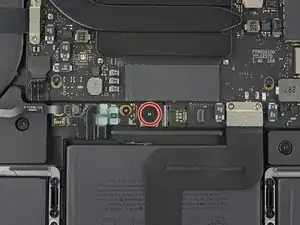
    • Use a T5 Torx driver to remove the 3.7 mm screw securing the battery connector.

  14. uPklZIZh6pdRR6Bl
    uPklZIZh6pdRR6Bl
    mvKuKVSu3fVAGCOY
    lVG4JZRDUGmhYH4Q
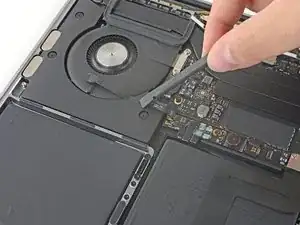
    • Use the flat end of your spudger to slightly lift the battery connector away from the battery board.

    • Lifting the connector too high will break it. Angle it enough so it won't accidentally contact the battery board during repair.

    • Optionally, you may insert a barrier, such as a piece of a playing card, between the connector and the board during the repair.

  15. yLIkgSieMZ1NGfhD
    yLIkgSieMZ1NGfhD
    nrciqN43qVfNgbq3
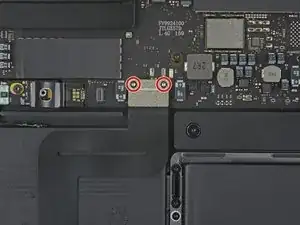
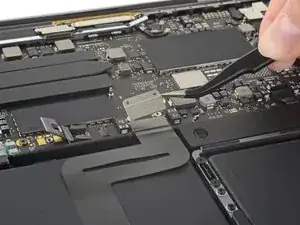
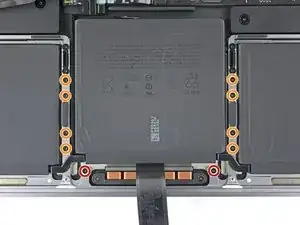
    • Use your T5 Torx driver to remove the two 1.9 mm screws securing the trackpad cable bracket.

    • Remove the bracket.

  16. nBJXcQZoxMNLpTFa
    nBJXcQZoxMNLpTFa
    Cy5qFRIGwrxSotxp
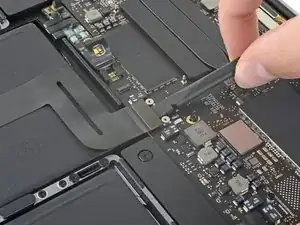
    • Use the flat end of your spudger to pry up and disconnect the trackpad cable from the logic board.

  17. b6KQX1QZUYNOvPY2
  18. hZp2pM5SgkwjuiHU
    hZp2pM5SgkwjuiHU
    ASQwQWfhTdpOMdnG
    xbWKuQnfBnqxSTFy
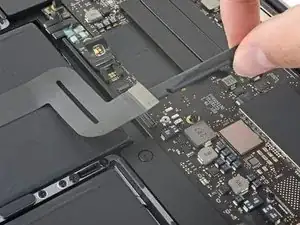
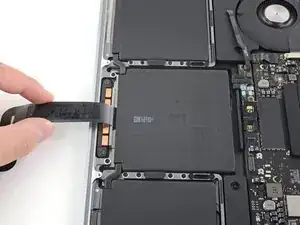
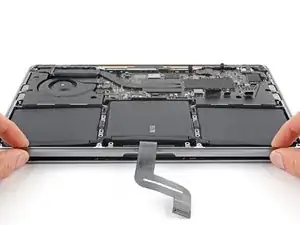
    • Use your fingers to peel the trackpad cable from the battery.

    • Fold the cable over the front edge of the MacBook.

    • Don't strain the cable, as it's still connected to the trackpad.

  19. KXABjnBYVbiS53ee
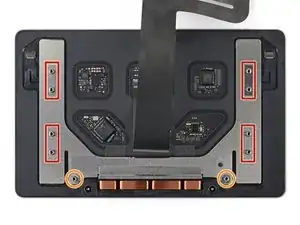
    • Use your T5 Torx driver to remove the ten screws securing the trackpad:

    • Two 4.3 mm screws

    • Eight 5.8 mm screws

  20. 4invdZDMwoILjwmF
    4invdZDMwoILjwmF
    flaYy4EeCoSY3hYT
    5DKGiXqovW63JLCg
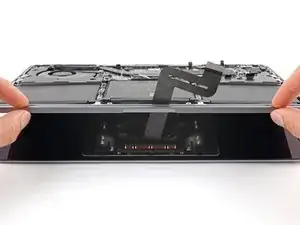
    • Open your MacBook by lifting the body away from the display and trackpad.

    • Feed the trackpad cable through its cutout in the frame.

    • Before reinstalling the trackpad, thread the trackpad cable through the narrower of two slots at the base of the frame.

  21. 2fYJaXBoGmSCfvrp
    2fYJaXBoGmSCfvrp
    ZIjKCvHF1pE1TTXb
    YNdvAjh1p1P4wEcO
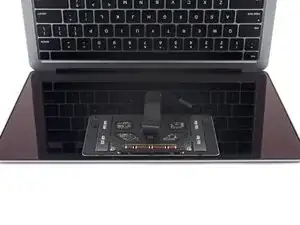
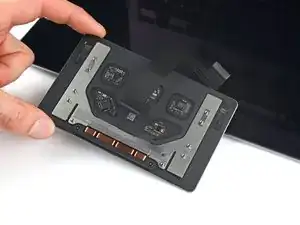
    • Remove the trackpad from the display.

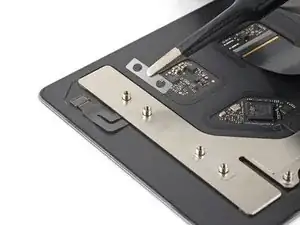
    • Be careful not to lose the six small washers from the trackpad screw posts:

    • Four rectangular washers

    • Two circular washers

Conclusion

To reassemble your device, follow these instructions in reverse order.

Take your e-waste to an R2 or e-Stewards certified recycler.

Repair didn’t go as planned? Try some basic troubleshooting or search our Answers community for help.
Clay Eickemeyer

Member since: 19/09/22

65190 Reputation

0 comments