Introduction
Use this guide to remove the sensor array in your Samsung Galaxy S8. Included in the array is the status LED, an IR emitter, and a rangefinder.
This guide involves removing the rear glass cover, you will need replacement adhesive to reattach the back cover to the phone.
Before disassembling your phone, discharge the battery below 25%. The battery can catch fire and/or explode if accidentally punctured, but the chances of that happening are much lower if discharged.
Tools
Parts
-
-
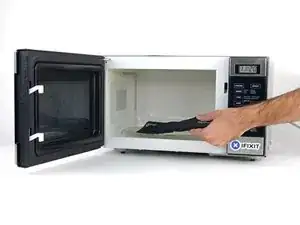
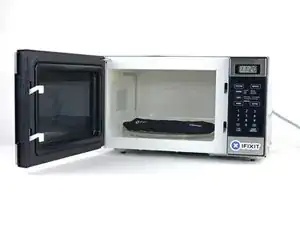
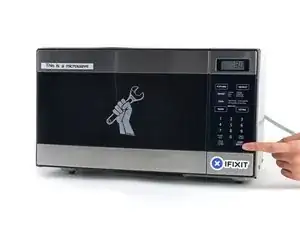
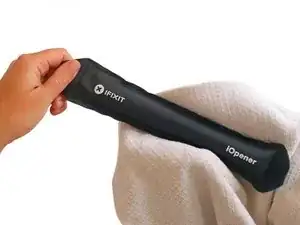
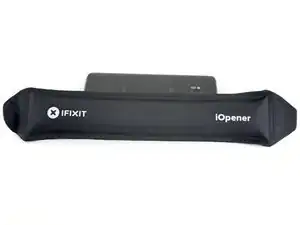
Heat the iOpener for thirty seconds.
-
Throughout the repair procedure, as the iOpener cools, reheat it in the microwave for an additional thirty seconds at a time.
-
-
-
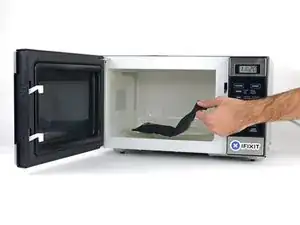
Remove the iOpener from the microwave, holding it by one of the two flat ends to avoid the hot center.
-
-
-
Fill a pot or pan with enough water to fully submerge an iOpener.
-
Heat the water to a boil. Turn off the heat.
-
Place an iOpener into the hot water for 2-3 minutes. Make sure the iOpener is fully submerged in the water.
-
Use tongs to extract the heated iOpener from the hot water.
-
Thoroughly dry the iOpener with a towel.
-
Your iOpener is ready for use! If you need to reheat the iOpener, heat the water to a boil, turn off the heat, and place the iOpener in the water for 2-3 minutes.
-
-
-
In the following steps you will be cutting through the adhesive around the edge of the rear glass panel.
-
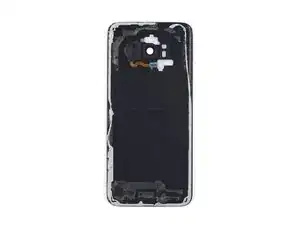
The adhesive on the rear case is laid out as seen in the first image.
-
The prying pattern as seen from the outside of the phone is as follows:
-
Thick portions of adhesive
-
Thin areas of adhesive
-
Avoid prying here, to protect the fingerprint sensor.
-
-
-
Once the back panel is warm to the touch, apply a suction cup as close to the heated edge of the phone as you can while avoiding the curved edge.
-
Lift on the suction cup, and insert an opening pick under the rear glass.
-
-
-
Repeat the previous heating and cutting procedure for the remaining three sides of the phone.
-
Leave an opening pick on each side as you continue to the next to prevent the adhesive from resealing.
-
-
-
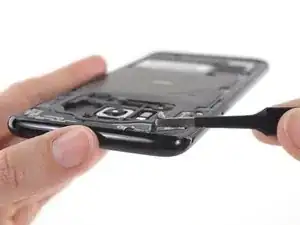
Use the opening picks to slice through any remaining adhesive and open the phone slightly.
-
Remove the glass from the phone.
-
-
-
Use tweezers to peel away any remaining adhesive from the phone's chassis. Then clean the adhesion areas with high concentration isopropyl alcohol (at least 90%) and a lint-free cloth to prep the surface for the new adhesive.
-
Peel the adhesive backing off of the new rear glass, carefully line up one edge of the glass against the phone chassis, and firmly press the glass onto the phone.
-
-
-
Insert a SIM card opening tool into the small hole on the left side of the top edge of the phone.
-
Press to eject the tray.
-
Remove the SIM card tray from the phone.
-
-
-
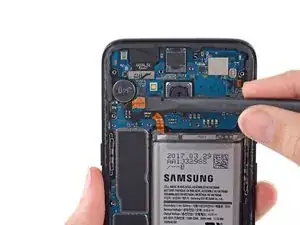
Use the point of a spudger to disconnect two antenna cables that connect the motherboard to the daughterboard.
-
-
-
Use the flat end of a spudger to disconnect an antenna ribbon cable that connects the motherboard to the daughterboard.
-
-
-
Use the flat end of a spudger to lift the motherboard and disconnect it from the daughterboard.
-
-
-
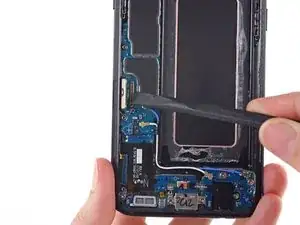
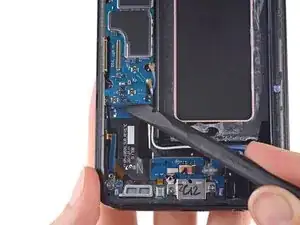
Insert the pointed tip of a spudger into the corner of the sensor array, between the case and the array. Pry up the sensor array.
-
Remove the sensor array.
-
After reapplying adhesive, follow these instructions in reverse order to reassemble your device.
After you've completed the repair, follow this guide to test your repair.
One comment
My girlfriend’s GPS doesn’t work at all and additionally when she rotates the phone the screen doesn’t rotate at the same time (i.e. when in the gallery, photos don’t go from portrait to landscape). Would that be controlled by this, and would replacing it potentially fix it? (I’ve tried software fixes but they gave me no joy and a Samsung employee suggested it might be a hardware problem).
Pat -

















I didn't find this to be as hard as I had built it up in my mind to be; HOWEVER, saying that I need to say years ago I was the local Nokia service center in my town. But many years ago right after they got rid of analog times. Yeah. A classic installer/repairer mistake when starting something they haven't fixed or installed before is picking up the instructions, flipping through them; maybe even reading a section that is new-then tossing the instructions over the shoulder. "I got this." This usually comes right before something major gets broke. And I can tell you when you try to do it yourself and then mess it up horribly then take it to the repair shop. Well we called that "I can do it myself" syndrome and charged extra to put back together what they brought in in the box. Now knowing all this - I can't stress this enough because I am stupid, stupid, stupid. COVER YOUR SCREEN IN CLEAR BOXING TAPE AND READ ALL THE INSTRUCTION BELOW THROUGH TO THE END BEFORE EVEN ATTEMPTING THIS FIX. Take my advise.
windizy -