Introduction
Prerequisite-only guide for opening the phone and accessing the internals.
Tools
Parts
-
-
Prepare an iOpener and heat the back of the phone along its left edge for about two minutes. This will help soften the adhesive securing the back cover.
-
-
-
In the following steps, you'll be cutting through the adhesive securing the back cover.
-
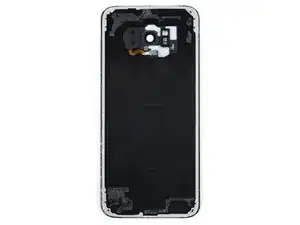
As seen from outside the phone, you'll be slicing through the adhesive in the areas shown:
-
Thick portions of adhesive
-
Thin areas of adhesive
-
Avoid prying or slicing in this area, to protect the fingerprint sensor flex cable.
-
-
-
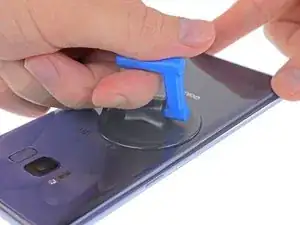
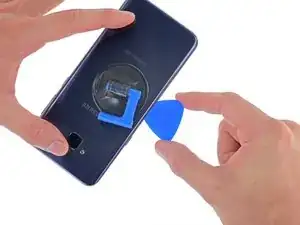
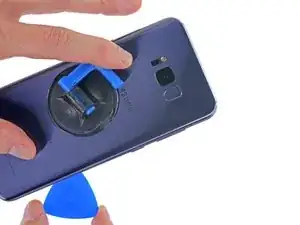
Secure a suction cup to the back cover, as close to the heated edge as possible.
-
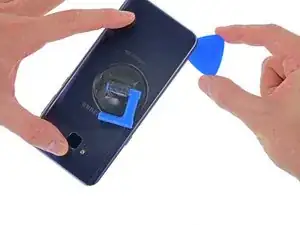
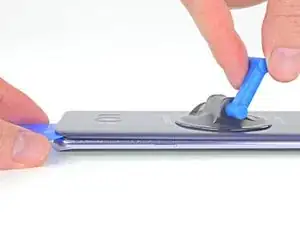
Lift the back cover's left edge with your suction cup, opening a slight gap between the back cover and the frame.
-
-
-
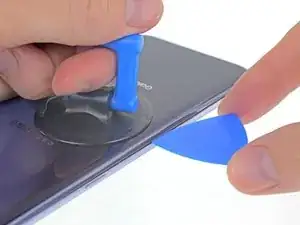
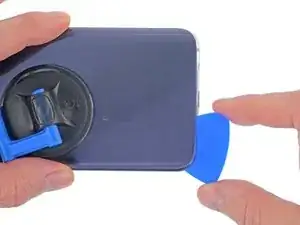
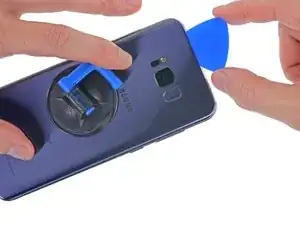
Slide your opening pick along the left edge of the phone to slice through the adhesive securing the back cover.
-
-
-
Continue slicing through the adhesive along the bottom edge of the phone.
-
Again, it may help to leave the opening pick in place and grab another one for the following step.
-
-
-
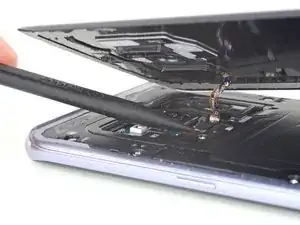
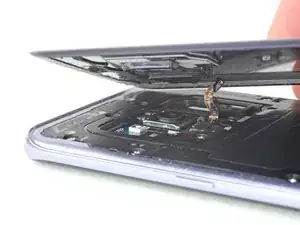
Then, use the flat end of your spudger to gently snap the connector into place by pressing it straight down.
-
-
-
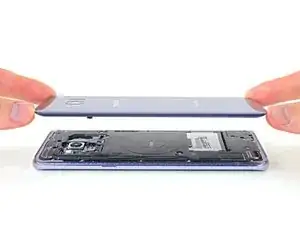
Remove the back cover.
-
Use tweezers to peel away any remaining adhesive from the phone's chassis. Then clean the adhesion areas with high concentration isopropyl alcohol (at least 90%) and a lint-free cloth to prep the surface for the new adhesive.
-
Peel the adhesive backing off of the new rear glass, carefully line up one edge of the glass against the phone chassis, and firmly press the glass onto the phone.
-
To reassemble your device, follow these instructions in reverse order.












I strongly advise using a modeling knife to cut the adhesive when you get a sufficient gap otherwise you may easily break the corners of the extremely thin back glass on the phone (as I did).
Michael De Angelis -