Introduction

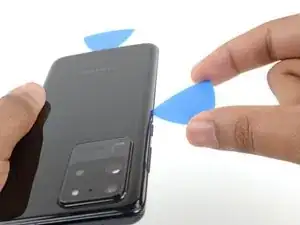
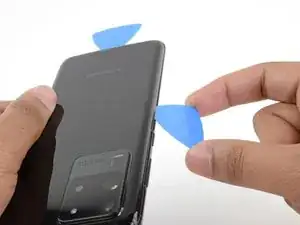
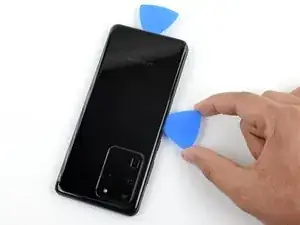
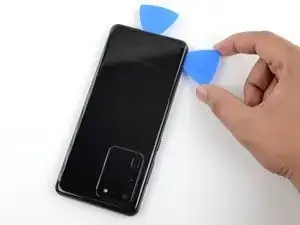
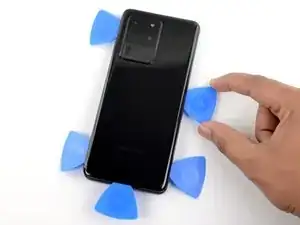
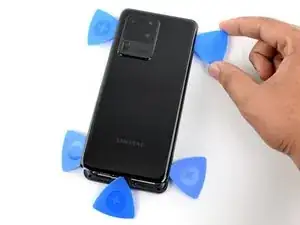
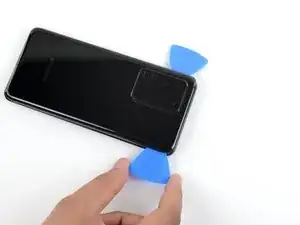
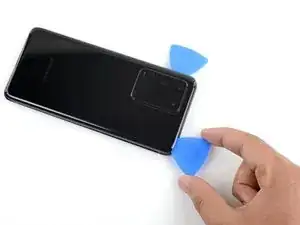
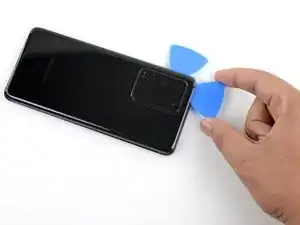
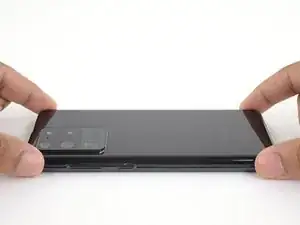
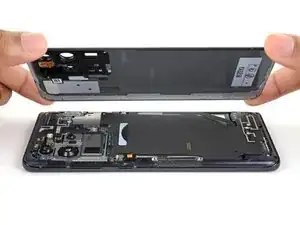
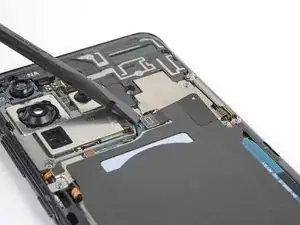
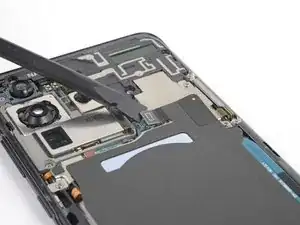
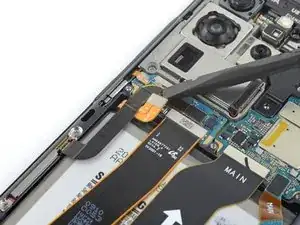
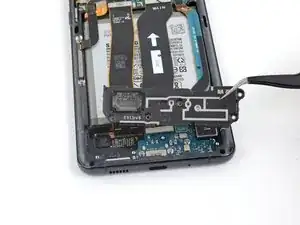
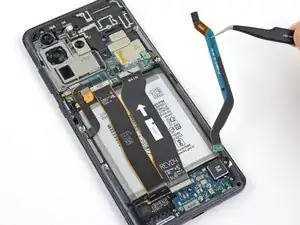
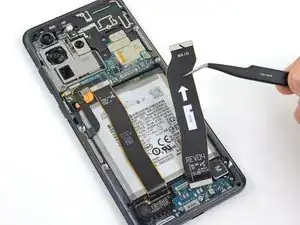
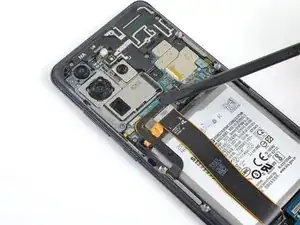
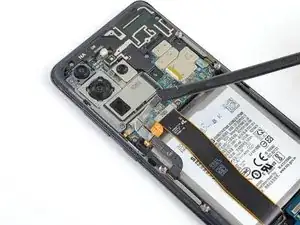
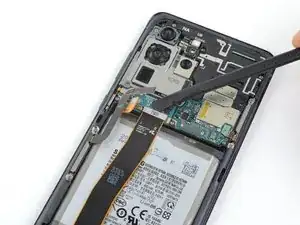
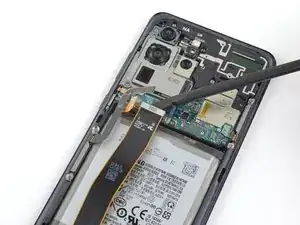
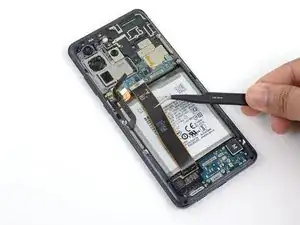
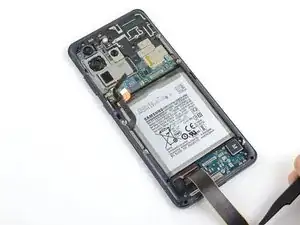
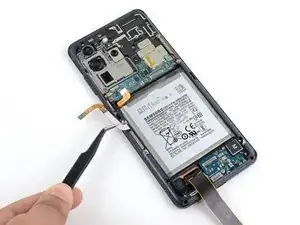
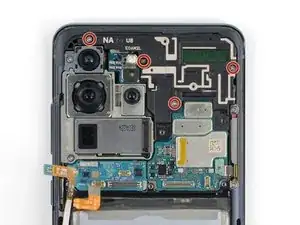
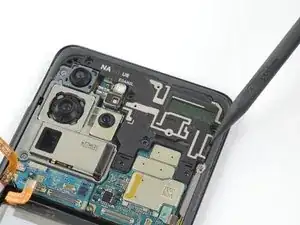
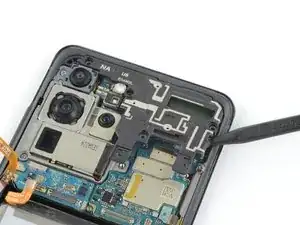
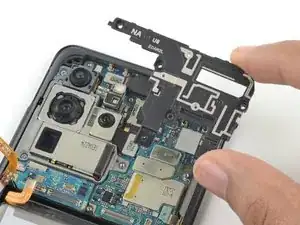
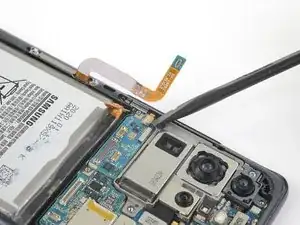
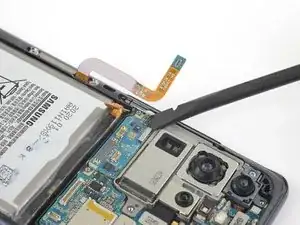
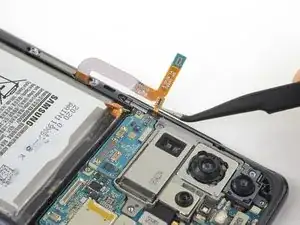
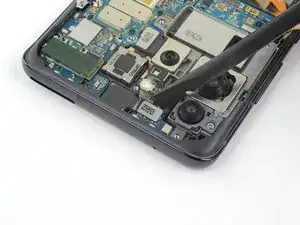
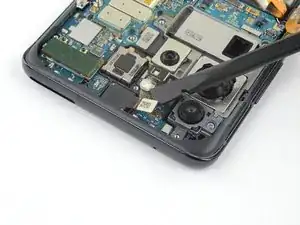
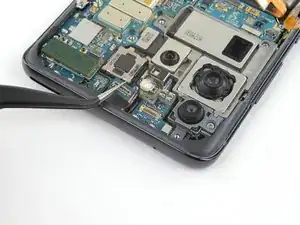
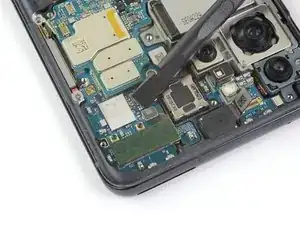
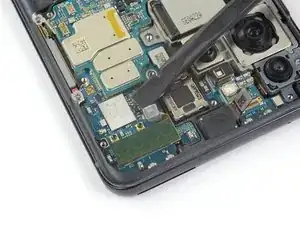
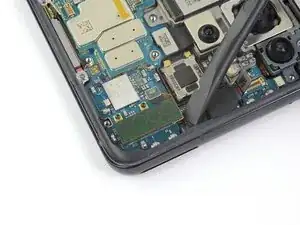
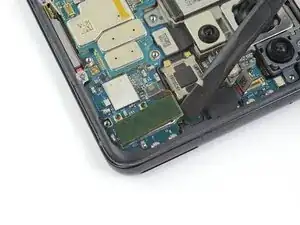
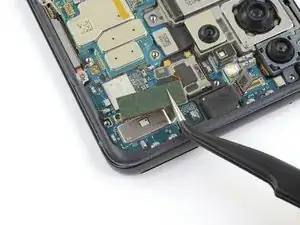
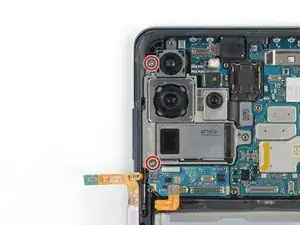
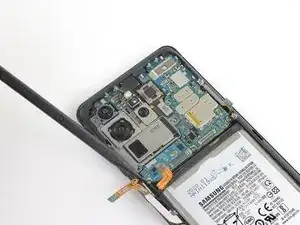
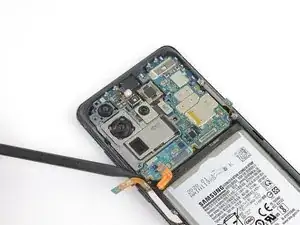
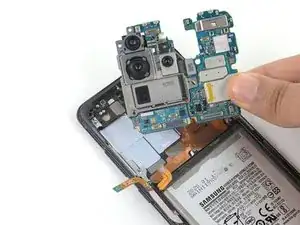
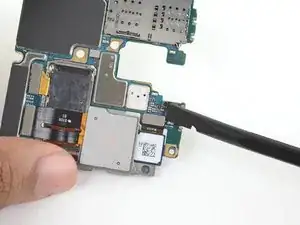
Follow this guide to remove and replace the rear-facing camera module for the Galaxy S20 Ultra. The module includes all four rear-facing cameras, as well as the frame that holds them. You can also use this guide to replace any individual camera in the module.

This procedure requires removing the motherboard.

You'll need replacement adhesive in order to complete this repair.

  1. K6iFIqosGDYxVQP1
    K6iFIqosGDYxVQP1
    ZIGekYfKsbsBTD5o
    rO4tOQDeu4d4DEbP
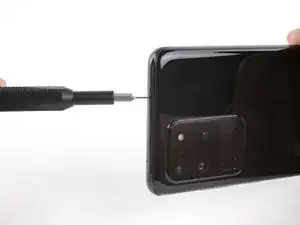
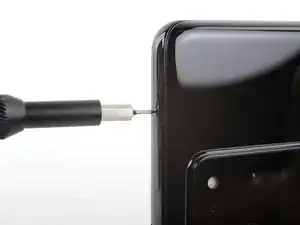
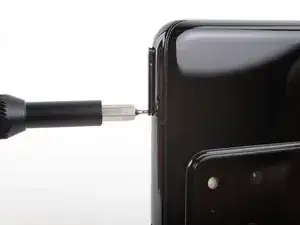
    • Insert a SIM card eject tool, bit, or a straightened paperclip into the hole on the SIM tray, located at the top edge of the phone next to the plastic antenna band.

    • If you inserted the tool into the other hole, don't worry—the microphone and the ingress gasket are mounted out of harm's way.

    • Press in firmly to eject the tray.

  2. plhA1releEnuTwe5
    plhA1releEnuTwe5
    lIhUgiZXUmIpPrFM
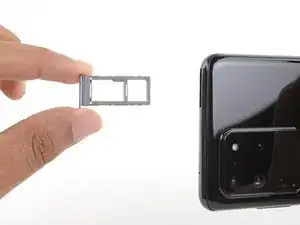
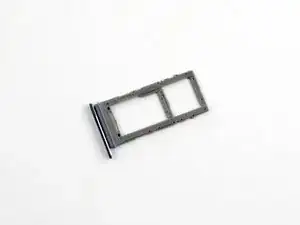
    • Remove the SIM card tray.

    • The SIM card will fall out of the tray easily.

    • When you reinsert the SIM card, ensure that it is in the proper orientation relative to the tray.

    • A thin rubber gasket around the SIM tray provides water and dust protection. If this gasket is damaged or missing, replace the gasket or the entire SIM tray to protect your phone's internal components.

    Can you make a video on a “ stuck” sim card, really stuck… cant get out only to tear apart..

    David Galloway -

  3. ST1dkpYDnCsXWFS5
    • Unplug and power off your phone before you begin.

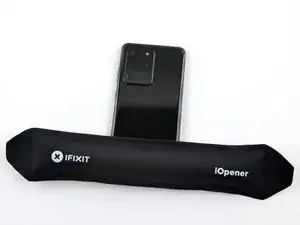
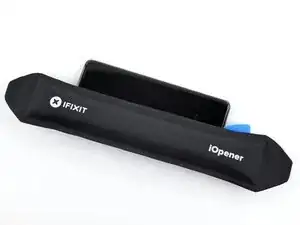
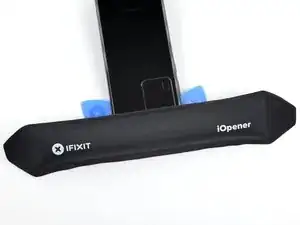
    • Heat an iOpener and apply it to the back cover's bottom edge for two minutes.

    • A hair dryer, heat gun, or hot plate may also be used, but be careful not to overheat the phone—the display and internal battery are both susceptible to heat damage.

  4. pSgJGWjYUSZwyYPk
    pSgJGWjYUSZwyYPk
    oU56TXSbYIx16Y3e
    3bNeiMO1ofeKSTPo
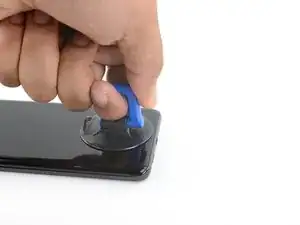
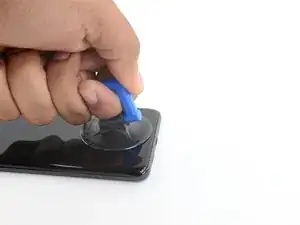
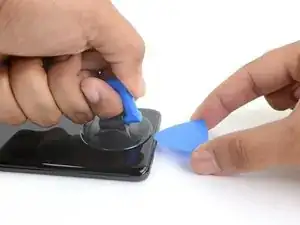
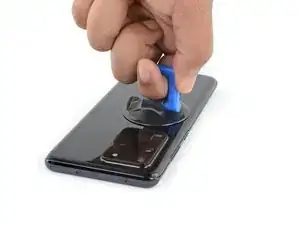
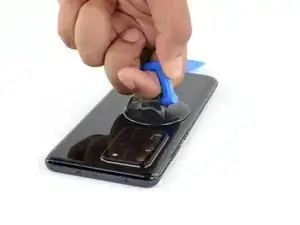
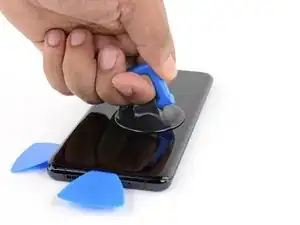
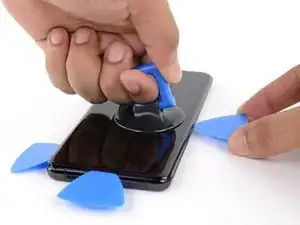
    • Apply a suction cup to the back of the phone, as close to the center of the bottom edge as possible.

    • If the back cover is badly cracked, covering it with a layer of clear packing tape may allow the suction cup to adhere. Alternatively, very strong tape may be used instead of the suction cup. If all else fails, you can superglue the suction cup to the broken cover.

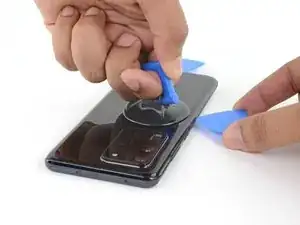
    • Pull on the suction cup with strong, steady force to create a gap between the back cover and the frame.

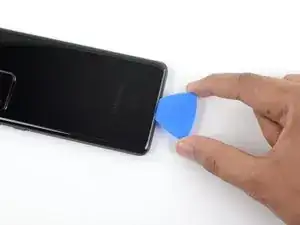
    • Insert the point of an opening pick into the gap.

    • Due to tight tolerances, this may take multiple attempts of reheating with the iOpener and separating with the suction cup before you get it right.

    • If you are having trouble creating a gap, apply more heat to the edge and try again.

    • Do not apply excessive force with the pick, or you risk cracking the back cover glass.

  5. GCmKajnPTTtjeUcw
    GCmKajnPTTtjeUcw
    1ISqIMMTDQmtGmAp
    14CWVqVVQs3XDTkA
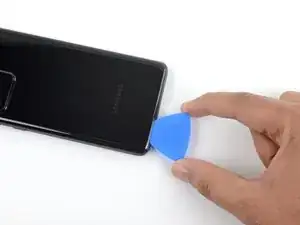
    • Slide the pick back and forth along the bottom edge to slice through the adhesive.

    • Do not attempt to cut the adhesive near the corners of the phone where the glass is curved or you risk cracking the glass panel.

    • Leave your opening pick in the seam to prevent the adhesive from resealing.

  6. rqIxWbI6mPb51BqG
    • Apply a heated iOpener to the left edge of the back cover for two minutes.

  7. MocplEE4PKC25iH2
    MocplEE4PKC25iH2
    ce2fXM4ljgdToYqN
    SgJDCk6QLtoDLxen
    • Apply a suction cup to the back of the phone, as close to the center of the left edge as possible.

    • Pull on the suction cup with strong, steady force to create a gap between the back cover and the frame.

    • Insert the point of an opening pick into the gap.

    • As the glass on this edge is curved, you won't be able to insert this pick very far. As long as the very tip of the pick is underneath the glass's edge, you will be able to proceed.

    • Due to tight tolerances, this may take multiple attempts.

    • If you are having trouble creating a gap, apply more heat to the edge and try again.

    • You can try also applying a few drops of high concentration (over 90%) isopropyl alcohol into the seam to help loosen the adhesive.

    • Do not apply excessive force with the pick, or you risk cracking the back cover glass.

  8. M5jmDMKAT4hIbjNK
    M5jmDMKAT4hIbjNK
    xA6kurqliImgQceY
    • Once the pick is underneath the glass's edge, tilt it downward and insert it further to fully separate the back cover's adhesive.

  9. s6NppDMTZJoLTERY
    s6NppDMTZJoLTERY
    mKbmFKGPgHKQqvvC
    • Slide the pick towards the bottom edge of the phone to separate the back cover's adhesive.

    • Leave your pick under the left edge of the glass near the bottom of the device to prevent the adhesive from resealing.

  10. VVloGOODRaLyEwjq
    VVloGOODRaLyEwjq
    aaHytSnJWb3NUN5G
    • Insert another pick under the center of the left edge of the back cover.

    • Gradually slide the pick towards the top of the device to separate the back cover's adhesive.

    • Take care when sliding across the ridge in the frame surrounding the volume and power buttons—the cutout in the glass may make it more prone to cracking.

    • Leave your pick under the left edge of the glass near the top of the device to prevent the adhesive from resealing.

  11. IVl1P4giou3iUhlI
    • Apply a heated iOpener to the right edge of the back cover for two minutes.

    • A hair dryer, heat gun, or hot plate may also be used, but be careful not to overheat the phone—the display and internal battery are both susceptible to heat damage.

  12. IQHBwycaPSuWXQRr
    IQHBwycaPSuWXQRr
    pP1yibbjZWCrWQHc
    RGiplsJ4EC1rCryf
    • Apply a suction cup to the back of the phone, as close to the center of the right edge as possible.

    • Pull on the suction cup with strong, steady force to create a gap between the back cover and the frame.

    • Insert the point of an opening pick into the gap.

    • Like with the previous edge, you will need to tilt the opening pick downward to fully insert it underneath the back cover.

  13. Phb5OXQUPHgFsmGV
    Phb5OXQUPHgFsmGV
    hSIpLSMtWVjHH5x1
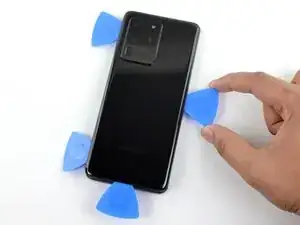
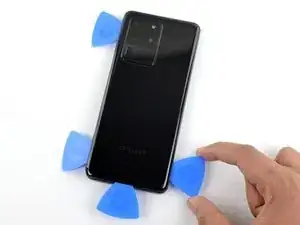
    • Slide the pick towards the bottom edge of the phone to separate the back cover's adhesive.

    • Leave your pick under the right edge of the glass near the bottom of the device to prevent the adhesive from resealing.

  14. XungoAhdZOHKAbEW
    XungoAhdZOHKAbEW
    ND3UgtTGoOFZxRnW
    • Insert another pick underneath the center of the right edge of the back cover.

    • Gradually slide the pick towards the top of the device to separate the back cover's adhesive.

    • As you do this, the bottom edge of the back cover may release the three picks located there. If this occurs, set these picks aside as the bottom edge shouldn't reseal from this point onward.

  15. bygJCxmQewfvmvRN
    • Apply a heated iOpener to the top edge of the back cover for two minutes.

  16. WkLTuWHS6YkYZ5Xs
    WkLTuWHS6YkYZ5Xs
    v3GkkhTPOFxYv3BC
    T4R4TcvTT2QvKC5S
    • The glass near the corners of the back cover is curved and very susceptible to cracking. Be gentle during this step to prevent damaging your back cover.

    • Gradually slide the pick from the right edge of the device around the top right corner.

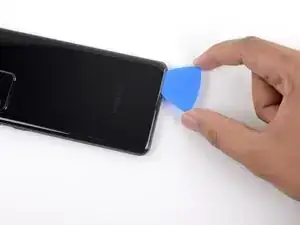
    • Continue slicing along the top edge to fully separate the back cover adhesive.

    • If the slicing becomes difficult at any point, stop and reapply heat before continuing.

  17. gIxCrlv4vNtwEpXF
    gIxCrlv4vNtwEpXF
    DeSL1IUlU2fIdWlP
    • Lift the back cover slowly. Use opening picks to slice any remaining adhesive.

    • Remove the back cover.

    • During reassembly:

    • This is a good point to power on your phone and test all functions before sealing it up.

    • Remove any adhesive chunks with a pair of tweezers or your fingers. Apply heat if you're having trouble separating the adhesive.

    • If you're using Samsung custom-cut adhesives, follow this guide.

    • If you're using double-sided tape, follow this guide.

  18. jiSrZkZcMxRSc55O
    jiSrZkZcMxRSc55O
    n6EtRILGVqTso3ZS
    • Use a spudger to pry up and disconnect the wireless charging coil connector.

    • When you disconnect connectors like these, be careful not to dislodge the small surface-mounted components surrounding the socket.

  19. JSLXZ32vt6PGxdwl
    JSLXZ32vt6PGxdwl
    WysxHLOoMAleeaD3
    ZJAqJDscAKUXpUpZ
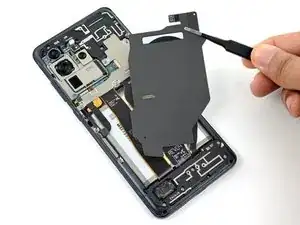
    • Use a pair of tweezers to gently peel the wireless charging coil away from the device.

    • Remove the wireless charging coil.

    • During reassembly, reconnect the wireless charging coil connector first to properly align it into place, then firmly press the rest of the coil down to adhere it.

  20. aJOPudWKEfWlmdKn
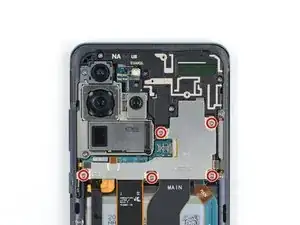
    • Use a Phillips #00 screwdriver to remove the five 3.9 mm-long screws securing the motherboard bracket.

    • Throughout this repair, keep track of each screw and make sure it goes back exactly where it came from.

  21. wjyHqBBLjXSZASHY
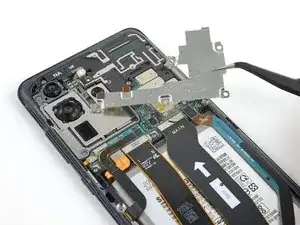
    • Use a pair of tweezers to unclip and remove the motherboard bracket.

  22. hOdWpPqVEKwHZAuq
    hOdWpPqVEKwHZAuq
    3RIZoCDkiEb2fYMt
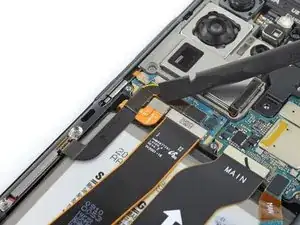
    • Use a spudger to pry up and disconnect the battery connector.

  23. WCUVnivGqdAmicqA
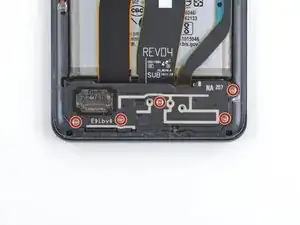
    • Use a Phillips #00 screwdriver to remove the five 3.9 mm-long screws securing the loudspeaker and lower midframe.

  24. u2DbKkdAue14LQiV
    u2DbKkdAue14LQiV
    qrkQuZIOcyOfDWNb
    o4qDFQ4kclc1SmjJ
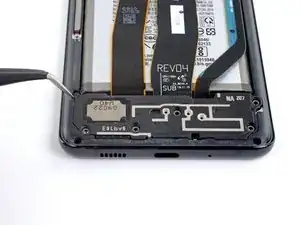
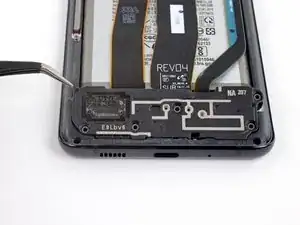
    • Insert the point of a spudger or a pair of tweezers into the notch in the top left corner of the midframe and pry up to release the clips holding it in place.

    • Remove the loudspeaker and lower midframe.

  25. AD4KKCtCAUZcSLO6
    AD4KKCtCAUZcSLO6
    M3ZPpRmRsvvJB1K2
    N26fRNTHJJ1incZW
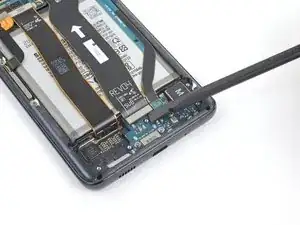
    • Use a spudger to pry up and disconnect the main and auxiliary flex cables from the daughterboard near the bottom of the device.

    • To re-attach press connectors like this one, carefully align and press down on one side until it clicks into place, then repeat on the other side. Do not press down on the middle. If the connector is misaligned, the pins can bend, causing permanent damage.

  26. Gi4EHDkjgGXAI2Zy
    Gi4EHDkjgGXAI2Zy
    daslohHLFYTSvnQR
    E5nFHK1UQEBhlIfa
    • Use a spudger to pry up and disconnect the main and auxiliary flex cables from the motherboard.

  27. MtmVxJImTMoecCA3
    MtmVxJImTMoecCA3
    BTtx4o14BSLsjXpv
    3nxFWfXHBGJ6EA6R
    • Gently peel up and remove the main and auxiliary flex cables.

  28. i1oReXfJpX12UdTo
    i1oReXfJpX12UdTo
    qDPOdDhcEnlmbcgC
    • Pry up and disconnect the left 5G antenna cable from the motherboard.

  29. 1vEClPfYtcLqIBUd
    1vEClPfYtcLqIBUd
    i3ccm3xmXRY2exId
    • Pry up and disconnect the main display flex cable from the motherboard.

  30. SXDDRMwyO5T3O2eC
    SXDDRMwyO5T3O2eC
    dJ2uWwyuCXxJHYqU
    Z3dbVYZkbgc46R41
    • Gently peel up and bend the display and left 5G antenna flex cables out of the way of the motherboard and battery.

  31. 5hZTJgTlkBeSNiST
    • Use a Phillips #00 screwdriver to remove the four 3.9 mm-long screws securing the upper midframe.

  32. 2ZfAeCBmOoXBNt2S
    2ZfAeCBmOoXBNt2S
    ZroBeEsyPvKj2G6x
    a5fMUfqQShBuxPn4
    • Insert the point of a spudger into the notch on the right side of the upper midframe and pry up to release the clips holding it into place.

    • Remove the upper midframe.

  33. EUFa6b1VsU2attCv
    EUFa6b1VsU2attCv
    HrZRHsfVTi5cyXyg
    klGZTOYg3O26XJgd
    • Pry up and disconnect the right 5G antenna flex cable from the motherboard.

    • Use a pair of tweezers to bend the cable out of the way of the motherboard.

  34. EJw6qBKN3uZakjoa
    EJw6qBKN3uZakjoa
    EPO2pUm1dvbJjkci
    T5RwFtbPBLGP1HrN
    • Pry up and disconnect the side button flex cable from the motherboard.

    • Bend the cable out of the way of the motherboard.

    Heló szép napot hogyan cserélnek egy alaplapot ?

    Imre Lukacs -

  35. CQCdV1W11MAD5eBX
    CQCdV1W11MAD5eBX
    GwOYswM6NMuKkYhr
    WuyINHDJfsQuADiR
    • Pry up and disconnect the front facing camera flex cable from the motherboard.

    • Bend the cable out of the way of the motherboard.

  36. bjlpKx3Wmfjlq5CR
    bjlpKx3Wmfjlq5CR
    D1LqLfXFVP2icldE
    • Pry up and disconnect the upper 5G antenna cable from the motherboard.

  37. GxIUktLM5lJOIYSv
    GxIUktLM5lJOIYSv
    baFsNBD5hsADMIXW
    ATHWdjChoQMpc1Qx
    • Use the flat end of a spudger to pry up the corner of the 5G millimeter wave antenna module.

    • The module is secured with a bit of adhesive, but should release easily.

    • Remove the 5G antenna module.

    • During reassembly, reconnect the 5G antenna connector first to properly align it into place, then firmly press the rest of the antenna module down to adhere it.

  38. QKB4sOmH4RnwiwDf
    • Use a Phillips #00 screwdriver to remove the two 3.9 mm-long screws securing the motherboard and camera assembly.

  39. InOPqPFK3cc2VWDO
    InOPqPFK3cc2VWDO
    iJpKR2YeoCgH2sre
    Pk2NRxAojba4lS1u
    • Insert the point of a spudger into the bottom left corner of the motherboard assembly and pry up to release it from the phone body.

    • Remove the motherboard assembly.

  40. TiVUFbRGimeBX4Qu
    TiVUFbRGimeBX4Qu
    NFdKwbeJjcCixjvE
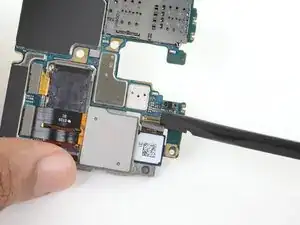
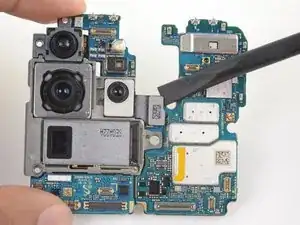
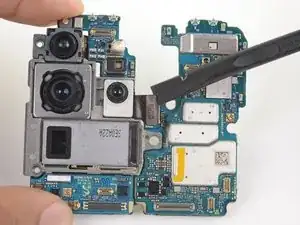
    • Pry up and disconnect the ultrawide camera connector from the motherboard.

  41. ZwUyqtYp4NcwkYfC
    ZwUyqtYp4NcwkYfC
    fVQmO3rq5bXoiGVX
    h5iuJhnQJaewSPBF
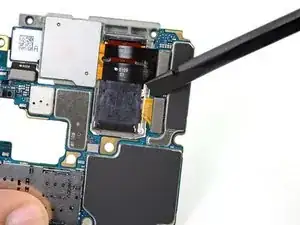
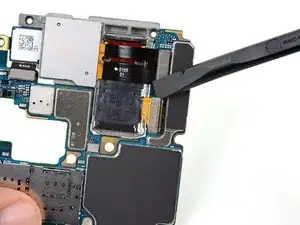
    • Pry up and disconnect the telephoto and wide-angle camera connectors from the motherboard.

  42. 5T6VjPvuGPXOtHeX
    5T6VjPvuGPXOtHeX
    mgLAWOkAlYspVmPc
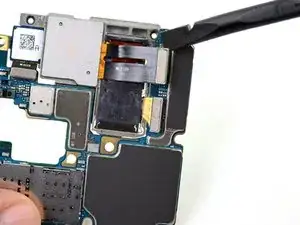
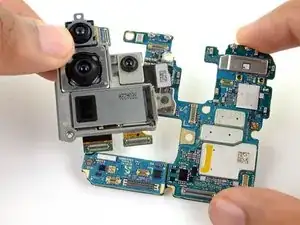
    • Flip the motherboard assembly over. Then pry up and disconnect the depth sensor connector from the motherboard.

  43. F5H24rkirWHHRfuS
    • Remove the rear facing camera module.

    • If you're replacing individual cameras, you may need to separate and transfer some of the existing cameras onto your new module.

Conclusion

Compare your new replacement part to the original part—you may need to transfer remaining components or remove adhesive backings from the new part before installing.

To reassemble your device, follow the above steps in reverse order.

After you've completed the repair, follow this guide to test your repair.

Take your e-waste to an R2 or e-Stewards certified recycler.

Repair didn’t go as planned? Check out our Answers community for troubleshooting help.
Tarun Thiruma

Member since: 20/11/19

35226 Reputation

0 comments