Introduction
Follow this guide to replace an old and degraded battery in the Nintendo Switch game console.
The Switch uses JIS screws, but you can use a Phillips screwdriver in a pinch. Be very careful not to strip the screws. iFixit's Phillips bits are designed to be cross-compatible with JIS-style screws.
When you remove the shield plate, you’ll need to replace the thermal compound between the plate and the heatsink. Since normal thermal paste isn’t designed to bridge large gaps, the closest replacement is K5 Pro viscous thermal paste.
This guide, and the part we sell, are compatible with the original Nintendo Switch model released in 2017, as well as the newer refreshed model released in 2019 (model numbers HAC-001 and HAC-001(-01), respectively).
For your safety, discharge the battery below 25% before disassembling your Switch. This reduces the risk of a fire hazard if the battery is accidentally damaged during the repair. If your battery is swollen, take appropriate precautions.
Tools
Parts
-
-
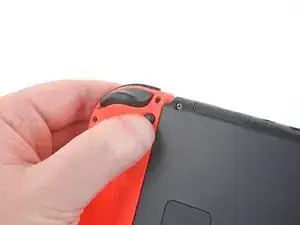
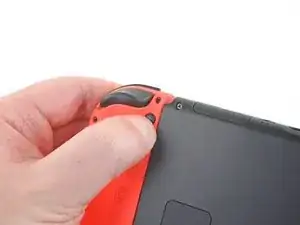
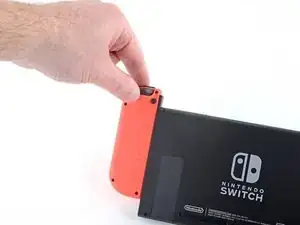
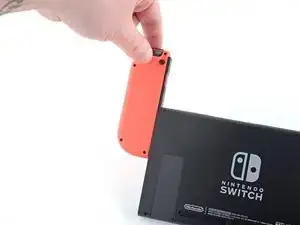
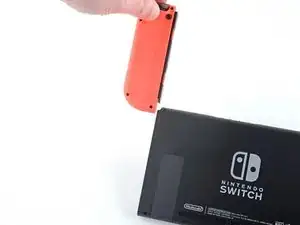
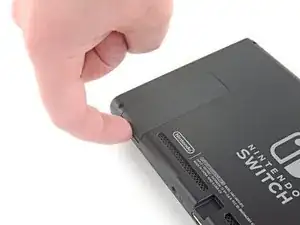
Press and hold down the small round button on the back of the Joy Con controller.
-
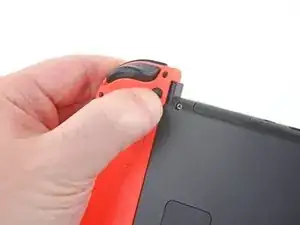
While you hold down the button, slide the controller upward.
-
-
-
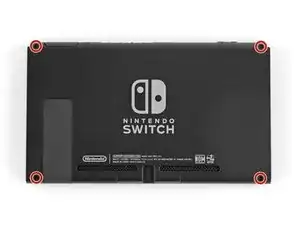
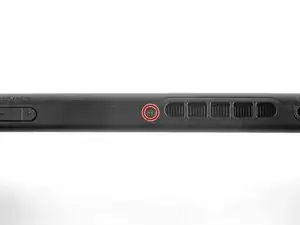
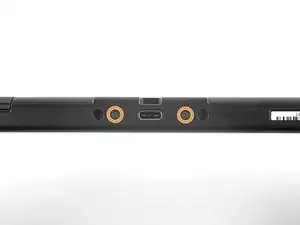
Use a JIS 000 driver or an official iFixit PH 000 driver to remove the following screws securing the rear panel:
-
One 2.5 mm-long screw on the top edge of the device
-
Two 2.5 mm-long screws on the bottom edge of the device
-
-
-
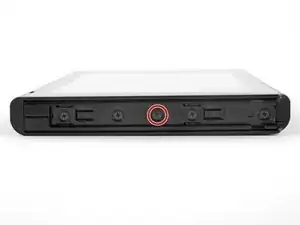
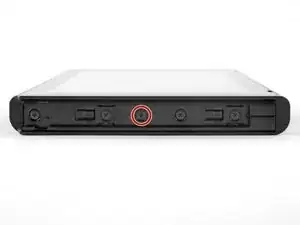
Use a JIS 000 screwdriver or an official iFixit PH 000 driver to remove the two 3.8 mm center screws on the sides of the device (one on each side).
-
-
-
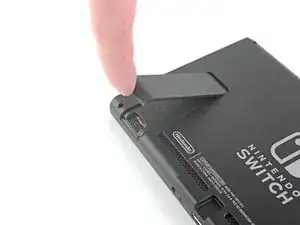
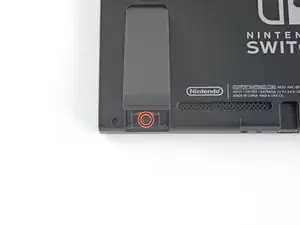
Use a JIS 000 screwdriver or an official iFixit PH 000 driver to remove the 1.6 mm screw in the kickstand well.
-
Close the kickstand.
-
-
-
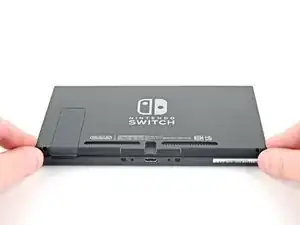
Open the game card cartridge flap.
-
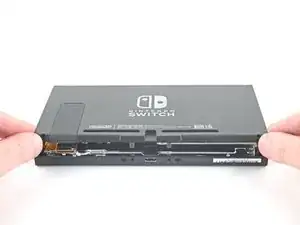
Lift the rear panel up from the bottom of the device and remove it.
-
-
-
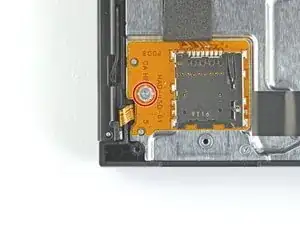
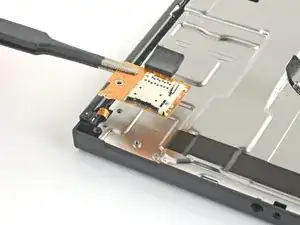
Use a JIS 000 screwdriver or an official iFixit PH 000 driver to remove the 3.1 mm screw securing the microSD card reader to the device.
-
-
-
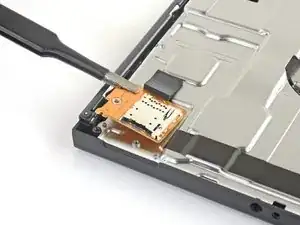
Use your fingers or a pair of tweezers to lift the microSD card reader straight up from the device to disconnect and remove it.
-
-
-
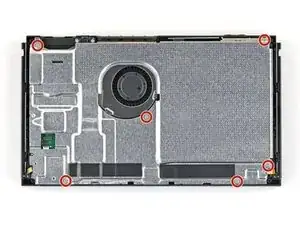
Use a JIS 000 screwdriver or an official iFixit PH 000 driver to remove the six 3 mm screws securing the shield plate to the device.
-
-
-
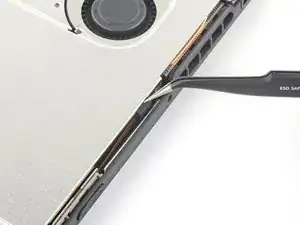
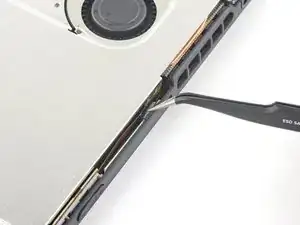
Use your fingers or a pair of tweezers to peel back the piece of foam on the top edge of the device near the fan exhaust port.
-
-
-
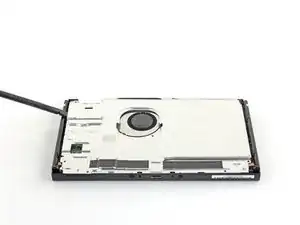
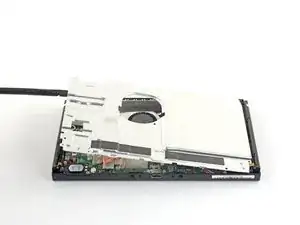
Insert a spudger underneath the shield plate along the edge of the device.
-
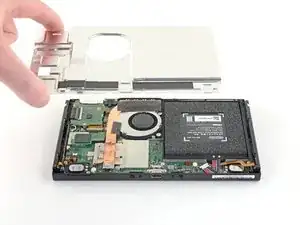
Pry up to lift the shield plate and remove it from the device.
-
You can reuse the pink thermal compound if you're careful. Keep the compound clean and make sure it makes solid contact between the heat sink and the shield during reassembly.
-
If you need to replace it, refer to our thermal paste guide to remove the old thermal compound and replace it with an appropriate compound, such as K5 Pro, during reassembly.
-
-
-
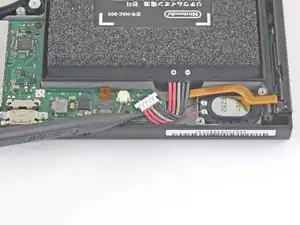
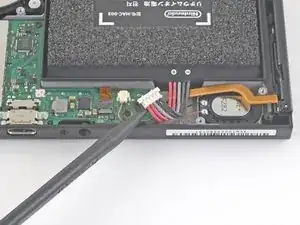
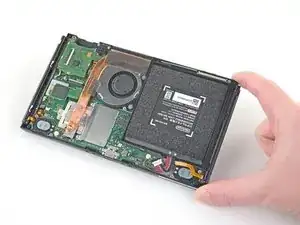
Use the point of a spudger to pry the battery connector straight up and out of its socket on the motherboard.
-
-
-
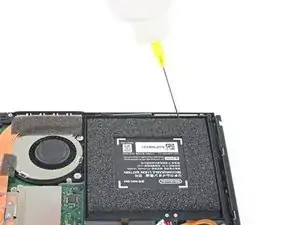
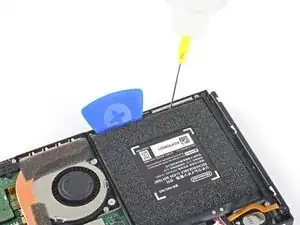
Apply a few drops of adhesive remover or high-concentration (90% or higher) isopropyl alcohol inside the battery well along the top edge to weaken the adhesive.
-
-
-
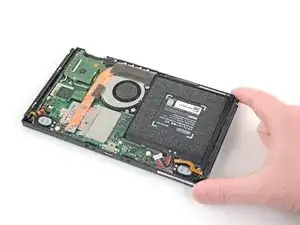
Tilt the top edge of the device upward to allow the isopropyl alcohol to work its way underneath the battery.
-
Hold for 1-2 minutes to allow time for the isopropyl alcohol to weaken the adhesive.
-
-
-
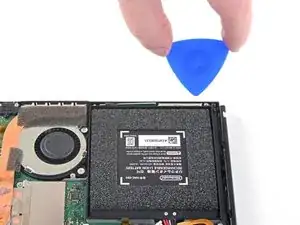
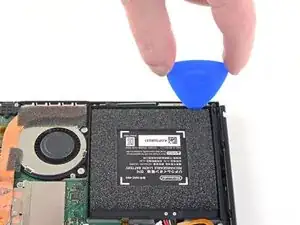
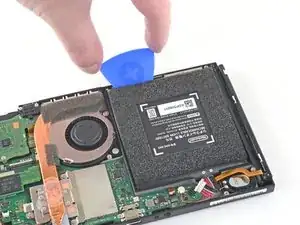
Insert an opening pick into the gap between the battery and the wall of the battery well.
-
Carefully dig the tip of the opening pick underneath the battery and slide it along the edge to begin slicing the adhesive.
-
-
-
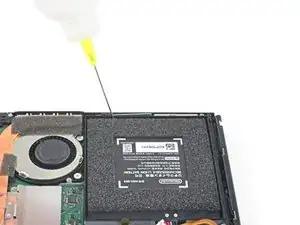
Leave the opening pick in place and apply a few more drops of adhesive remover or isopropyl alcohol inside the battery well.
-
Tilt the top edge of the device upward and wait 1-2 minutes for the isopropyl alcohol to weaken the adhesive.
-
-
-
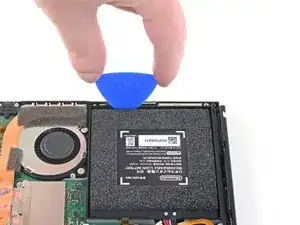
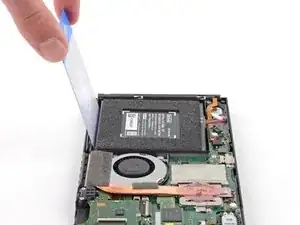
Continue sliding the opening pick deeper along the top edge of the battery, slicing more of the adhesive underneath.
-
-
-
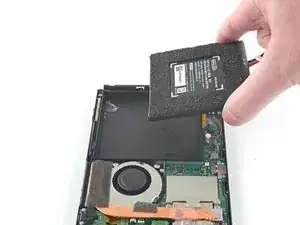
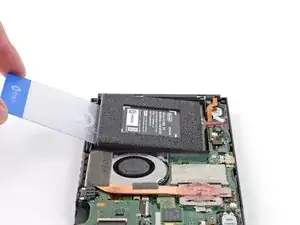
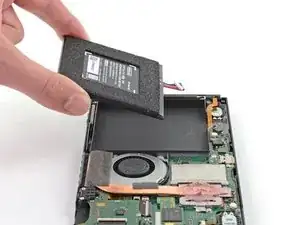
Once there's enough room, insert a plastic card underneath the battery and slowly pry the battery up.
-
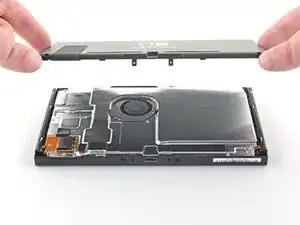
Remove the battery.
-
-
-
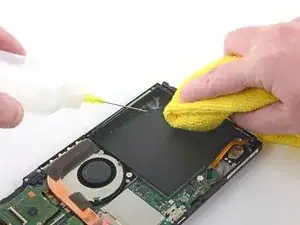
Use adhesive remover or isopropyl alcohol and a microfiber cloth to clean up any remaining adhesive left behind in the battery well before you install the new battery.
-
To reassemble your device, follow these instructions in reverse order.
For optimal performance, calibrate your newly installed battery after completing this guide.
Take your e-waste to an R2 or e-Stewards certified recycler.
Repair didn’t go as planned? Try some basic troubleshooting, or ask our Nintendo Switch Answers community for help.
50 comments
Can anyone confirm that Switch will NOT work with the battery removed or dead (dead as in once it’s totally non-functional as all lithium batteries eventually are, not dead as in just discharged but the battery works).
PSP works with the battery dead or pulled, as far as I know DS, 3DS, Vita and Switch do NOT, which is a gigantic design flaw.
Tester -
Yes. The battery of my Switch has been wearing down over some time, to the point where I had to charhe the device for some hours to even activate it - it isn't functional without a working battery.
I would highly recommend against keeping dead batteries in any system, as this can cause damage to the motherboard of the device. If you experience your Switch randomly turning off while its battery is dead, immediately seek to get the battery removed or replaced.
While it is considered rare, dead batteries can sometimes reverse in polarity when its voltage is too low. This can damage the motherboard or other components unexpectedly.
Reboot -
Why can't you reuse the switch's battery?, if I'm just replacing the shell of the switch and have to move the battery why can't I reuse the battery in the new shell?
Matt -
Good question!
For safety reasons, we strongly discourage people from reusing a battery once it has been removed. Bending a lithium-ion battery even slightly can create uneven spots between the thin layers inside the battery. The battery may function fine for awhile, but over time and charge cycles, the uneven area can wear down faster, eventually resulting in an electrical short. The battery would fail, swell up, and possibly catch on fire.
I left my switch off for months, and now I cant charge it in anyway. It was a hacked switch, it doesnt turn on, doesnt indicate that's its charging or show anything on screen even after being plugged in for few days, does replacing the battery fix my issue?
Matt B -
Hi Matt. With a modded switch, once the battery loses power you will not see anything on the screen while it is charging. After plugging it in for a while just try booting it in the method you normally do. (I prefer using the RCM loader tool as it lets you bypass the annoying jig method.) If that doesn’t work for you, then yes, it’s most likely your battery. Hope that helps!
I am in exactly the same situation and have ordered this kit to see if it will resurect the hacked switch before I drop 499 on a new one. I'll report back in a few days once I get this done
SYSDmg -
I have a switch in the same state did replacing the battery fix it for you?
I would recommend plugging in your Switch to a computer (preferably with the libusbk driver installed). If your computer recognizes the Switch, and even better, if tegrarcmsmash gui shows that a Switch is detected in recovery mode, this means that your Switch is softbricked, and you'd need to figure out how to unbrick it. If nothing is detected at all, this means your Switch, the connected cable, or either of the USB sockets of your computer/Switch might be malfunctioning. Try different cables and ports, and if that doesn't help, you might need to troubleshoot further or send your Switch in for repair.
Reboot -

Kann ich diese Anleitung auch für die OLED anwenden? Habe im INet sonst leider nichts brauchbares gefunden.
Ina Barz -
backup all your sd card data i had to format mine after this tutorial and lost all my game data
JustForThisComment?ComeOn -