Introduction
Outside case of your 3DS have a nasty crack in it? Replace the rear display bezel to make your Nintendo shiny again.
Tools
-
-
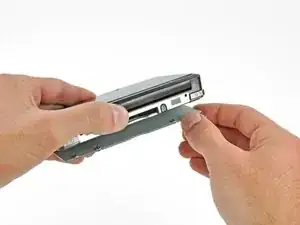
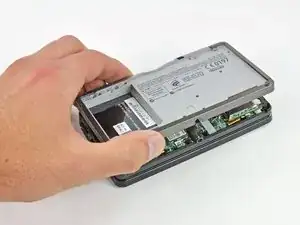
Grab the top edge of the back cover with your opposite hand so that the cover does not fall back into place.
-
Pull the back cover up and away from the rest of the device to remove it.
-
-
-
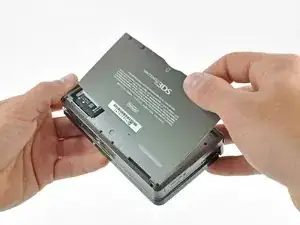
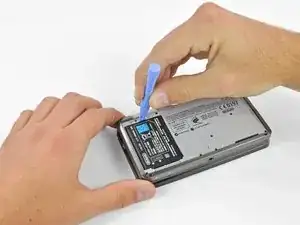
Insert a plastic opening tool into the notch in the lower case above the battery.
-
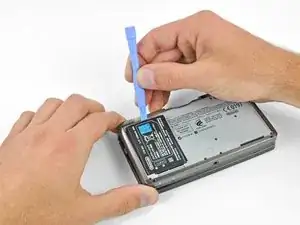
Pry the battery up with the plastic opening tool.
-
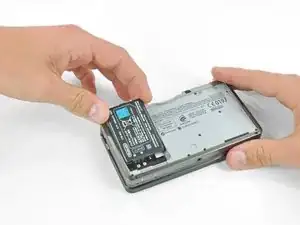
Grab the top edge of the battery and lift it out of the lower case.
-
-
-
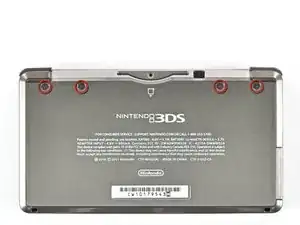
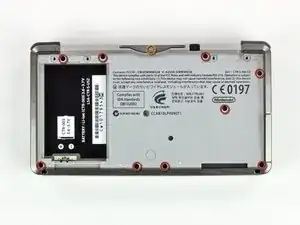
Remove the nine 6.3 mm black Phillips screws from the lower case.
-
Remove the 2.4 mm silver Phillips screw above the game cartridge slot.
-
-
-
Lift the bottom edge of the lower case off the rest of the 3DS.
-
Use a plastic opening tool to pry the shoulder button ribbon cables off their sockets on the motherboard.
-
Remove the lower case from the device.
-
-
-
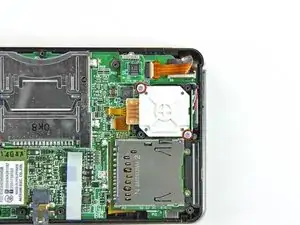
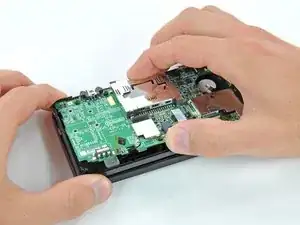
Remove the two 7.7 mm Phillips screws securing the back of the Circle Pad to the motherboard.
-
-
-
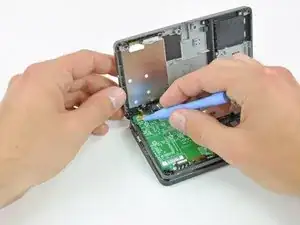
Use the flat end of a spudger to pry the back of the Circle Pad off the motherboard.
-
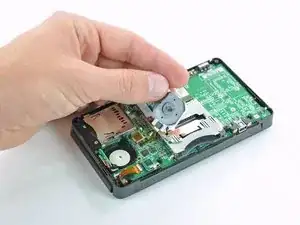
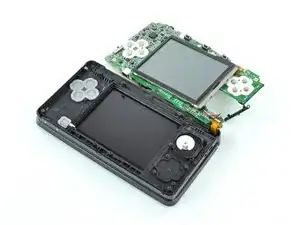
Lift the Circle Pad joystick off the motherboard and lay it on its back so that the ribbon cable connector is accessible.
-
-
-
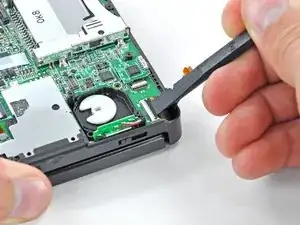
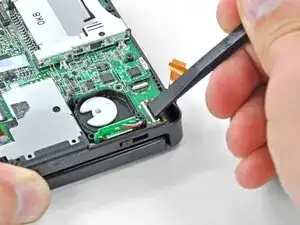
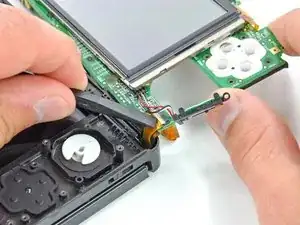
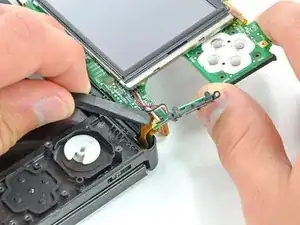
Use the flat end of a spudger or your fingernail to flip up the retaining flap on the Circle Pad ribbon cable ZIF socket.
-
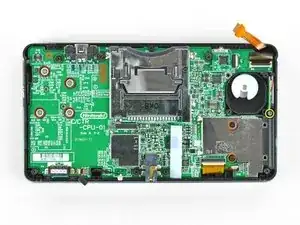
Lift the Circle Pad joystick off the motherboard.
-
-
-
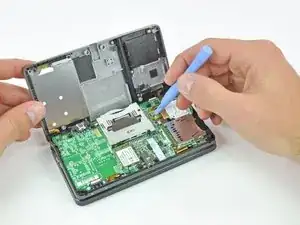
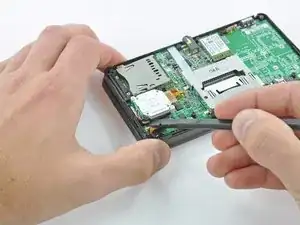
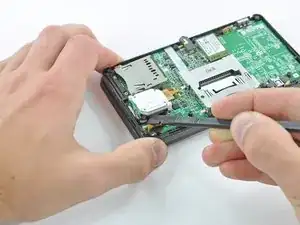
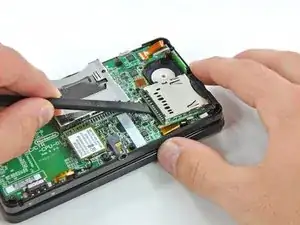
Use the flat end of a spudger to pry the SD board ribbon cable connector off its socket on the motherboard.
-
-
-
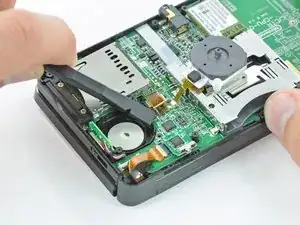
Insert the flat end of a spudger between the SD board and the motherboard.
-
Pry up slowly to loosen the SD board from the RF shield underneath it. If you pry too quickly, you may tear the shield or break its solder points.
-
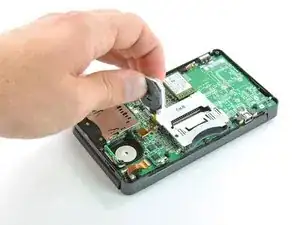
Run the spudger along the sides of the SD board to free it from the adhesive holding it in place.
-
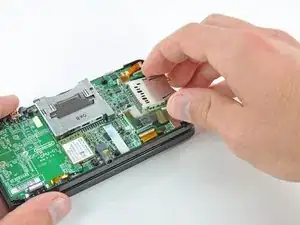
Once completely freed, lift the SD board straight off the motherboard.
-
-
-
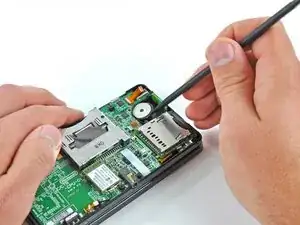
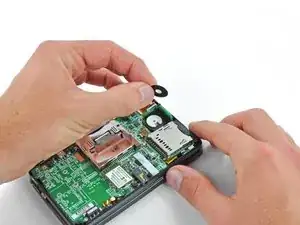
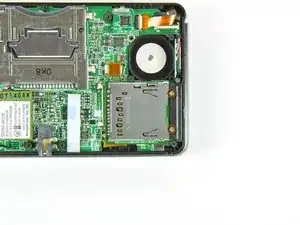
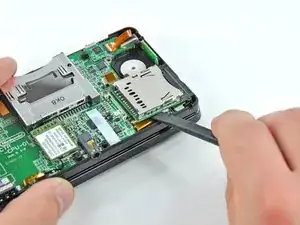
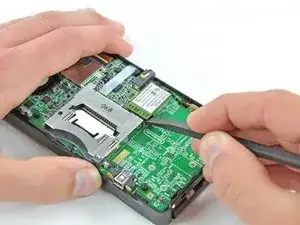
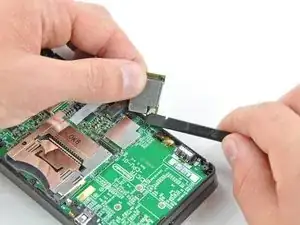
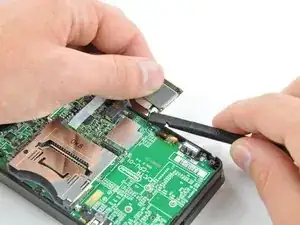
Slide the flat end of a spudger under the corner of the Wi-Fi board, and lift it away from the motherboard.
-
-
-
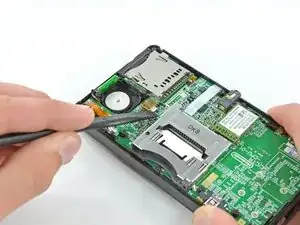
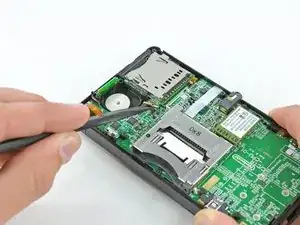
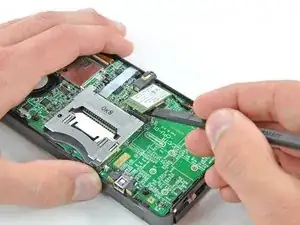
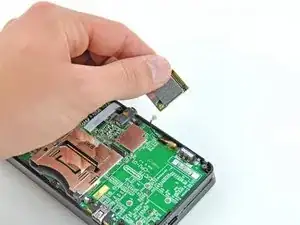
Use the flat end of a spudger to pry the Wi-Fi antenna cable connector off its socket on the Wi-Fi board.
-
Remove the Wi-Fi board from the device.
-
-
-
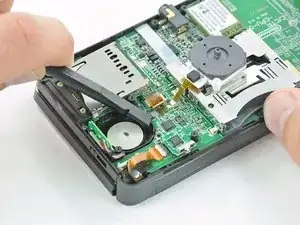
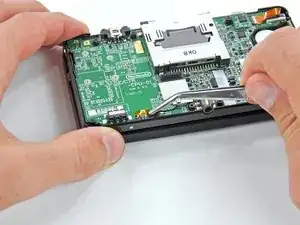
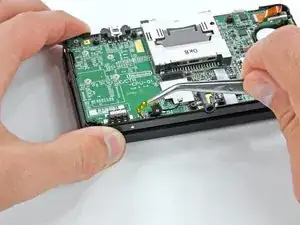
Grasp the microphone ribbon cable near the microphone with a pair of tweezers.
-
Pull the microphone straight up out of the upper case.
-
-
-
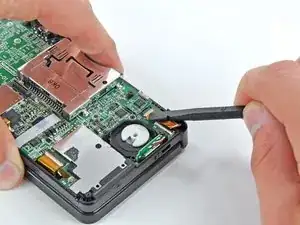
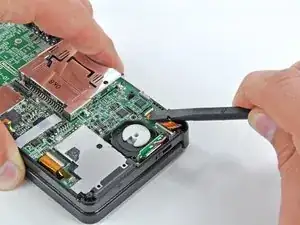
Use the flat end of a spudger or your fingernail to flip up the retaining flap on the speaker assembly ribbon cable ZIF socket.
-
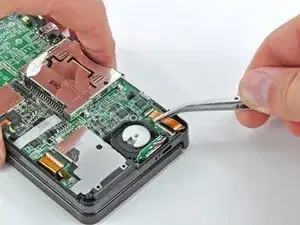
Disconnect the speaker assembly ribbon cable with a pair of tweezers.
-
-
-
Use the flat end of a spudger or your fingernail to flip up the retaining flap on the camera ribbon cable ZIF socket.
-
-
-
Remove seven Phillips screws securing the motherboard to the upper case:
-
Four 2.5 mm gold screws
-
Two 3.5 mm black screws
-
One 2.5 mm silver screw
-
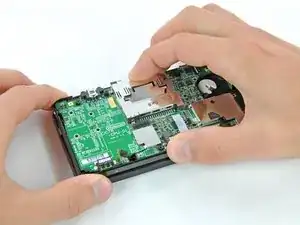
Lift the side of the motherboard that sits along the bottom edge of the 3DS.
-
-
-
Use the flat end of a spudger or your fingernail to flip up the retaining flap on the LCD ribbon cable ZIF socket.
-
-
-
Before continuing with disassembly, use a pair of tweezers to remove the clear plastic diffuser for the wireless notification LED. The small piece is likely to fall out on its own, and may be difficult to find if it lands on the floor.
-
-
-
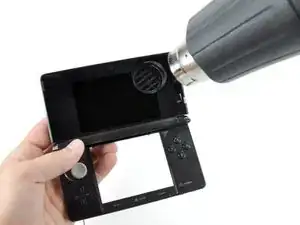
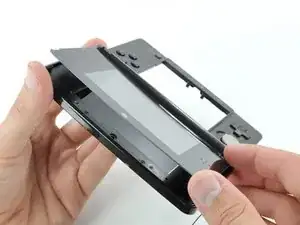
Heat the edges of the upper display front panel with a hair dryer or heat gun to soften the adhesive holding it to the display bezel.
-
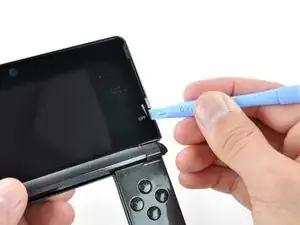
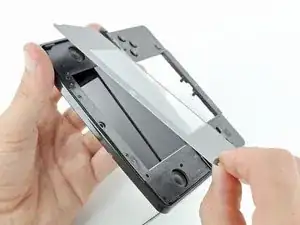
Begin prying the edges of the front panel off with a plastic opening tool.
-
-
-
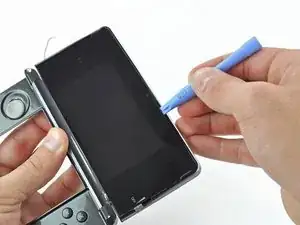
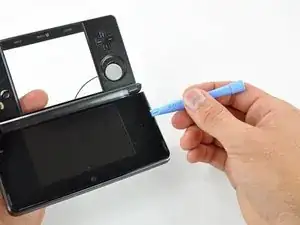
Continue prying the remaining sides of the front panel by sliding the plastic opening tool down each edge.
-
-
-
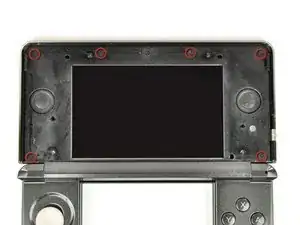
Remove the six 3.6 mm Phillips screws securing the rear display bezel to the front display bezel.
-
-
-
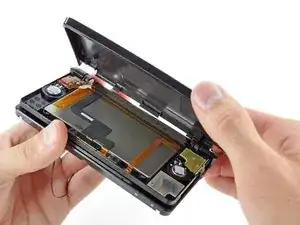
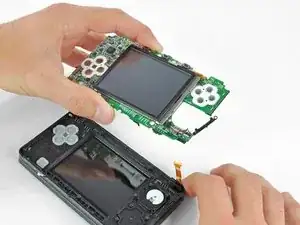
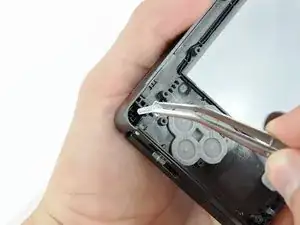
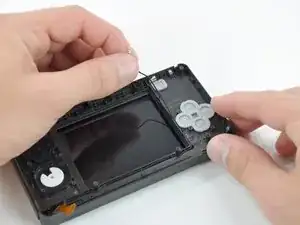
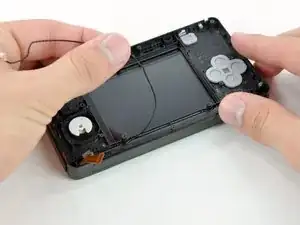
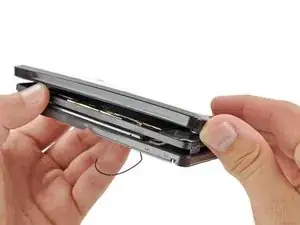
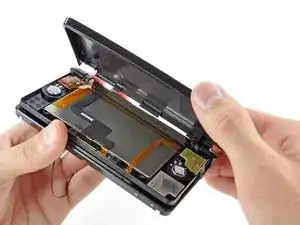
Lift the edge of the rear display bezel closest to you and rotate it towards the hinge.
-
Continue to lift the rear display bezel off the rest of the device until it is free.
-
To reassemble your device, follow these instructions in reverse order.

#00 screwdriver is too big... probably need a #000
thomascroguennec -
#00 will work - but you must press down firmly and sort of jerk the screw out a few degrees at a time. If you don't press firmly, the screws strip very easily. Using #000 will strip the screws more easily.
Tai -
I used a #0 without any issues and 0 stripped. I used the #0 for all screws internally and externally. The head was sharp and I applied adequate amounts of pressure when loosening the screw.
Ben Kevan -