Introduction
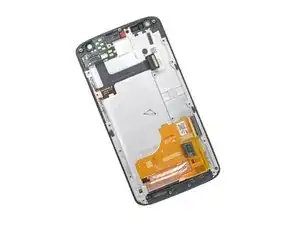
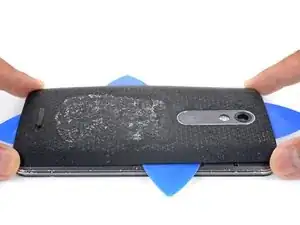
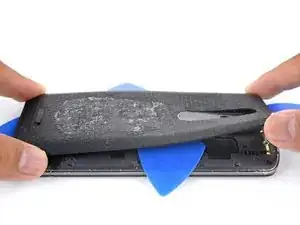
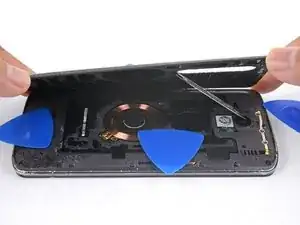
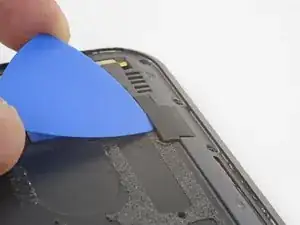
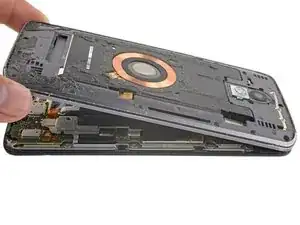
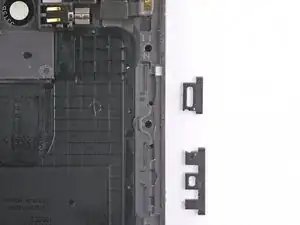
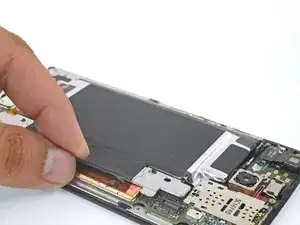
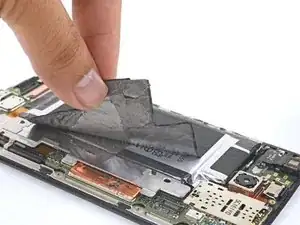
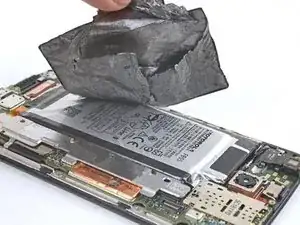
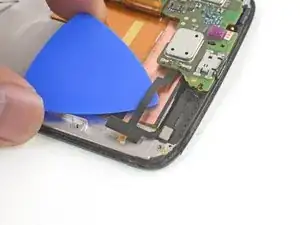
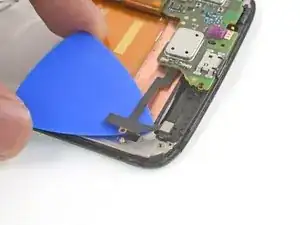
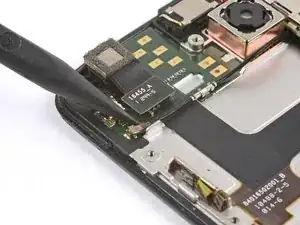
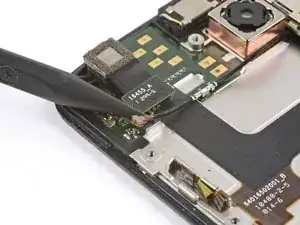
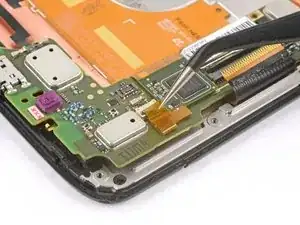
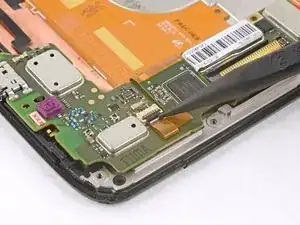
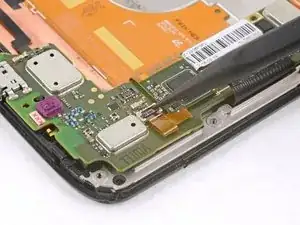
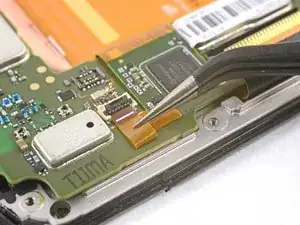
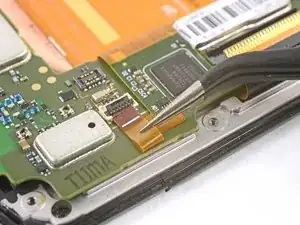
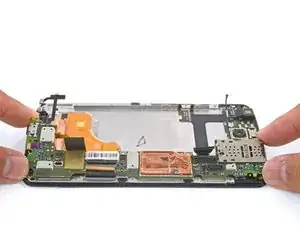
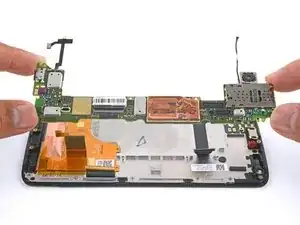
Follow this guide to replace the display assembly, including the display frame. This requires the battery as well as many other components to be removed from the old frame and transferred to the new frame.
Your replacement part should look like this. If your replacement part consists only of the display assembly, you must complete additional steps, which are not covered by this guide.
For your safety, discharge your battery below 25% before disassembling your phone. This reduces the risk of a dangerous thermal event if the battery is accidentally damaged during the repair.
Tools
Parts
-
-
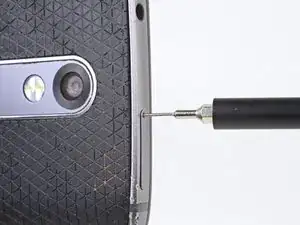
Insert a SIM eject tool, SIM eject bit, or a straightened paperclip into the small hole in the SIM card tray.
-
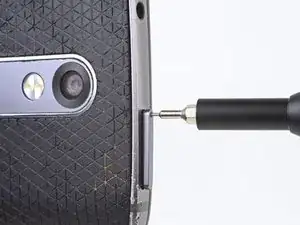
Press to eject the tray.
-
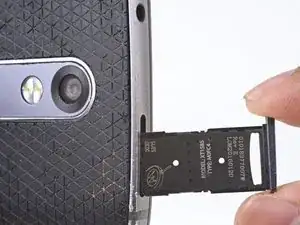
Remove the SIM card tray assembly from the phone.
-
-
-
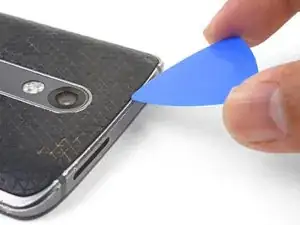
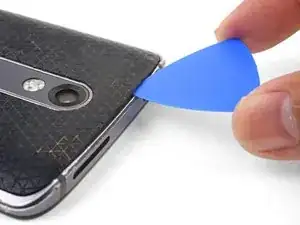
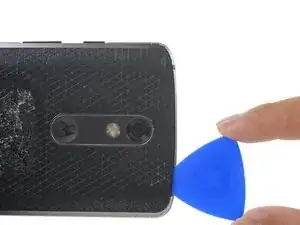
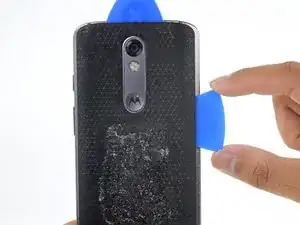
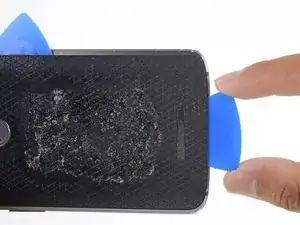
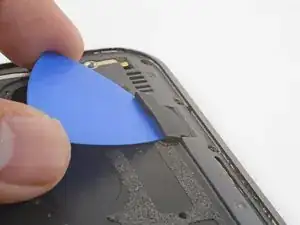
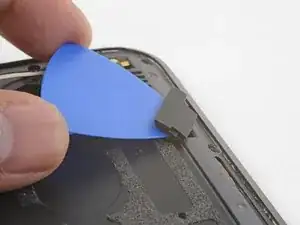
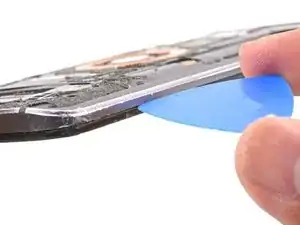
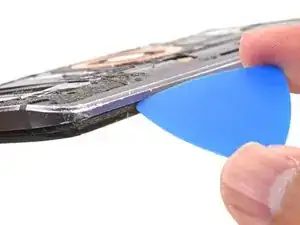
Slide the opening pick along the top edge of the phone to break up the adhesive.
-
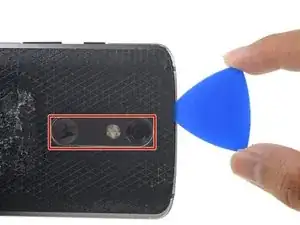
Use the pick to release the deeper areas but avoid slicing through the camera bezel area.
-
-
-
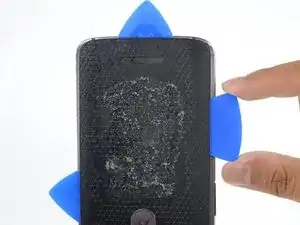
Once you have cut through the adhesive, slowly peel the back cover away from the frame.
-
Remove the back cover.
-
-
-
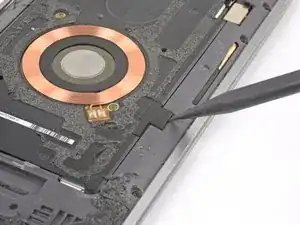
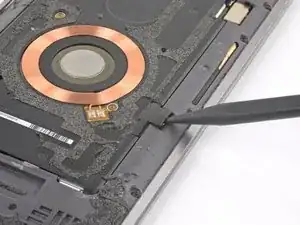
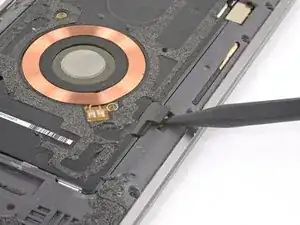
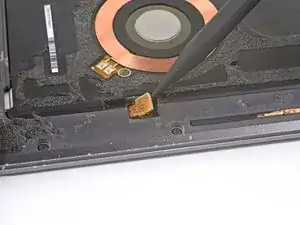
Use the point of a spudger to pry up and remove the coil connector rubber cover.
-
To reinstall the cover, align the cover and use your finger to push it forward into place.
-
-
-
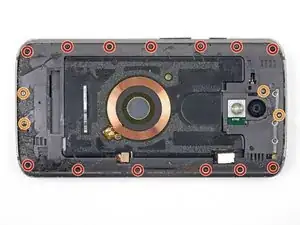
Remove the following T3 screws securing the midframe:
-
Thirteen 3.1 mm black screws
-
Four 4.3 mm silver screws
-
-
-
Insert an opening pick along the frame seam and twist slightly to release the midframe from the phone.
-
-
-
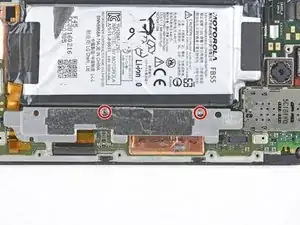
Remove the two 4.2 mm T3 screws securing the metal bracket adjacent to the battery.
-
Remove the metal bracket.
-
-
-
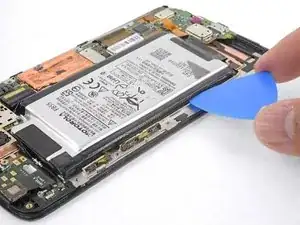
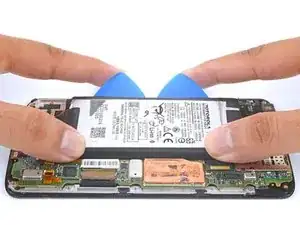
Angle and insert an opening pick under the long edge of the battery away from the motherboard side.
-
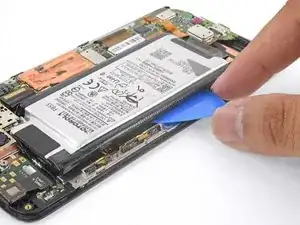
Insert a second opening pick along the same battery edge next to the first pick.
-
-
-
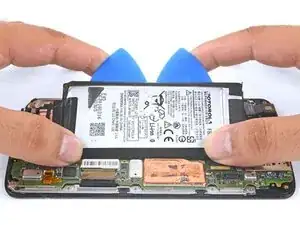
Apply firm, constant prying pressure to the picks to release the battery from the frame.
-
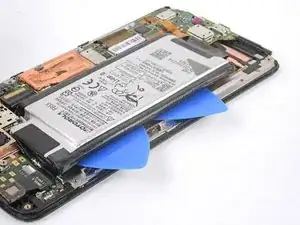
As the battery loosens from the frame, move the picks inward and continue to pry upwards.
-
-
-
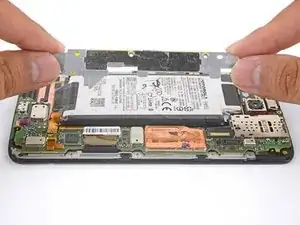
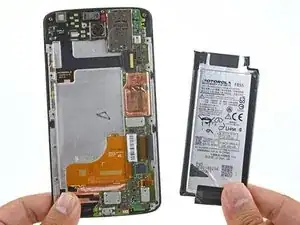
Remove the battery.
-
To help with alignment, connect the battery temporarily to the motherboard before adhering it in place. Disconnect the battery before you continue with re-assembly.
-
-
-
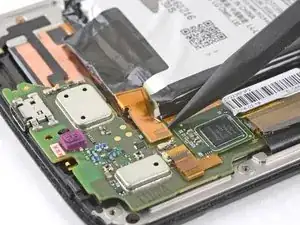
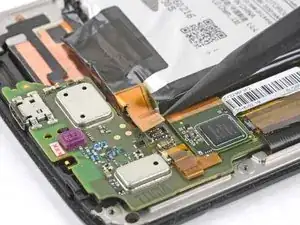
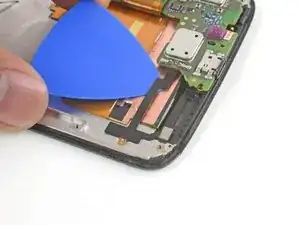
Insert an opening pick underneath the flat flex cable and slide it to free the cable from the frame.
-
-
-
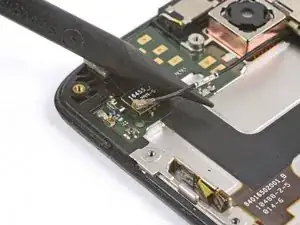
Use the point of a spudger to pry up and disconnect the antenna cable.
-
De-route the antenna cable from the phone.
-
-
-
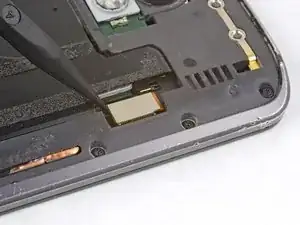
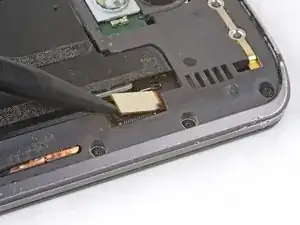
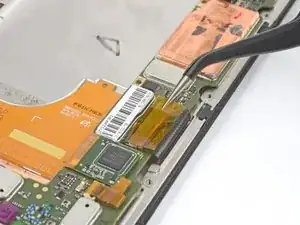
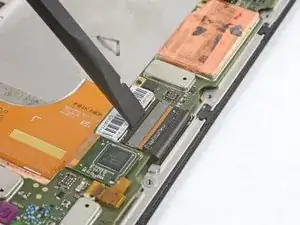
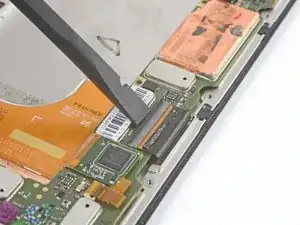
Peel away the yellow tape covering the display ZIF connector.
-
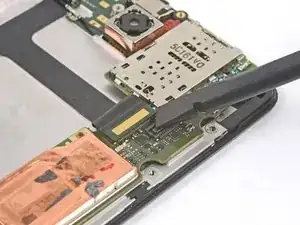
Use the flat end of a spudger to gently flip up the ZIF connector lock.
-
-
-
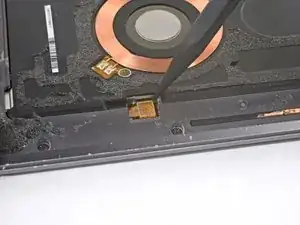
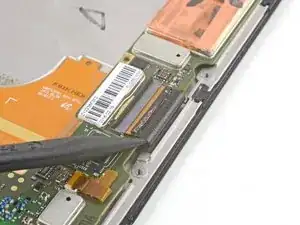
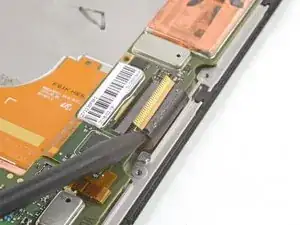
Peel away the yellow tape covering the digitizer ZIF connector.
-
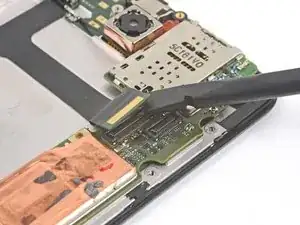
Use the point of a spudger to flip up the ZIF connector lock.
-
-
-
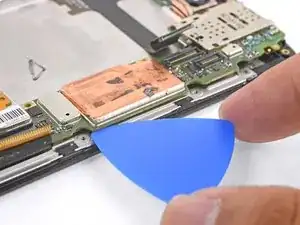
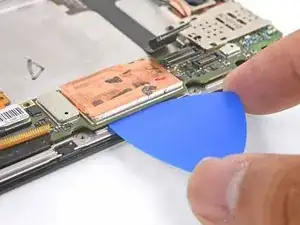
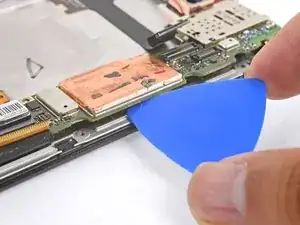
Slide an opening pick underneath the motherboard below the copper shield.
-
Twist the pick slightly to release the adhesive tape securing the motherboard to the frame.
-
-
-
Lift the motherboard out, making sure it does not catch on any cables.
-
Remove the motherboard.
-
-
-
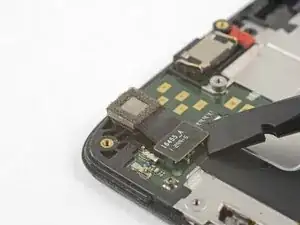
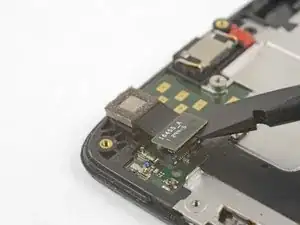
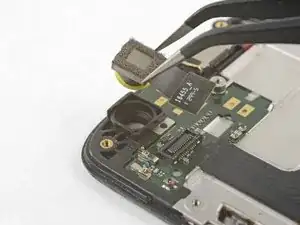
Use the flat end of a spudger to pry up and disconnect the front facing camera connector.
-
Remove and transfer the front facing camera onto the new display frame.
-
-
-
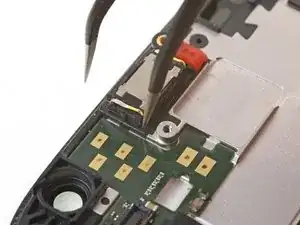
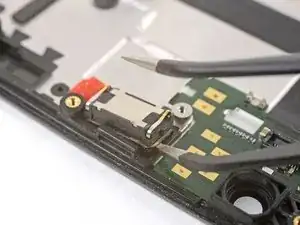
Insert a pointed end of a pair of tweezers into a corner as far down as possible.
-
Pry very slightly to help loosen the earpiece speaker module.
-
Repeat the process in the remaining corners.
-
-
-
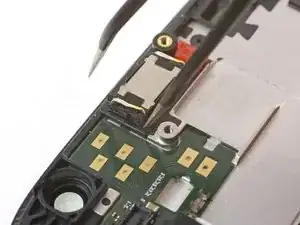
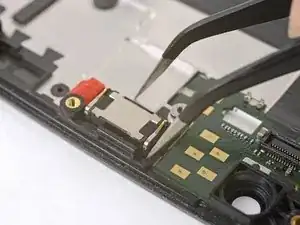
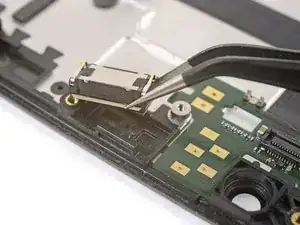
Continue to pry with the point of a pair of tweezers until the earpiece module feels loose.
-
Remove the earpiece module and transfer it to the new display frame.
-
-
-
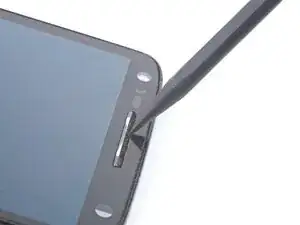
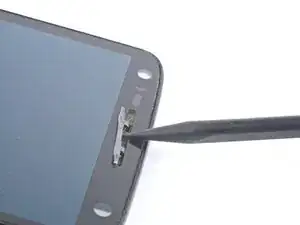
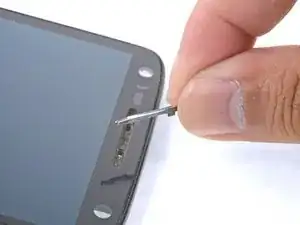
Use the point of a spudger to pry up and remove the speaker grille cover.
-
Remove and transfer the speaker grille cover onto the new display frame.
-
-
-
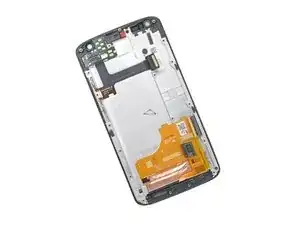
Only the LCD screen and digitizer assembly (with frame) should remain.
-
Compare your new replacement part to the original part. You may need to transfer remaining components or remove adhesive backings from the new part before installing.
-
To reassemble your device, follow these instructions in reverse order.
Take your e-waste to an R2 or e-Stewards certified recycler.
Repair didn’t go as planned? Check out our Motorola Moto Droid Turbo 2 Answers community for troubleshooting help.
