Introduction
This guide will show you how to apply new adhesive to the rear cover of your Motorola Droid Turbo 2 to seal it up after a repair.
Tools
Parts
-
-
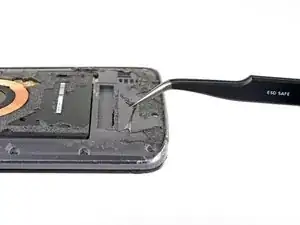
Prepare the phone frame surface by removing all traces of adhesive.
-
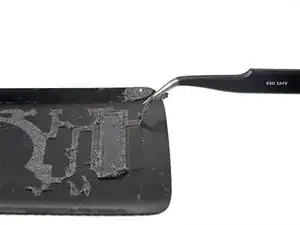
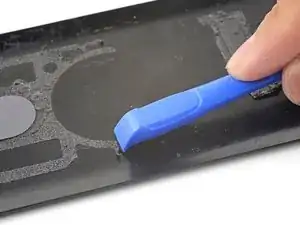
Use tweezers to pull adhesive chunks off. Use the opening tool to scrape residue off. You can use high concentration (over 90%) isopropyl alcohol to help dissolve residue.
-
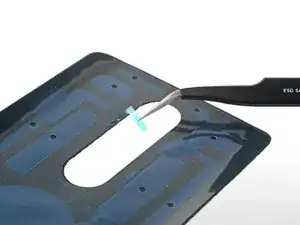
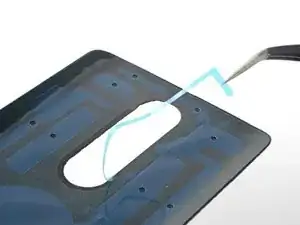
If you are re-using the rear cover, prepare the inner surface by removing all traces of adhesive from it.
-
-
-
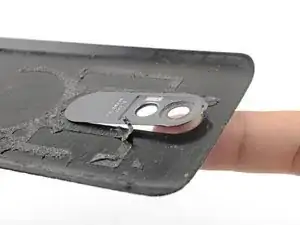
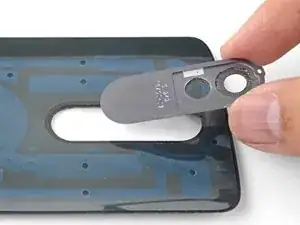
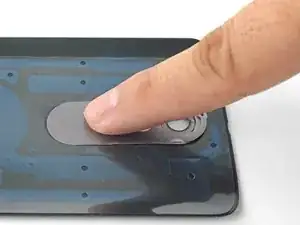
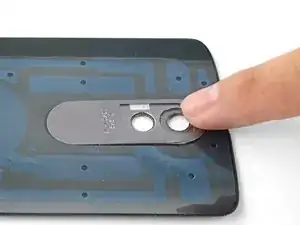
Use your finger and firmly press the metal rear camera plate from the outer side of the rear cover until you dislodge it from its recess.
-
Remove the rear camera plate.
-
Clean the perimeter of the rear camera plate and remove any adhesive residue.
-
-
-
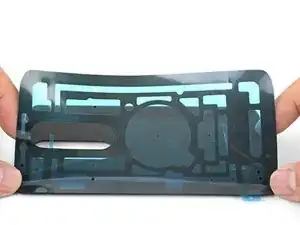
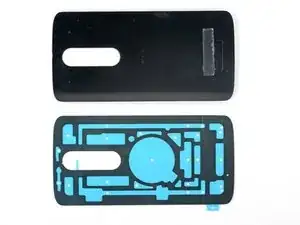
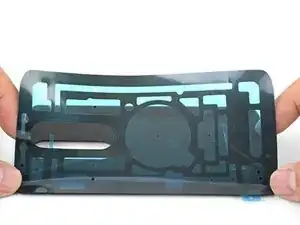
Set the pre-cut adhesive strip next to the rear cover so that it is properly oriented—the pull tabs should point to the bottom left corner of the cover.
-
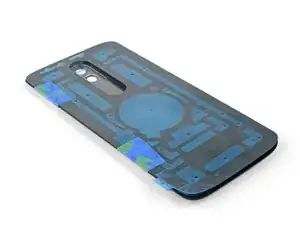
Lay the pre-cut adhesive strip over the rear cover, aligning it to the long edges.
-
Tape one long edge of the pre-cut adhesive strip to the rear cover, locking the alignment in place while allowing the strip to still swing.
-
-
-
Align the adhesive strip to a long edge of the rear cover.
-
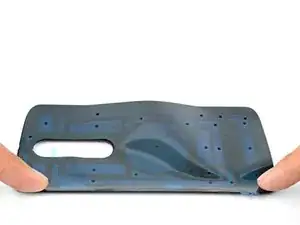
Beginning from the alignment edge, use your fingers to press the adhesive strip onto the rear cover.
-
-
-
Align the rear camera plate with the rear cover's camera hole and drop it in place.
-
Press the rear camera plate in place. You may need to squeeze from both sides to ensure that the adhesive bonds properly.
-
-
-
Continue with phone re-assembly until you are ready to seal up the phone.
-
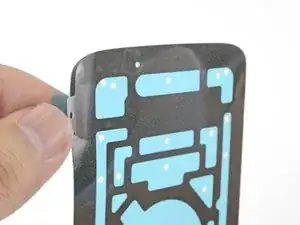
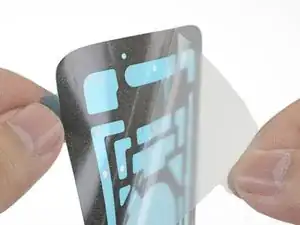
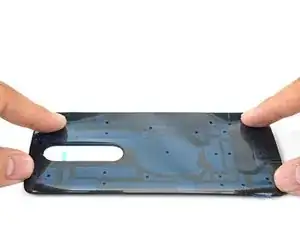
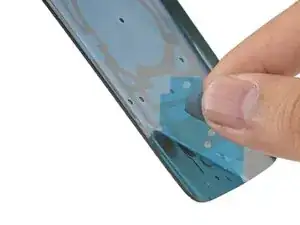
Peel and remove the blue liner from the rear cover, exposing the adhesive to stick onto the phone frame.
-
Align and press the rear cover onto the phone frame.
-
Repair didn’t go as planned? Check out our Motorola Droid Turbo 2 Answers community for troubleshooting help.

I did this a little different and it really simplified things for me and virtually eliminates any mistakes as long as you’re careful. Don’t put the back cover on until you’ve verified that everything is working. The back is just to keep dust and dirt out. So turn the phone on and make sure every thing is working before you put the cover back on.
To put the cover back on, I left the plastic on both sides of the adhesive. Place it on the back of the phone using the camera cover as a guide. The little notch on the induction coil verifies right side up. Check the edges for proper alignment. Once confident with the alignment, Remove the exposed plastic. It should be clear, the blue comes off later. Line the back cover with the camera, and push it onto the adhesive. Press into place, then removed the back cover. Adhesive is now on back cover with out any stretching, misalignment, wrinkles or bubbles. Remove the blue plastic and place back onto the phone, starting at the camera. Snapping in the edges.
Gary Holstein -
I accidentally removed the rectangular plastic liner. I placed it over the rectangular cavity in the inset locating spot on the phone. Then I placed the cover with adhesive over the top of it. I’m not sure what it is for, but I expect it will be fine like that.
Kyle -