Introduction

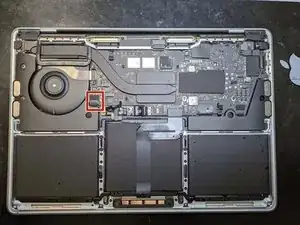
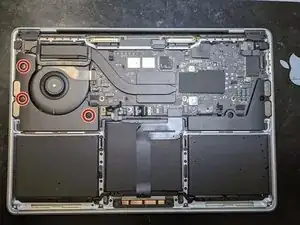
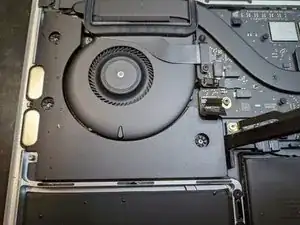
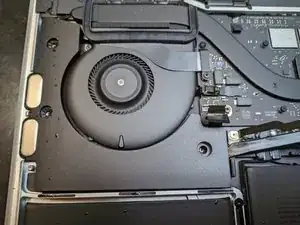
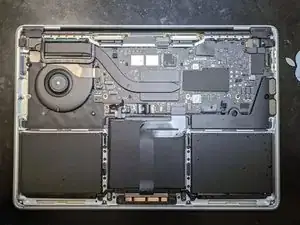
Follow this guide to remove or replace the right speaker on a Late 2020 (M1) 13-inch MacBook Pro.

  1. Q1wvDeNfY4uOiyKt
    • Before starting this procedure, you should disable your Mac's Auto Boot feature. Auto Boot powers on your Mac when you open the lid, and may be accidentally triggered during disassembly. Use this guide to disable Auto Boot.

    • If your MacBook is running Big Sur v11.1 or later, disabling Auto Boot may not work. You can proceed normally, but make sure to disconnect the battery as soon as you're inside.

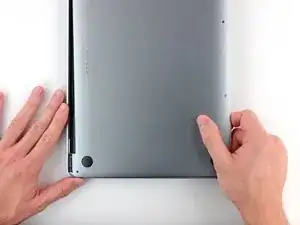
    • Completely power off and unplug your MacBook before you start. Close the display and flip the entire laptop upside-down.

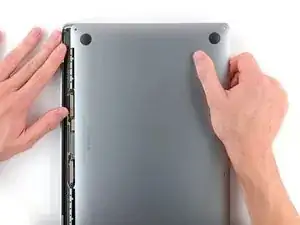
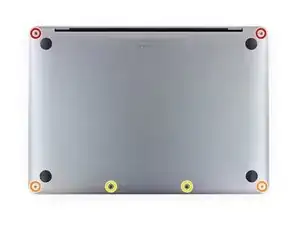
    • Use a P5 Pentalobe driver to remove the six screws securing the lower case:

    • Two 6.8 mm screws

    • Two 5.3 mm screws

    • Two 3.4 mm screws

    • Throughout this repair, keep track of each screw and make sure it goes back exactly where it came from to avoid damaging your device.

    I use a empty egg carton to place screws in in the order of removal from computer

    robert -

    That's a good idea Robert!

    Tom Kingsley -

  2. HNcAU1OxShTMSVcH
    HNcAU1OxShTMSVcH
    RV2F6vZPN4bDRjpF
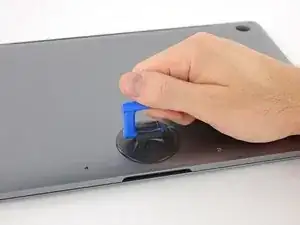
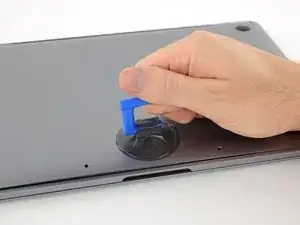
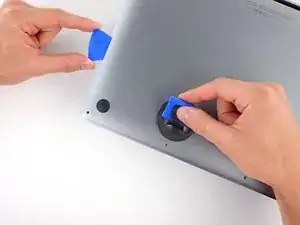
    • Apply a suction handle to the lower case near the front-center area of the MacBook Pro.

    • Lift the suction handle to create a slight separation between the lower case and the chassis.

  3. fBkwTalJQNyTPwSp
    fBkwTalJQNyTPwSp
    6KuUDjvctvBQpU6F
    aKYwtXFASPKBPNFN
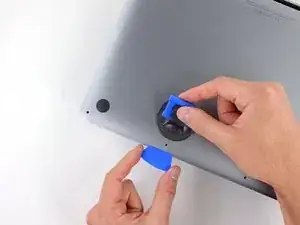
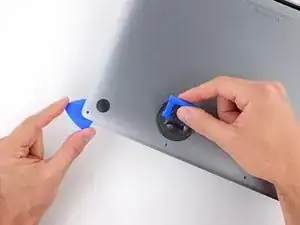
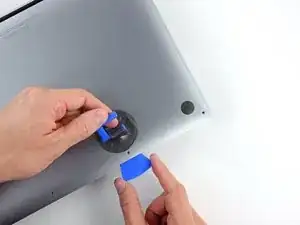
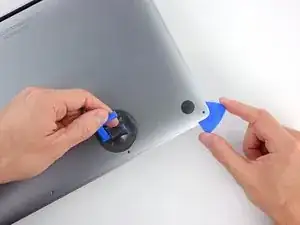
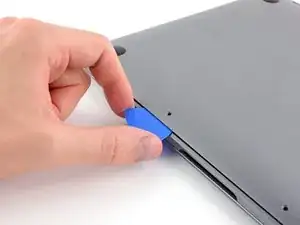
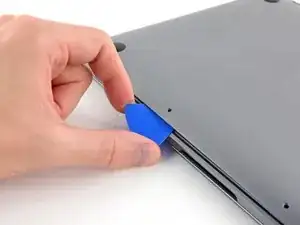
    • Insert one corner of an opening pick into the space between the lower case and the chassis.

    • Slide the opening pick around the nearest corner and halfway up the side of the case.

    • This releases the first of the hidden clips securing the lower case to the chassis. You should feel and hear the clip pop free.

  4. R2wEm6jobOXjQloV
    R2wEm6jobOXjQloV
    ZMvhcRVcNbRarUlR
    pIAj3iNjoHmrl5eD
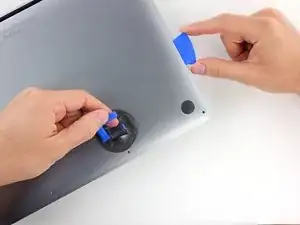
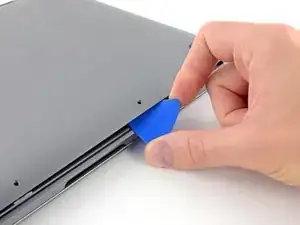
    • Repeat the previous step on the opposite side, sliding your opening pick under the lower case and up the side to pop the second clip free.

  5. CnvC3ADHsHWCSorW
    CnvC3ADHsHWCSorW
    ZNEgaHfCsrAb11eC
    r5umcQAM1T4f4AXQ
    • Insert your opening pick once again under the front edge of the lower case, near one of the two centermost screw holes.

    • Give the pick a firm twist to pop free the third clip securing the lower case to the chassis.

    • Repeat this procedure near the other of the two centermost screw holes, popping the fourth clip free.

  6. Be4XcBdPlUxGlirO
    Be4XcBdPlUxGlirO
    4IVGUAoP6imcUgqT
    LKAkvpHxVvOHEU2S
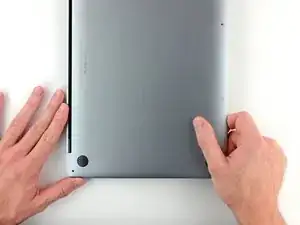
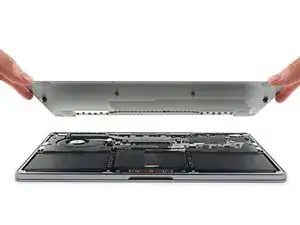
    • Pull the lower case firmly towards the front of the MacBook (away from the hinge area) to separate the last of the clips securing the lower case.

    • It may help to pull first at one corner, then the other.

    • Pull to the side—not up.

    • This may require a lot of force.

    • The edges of the case can be sharp, so grip the sides carefully.

    Be mindful of finger placement as the inside edges of the case are very sharp and may cut you.

    Shane Samuelson -

    literally just cut myself

    Jaiden Daniel Arnett -

    I used the suction cup to pull/slide the lower case from the back clips

    Richard Dunn -

    This is probably the most difficult step. It doesn't come easily, you have to be careful but very firm and apply plenty of force. The edges are somewhat sharp, but I didn't cut myself. Just don't slide your fingers along the edges. I had the best luck orienting the computer in portrait (like the pictures) and pushing on the front right edge of the main chasis with my right hand fingers while pushing the opposite direction on the bottom lid with my left hand fingers (place your fingers right in the crack of the hinge).

    Hudson Gomez -

  7. gBJPsmHQnCcGuQGP
    • Remove the lower case.

    • To reinstall the lower case:

    • Set it in place and align the sliding clips near the display hinge. Press down and slide the cover toward the hinge. It should stop sliding as the clips engage.

    • When the sliding clips are fully engaged and the lower case looks correctly aligned, press down firmly on the lower case to engage the four hidden clips underneath. You should feel and hear them snap into place.

  8. 4fxcSwlNeTWUfaNc
    4fxcSwlNeTWUfaNc
    L1j1MRZCosVLrlH2
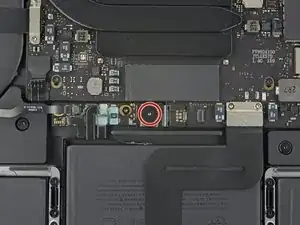
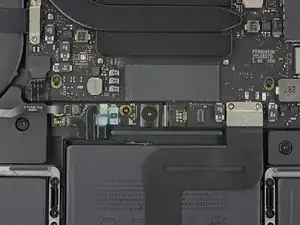
    • Carefully peel up the large piece of tape covering the battery connector, on the edge of the logic board nearest the battery.

    • Remove the tape.

  9. X1eMBkm2fAmXKLZt
    X1eMBkm2fAmXKLZt
    5iCBA1UK3Y1VGBUd
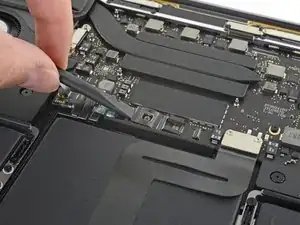
    • Gently peel back the small piece of tape covering the battery board data cable connector.

    • The tape is integrated into the ribbon cable and will not detach completely. Simply peel it back enough to access the connector.

  10. m2ZMQiqkPMUNCckG
    m2ZMQiqkPMUNCckG
    ySdWyeoNwF1mIGE1
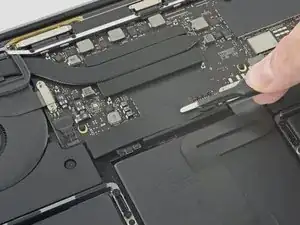
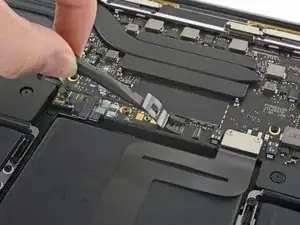
    • Use the tip of a spudger to flip up the small black locking tab securing the cable in its connector.

    • Locking tabs on ZIF connectors are fragile, so be gentle when using the tip of the spudger.

  11. ssX4BEtvDiq3BC2S
    ssX4BEtvDiq3BC2S
    AgTwyOsjGHYBeqWy
    • Disconnect the battery board data cable by sliding it out from its socket.

    • Slide parallel to the logic board, in the direction of the cable.

  12. 2hRujNSkWYa1yBhH
    • Fold the battery board data cable back and out of the way.

    • If you're replacing your battery, you may need to completely remove and transfer this cable to your new battery. Disconnect both ends and carefully remove the cable. During installation, be careful not to install it upside-down or backwards—note the orientation in the photos.

  13. lSaMKOjmtmpvMSgC
    lSaMKOjmtmpvMSgC
    bLADI3bSOZ4yUiH2
    • Use a T5 Torx driver to remove the 3.7 mm pancake screw securing the battery power connector.

    io ho trovato un Torx T4 invece del T5.

    Stefano Supino -

    Ciao Stefano! Grazie per il commento. Infatti c’è sempre una certa tolleranza fra il cacciavite e la testa delle viti. Quindi è possibile che un cacciavite più grande o più piccolo sia più “comodo” in certi casi. Buona riparazione!

    Claire Miesch -

    konnte diese Verbindung nicht lösen. Zu sehr angezogen

    Lang Werner -

  14. RVQlOAm2qrSPBPss
    RVQlOAm2qrSPBPss
    NhCLsrVJdF6AhpAy
    • Use a spudger to gently lift the battery power connector, disconnecting the battery.

    • Lift the connector high enough so that it stays separated from its socket.

    • If it accidentally makes contact during the course of your repair, it could damage your MacBook Pro.

    Hello, I have damaged this connector and it is now loose with the logic board. It is possible to replace this connector?

    Thanks

    deejaygav -

    Please save yourself a pile of money and read this before doing this step: I bricked my MacBook by not being extremely careful and making sure to NOT touch the connector together as I took it apart. Ouch ouch ouch. 😫

    Hudson Gomez -

  15. iKJ3nJucGRYUefJY
    iKJ3nJucGRYUefJY
    wdAtnEthaRJLFJrh
    aBoNIDmUnFXkyOQU
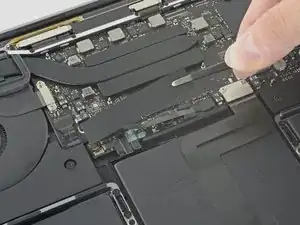
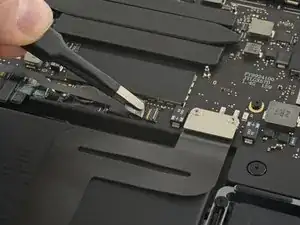
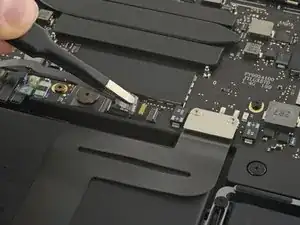
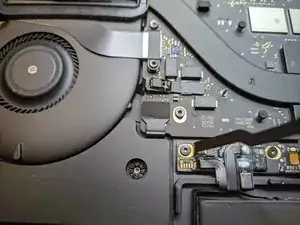
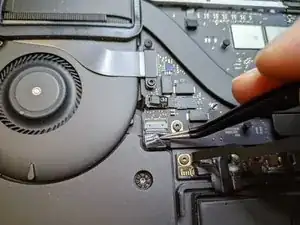
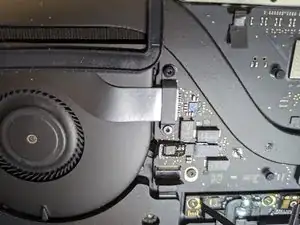
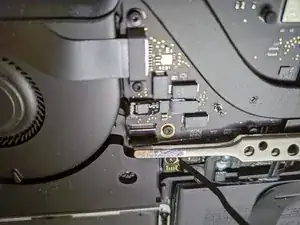
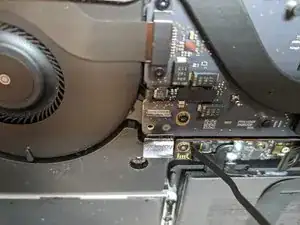
    • Lift the adhesive covering the right speaker connector using a pair of tweezers to pull it towards you.

  16. oRs4nUdOFm3SnFyE
    oRs4nUdOFm3SnFyE
    HtcCOFrgJnOWBHSD
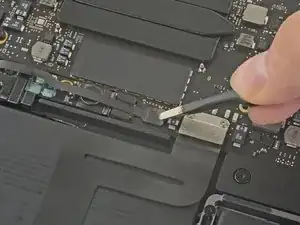
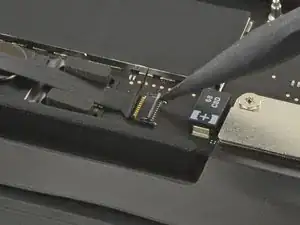
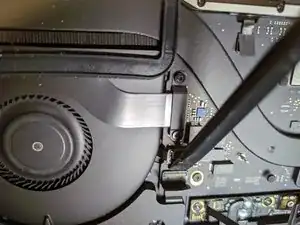
    • Use the flat side of a spudger to rotate the locking tab of the ZIF connector upwards.

  17. OY2qxF44pGvBAEuW
    OY2qxF44pGvBAEuW
    JxTOQaEt1lsiGOoW
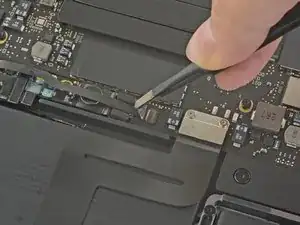
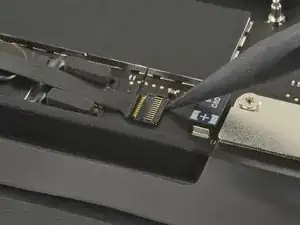
    • Pull the ribbon cable out of its socket using a pair of tweezers.

  18. jorXLeiEWrlX1jji
    • Remove the three 2.85mm T5 Torx screws holding the right speaker in place.

  19. ynLOHObM2M6CCjPD
    ynLOHObM2M6CCjPD
    YYIXNpQlABCoMey6
    xddagmQF2pkhfPpM
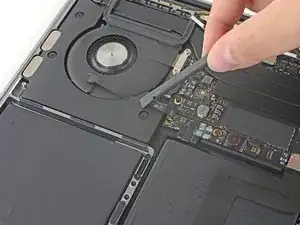
    • Slide the flat side of the spudger under the right speaker, next to the battery board.

    • Push the spudger down to lift the right speaker out of its socket.

    • Remove the right speaker from its housing.

    • Be careful not to slip the anti-vibration gasket in the screw holes. Otherwise it will be very difficult to rethread during reassembly.

    if when removing the fan the rubber grommets remain on logic-board (because Apple glues them), when reassembling, carefully twist 3 grommets till removed. Reinsert grommet from bottom of speaker ribbed area facing up using small screwdriver or something similar so the ribbed top section pops thru hole of speaker and groove on grommet sits properly .

    robert -

Conclusion

Compare your replacement part with the original one - some components may need to be relocated, or adhesive guards removed from the new part before installing.

To reassemble your device, follow the instructions in reverse order.

Take your e-waste to an R2 or e-Stewards certified recycler.

Did the repair not go as planned? Try reaching out to our Answers community for help with troubleshooting.
Daniele Carminati

Member since: 07/03/21

29313 Reputation

0 comments