Introduction

Use this guide to replace the trackpad in your MacBook Pro 13" 2022 (M2).

If your battery is swollen, take appropriate precautions.

Some photos in this guide are from a different model and may contain slight visual discrepancies, but they won't affect the procedure.

  1. U4tX5XhwIpXpMgAL
    U4tX5XhwIpXpMgAL
    JDHMEXiFS41MZUkD
    RkvsgLmL1lgYZR1h
    • Allow your MacBook's battery to drain below 10% before starting this repair. A charged battery may catch fire if damaged during the repair.

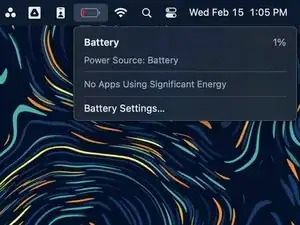
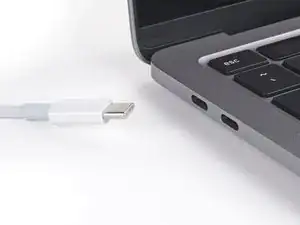
    • Unplug all cables and fully shut down your MacBook.

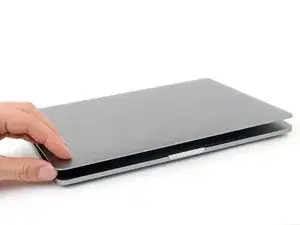
    • Close the lid and flip your MacBook over. Keep the lid closed until you've physically disconnected the battery.

    • Opening the lid will power on your MacBook. If you're using macOS Big Sur v11.1 or earlier, disable this function using this guide.

  2. 6XfeiGHUxrLpTDuJ
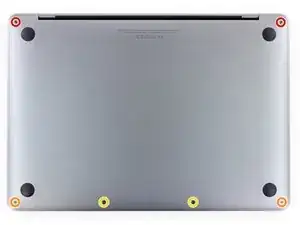
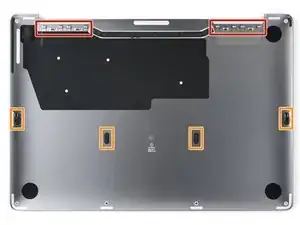
    • Use a P5 Pentalobe driver to remove the six screws securing the lower case:

    • Two 6.8 mm screws

    • Two 5.3 mm screws

    • Two 3.4 mm screws

    • Throughout this repair, keep track of each screw and make sure it goes back exactly where it came from.

  3. FJBBEPdfhWkcDVnU
    FJBBEPdfhWkcDVnU
    eSePKZl2oNOPZD5O
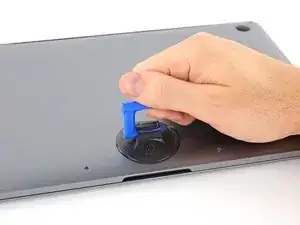
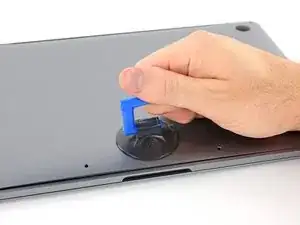
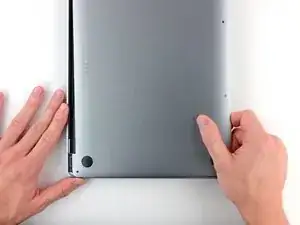
    • Apply a suction handle near the front edge of the lower case, between the screw holes.

    • Pull up on the suction handle to create a gap between the lower case and the frame.

  4. uXYNwNrFnnZjWVPG
    uXYNwNrFnnZjWVPG
    JNhb2FLsMAf1dNPU
    2PoKZfpFYl2lNLYh
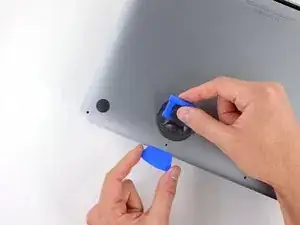
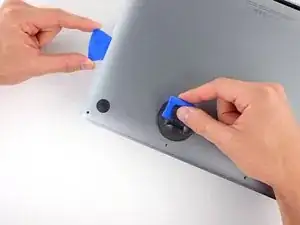
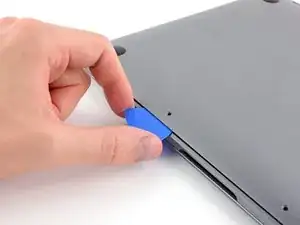
    • Insert an opening pick between the lower case and the frame.

    • Slide the pick around the left corner to release the first set of clips.

    • You'll hear and feel a pop when each clip releases.

  5. pTJx2mXBdFFAC2xb
    pTJx2mXBdFFAC2xb
    WR2c3Yu2DWmJKVhV
    lDMHIrQViLC6AQgH
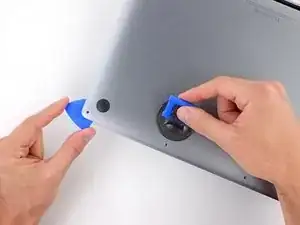
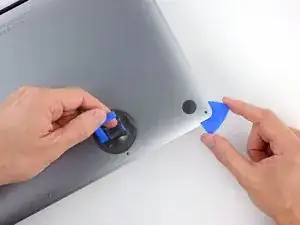
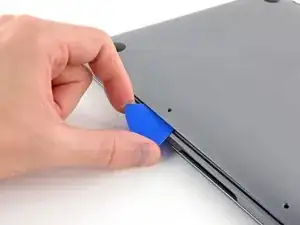
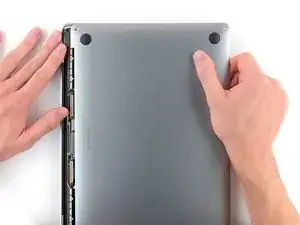
    • Slide your opening pick around the right corner to release the second set of clips securing the lower case.

  6. CNlaKYGMcLuNXCGt
    CNlaKYGMcLuNXCGt
    DUNrcpQtrqnnZSXS
    MnCyZXeeVgduQT4W
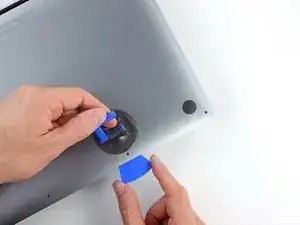
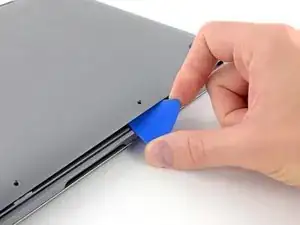
    • Insert your opening pick between the lower case and the frame near the middle left screw hole.

    • Firmly twist the pick until the clip releases.

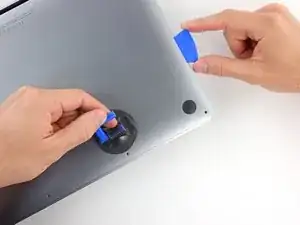
    • Repeat this procedure for the clip near the middle right screw hole.

  7. NlrkASaaCpv5ZyBF
    NlrkASaaCpv5ZyBF
    CJfKKO6CGHPoWtmT
    gcntTllNIv2KSqDR
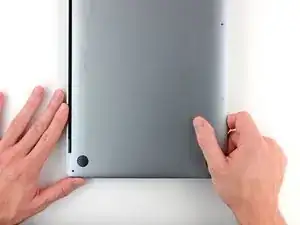
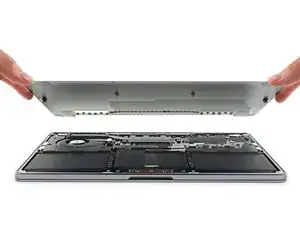
    • Firmly pull the lower case away from the screen hinges to release the last clips securing it to the frame.

    • This motion requires significant force. Don't pull the lower case up, as you may bend the clips.

    • If it feels stuck, pull one corner at a time.

  8. EfuMeVIqhauZxFC2
    EfuMeVIqhauZxFC2
    ZWvSfoMJNAwTd1nw
    • Remove the lower case.

    • To reinstall the lower case:

    • Set it in place and align the sliding clips near the display hinges. Press down and slide the lower case toward the hinges.

    • Once the lower case is secured near the hinges, press down firmly to engage the remaining four clips.

    • You'll hear and feel a pop when each clip engages.

  9. MLesCrdxYCfEJgCd
    MLesCrdxYCfEJgCd
    DULy5mtfFQAeo34T
    • Use blunt noise tweezers or your fingers to peel and remove the cover from the battery board, just above the middle battery cell.

  10. djKmHALNFbNqlmNu
    djKmHALNFbNqlmNu
    PReLk2QetgDSIcGi
    • Use blunt nose tweezers to gently peel back the pull tab covering the battery data connector.

    • Don't remove or tear the pull tab, as it's attached to the head of the connector.

  11. UGJWjJYILha4fPq3
    UGJWjJYILha4fPq3
    TAoMyDaI4LVFjf4S
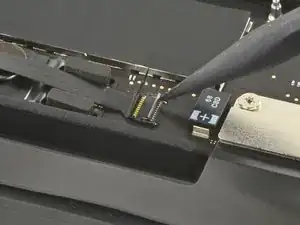
    • Use the point of a spudger to flip up the small locking tab securing the battery data connector.

    • Locking tabs on ZIF connectors are fragile—be gentle with your spudger.

  12. XPNKXSPTH6XONurY
    XPNKXSPTH6XONurY
    QT4O2PQjklnOKaOq
    tBiZIq2FwprSY1LV
    • Use blunt nose tweezers or your fingers to grab the battery data cable pull tab and slide it straight out of its socket.

    • Move the cable to the left, out of the way of the battery board.

    • Don't strain the cable, as it's still attached to the battery board.

  13. hUPr6omhrEWEurAS
    • Use a T5 Torx driver to remove the 3.7 mm screw securing the battery connector.

  14. uPklZIZh6pdRR6Bl
    uPklZIZh6pdRR6Bl
    mvKuKVSu3fVAGCOY
    lVG4JZRDUGmhYH4Q
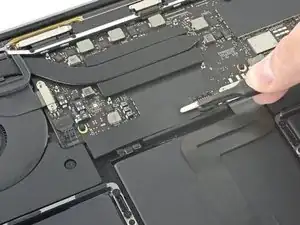
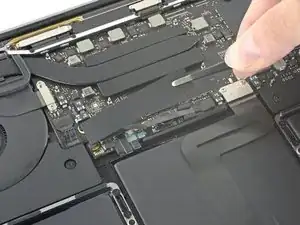
    • Use the flat end of your spudger to slightly lift the battery connector away from the battery board.

    • Lifting the connector too high will break it. Angle it enough so it won't accidentally contact the battery board during repair.

    • Optionally, you may insert a barrier, such as a piece of a playing card, between the connector and the board during the repair.

  15. yLIkgSieMZ1NGfhD
    yLIkgSieMZ1NGfhD
    nrciqN43qVfNgbq3
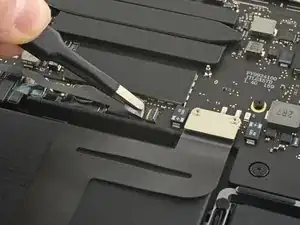
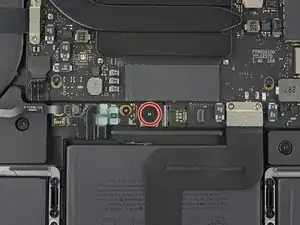
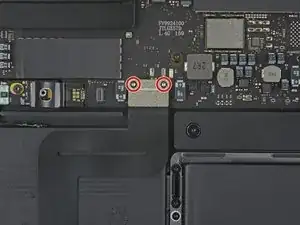
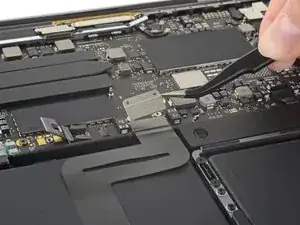
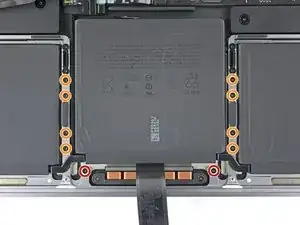
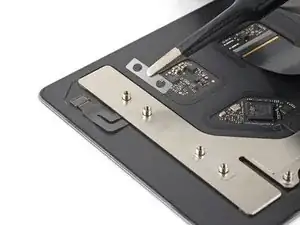
    • Use your T5 Torx driver to remove the two 1.9 mm screws securing the trackpad cable bracket.

    • Remove the bracket.

  16. nBJXcQZoxMNLpTFa
    nBJXcQZoxMNLpTFa
    Cy5qFRIGwrxSotxp
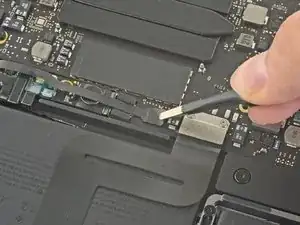
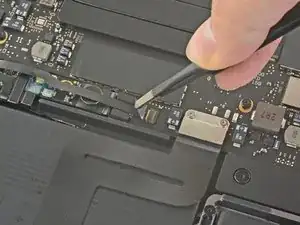
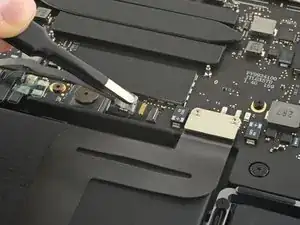
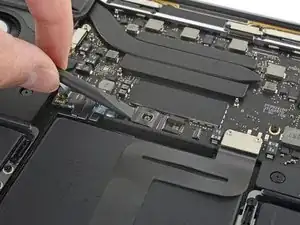
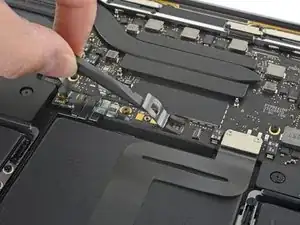
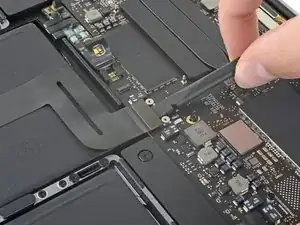
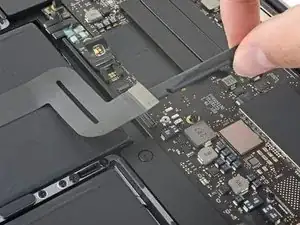
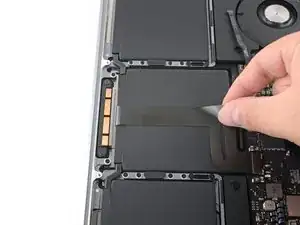
    • Use the flat end of your spudger to pry up and disconnect the trackpad cable from the logic board.

  17. b6KQX1QZUYNOvPY2
  18. hZp2pM5SgkwjuiHU
    hZp2pM5SgkwjuiHU
    ASQwQWfhTdpOMdnG
    xbWKuQnfBnqxSTFy
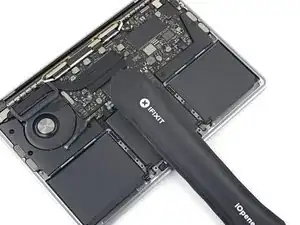
    • Use your fingers to peel the trackpad cable from the battery.

    • Fold the cable over the front edge of the MacBook.

    • Don't strain the cable, as it's still connected to the trackpad.

  19. KXABjnBYVbiS53ee
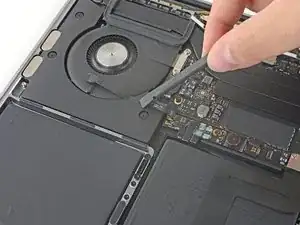
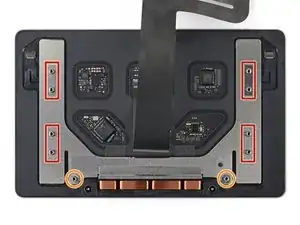
    • Use your T5 Torx driver to remove the ten screws securing the trackpad:

    • Two 4.3 mm screws

    • Eight 5.8 mm screws

  20. 4invdZDMwoILjwmF
    4invdZDMwoILjwmF
    flaYy4EeCoSY3hYT
    5DKGiXqovW63JLCg
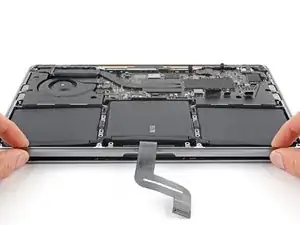
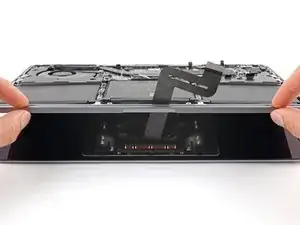
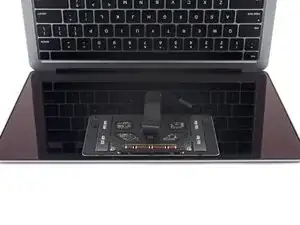
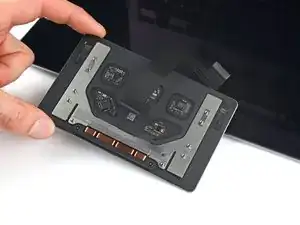
    • Open your MacBook by lifting the body away from the display and trackpad.

    • Feed the trackpad cable through its cutout in the frame.

    • Before reinstalling the trackpad, thread the trackpad cable through the narrower of two slots at the base of the frame.

  21. 2fYJaXBoGmSCfvrp
    2fYJaXBoGmSCfvrp
    ZIjKCvHF1pE1TTXb
    YNdvAjh1p1P4wEcO
    • Remove the trackpad from the display.

    • Be careful not to lose the six small washers from the trackpad screw posts:

    • Four rectangular washers

    • Two circular washers

    • Make sure your new trackpad has a ribbon cable installed before reassembly. If necessary, transfer the old cable, or install the one your new trackpad came with.

Conclusion

To reassemble your device, follow these instructions in reverse order.

Take your e-waste to an R2 or e-Stewards certified recycler.

Repair didn’t go as planned? Try some basic troubleshooting or search our Answers community for help.

Clay Eickemeyer

Member since: 19/09/22

65190 Reputation

0 comments