Introduction
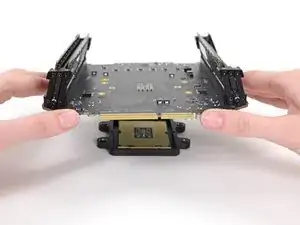
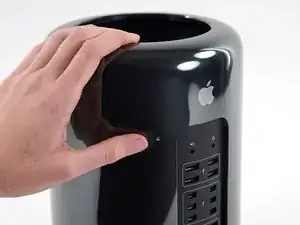
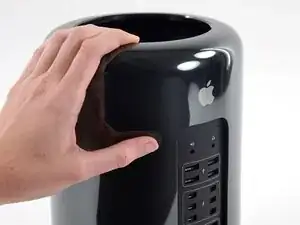
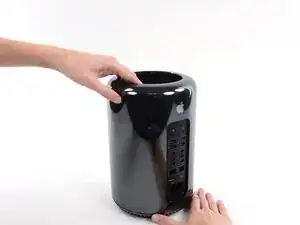
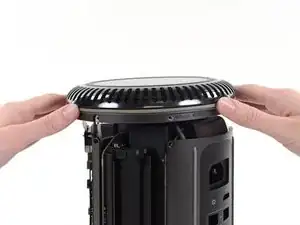
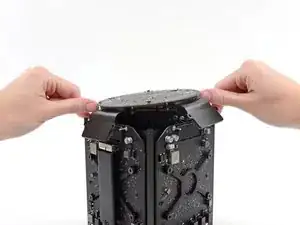
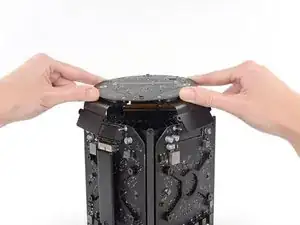
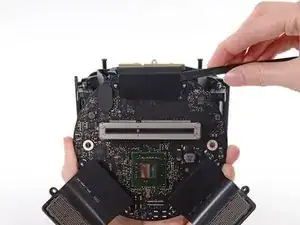
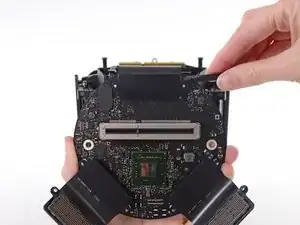
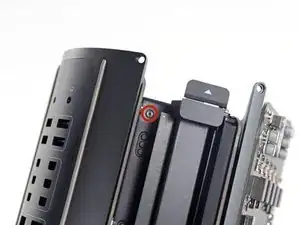
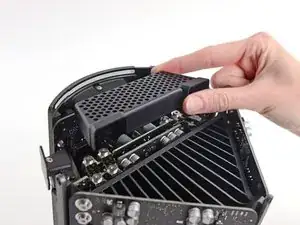
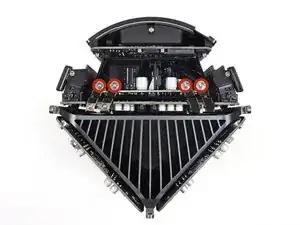
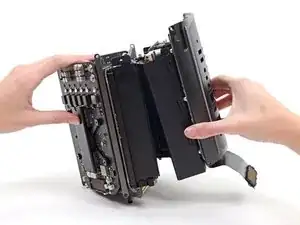
Use this guide to replace the logic board.
Removing the logic board means you'll need to reapply a layer of thermal compound.
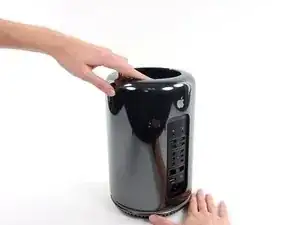
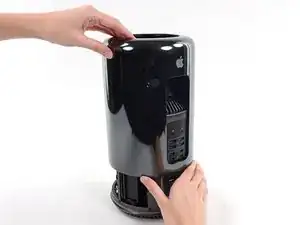
Before beginning any work on your Mac Pro: Unplug the computer and press and hold the power button for ten seconds to discharge the power supply's capacitors.
Be very careful not to touch the capacitor leads or any exposed solder joints on the back of the power supply. Only handle the board by the edges.
Tools
-
-
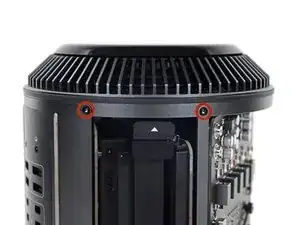
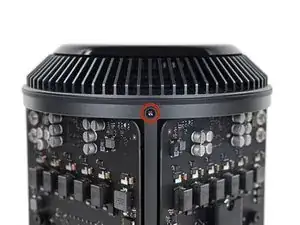
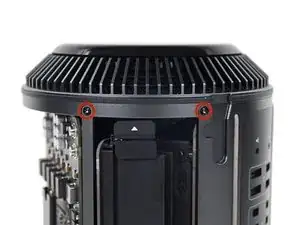
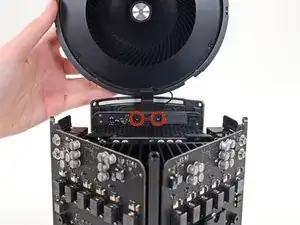
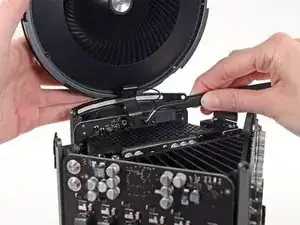
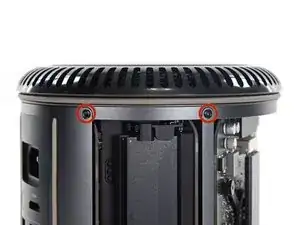
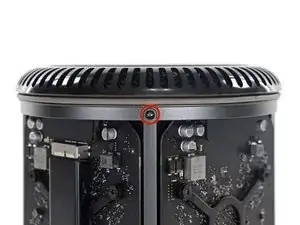
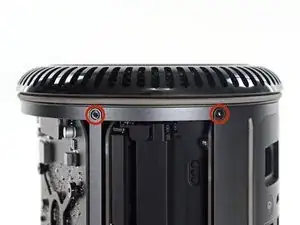
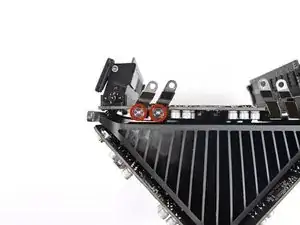
While supporting the fan assembly with one hand, loosen the two T8 captive screws in the fan cable bracket.
-
-
-
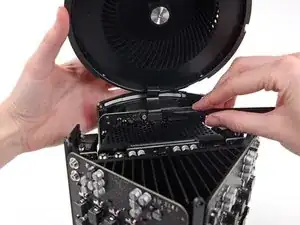
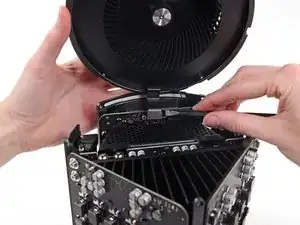
Disconnect the fan assembly antenna cable from the IO board.
-
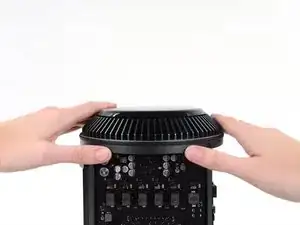
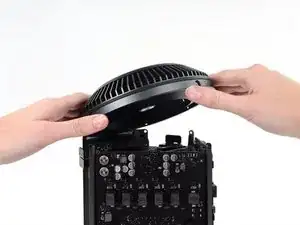
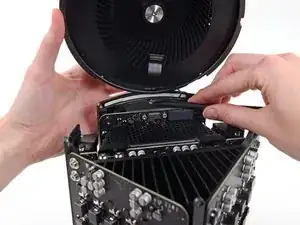
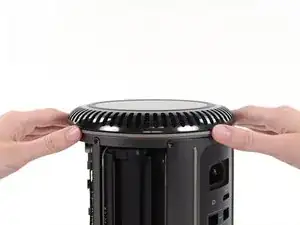
Remove the fan assembly from the Mac Pro.
-
-
-
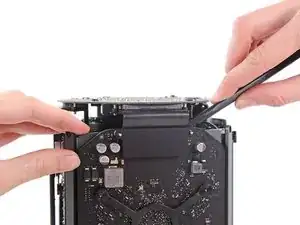
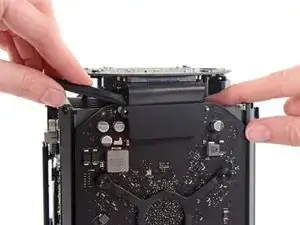
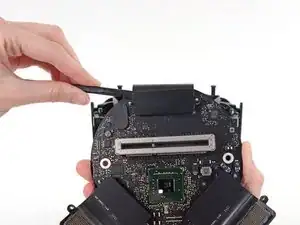
Use the flat end of a spudger and a twisting motion to gently separate one side of the graphics card data connection.
-
-
-
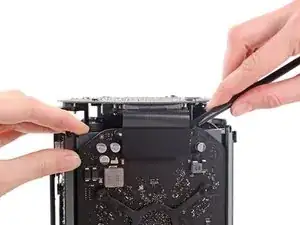
Gently separate the other side as well.
-
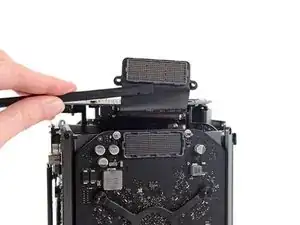
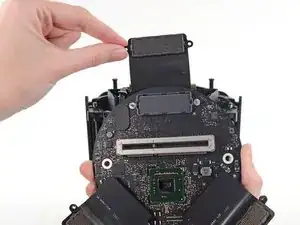
Flip the connector up and out of the way of the graphics card.
-
-
-
Flip the interconnect board up and over, exposing the IO board data cable.
-
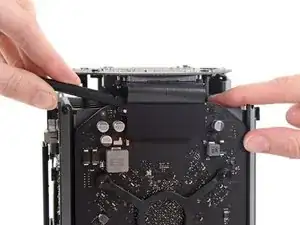
Use the same sort of twisting and spreading motion with the flat end of a spudger to separate one side of the IO board data cable.
-
-
-
Use the flat end of a spudger to separate the other side of the IO board data cable.
-
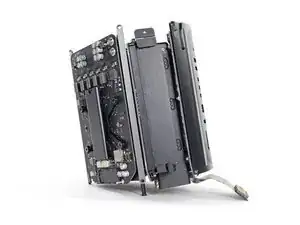
Bend the cable out of the way and remove the interconnect board from the Mac Pro.
-
-
-
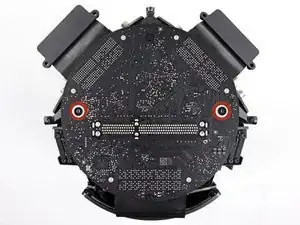
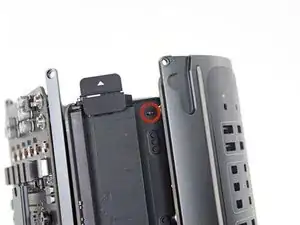
Remove the two 3.6 mm T5 Torx screws from the sides of the power supply cage (one on each side).
-
-
-
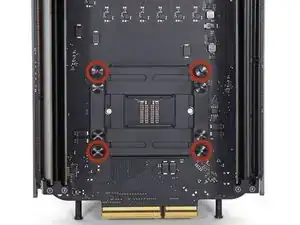
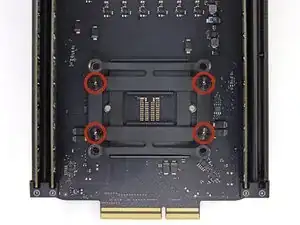
Remove the inner four 12.8 mm T10 Torx screws from the CPU heat sink bracket.
-
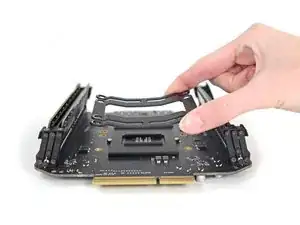
Remove the CPU heat sink bracket.
-
-
-
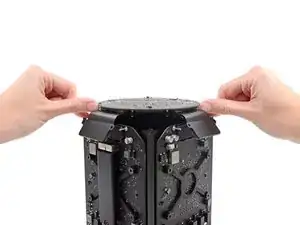
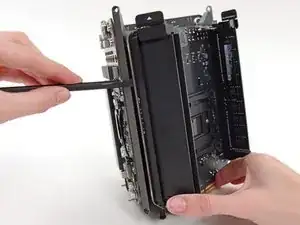
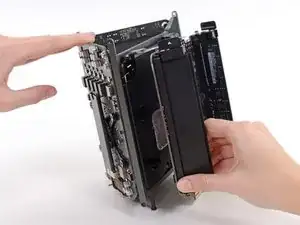
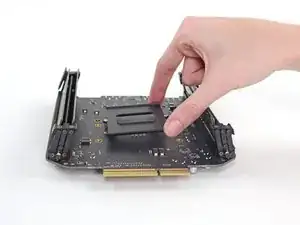
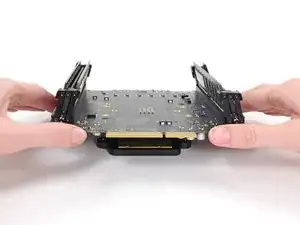
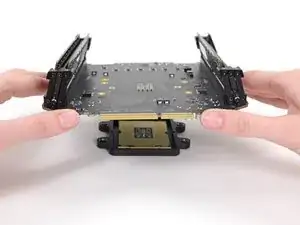
Lift and remove the logic board from the CPU and bracket.
-
During reassembly, be sure to clean off and replace the thermal compound on the CPU.
-
We have a thermal paste guide that makes replacing the thermal compound easy.
-
To reassemble your device, follow these instructions in reverse order.
One comment
The RAM/CPU board is only attached to the thermal core around the processor area. This means seating RAM modules can flex the board (which has no support under the RAM sockets) so take extra care seating RAM modules.
