Introduction

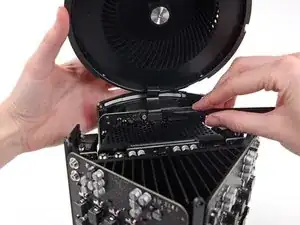
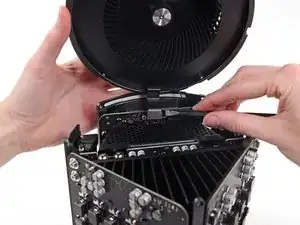
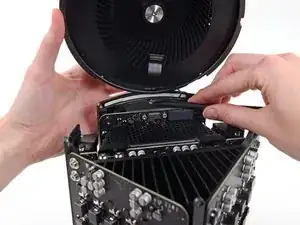
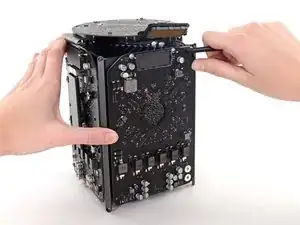
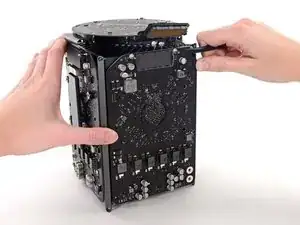
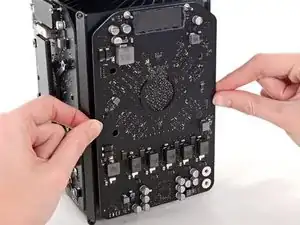
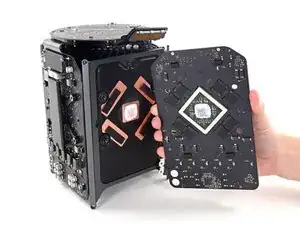
Use this guide to replace either of the dual graphics cards in your Mac Pro. The procedure is shown on one card, but it is essentially identical for either.

When you're replacing your card, be sure to reapply a layer of thermal compound.

Before beginning any work on your Mac Pro: Unplug the computer and press and hold the power button for ten seconds to discharge the power supply's capacitors.

Be very careful not to touch the capacitor leads or any exposed solder joints on the back of the power supply. Only handle the board by the edges.

  1. UvUDEeuAGOcSyZ6Y
    UvUDEeuAGOcSyZ6Y
    6E4dVROBn2KCRitH
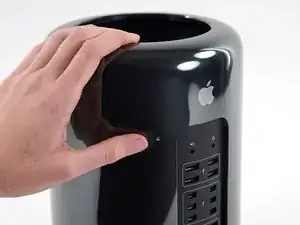
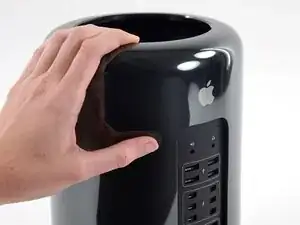
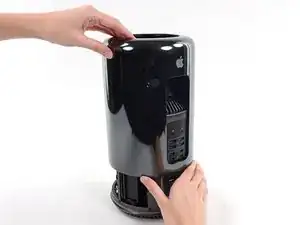
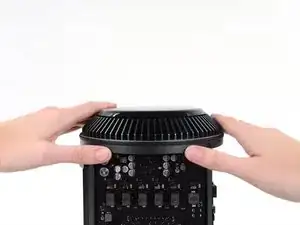
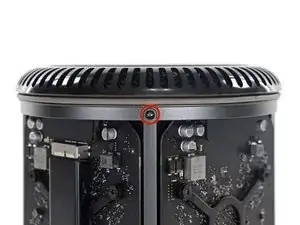
    • Slide the lock switch to the right, to the unlocked position.

  2. 1T6FWnrfHWRH2PIX
    1T6FWnrfHWRH2PIX
    LZUjZMT1W2HyocfY
    qEZURvNGfsFRhn15
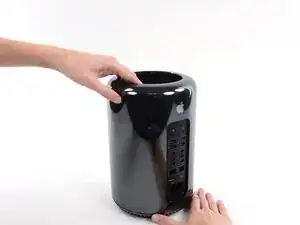
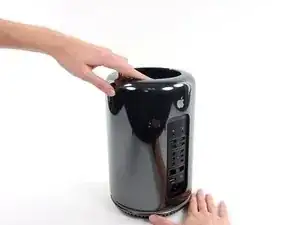
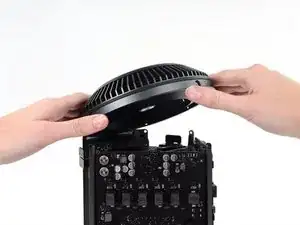
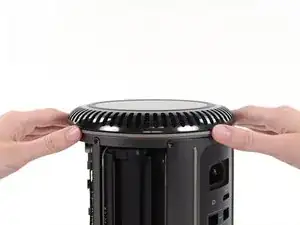
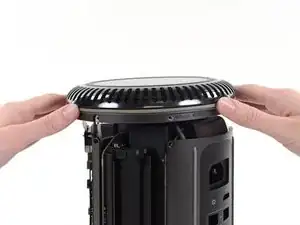
    • Lift the outer case straight up off the Mac Pro.

    • It may help to push down on the center of the fan while lifting the case up.

  3. thx2PRFESOcKGAcF
    thx2PRFESOcKGAcF
    fowEwJDQUHt5gRvN
    YkicYtjklAO35ERL
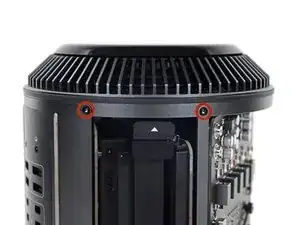
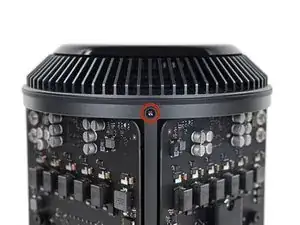
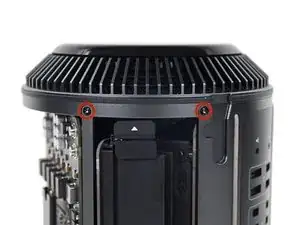
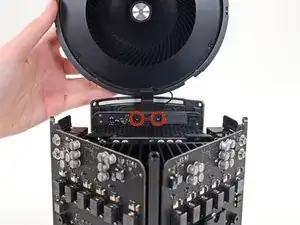
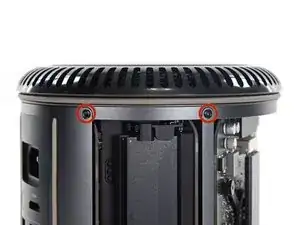
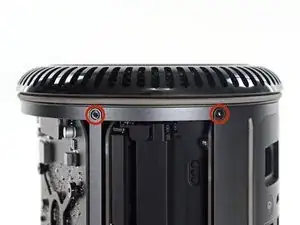
    • Remove five 5.1 mm T10 Torx screws from around the outer perimeter of the fan assembly.

    You don't have to remove the fan assy to get to the wifi board & card. It can be done with the fan assy still attached.

    Fat Mango -

    Fat Mango is correct. That said. If you do pull the fan assembly note that the screws are all held in with blue Permatex and breaking them free takes a fair amount of effort. Getting a good set of Torx screwdrivers is a must.

    Jim WIlson -

    Hey guys, what would happen if you only replace one card.. I have a D300 but the plan is to upgrade to D500 or D600. So If I can afford and install one instead of the pair would it increase something? or will it cause any conflict? I guess I don’t understand if I the Mac Pro has 2 D300 graphic cards that means each has 1GB? Same as If I would Install 1 D600 that would increase 3GB only? Thanks.

    marcotamayo -

    D300 = 2GB each card. Very few apps uses two cards at the same time.

    Gio Cas -

    The (5) Screws are Apple part number 923-0713

    Steven Gier -

  4. fEANTTnYS4TS3pQD
    fEANTTnYS4TS3pQD
    V2ArmlpPcrPPbGTB
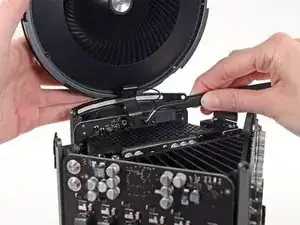
    • The fan assembly is attached to the rest of the computer by two cables on the IO board side.

    • Tilt the assembly up away from the IO board.

    • Do not try to remove the fan assembly yet, as it is still attached by two cables.

  5. lceQ6InRYFH5qg2f
    • While supporting the fan assembly with one hand, loosen the two T8 captive screws in the fan cable bracket.

    • These screws are captive in the Mac Pro. Do not try to remove these screws from your Mac Pro.

    On my Mac Pro (assembled mid-2017) these are T8 screws. In fact, there were no T7 screws anywhere in my machine.

    mark33 -

    There was no bracket on top of the cable at all, so I got a bit confused, so I had to skip step 5 and 6.

    Rakesh -

    On my machine, a TR7 worked to remove them due to the weird angle.

    Wilson Gaberino -

  6. Y6MKDVBUdIumVZuf
    • Use a pair of tweezers to pull the fan cable bracket away from the fan assembly.

  7. JUE2RPF2GwjcP2kr
    JUE2RPF2GwjcP2kr
    oW6DugeJyYrgKGD4
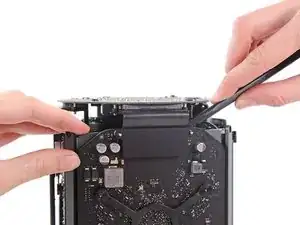
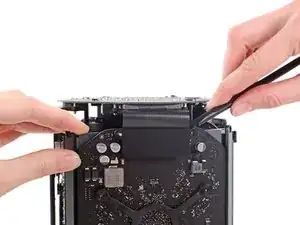
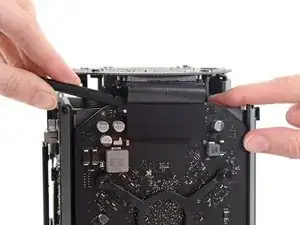
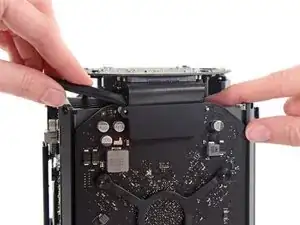
    • Use the flat end of a spudger to disconnect the fan assembly ribbon cable from the IO board.

  8. wMMmqDsn3NjCMRWu
    • Disconnect the fan assembly antenna cable from the IO board.

    • Remove the fan assembly from the Mac Pro.

    You don't have to remove the fan assy to do the steps below. They can be done with the fan assy still attached.

    Fat Mango -

  9. vKqMwE5sukJabGM4
    vKqMwE5sukJabGM4
    qJXAGFixb3ENKTgb
    GNaKkVSLqlDibNES
    • Flip the Mac Pro upside down, 180 degrees.

    • Remove five 5.1 mm T10 Torx screws from the outer perimeter of the lower case.

  10. P5MoWdnj3fbvZkkd
    P5MoWdnj3fbvZkkd
    VQJFPWMcmQVgLTEG
    • Carefully lift the lower case up and remove it from the Mac Pro.

  11. 2SMeUlQVXlfbPQl4
    2SMeUlQVXlfbPQl4
    YNvtTK2PQSTXmID5
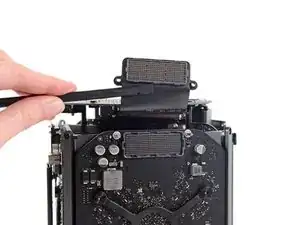
    • Use the flat end of a spudger and a twisting motion to gently separate one side of the graphics card data connection.

  12. aCbbjtHCtwAcWptG
    aCbbjtHCtwAcWptG
    5yeO4iYUAbODc2rO
    nLYXHqOCATUNBZxa
    • Gently separate the other side as well.

    • Flip the connector up and out of the way of the graphics card.

  13. rptDQNycHjh3Iq6T
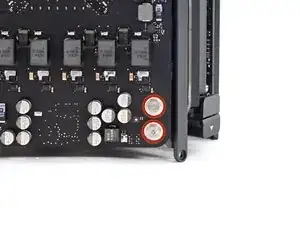
    • Remove the two 6.6 mm T8 Torx Security screws securing the GPU to the Mac Pro.

    • These screws fit into power cables behind the GPU. Be careful not to over-tighten and twist the cables.

    These two screws require a T9H screwdriver with the H being a hole in the center otherwise you will not be able to remove the screws.

    Mark Fracasso -

    Be mindful of the 2 washers per screw

    Macrepair SF -

    Torx T8H!!! I spent two days looking for Т9Н ((((

    Эд Глеков -

    Short story: Theses two screws are EXTREMELY important to avoid erratic kernel panics. On both GRX-Units these MUST sit tight.

    Long version: Over one (1) Year I had kernel panics and spontaneous losses graphics-output on my fully equipped MP6,1 - my main professional music workstation. Only by chance I stumbled over a youtube video that suggested to renew therma paste in case of the experienced issues. When following this guide, I found these two screws of GFX-card 2 completely loose. One of them was already browned by the high currents, that tried to managed their way from PSU to GFX Unit 2. After tightening these two screws (and of course renewing the thermal paste...) I experienced the machine running flawlessly.

    The MP6,.1 does need some care from time to time - I recommend removing visible dust AND checking the screws on their tight fit.

    Chris Hees -

  14. fVConOTGIgUTR6ND
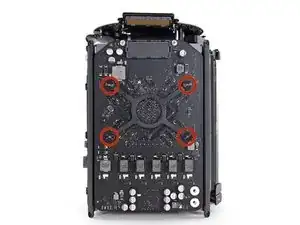
    • Remove the four 8.4 mm T10 screws from the GPU heat sink bracket.

  15. C2UETyNV2dd4HQDb
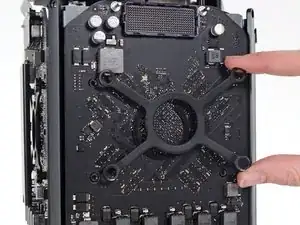
    • Remove the GPU heat sink bracket.

  16. MsCgWUEZUYJA1w4O
    MsCgWUEZUYJA1w4O
    TSXIun3aGLGivgL6
    eZgDx1MV2XGi2CLP
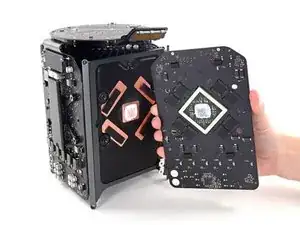
    • The graphics card is now held onto the central heat sink by thermal compound.

    • You may need to pry very gently with a spudger to separate the card from the heat sink.

    • Remove the graphics card from the heat sink.

  17. haAJX5QrvCyfPXAl
    • During reassembly, be sure to clean off and replace the thermal compound. Use our Applying Thermal Paste guide if you require assistance.

    • Repeat this procedure if you wish to remove the secondary graphics card.

Conclusion

To reassemble your device, follow these instructions in reverse order.

Andrew Optimus Goldheart

Member since: 17/10/09

502341 Reputation

19 comments

hey! is it possible to upgrade the GPU or is this just for replacing exactly the same part?

Ben -

I am guessing you can upgrade them with OEM parts, but where would we find them?

Fernando Bernardino -

Yes. I recently swapped out D300 pairs for D700 pairs without a blip. I did an NVRAM reset afterwards just to be safe.

Technology Research -

I have the D300s, and would like to upgrade to the D500s or D700s. Where might I find the replacement graphics cards? Also, any recommendations on service providers who would do this procedure?

Chris M Balz -

I'd love to know this as well. The only reason I picked up the ,ad pro was the potential for upgrades. As it turns out D300s are crap. I can't even run boot camp properly.

jerimiahy -

Is it possible to put Nividia cards in?

Dave Rickards -

If you get a similar card whit the same Conector Yes, but well, theres no cards like that
dennysb de -

Join our battle to get our money back...

https://www.facebook.com/macpro2013isbro...

David Alamouti -

Did you check if your wiring is faulty? Just plug in a UPS if it comes with a ground fault indicator. I fried my Mac Pro 2013 on a line that ended up having a ground fault. After fixing the building's wiring I have had zero issues with the replacement Apple sent me. I always power it through the UPS now.

Robert -

So I have a Mac Pro6,1. Found out that the D300 boards are not covered under the Repair Extension program that Apple quietly instituted due to all the problems. I had the D300's replaced under warranty within the first 6 months, now they have gone out and I'm controlling my Pro via Screen Share on my MacBook. I'd like to replace them with some other aftermarket option. Any recommendations?

Trey Lutrick -

Your GPU fried? I had a similar issue and absurdly traced it all back to just faulty wiring. Buy a UPS, make sure it comes with a ground fault indicator. Check if the wiring is faulty. Let me know if that is the issue. I got my UPS for about 70 dollars. Always power all of your expensive computer equipment through a UPS it conditions the signal and protects it from surges and brownouts it will increase the lifetime of your equipment.

Robert -

PCI Express is a private standard. To even get a legal copy of the specification you have to be a paid member of PCI-SIG. Membership costs $4,000 every year. You could try and find a schematic for the Mac Pro 2013 to figure out what the pinout is for the proprietary GPU connector but even knowing the full pinout and what each pin is for it still won't make sense unless you have the spec for the PCI Express standard. That would be the only way to make your own adapter cable to convert the proprietary connector to standard PCI Express. This is why no 3rd party option is currently available. It is a huge R&D effort that costs thousands of dollars JUST to whip up an adaptor cable.

Robert -

where is the GPU Riser Board??

Giovanni Navas -

The GPU’s are easier than the cpu because you can easily alight the card to the thermal plate because the female lugs lines up with the cards mountings.

[deleted] -

Im having trouble with the screws on the gpu bracket. The nuts behind are attached to the screws and are turning with them. I can’t get the bracket out.

phidesign -

Anyone know the thickness of the thermal pads that cover the VRAM or any other specs on the pads? Given my machine is quite aged by now, i’m sure that those pads will be brittle when I take it apart… Any suggestions on what to replace them with? I know apple sells them but they are seriously overpriced (and apart from that very hard to get).

Keith S. -

Did you find thickness of thermal pads?

If you find it please tell that thickness.

Thank you

김현우 -

There is no need to remove the Top to swap GPU cards. Leaving the Top on eliminated the fan retainer and wireless antenna work.

Technology Research -

Is it possible to have two cards of different reference? for example a D700 in slot A and a D500 in slot B?

Miguel Sierra -