Introduction

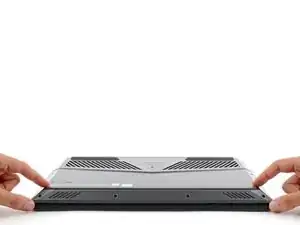
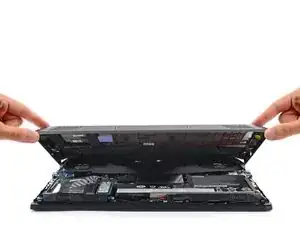
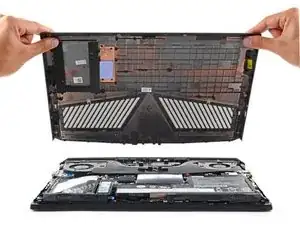
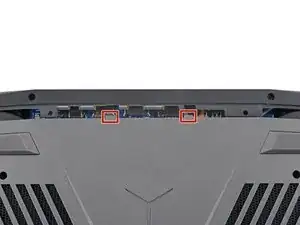
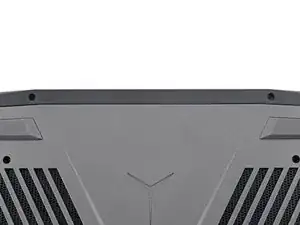
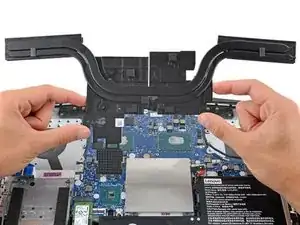
Use this guide to replace the heatsink in your Lenovo Legion Y7000P laptop.

  1. thgv5DHwFHZUJFCa
    thgv5DHwFHZUJFCa
    TcfLkQTFS6VHtm2f
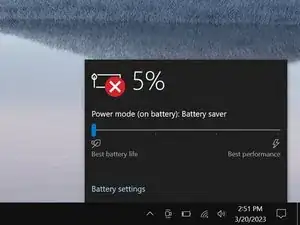
    • Allow your laptop's battery to drain below 25% before starting this repair—a charged battery may catch fire if damaged.

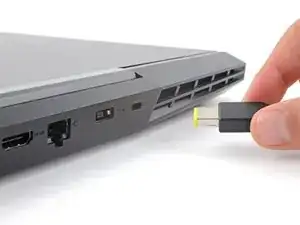
    • Unplug all cables and fully shut down your laptop.

  2. VTeYsBRSCCsQVnMi
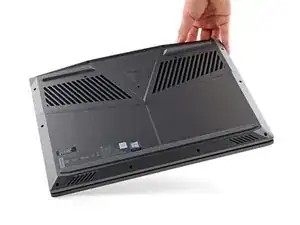
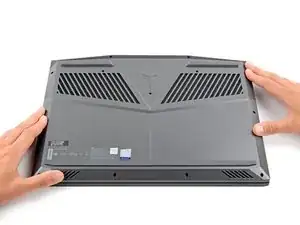
    • Flip your laptop over so the rubber feet are facing up.

  3. hV1MKDqcMQJ1NQpx
    hV1MKDqcMQJ1NQpx
    rH6HKPHQRKRro2CA
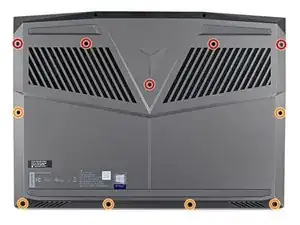
    • Use a Phillips screwdriver to remove the 11 screws securing the back cover:

    • Five 11.5 mm‑long screws

    • Six 4.7 mm-long screws

  4. uJvTfTQdUE6kEsqD
    uJvTfTQdUE6kEsqD
    fknmlKNh4T4xYTIf
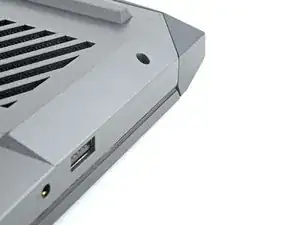
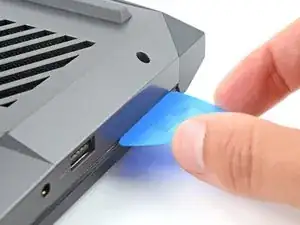
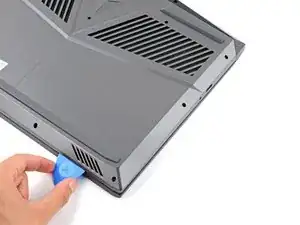
    • Insert the flat side of an opening pick between the top right corner of the back cover and frame.

  5. LrgZoFWnqlf1Pyha
    LrgZoFWnqlf1Pyha
    rWMakKDPr4owVR4x
    DrkjyUy5WbDaGsFJ
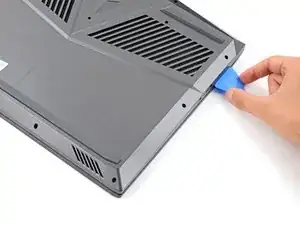
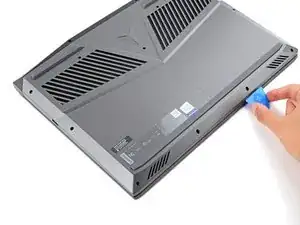
    • Plastic clips secure the back cover to the frame. You'll hear and feel them release as you work.

    • Keep the pick angled upwards while sliding to help release the clips.

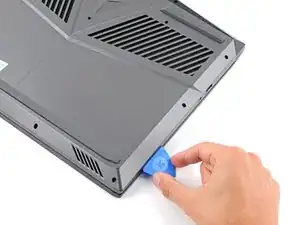
    • Slide the opening pick down the right edge and around the bottom right corner to release the clips.

  6. IgZAKpirZCUKnCgR
    IgZAKpirZCUKnCgR
    SLLmXNsreEdZQuor
    maBaUaldICwkGLyJ
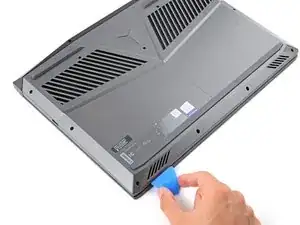
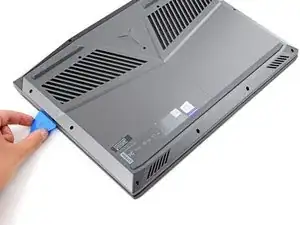
    • Slide the opening pick along the front edge and up to the top left corner to release the remaining clips securing the back cover.

  7. OBkqrEfHPm6wwebZ
    OBkqrEfHPm6wwebZ
    KfsKcUi3gC2dFdV1
    SkfxxcoVAYTmwfFv
    • Remove the back cover.

  8. EiEgdBKqWn2S2I1B
    EiEgdBKqWn2S2I1B
    gJrNrCnIglmRhiv4
    ZYKOTLWPQuCohmpf
    • During reassembly:

    • Slide the two tabs near the center of the back cover's top edge under the hinge cover.

    • Press down firmly around the perimeter of the back cover to engage all the clips.

  9. okYRp5tiK1CRZEVV
    okYRp5tiK1CRZEVV
    Pyj6ipmpMhKQOwhL
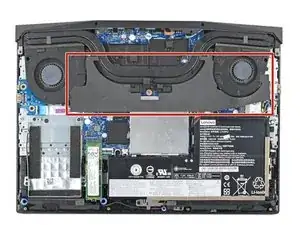
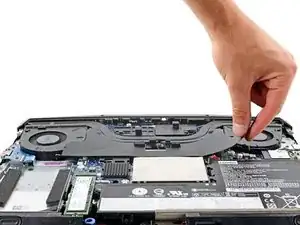
    • A stiff, black cover runs across the heatsink and fans.

    • Removing the cover makes repairs much easier, but isn't required. If you don't want to remove the cover, you can roll it onto itself to keep it out of the way and skip the next two steps.

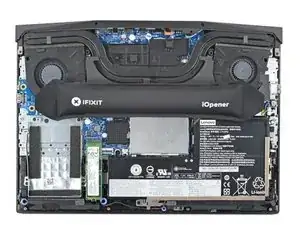
    • Heat an iOpener and apply it to the cover for two minutes.

    • You can also use a hair dryer. Follow this guide for more instructions.

  10. 6NWZp6XnDywCncTb
    6NWZp6XnDywCncTb
    uchQhZyhagIRsotc
    dFXPu5NdbIYhDiLs
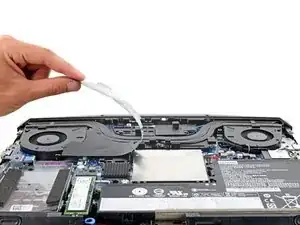
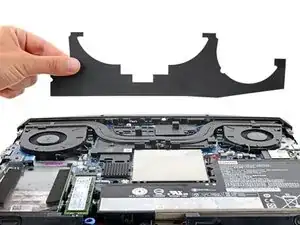
    • Gently peel up and remove the black cover.

    • During reassembly, press the cover back into place using the residual adhesive.

  11. XQqHxAUjtp5CKOoT
    XQqHxAUjtp5CKOoT
    tGvGGuASjSXGELNE
    CafLfkGJfUFSlZmj
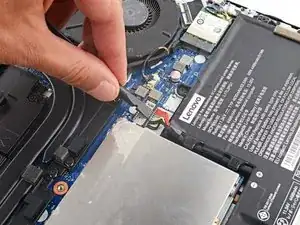
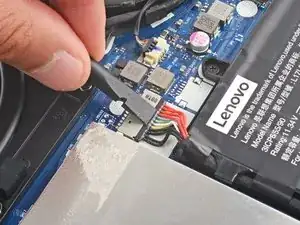
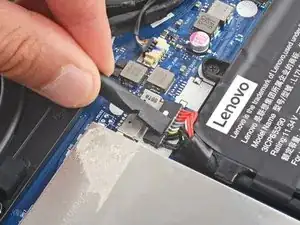
    • Use the flat end of a spudger to push the battery connector straight out of its socket.

    • Push the tab on top of the battery connector, not the wires themselves.

  12. rJN5s1IsGwPZdKpU
    rJN5s1IsGwPZdKpU
    mFEbTXuK6BMBWOJb
    ne2lEiXmeotNu3LD
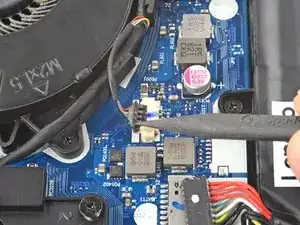
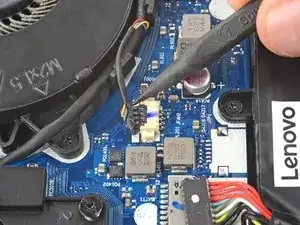
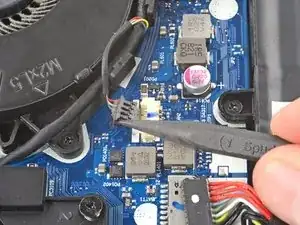
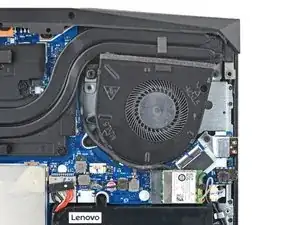
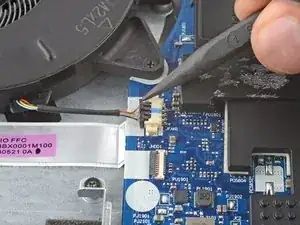
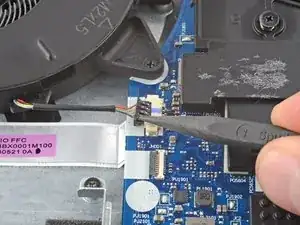
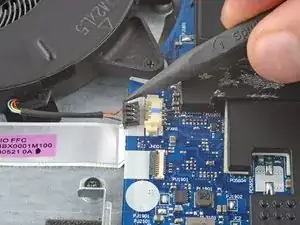
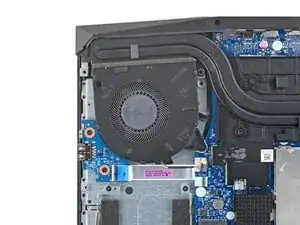
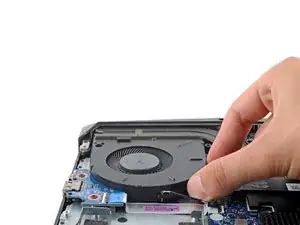
    • The left fan will be on your right-hand side, as the laptop is laying upside down.

    • Use the point of a spudger to push on alternating sides of the left fan cable connector to "walk" it out of its socket.

  13. FCGCASO6RGuVjpr3
    FCGCASO6RGuVjpr3
    5KmHrTSR3KTrC6Dr
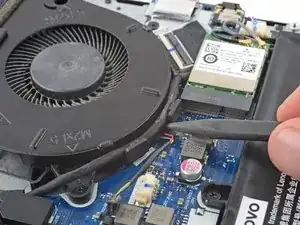
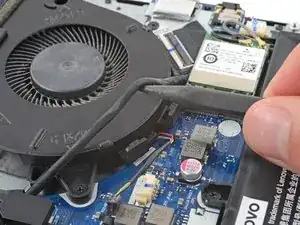
    • Use the point of a spudger to guide the display cable out of the clips on the bottom edge of the left fan.

  14. ZrgGq6PhYuuhmgNl
    ZrgGq6PhYuuhmgNl
    qmF5FMGqB6vbPNb1
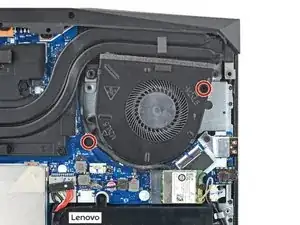
    • Use a Phillips screwdriver to remove the two 5.7 mm‑long screws securing the left fan.

  15. nmn6AqKLS5CpUNnL
    nmn6AqKLS5CpUNnL
    DkP1Vy3LjMJKrJMx
    hvTeWMxEWAyrQNy1
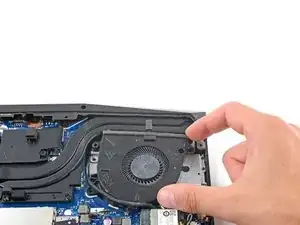
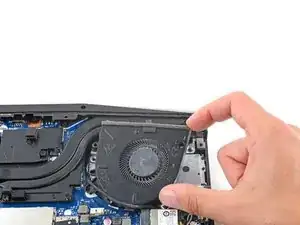
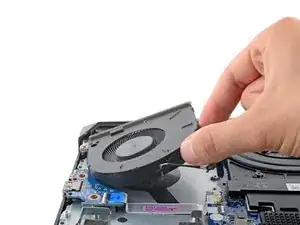
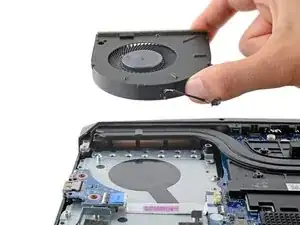
    • Lift the top edge of the left fan.

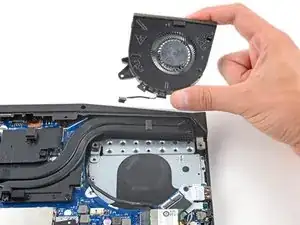
    • Slide the left fan cable out from under the display cable and remove the fan.

    • During reassembly, make sure the fan cable is under the display cable before securing the fan.

  16. HbTRXsAtsePsxZhE
    HbTRXsAtsePsxZhE
    A4lkQSZdA5BVSFad
    jVisA1CilK3daI4q
    • The right fan will be on your left-hand side, as the laptop is laying upside down.

    • Use the point of a spudger to push on alternating sides of the right fan cable connector to "walk" it out of its socket.

  17. YILPkYvW1qwZMSYV
    YILPkYvW1qwZMSYV
    NuGnhGZ1ufvYDRO6
    • Use a Phillips screwdriver to remove the two 5.7 mm‑long screws securing the right fan.

  18. pdZpS2sCTenfWPEc
    pdZpS2sCTenfWPEc
    4aG5vO6NiUvaevSw
    k213nN1ZGwWoEEG2
    • Remove the right fan.

  19. Dr26qqiYrwu4rGhn
    Dr26qqiYrwu4rGhn
    KDLstUDFjQ3E5siF
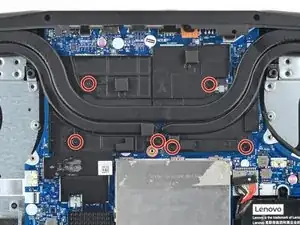
    • Use a Phillips screwdriver to loosen the six captive screws securing the heatsink.

    • Don't try to fully remove the screws, as they're held to the heatsink with springs.

    • During reassembly, tighten the screws in ascending order (starting with 1) based on the number printed next to each screw.

  20. 5EvrQHQV4EAVAWyr
    5EvrQHQV4EAVAWyr
    PPlAROpIZOJQCXo6
    6slFAiexILUL6nPc
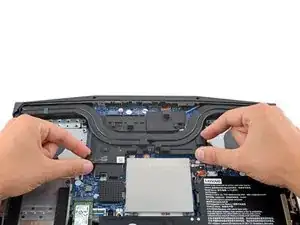
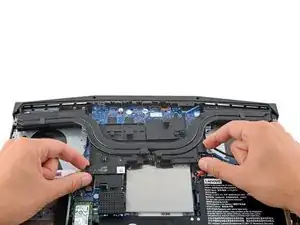
    • Grip the bottom corners of the heatsink and pull it away from the hinge to free the top edge.

    • Remove the heatsink.

  21. kJm5OydCSVHqECLd
    kJm5OydCSVHqECLd
    YUxWGLg2YOouyLLL
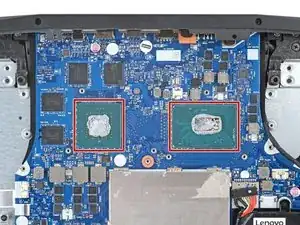
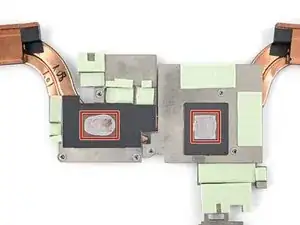
    • Before installing a new heatsink, follow this guide to clean the CPU and heatsink and reapply thermal paste.

Conclusion

To reassemble your device, follow these instructions in reverse order.

Check your repair by running hardware tests with Lenovo Diagnostics.

Take your e-waste to an R2 or e-Stewards certified recycler.

Repair didn’t go as planned? Try some basic troubleshooting, or ask our Answers community for help.
Spencer Day

Member since: 14/09/22

49372 Reputation

0 comments