Introduction

Use this guide to replace a broken fan in your Lenovo IdeaPad 3-15IIL05 laptop.

You may need to replace the fan if your laptop is overheating.

  1. UFQKSEKFTrUTCNlT
    UFQKSEKFTrUTCNlT
    ojdIYlNghLUb5IQL
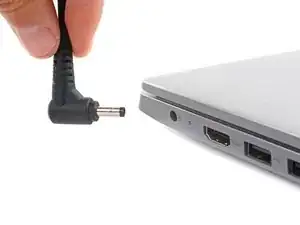
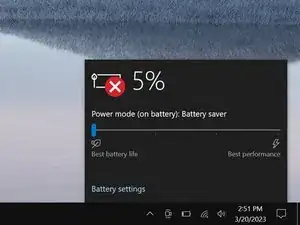
    • Allow your laptop's battery to drain below 25% before starting this repair—a charged battery may catch fire if damaged.

    • Unplug all cables and fully shut down your laptop.

  2. ZnNFJseZKtCCNknG
    ZnNFJseZKtCCNknG
    eZmKXWwvJ6IvIHcf
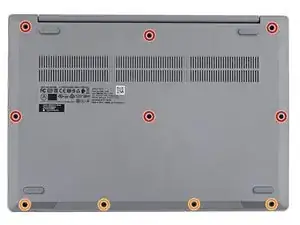
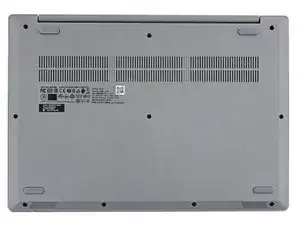
    • Use a Phillips screwdriver to remove the ten screws securing the back cover:

    • Six 7.6 mm-long screws

    • Four 4.7 mm-long screws

  3. vJrWOuSrVqlAFV6B
    vJrWOuSrVqlAFV6B
    jEbo4pcgOIDZY5YB
    rCBwuvSACAAnTFbB
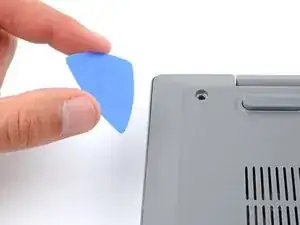
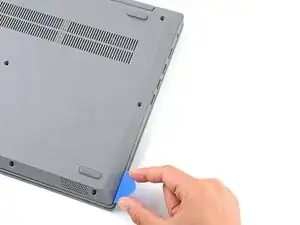
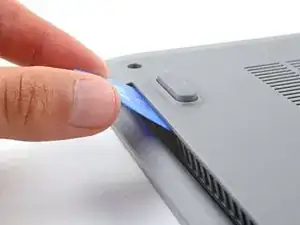
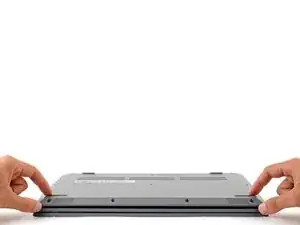
    • Plastic clips secure the back cover to the frame. You'll hear and feel the clips release.

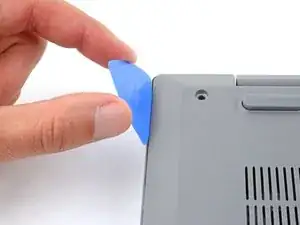
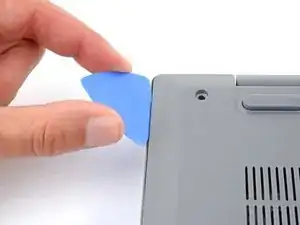
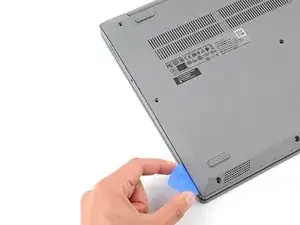
    • Insert the flat side of an opening pick between the top left corner of the back cover and frame.

    • Angle the pick down to about 45 degrees.

  4. 3csgksnXIZZcMQWI
    3csgksnXIZZcMQWI
    QONT3j2WHmZAVcjt
    4imbqtXfyxesCIsx
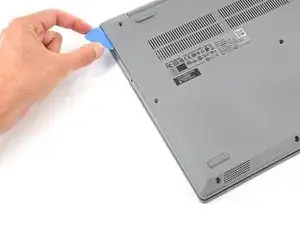
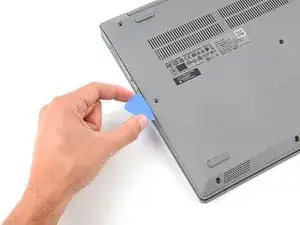
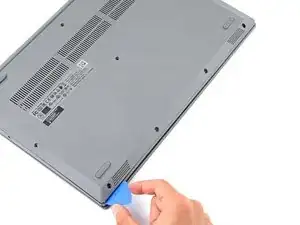
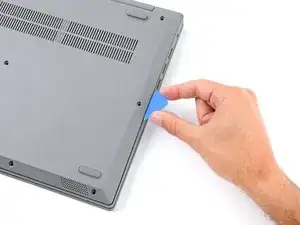
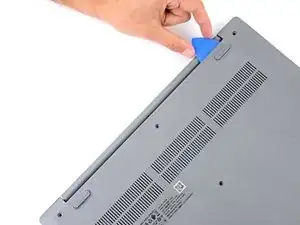
    • Keep the opening pick angled down at about 45 degrees while sliding it along the front and side edges to help release the clips.

    • Slide the pick to the bottom left corner of the laptop to release the left clips.

  5. DnacqGMNkpTik4Nj
    DnacqGMNkpTik4Nj
    IkHZmHOWb4ZBXHYB
    YOeTAIKJCe1fATdJ
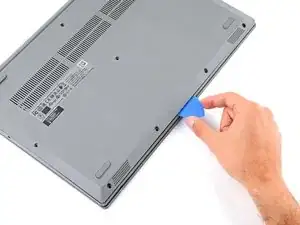
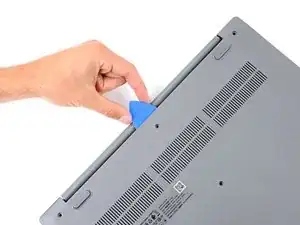
    • Slide the opening pick to the bottom right corner to release the bottom clips.

  6. GnJWLcXNdQsGWnTj
    GnJWLcXNdQsGWnTj
    knIyBFJeR5qFRlyW
    bgrY2QAoxffIW3Ea
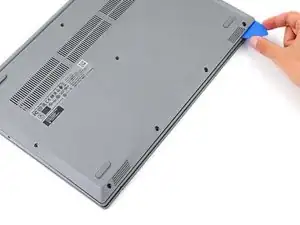
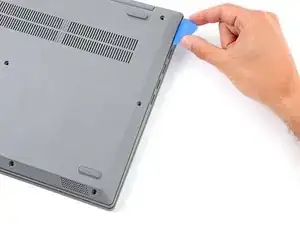
    • Slide the opening pick to the top right corner to release the right clips.

  7. TOsBUZB6TCRTC2Gx
    TOsBUZB6TCRTC2Gx
    ewUZJCnTsxRfG1ZV
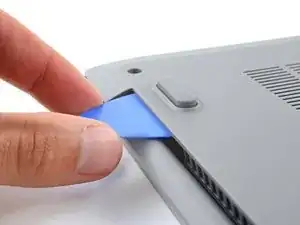
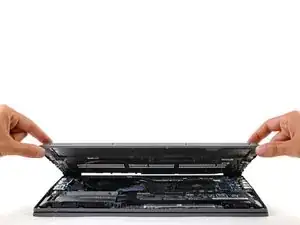
    • Insert the flat end of an opening pick between the back cover and frame, to the left of the right hinge.

    • Pry the back cover up with the pick to release the top right clips.

    • Leave the pick inserted next to the right hinge.

  8. xIcallXGvWWaCmrF
    xIcallXGvWWaCmrF
    hIB2xArvAUXiigHY
    y5yOnggMQPgT6tII
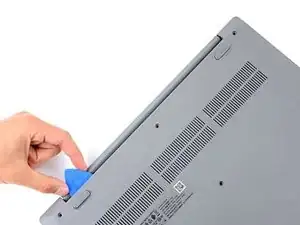
    • Angle the pick up to about 45 degrees.

    • Slide the opening pick to the top left corner to release the remaining clips.

  9. FbVPgaOLKIQw5kng
    FbVPgaOLKIQw5kng
    ja2qAcnTWVnFDAcK
    KgaOckqbtfxXMHwF
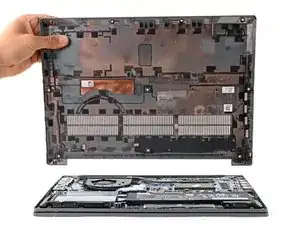
    • Remove the back cover.

    • During reassembly, lay the back cover on the frame and press firmly around the perimeter to engage all the clips.

  10. KrvgHYgkp3hIJ2Wi
    KrvgHYgkp3hIJ2Wi
    lDgGqHIYEayl1Ju3
    gSK5MRhMJplf4fMN
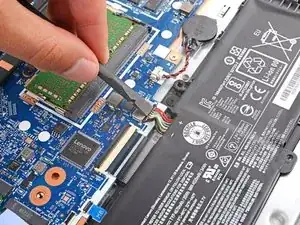
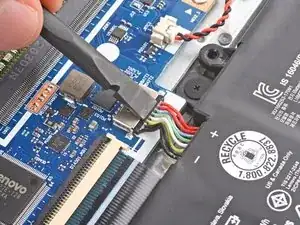
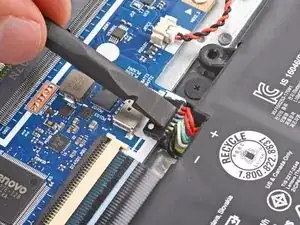
    • Use the flat end of a spudger to gently push the battery connector out of its socket on the motherboard.

  11. 3v4c1ElhW2F2UlON
    3v4c1ElhW2F2UlON
    NGjAVURZG4VWFqoN
    2veJAQ4txqDbe46o
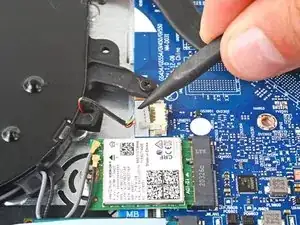
    • Push on alternating sides of the fan cable connector with a spudger to "walk" it out of its socket.

  12. arFKhyUuoGIB4Zor
    arFKhyUuoGIB4Zor
    LYTgBSrrwkIb2Q2W
    YvLPhNPBiGZXt22Y
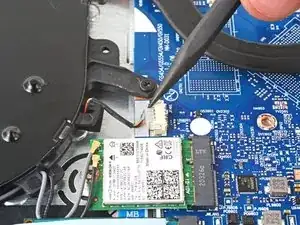
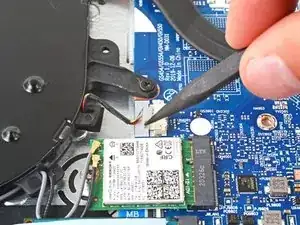
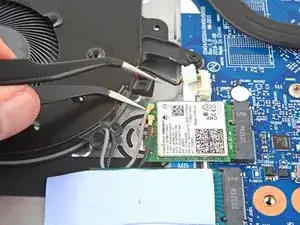
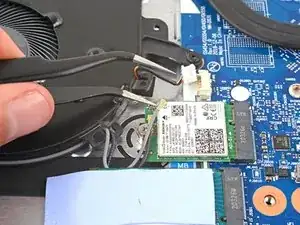
    • Slide one arm of your angled tweezers under the head of the gray antenna cable connected to the WLAN card.

    • Gently lift straight up to disconnect the cable.

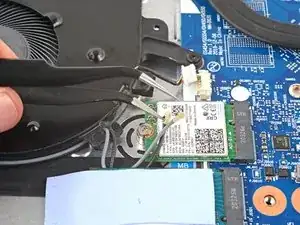
    • Repeat the same process to disconnect the black antenna cable.

    • To reattach antenna connectors like these, align the connector over its socket and press down with the flat end of a spudger. The connector should snap into place. This can be tricky and may take a few tries.

  13. ksPfZZEfQcTPSYgr
    ksPfZZEfQcTPSYgr
    aYhPliMvJ4yf1BAR
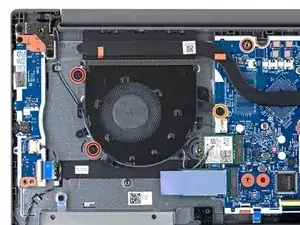
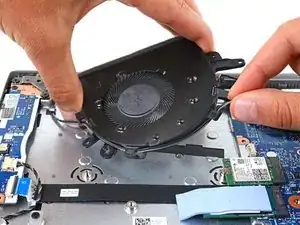
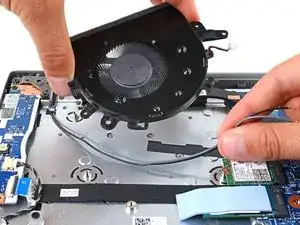
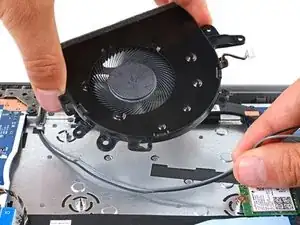
    • Use a Phillips screwdriver to remove the three screws securing the fan:

    • Two 4.4 mm-long screws

    • One 5.6 mm-long screw

    • Before installing the screws during reassembly, make sure the black and gray antenna cables aren't under the fan.

  14. 5qIgmLESplAV1fWr
    5qIgmLESplAV1fWr
    rmSXphULXcC3wnIL
    IlGBD1mLBhryMZCO
Conclusion

To reassemble your device, follow these instructions in reverse order.

Check your repair by running hardware tests with Lenovo Diagnostics.

Take your e-waste to an R2 or e-Stewards certified recycler.

Repair didn’t go as planned? Try some basic troubleshooting, or ask our Answers community for help.
Spencer Day

Member since: 14/09/22

49372 Reputation

0 comments