Introduction
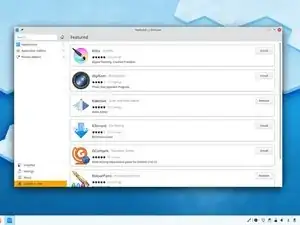
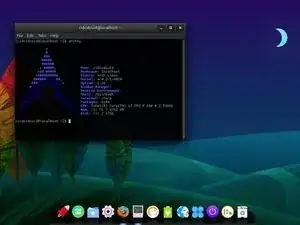
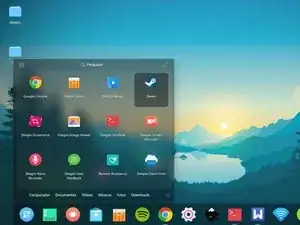
A Graphical User Interface (GUI) is a visual way of interacting with a computer through graphical elements such as icons, buttons, and windows, as opposed to text-based interfaces. In the context of a Linux distribution like Arch Linux, a GUI provides a more intuitive, user-friendly experience, allowing a user to interact with their system using a mouse and keyboard in a graphical environment.
Arch Linux doesn't come preloaded with a GUI, providing users the flexibility to choose their preferred desktop environment or window manager. This guide will take you through the step-by-step process of installing a GUI on your Arch Linux system, enabling you to tailor your computing environment to meet your specific needs.
We also included the instructions for installing Arch Linux onto a system, but if you have already followed that guide then you can jump to the first steps for installing your GUI.
Tools
-
-
While it isn't a required step, it is recommended to verify the image before trying to use the ISO file.
-
Use GnuPG and import the Arch Linux Developer Key with the following command.
-
Once completed, navigate to the directory where your ISO file and the signature file are located. You can then verify the signature with the following command.
-
-
-
Navigate to the BalenaEtcher website and download the appropriate version of BalenaEtcher for your operating system.
-
Insert your USB drive into your computer and launch BalenaEtcher. Select the Arch Linux ISO file you downloaded, then choose the USB drive as the target. Click 'Flash' to start the flashing process.
-
Once the flashing process is complete, you can remove the USB drive.
-
-
-
Power off the computer you want to install Arch Linux onto, and insert the USB drive.
-
Power on your machine and boot your machine into your BIOS or UEFI settings and choose the USB drive as your boot option.
-
-
-
Once the live system has loaded, you will be booted into Arch's terminal.
-
From the Terminal you can partition your disk, format the partitions, and mount the partitions according to your system's requirements.
-
-
-
Use the Pacman package manager to install the base system and essential packages according to your preferences and needs.
-
-
-
Configure the system by setting the hostname, configuring the network, and creating a user account with appropriate privileges. Set up the bootloader and other necessary configurations.
-
-
-
After completing the installation and configuration process, type 'exit' to leave the chroot environment, unmount all the partitions and reboot the system.
-
-
-
Regardless of which environment you are going to install, you will need to install the graphics drivers for your machine.
-
Use the following command to find which graphics card your machine is running.
-
-
-
Use the Official Arch Linux Driver Installation Guide to determine if your hardware is compatible with Arch Linux.
-
-
-
The very next thing you will need is to install your Display Server. This is a crucial component for running graphical user interfaces on Linux systems, including Arch Linux. It serves as the display server, providing the framework for managing graphical output and user input.
-
-
-
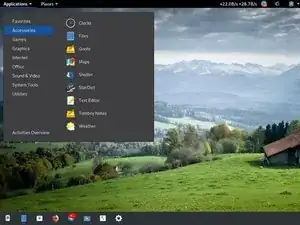
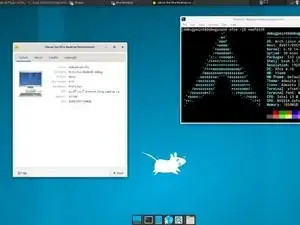
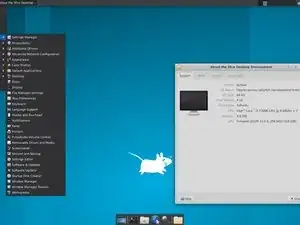
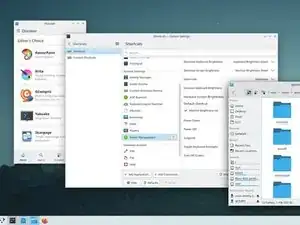
Now comes the fun part of installing your GUI. When picking your Desktop Environment you'll want to consider picking an environment that aligns with your preferences and workflow. Each DE features its own set of features, ascetic design, and resource requirements.
-
-
-
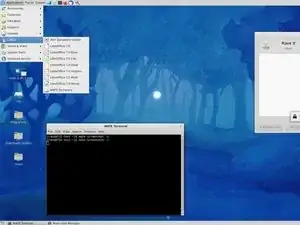
Pros: Resource Efficient, Traditional Desktop Layout similar to GNOME 2, and Highly Customizable
-
Cons: Aesthetic is not as visually polished, lacks some features found in heavier desktop environments like GNOME or KED, and application integration is not as extensive.
-
Requirements:
-
CPU: 1.0 GHz Processor or Higher
-
RAM: 2 GB
-
Storage: 10 GB of Free Space
-
Graphics: Card capable of 1024 x 768 Resolution
-
To install use the command sudo pacman -S mate mate-extra, then continue to the next step.
-
-
-
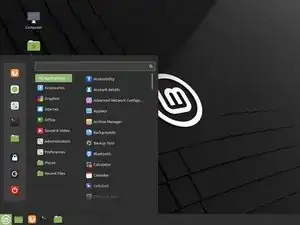
Pros: User-Friendly Interface, Highly Customizable, Known for Stability and Reliability.
-
Cons: More Resource Intensive, Application Integration not as deep as other desktop experiences, highly dependent on specific pieces of hardware.
-
System Requirements:
-
CPU: 1.6 GHz Processor or Higher
-
RAM: 2 GB
-
Storage: 15 GB of free space
-
Graphics: Graphics card capable of 1024 x 768 resolution
-
To install use the command sudo pacman -S cinnamon nemo-fileroller, then continue to the next step.
-
-
-
Pros: User-friendly, integrates seamlessly with GTK-based applications and features a highly efficient workflow.
-
Cons: More resource intensive, limited customization, lacks some advanced features that are available in other desktop environments.
-
System Requirements:
-
CPU: 2 GHz dual-core processor or equivalent
-
RAM: 2 GB
-
Storage: 20 GB of free space
-
Graphics: Graphics card capable of OpenGL 3.3 or higher
-
To install use the command sudo pacman -S gnome gnome-extra, then continue to the next step.
-
-
-
Pros: Resource Efficient, Highly Customizable, Highly Stable.
-
Cons: Less modern Aesthetic, Lacks Core Features, Lack of Application Integration.
-
System Requirements:
-
CPU: 1.6 GHz processor or equivalent
-
RAM: 1 GB
-
Storage: 15 GB of Free Space
-
Graphics: Graphics card capable of 1024x768 resolution
-
To install use the command sudo pacman -S xfce4 xfce4-goodies, then continue to the next step.
-
-
-
Pros: Highly Customizable, Ritch Feature Set (Including desktop widgets, advanced theming, and various configuration options), and Application integration.
-
Cons: More resource intensive, has a bit of a steep learning curve, and can become unwieldily .
-
System Requirements:
-
CPU: 2 GHz Dual-Core Processor or better.
-
RAM: 4 GB
-
Storage: 25 GB of free space
-
Graphics: Graphics card capable of OpenGL3.1 or higher
-
To install use the command sudo pacman -S plasma kdeplasma-addons, then continue to the next step.
-
-
-
Pros: Lightweight design, Speed and Efficiency prioritized, and highly customizable.
-
Cons: Limited default features, less modern design, and lacks application integration.
-
System Requirements:
-
CPU: Pentium III or equivalent
-
RAM: 512 MB
-
Storage: 10 GB of free space
-
Graphics: Graphics card capable of 800x600 resolution
-
To install use the command sudo pacman -S lxde, then continue to the next step.
-
-
-
The display manager, also known as a login manager, is responsible for starting the graphical session of your system. More importantly, it provides a user with a login screen where users can enter their credentials.
-
-
-
Pros: Integrates seamlessly with GNOME Desktop Environment, user friends, and supports Wayland sessions.
-
Cons: Some features are dependent on GNOME components.
-
To install the Gnome Display Manager you will use the following commands.
-
sudo pacman -S gdm
-
sudo systemctl enable gdm
-
sudo systemctl start gdm
-
Once installed you can move on to the next step.
-
-
-
Pros: Simple and lightweight, works well with KDE Plasma desktop environment, and highly customizable.
-
Cons Not as feature-rich as some other display managers.
-
To install the Simple desktop Display Manager you will use the following commands.
-
sudo pacman -S sddm
-
sudo systemctl enable sddm
-
sudo systemctl start sddm
-
Once installed you can move on to the next step.
-
-
-
Pros: Designed to work well with LXDE, light weight and easy to use, and is suitable for systems with lower resource availability.
-
Cons: Not as feature-rich as display managers with broader compatibility.
-
To install the Lightweight X11 Display Manager you will use the following commands.
-
sudo pacman -S lxdm
-
sudo systemctl enable lxdm
-
sudo systemctl start lxdm
-
Once installed you can move on to the next step.
-
-
-
Pros: Lightweight and fast, features support for multiple desktop environments, and highly customizable.
-
Cons: May not have as many advanced features as some other display managers.
-
To install the LightDM you will use the following commands.
-
sudo pacman -S lightdm
-
sudo systemctl enable lightdm
-
sudo systemctl start lightdm
-
Once installed you can move on to the next step.
-
-
-
One of the last things needed is installing a few utilities for a smoother desktop experience.
-
Sound System: sudo pacman -S pulseaudio pulseaudio-alsa pavucontrol
-
Terminal and System Monitor: sudo pacman -S gnome-terminal gnome-system-monitor
-
Firefox and Media Players: sudo pacman -S firefox vlc audacious
-
LibreOffice: sudo pacman -S libreoffice
-
-
-
Once you have everything installed, use the startx command to manually start the X Window System.
-
Congratulations, you just completed the installation of a GUI onto Arch Linux! The flexibility of Arch Linux allows users to tailor their graphical environment, striking a balance between resource efficiency and feature richness.

