Introduction
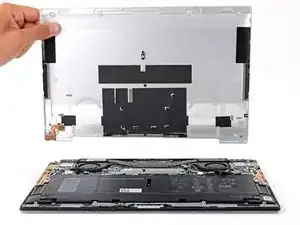
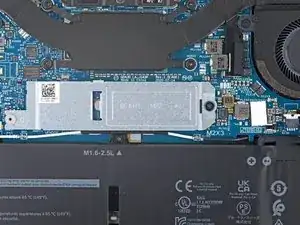
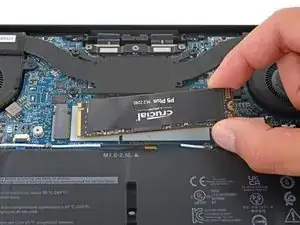
Use this guide to replace the SSD on your Dell XPS 13 9310.
Before you perform this repair, if at all possible, back up your existing SSD. If you are replacing the SSD where your operating system is installed, familiarize yourself with a disk cloning utility so you’ll be ready to migrate your data to the new SSD.
Be sure to completely power off and unplug your laptop. Make sure the laptop is not in standby, sleep, or hibernation mode.
Tools
Parts
-
-
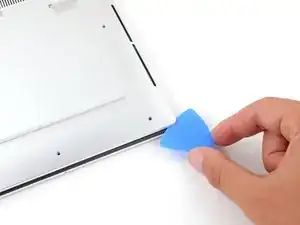
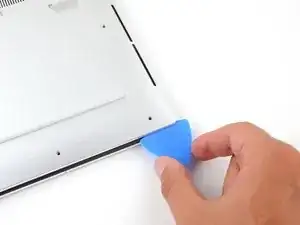
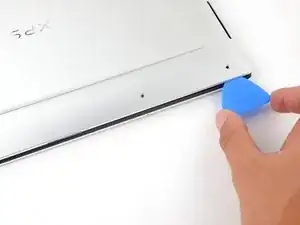
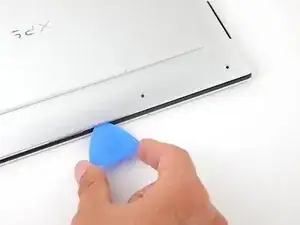
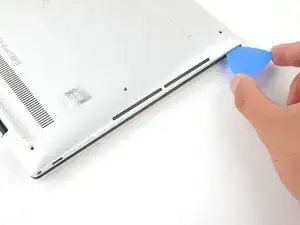
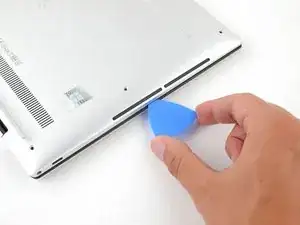
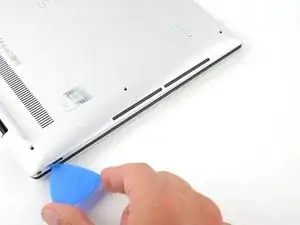
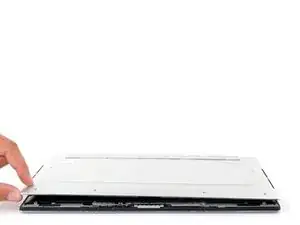
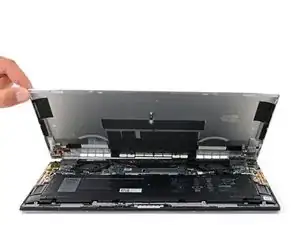
Continue sliding the opening pick along the perimeter of the lower case to release the remaining clips.
-
-
-
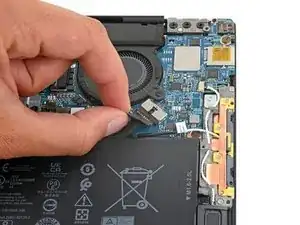
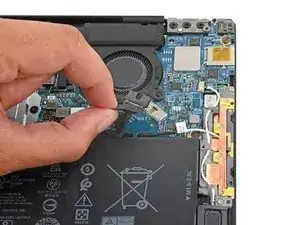
Grip the pull tab on the battery connector with your fingers and gently pull away from the socket to disconnect it.
-
You may need to run BIOS setup to reset the system clock as well as any specialized disk settings before you can boot up your XPS.
-
-
-
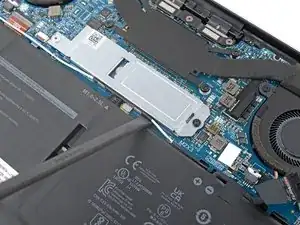
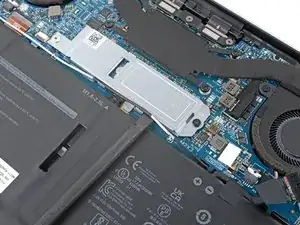
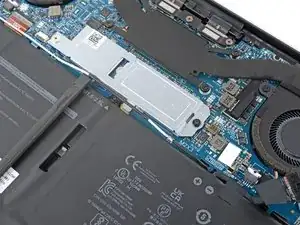
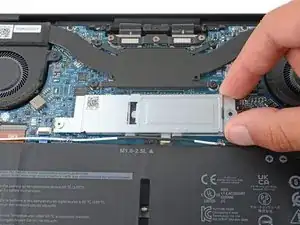
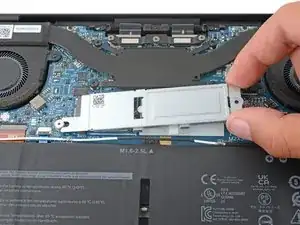
Use the flat end of a spudger to pry up and loosen the antenna wire from the SSD cover.
-
Repeat this process along the entire edge of the SSD cover.
-
-
-
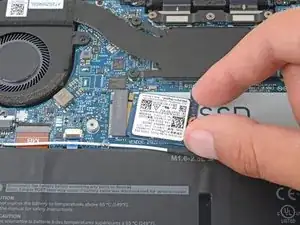
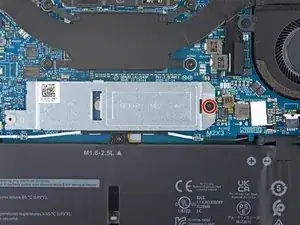
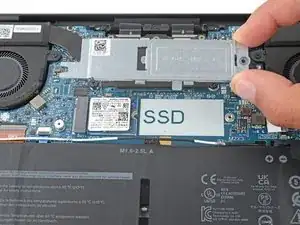
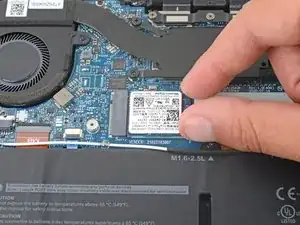
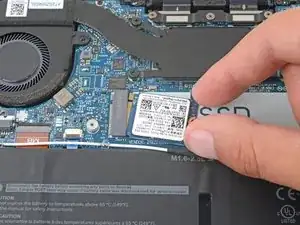
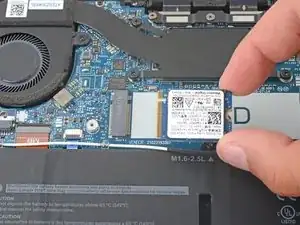
Pull the SSD out of its socket and remove it. Keep the SSD as parallel to the motherboard as possible when pulling on it.
-
To reassemble your device, follow these instructions in reverse order.
Take your e-waste to an R2 or e-stewards certified recycler.
Repair didn't go as planned? Try some basic troubleshooting, or ask our Dell XPS answers community for help.
One comment
Please keep in mind to take out any sd card. I permanently have an sd card in the slot, and because it totally disappears inside, i didn't think about removing it. I can tell you it completely ruins both your sd card and the sd card reader
