Introduction
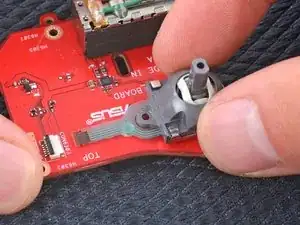
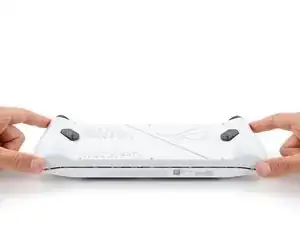
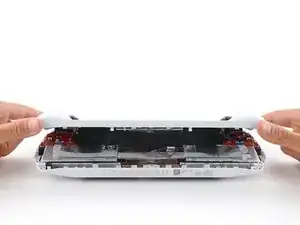
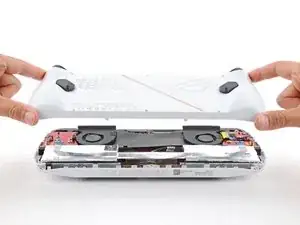
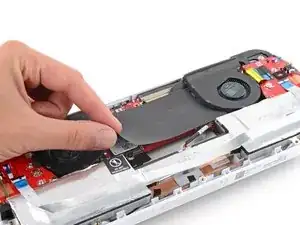
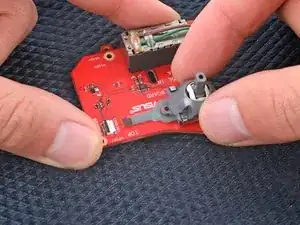
Follow this guide to replace a broken or drifting right thumbstick (a.k.a. joystick) in your Asus ROG Ally. Since the thumbstick module is not soldered to the board—a win for repair—you can also use this guide to replace the right thumbstick board.
If you're experiencing drift, unusual or unexpected movements, no movement at all, or loose movement, it may be time to replace your right thumbstick.
Tools
-
-
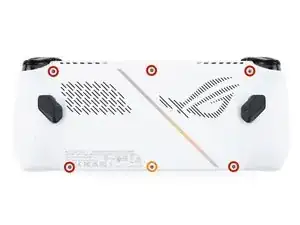
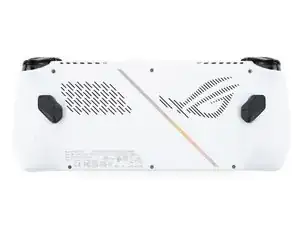
Use a Phillips #0 screwdriver to remove the five 17.2 mm‑long screws securing the top edge and bottom corners of the back cover.
-
Use a Phillips #0 screwdriver to fully loosen the remaining captive screw at the center of the bottom edge. This should create a small gap between the back cover and chassis.
-
-
-
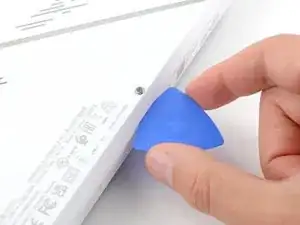
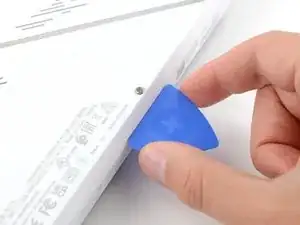
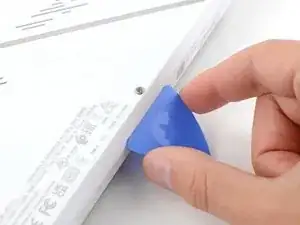
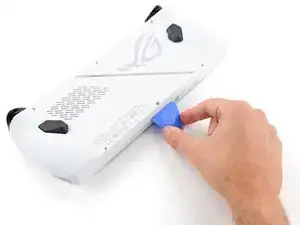
Insert the flat edge of an opening pick between the bottom edge of the back cover and chassis, near the captive screw.
-
Angle the pick upward and push it under the back cover.
-
-
-
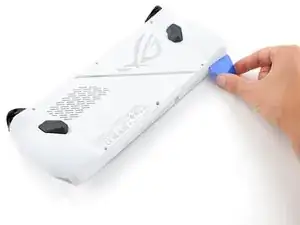
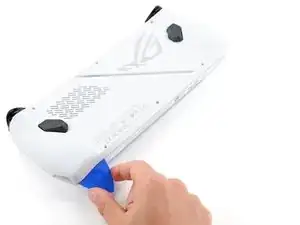
Slide the opening pick along the bottom edge and around the corners of the back cover to release the clips securing it.
-
-
-
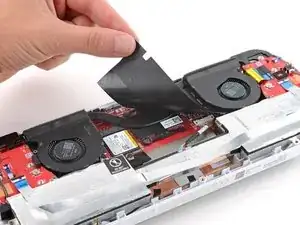
Lift the bottom edge of the back cover off the chassis to release the remaining clips.
-
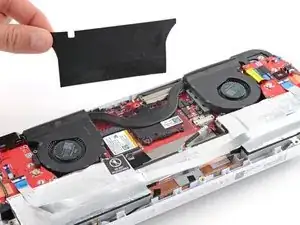
Remove the back cover.
-
-
-
Use the flat end of a spudger to gently push the locking bar away from the connector to unlatch it.
-
-
-
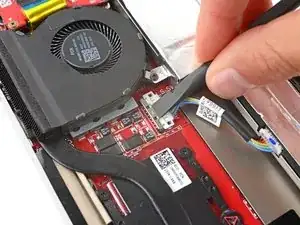
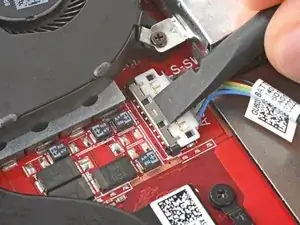
Insert the flat end of a spudger under the center of the battery connector.
-
Lift the connector straight up and out of its socket to disconnect the battery.
-
-
-
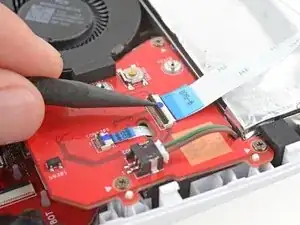
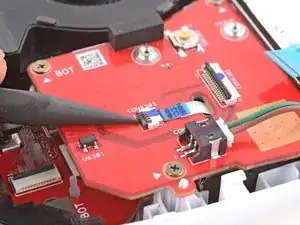
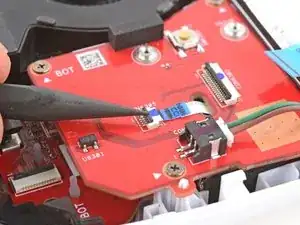
Use a spudger or a clean fingernail to lift the locking flap on the thumbstick interconnect cable ZIF connector, located on the right thumbstick board.
-
Use tweezers to grip the cable's blue pull tab and pull the connector straight out of its socket.
-
-
-
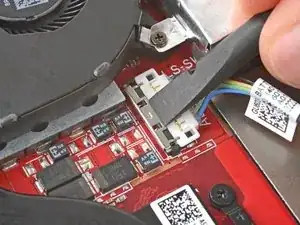
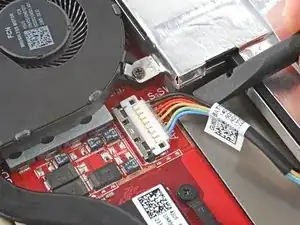
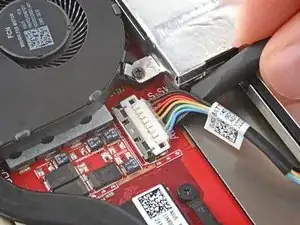
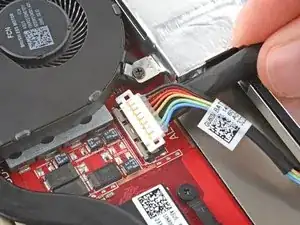
Use the point of a spudger to lift the locking flap on the right thumbstick ring ZIF connector.
-
Use tweezers to grip the cable's blue pull tab and pull the connector straight out of its socket.
-
-
-
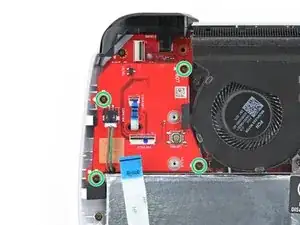
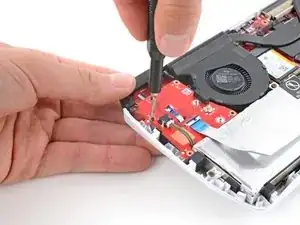
Use a Phillips #00 screwdriver to remove the four 3.4 mm‑long screws securing the right thumbstick assembly.
-
-
-
Insert the flat end of a spudger between the bottom left edge of the thumbstick assembly and the chassis.
-
Pry up the thumbstick assembly and remove it.
-
Orient the board over your device thumbstick side down.
-
Thread the thumbstick ring cable through its cutout on the board.
-
Lift the left edge of your device and push the thumbstick assembly firmly into place so the small circular cutouts on the left edge go over their alignment posts. The board should stay firmly in place.
-
-
-
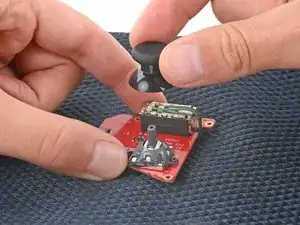
With one hand, firmly secure the thumbstick board.
-
With your free hand, pull the thumbstick cover straight up and off its module.
-
-
-
Use a Phillips #00 screwdriver to remove the two 3.4 mm‑long screws securing the thumbstick.
-
-
-
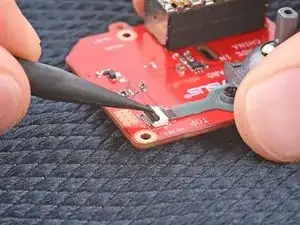
Grab the thumbstick with your fingers and gently pull the cable out of its socket.
-
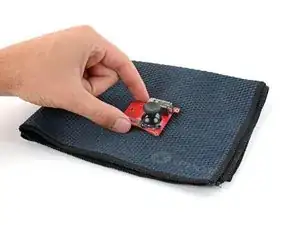
You're now left with the thumbstick and thumbstick board on their own.
-
To reassemble your device, follow these instructions in reverse order.
Take your e-waste to an R2 or e-Stewards certified recycler.
Repair didn’t go as planned? Try some basic troubleshooting, or ask our Answers community for help.
