Introduction

Use this guide to replace the main board in your Analogue Pocket.

  1. eXUmKnJqwYHaCeDl
    eXUmKnJqwYHaCeDl
    AKRHSSWbTn11McCq
    SuZAEnRhvWATFtII
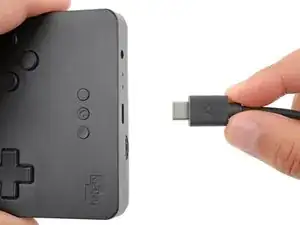
    • Unplug all cables and fully power off your device.

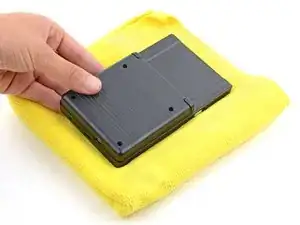
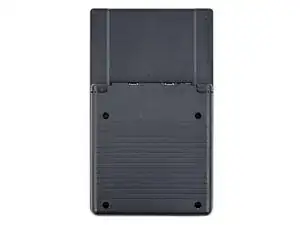
    • Working on your device requires laying it screen-side down. To prevent damage, lay it on a soft surface such as a towel.

  2. pkpOoGmtDyfQJsnu
    pkpOoGmtDyfQJsnu
    ixPZjIQftM1A1J6p
    • Use a T6 Torx screwdriver to remove the four 13.4 mm‑long screws securing the battery shell.

  3. RsoFYJTxLJmMNFQl
    RsoFYJTxLJmMNFQl
    UQtYtYKI14pPRCRj
    MYoWlAB5cBsTCZsn
  4. Z4SLDT4CtTcuqCMd
    Z4SLDT4CtTcuqCMd
    SPXSX3oZaSEX1sHL
    ERhekGIsSCJEXjDs
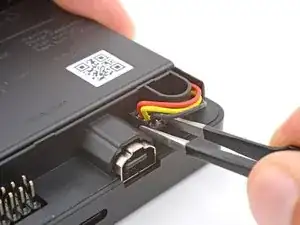
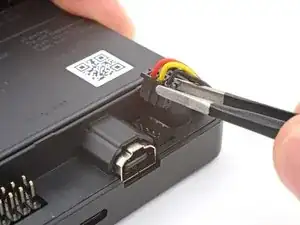
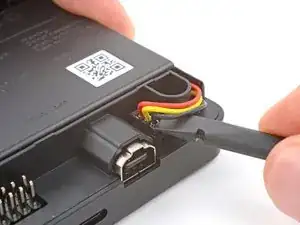
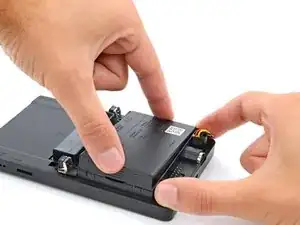
    • Use blunt nose tweezers to pull the battery connector out of its socket on the bottom right corner of your device.

    • If you're having trouble, try rocking the connector side-to-side to help loosen it.

    • During reassembly, use the flat end of a spudger to push down on the edges of the connector until it's secure in the socket.

  5. cUguvvZNeN5gBlnd
    cUguvvZNeN5gBlnd
    WiYLKuLF3FJfkDvR
    EwnPvTpCYcfsIVKP
    • Lift one of the battery's short edges until the clips release.

    • Remove the battery.

    • During reassembly, push the battery into its recess until the clips engage.

  6. Vx3sWHBpTk3DrOU1
    Vx3sWHBpTk3DrOU1
    B4FAuWL4PrRbJpHC
    FqXmTEhQH41eDQyB
    • A plastic clip secures the center of the button board.

    • Use the point of a spudger to push the clip out and release the board.

    • Don't try to remove the board—a delicate ribbon cable secures it to the device.

  7. NRRbJHkHkgRPsZ2l
    NRRbJHkHkgRPsZ2l
    CMPOZxMmOcgwmw2B
    4ZywZ1UMXNvYI5pq
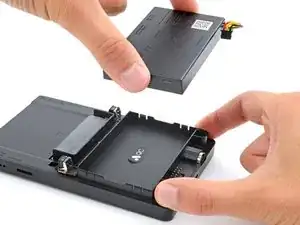
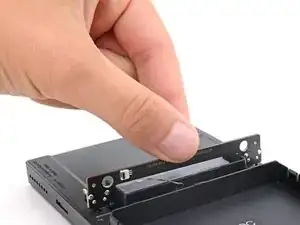
    • Swing the bottom edge of the button board up and over the cartridge reader.

    • Set the board on top of the cartridge reader so the cable's connector is facing the bottom of the device.

    • During reassembly:

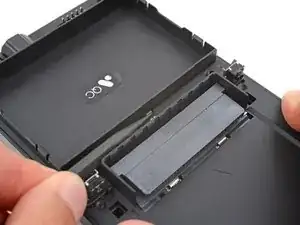
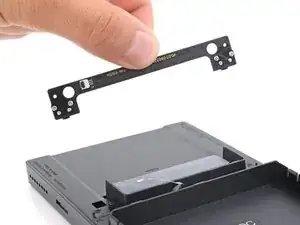
    • Put the top edges of the board under their tabs on the rear shell.

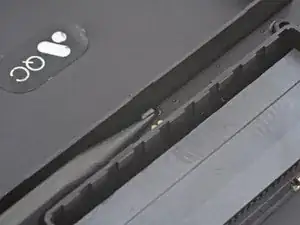
    • Lay the board onto the rear shell so the alignment posts go into their circular cutouts on the board.

    • Press the board down until the plastic clip engages.

  8. QsgPpOBeIXI1DYpH
    QsgPpOBeIXI1DYpH
    qyQPO4TjxfUWuBeb
    TqEXaGWFmddwMTeI
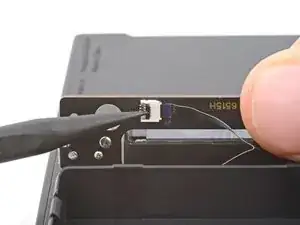
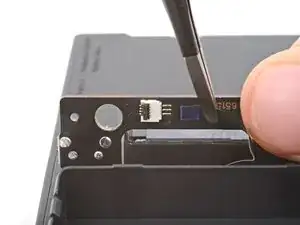
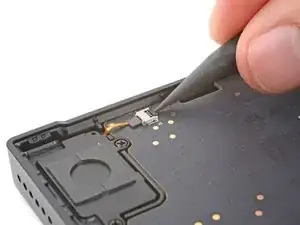
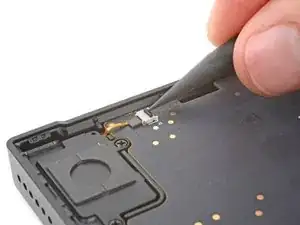
    • Use the tip of a spudger or a clean fingernail to flip up the hinged locking flap on the board cable ZIF connector located on the board itself.

    • Use blunt nose tweezers to pull the cable straight out of its socket.

  9. 1nTCZfS1ZQquJxZN
    1nTCZfS1ZQquJxZN
    IMKgbxoEQyoVIf5q
    • Remove the board.

  10. fyo24m2YMkR6Ugy4
    fyo24m2YMkR6Ugy4
    pePj1y6n5BmOFydF
    ceARhwmV2LJYfwjT
    • Sliding tabs secure the perimeter of the rear shell.

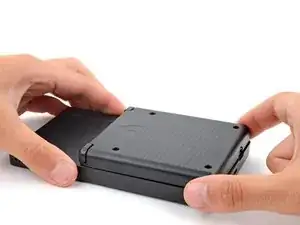
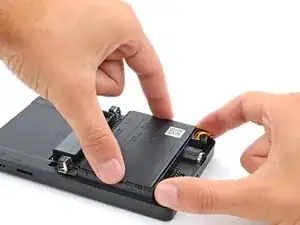
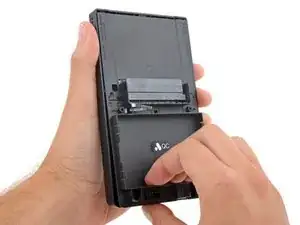
    • Firmly grip your device with one hand.

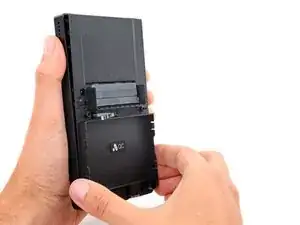
    • With your free hand, lift the bottom edge of the rear shell until it clears the front shell.

    • Pull the rear shell down until the sliding tabs disengage.

  11. sfxQMXPDialR5J2L
    sfxQMXPDialR5J2L
    fxcSiQP1BjSjAWx1
    sHUXLLHIVWKTCJJa
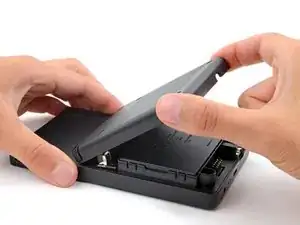
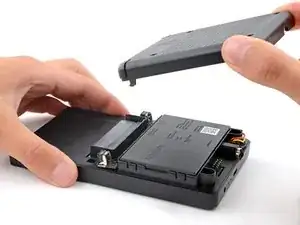
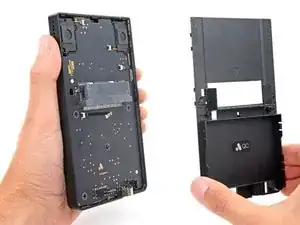
    • Remove the rear shell.

    • During reassembly:

    • Thread the button board cable through its slot in the rear shell.

    • Lay the rear shell on the front shell so its bottom edge slightly overhangs.

    • This allows the tabs to slide into place. If the rear shell is perfectly flush with the front shell, the tabs won't slide.

    • Push the rear shell in and slide it up to engage the sliding tabs.

  12. hCktMNPblJXqJtKR
    hCktMNPblJXqJtKR
    eNwhyRhmYymJxkQ6
    xbTl6uKm1heGaghO
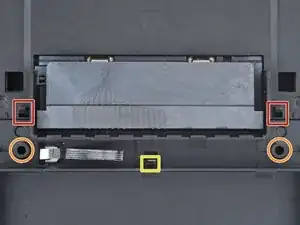
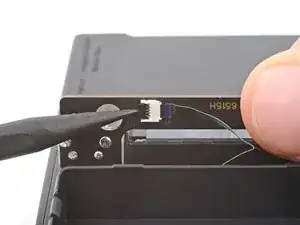
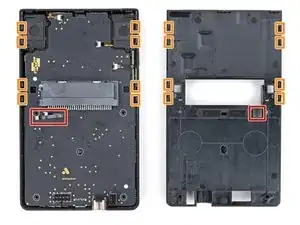
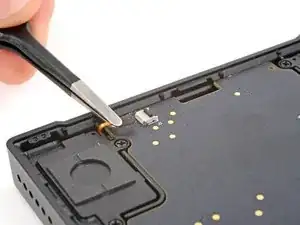
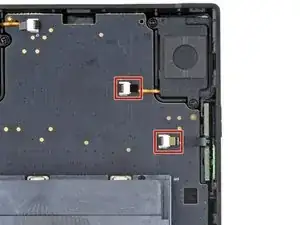
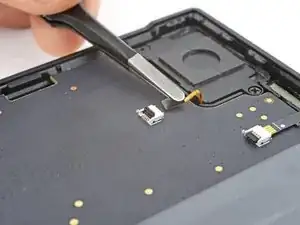
    • Use the tip of a spudger or a clean fingernail to flip up the hinged locking flap on the right speaker cable ZIF connector.

    • Use blunt nose tweezers to pull the cable straight out of its socket.

    this is the left speaker, not the board

    Mykhailo Kolesnyk -

  13. idgv3eTqmfktePkt
    idgv3eTqmfktePkt
    fvmYXmted6l2t1sH
    1Rec1sXxEJhcNm1V
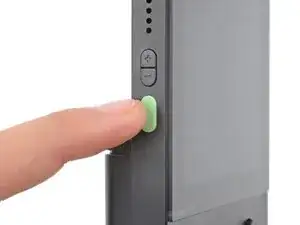
    • Repeat the process to disconnect the left speaker and power/volume button cables from their ZIF connectors.

  14. m1eZpxSROmIJX4PB
    m1eZpxSROmIJX4PB
    OLu1Txmfn2ry1IkI
    • Use a T6 Torx screwdriver to remove the 7.4 mm‑long screw securing the main board.

  15. aGb6JevWxDfpeVES
    aGb6JevWxDfpeVES
    lmLqQWqfXrGJAKgc
    JdkMBEjBBxCvvNFE
    • Don't try to remove the board—a delicate ribbon cable connects it to the screen.

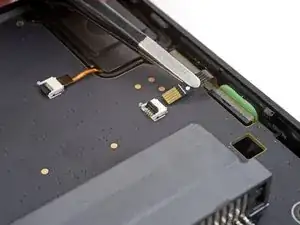
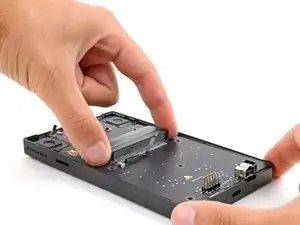
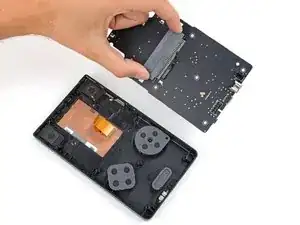
    • Grip the outer edges of the cartridge reader and gently lift the bottom edge of the main board until you can access the screen cable.

    • Keep the main board raised for the next step.

    • During reassembly, make sure none of the three main board cables get stuck under the board when lowering it into place.

    Be sure to remove the SD card first.

    Mykhailo Kolesnyk -

  16. X2wlG2uODB6Y2yPI
    X2wlG2uODB6Y2yPI
    BS2MPBFCGJw1mpZR
    • Be very careful not to scrape off or damage any surface mounted components during this step.

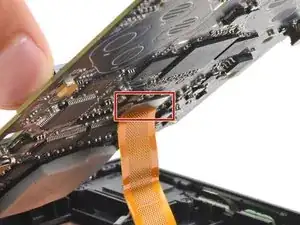
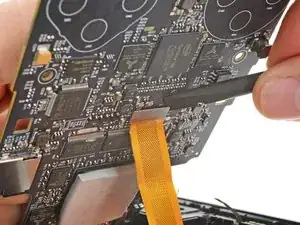
    • Insert the flat end of a spudger under the top right corner of the screen cable press connector.

    • Twist the spudger to disconnect the screen cable.

    • To re-attach press connectors like this one, carefully align and press down on one side until it clicks into place, then repeat on the other side. Don't press down in the middle. If the connector is misaligned, the pins can bend and cause permanent damage.

  17. v3xpX3mylmwrWonp
    v3xpX3mylmwrWonp
    YdGULytCknu5Ugdq
    P2lmRQg5Aq5ng1Jl
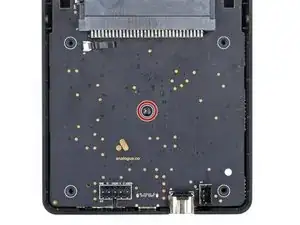
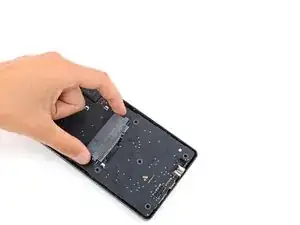
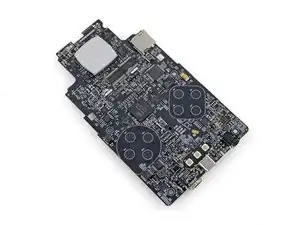
    • Lift and remove the main board from the front shell.

    • To prevent damaging any surface mounted components, lay the board on your workspace cartridge reader side down.

  18. 43an5yIvYLxYHDh4
    43an5yIvYLxYHDh4
    OkeWIENMPweDXOLY
    HODRieRYq1ivcBOf
    • Before installing your new board, make sure it has a thermal pad. If the board doesn't come with a pad, follow this step to transfer the old one.

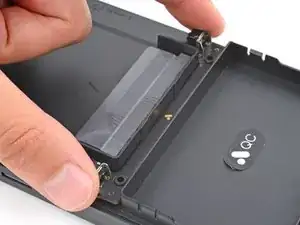
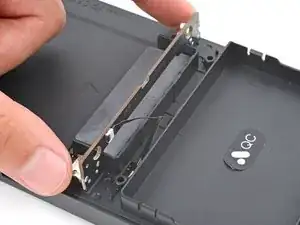
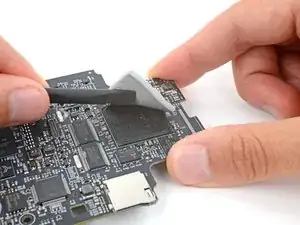
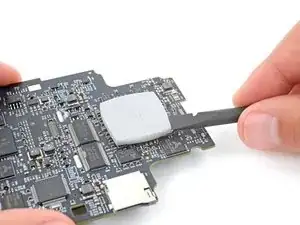
    • Use the flat end of a spudger to gently lift the thermal pad until you can grab it with your fingers.

    • If the pad breaks, don't worry. Just transfer each piece to the new board.

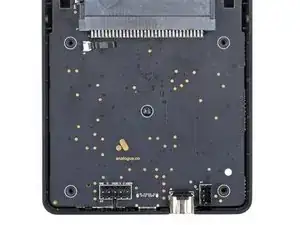
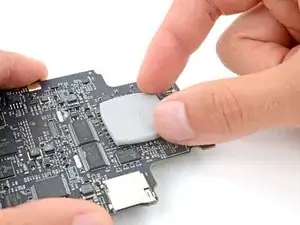
    • Use your fingers to transfer the pad to the new board.

    • Use the flat end of a spudger to press the edges of the thermal pad until it's centered.

Conclusion

To reassemble your device, follow these instructions in reverse order.

Take your e-waste to an R2 or e-Stewards certified recycler.

Repair didn’t go as planned? Try some basic troubleshooting, or ask our Answers community for help.

Spencer Day

Member since: 14/09/22

49372 Reputation

One comment

Where can I get a replacement ribbon cable for the shoulder buttons? Looks like I was careless with my handling of it and now my R button no longer works.

James D. -