Setting up a static IP requires a bit of work. There are many different ways to do it. I will teach you first the graphical way to do it, but you will see that it is much easier to do it with commands from a terminal.
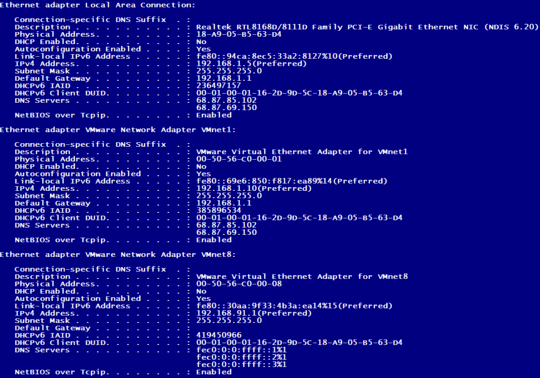
First, you can do it graphically. In the upper right corner, you have the icon of the Network Manager: since you are disconnected, it looks like an empty slice of pie. Right click on it, go to Edit Connections, choose Wired Connection, then click on Wired Connection 1, choose Edit; IPv4 Settings. Here choose, for Method, Manual; then click on Add, and type in: 192.168.1.171 for your address, and 255.255.255.0 for your mask. Then click on DNSs servers, and write: 8.8.4.4 8.8.8.8. Lastly, click on Routes, Gateway,and put 192.168.1.1 in the Address part. Save everything, and test your connection.
You can also do it from a terminal. Open a terminal (Ctrl+Alt+T).
First, it is most convenient to become superuser:
sudo su
and then provide your password at the prompt. Then you will have to give these commands:
service network-manager stop
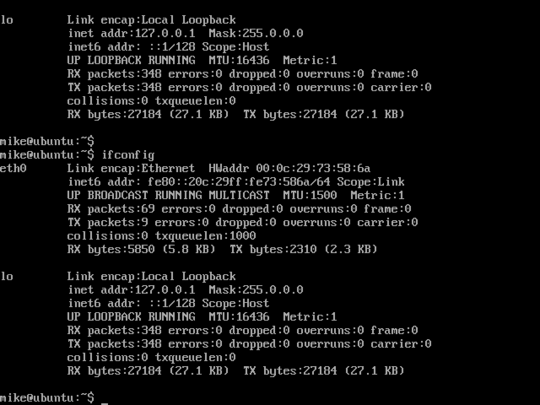
ifconfig eth0 down
ifconfig eth0 192.168.1.171 netmask 255.255.255.0 up
route add default gw 192.168.1.1
echo 8.8.4.4 >> /etc/resolv.conf
echo 8.8.8.8 >> /etc/resolv.conf
exit
This is it. The first command stops the network manager, the second and third initialize your network interface giving it the IP address 192.168.1.171, the fourth command tells your pc how to route internet requests, the fifth and sixth command establish the DNSs. The last command makes you leave the su (=superuser) state.
If you want to do it every time you start your Ubuntu VM, you create a file in your home directory, /home/your_name, let's call it my_internet.sh, where you put all of the above commands, preceded by this line
#!/bin/sh
You save the file, then issue this command
chmod 755 my_internet.sh
then, as sudo, you edit the file /etc/rc.local, and put the following line
/home/your_name/my_internet.sh
in the next to the last line, leaving exit 0 as the last line. Done.