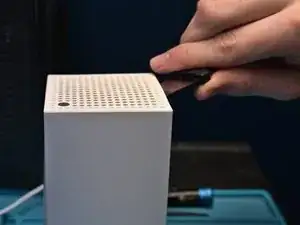
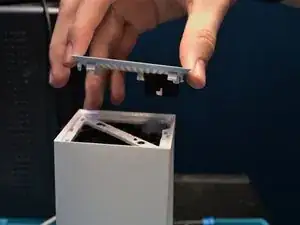
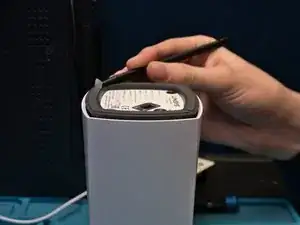
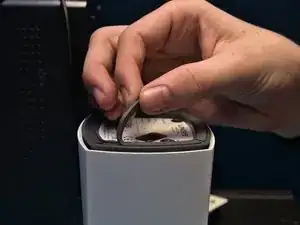
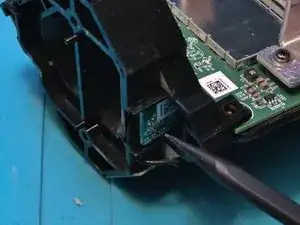
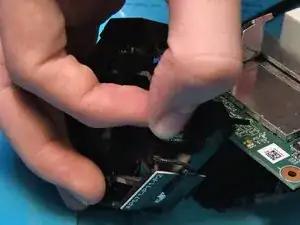
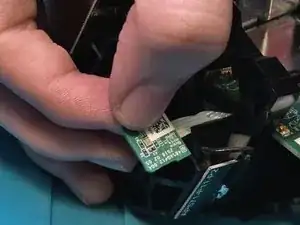
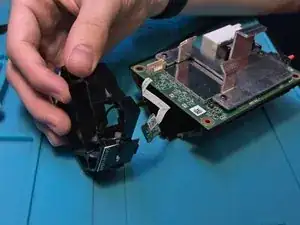
Introduction
Tools
-
-
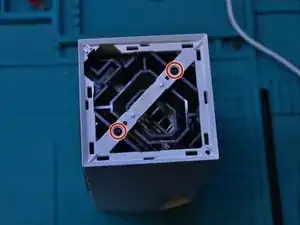
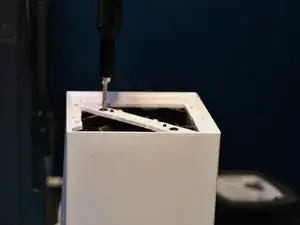
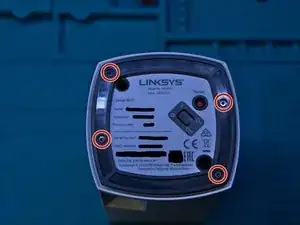
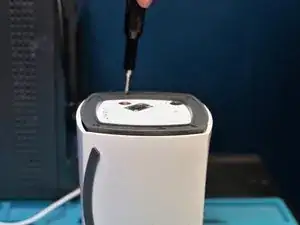
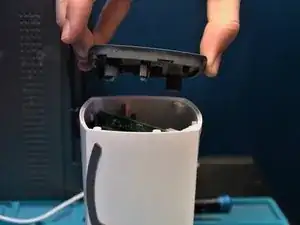
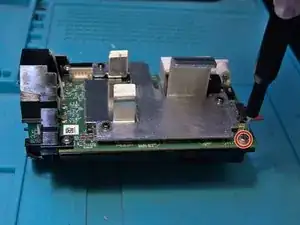
Use a Torx T6 screwdriver to unscrew the two screws that were previously hidden under the top cover.
-
-
-
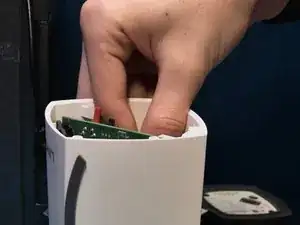
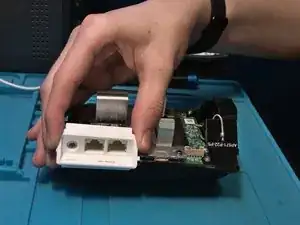
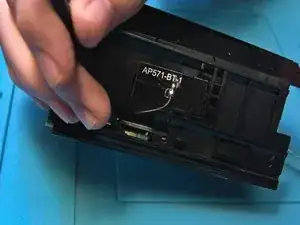
Carefully pinch and pull up on the internal plastic bracket.
-
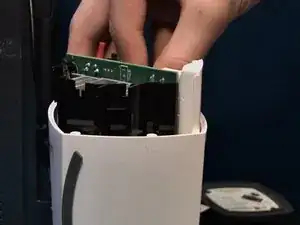
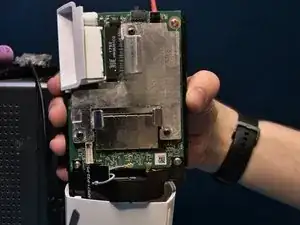
The main board, antenna and LED assembly should slide out without any force needed.
-
-
-
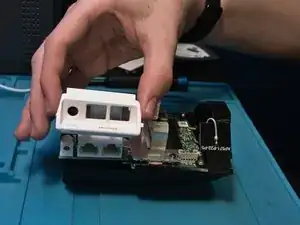
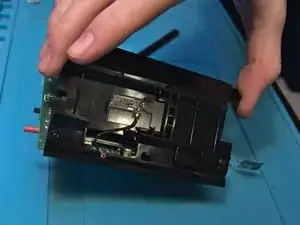
Lift up on the plastic surrounding the power input and ethernet ports.
-
You may need to give it a jiggle to come loose.
-
-
-
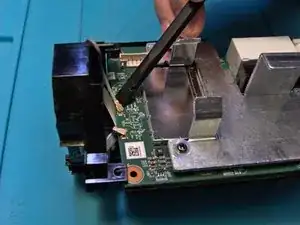
Use a Phillips #00 Screwdriver to unscrew the screw holding the rear plastic bracket.
-
Turn the assembly around and lift the bracket off the main board.
-
-
-
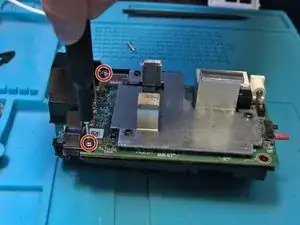
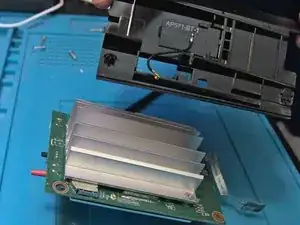
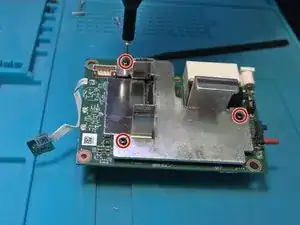
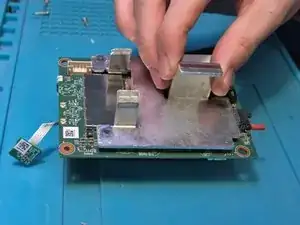
Use a Phillips #00 Screwdriver to unscrew the three screws securing the heatsink.
-
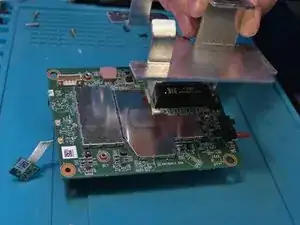
After removing the screws you will need to twist it side to side a little bit due to the thermal pad.
-
-
-
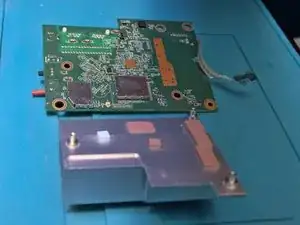
After removing the upper heatsink, the heatsink on the back of the board can be removed using a similar process to the top heatsink.
-
4 comments
Very well done! In terms of disassembly, how long did it take to get everything apart?
definitely no longer than 10 mins, even shorter if you are only going in to access the serial port for flashing a custom firmware
Great information, thank you for doing this! Did I see a proprietary antenna connector and no ts9?
Not really clued up on my antennas so not sure
