Introduction
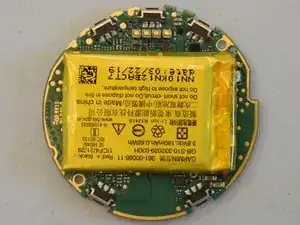
This watch, like most other recent watches from Garmin (except for the Fenix series), is glued shut tightly for waterproofing. As such the disassembly is difficult, but not impossible.
Tools
-
-
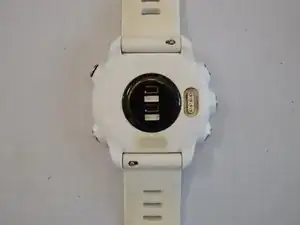
This watch makes use of 20mm quick release bands.
-
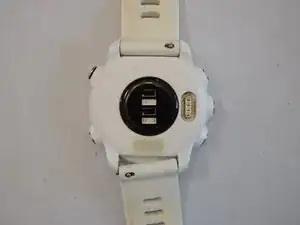
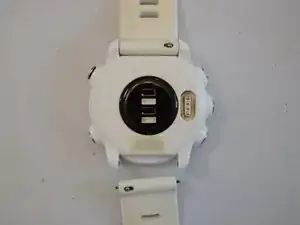
Slide the pin on the metal bar and pull the band away from the watch body.
-
-
-
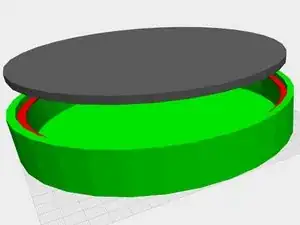
For more detail, the 3D models used to produce these images are available at these links: (old, new) and can be opened in your browser at https://openjscad.azurewebsites.net/.
-
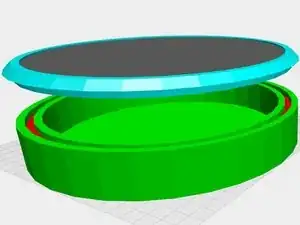
Watch body
-
Glue
-
Bezel
-
Screen
-
-
-
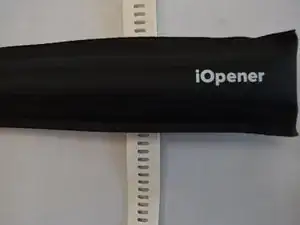
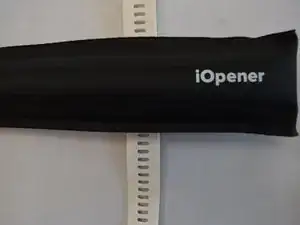
Utilize your choice of iOpener, heat gun, hair dryer, oven, etc. to soften the internal glue.
-
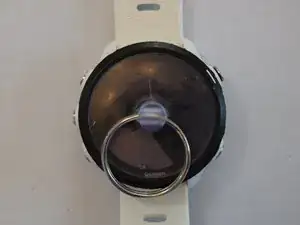
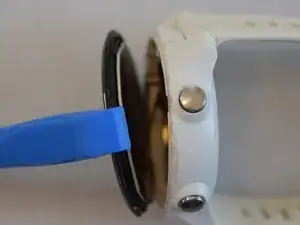
Wedge your tool of choice (spudger, opening tool, knife, etc.) between the bezel brim and the rest of the watch body until you reach the wall of the plastic ring which hangs down from the bezel. Pry the watch face away from the watch body until the glue releases.
-
-
-
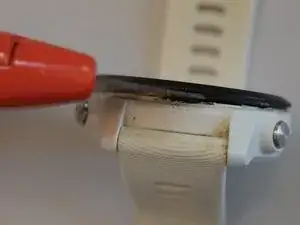
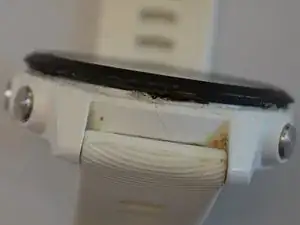
Slip a knife between the bezel brim and the rest of the watch body. When you reach the wall of the plastic ring which hangs down from the bezel, don't stop. Instead, saw your way through this wall and make a slot large enough for a pry tool.
-
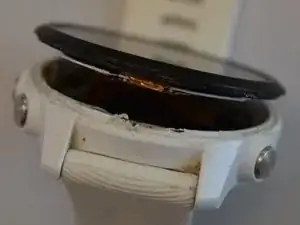
Place your prying tool as far as it will go into the new slot and push the screen up until the glue releases.
-
-
-
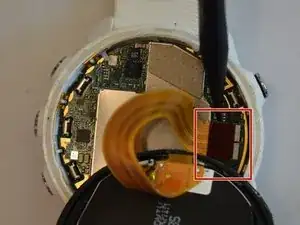
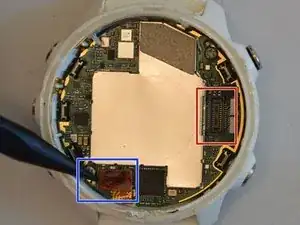
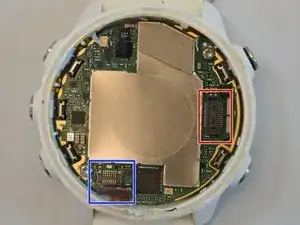
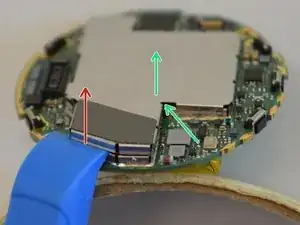
Disconnect the screen FFC from the motherboard as described in this guide.
-
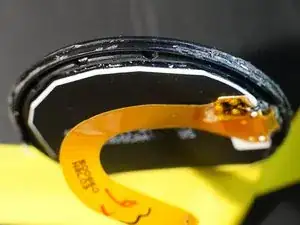
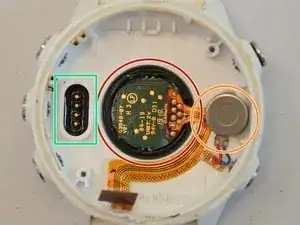
Similarly undo the connector for the FFC leading under the motherboard to the heartbeat sensor and vibration motor.
-
-
-
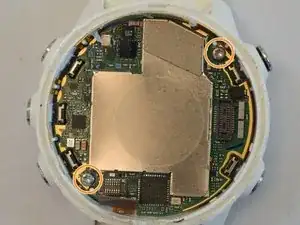
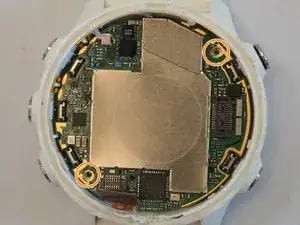
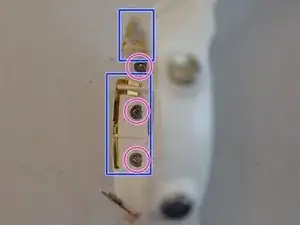
Undo and remove both of the T5 screws.
-
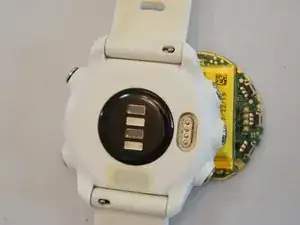
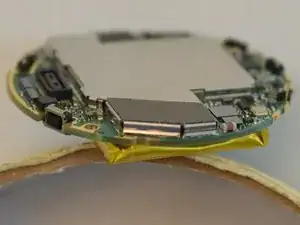
Turn the watch over so it is face down and let the motherboard fall out of the watch body.
-
-
-
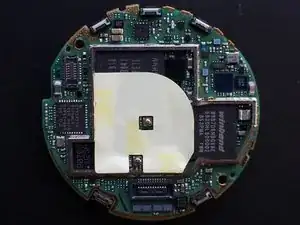
The sides of the metal shielding are clips which fit around the small metal walls underneath of them on the PCB. You can reach under the end of the clips and push up to remove them.
-
Alternatively, stick something small past the gap between clips and under the shielding, then use it to pull the shielding up.
-
Remove the 3M tape covering the rest of the components.
-
-
-
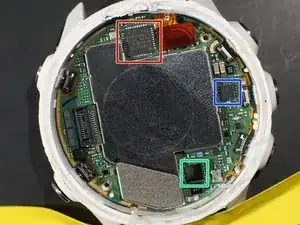
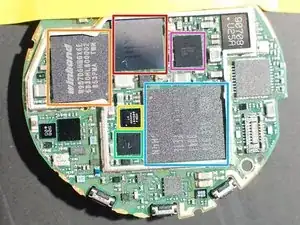
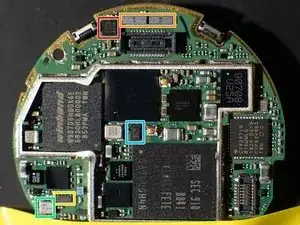
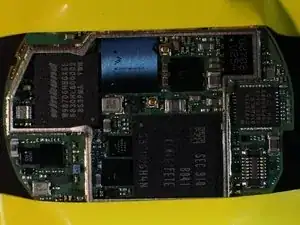
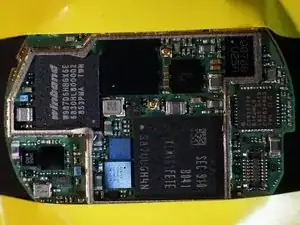
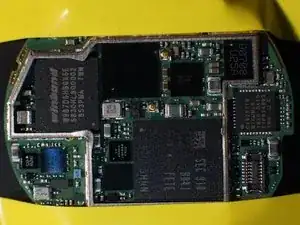
Main processor: NXP Kinetis MK28FN2M0ACAU15 datasheet, technical reference manual (requires free login)
-
SDRAM: Winbond W987D6HBGX6E datasheet
-
Sensorhub coprocessor: Ambiq Micro Apollo2 datasheet
-
Wifi coprocessor: ATWILC 1000B-UU datasheet
-
eMMC: KLM4G1FETE-B041 datasheet
-
PMIC: Maxim Integrated MAX20303B datasheet
-
-
-
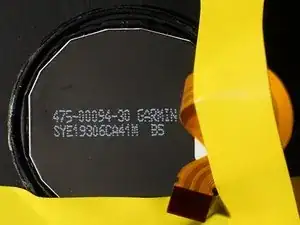
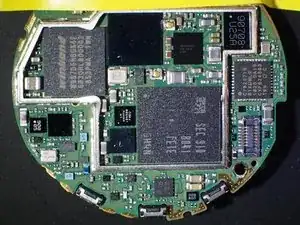
905 AGR (qr code)
-
LNF 852
-
K6A
-
J80 (circle) JD910
-
Unknown
-
Many other chips on both sides of the motherboard are too small to be legible by me, but might make sense to others.
-
The chips starting with 908 are likely designed by Garmin and proprietary.
-
Other chips with single and double letter names may be named according to this reference.
-
-
-
Assuming you didn't destroy the watch too much during the teardown, putting it back together should be as simple as following the steps in reverse plus replacing the old glue with some new glue (B-7000 seems to be the most common recommendation online).
-
4 comments
Great tutorial. I had a cracked screen for the Forerunner 245. I could remove the screen with a hairdryer and en stanley knife. I did not have to cut through the plastic. Just used the stanley knive because it's strong and real thin.
Repeat the heatproces often and take your time. As described in this tutorial, make sure to start at the two button side because because of the cable underneath.
Thank you again for this tutorial. It really helped me!
Djduck -
you are the number one, thanks
This is a great tutorial. I´ll give it a try.
Do you know if it is possible to change the battery? My watch charges but then the battery drops real quick. In the store they told me that may be the battery died because I was charging it to the wall like a cellphone.
Thanks ;)
I have not attempted to replace the battery, but assuming you have a soldering iron, it should absolutely be feasible. Garmin doesn't appear to sell replacements for this exact battery, but I do see replacement options on both ebay and amazon when searching "garmin 361-00086-11". Of course, be careful with cheap batteries - probably your safest bet is to harvest one from another Forerunner 245M that broke before it put too much wear on the battery (e.g. from a broken screen).
In a general sense, any li-ion that is small enough to fit in the case and has wires to solder to the motherboard should produce the correct voltage, but you would have to check if the charging circuitry is in the battery cell or all on the motherboard - these are typically sold online as "protected" vs "unprotected" li-ion cells.
Hope that helps!
