Introduction
Parts
-
-
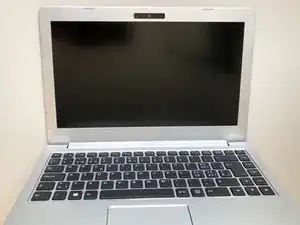
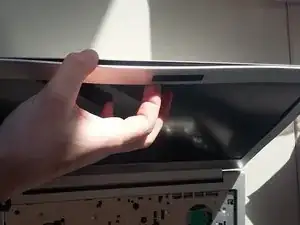
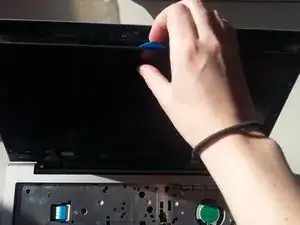
Unclip the display bezel from the frame starting at the top.
-
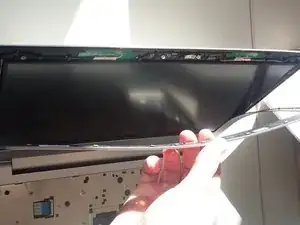
To remove the lower part, open the display as far as possible.
-
-
-
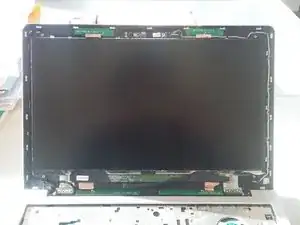
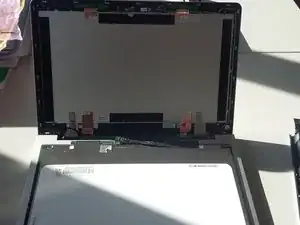
The LCD is secured with adhesive. Use an opening pick to separate the LCD from the display lid.
-
Carefully lay the LCD down on the keyboard.
-
Unplug the display connector at the bottom of the screen.
-
To reassemble your device, follow these instructions in reverse order.
3 comments
bonjour, pourriez-vous rajouter la manière dont on débranche le cable EDP entre carte mère et écran,
je n'ose pas tirer et je ne sais dans quelle direction! merci!
Step 14 of the why! N131WU Motherboard Replacement guide shows how to unplug the other end of the display cable from the motherboard. You will need to follow the first four steps of that guide in order to gain access to it.
merci! je vais regarder cela!
Attention ! le bas du cadre de l'ecran est collé (!!!) et lorsque l'on tire sur le cadre (depuis le haut, comme indiqué), l'écran se déchire...
les indications fournies ici sont INCOMPLETES !
Barth -