Introduction
Use this guide if your Roomba 560 is running into objects or the sensors seem to be malfunctioning. While proceeding through this replacement, it is important to keep track of the large quantity of different sized screws that you must remove.
Tools
-
-
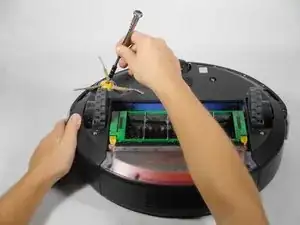
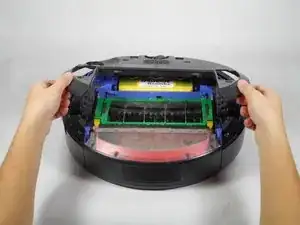
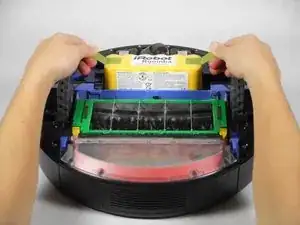
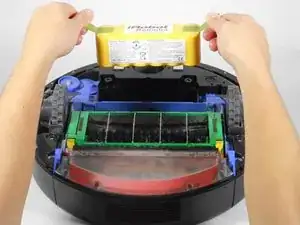
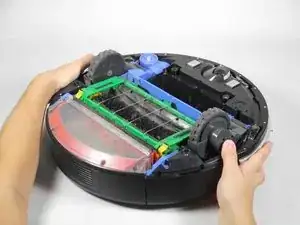
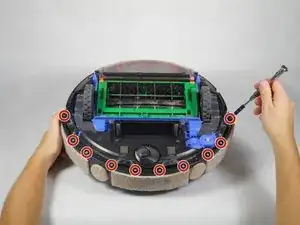
Flip the Roomba upside down.
-
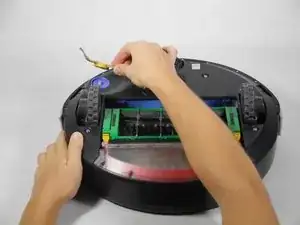
Unscrew the single 5 mm screw on the yellow side sweeper using the Phillips #2 driver.
-
-
-
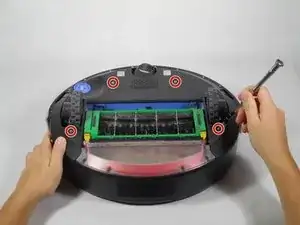
Using the Phillips #2 driver, remove the four 10 mm screws that hold the back panel in place.
-
-
-
Using the Phillips #1 driver, remove the ten 10 mm screws on the bumper that run along the outer edge of the Roomba.
-
-
-
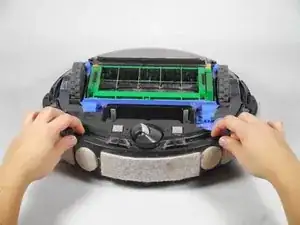
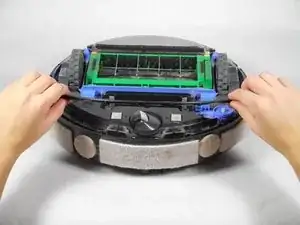
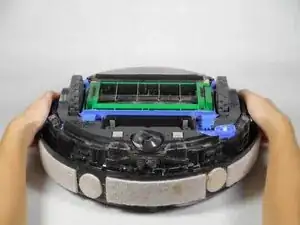
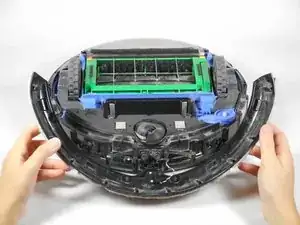
Lift the bumper upwards for easier access.
-
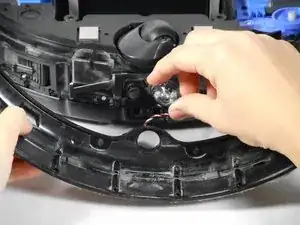
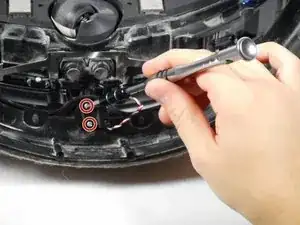
Unscrew the two 5 mm screws that connect the red and white wires to the device using the Phillips #1 driver.
-
-
-
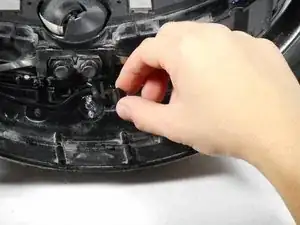
Lift the circular black panel off the lens.
-
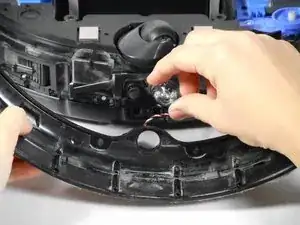
Lift the clear lens that is on the other side of the bumper and replace it with a new lens.
-
To reassemble your device, follow these instructions in reverse order.
3 comments
where do I get a new lens?
C’est très clair,merci.
pourtant j’aimerai savoir s’il n’y qu’un seul capteur infra rouge.
Je précise : le roomba “voit” très bien sa station de recharge mais pas les murs virtuels (ces derniers fonctionnent car je les ai testé sur un autre roomba) ?
si vous avez une solution…..:-)
hayon -
Certains murs virtuels (tels que ceux du scooba ou d'anciens models de roomba) ne sont pas compatibles de base avec le roomba 560.
Il existe toutefois deux solutions pour les rendre compatible avec le roomba :
1) Acheter un OSMO contenant la dernière version sur firmware pour votre Roomba 560 sur internet.
2) Demander un OSMO contenant la dernière version du firmware au support iRobot.
Les OSMO sont de petit appareil qui se branches sur la prise diagnostic / debugage des Roomba et qui permettent d'en mettre à jour le firmware.
Brendan -
