Introduction
Prerequisite for entire button ribbon cable, volume buttons, power button, and rear case.
-
-
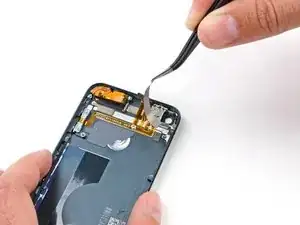
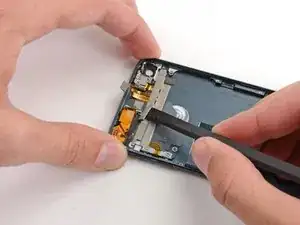
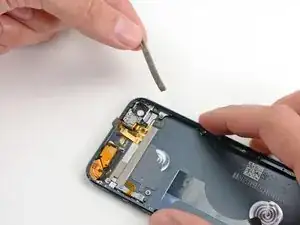
Insert the flat end of a spudger between the rear-facing camera and its frame.
-
Gently twist the spudger to free the camera.
-
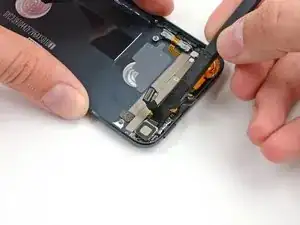
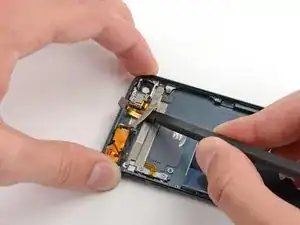
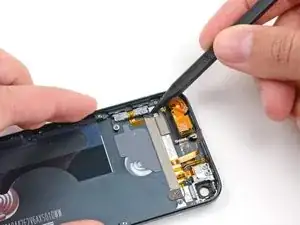
Lift the rear-facing camera up out of its socket, and remove it from the iPod Touch.
-
-
-
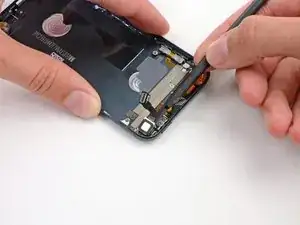
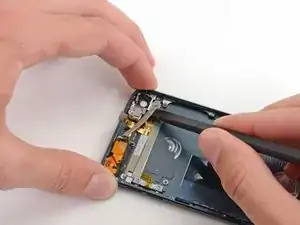
Gently slide the flat end of a spudger underneath the piece of foam tape covering the button ribbon cable.
-
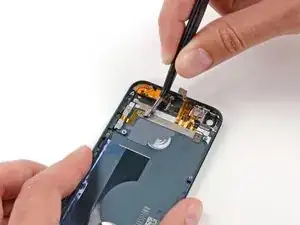
Run the spudger along the full length of the tape to disconnect it from the rear case.
-
-
-
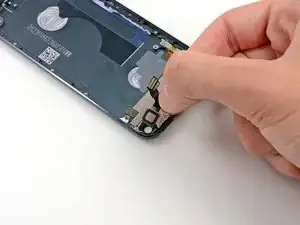
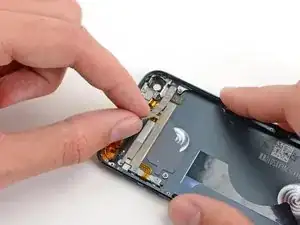
Use the tip of a spudger to peel up the edge of the tape covering the button ribbon cable.
-
Use tweezers or your fingers to peel the tape up from the rear case, and remove it from the iPod.
-

Conclusion
To reassemble your device, follow these instructions in reverse order.