Introduction

Prereq-only for detaching the display assembly.

  1. 1SQyyqNOEOrZUDke
    1SQyyqNOEOrZUDke
    w4YH32anIMmeUVdb
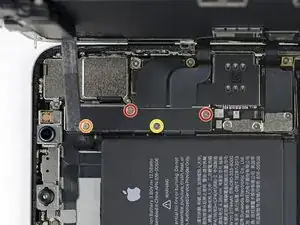
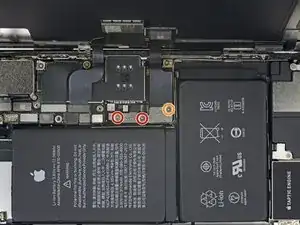
    • Remove four Y000 screws securing the logic board cover bracket, of the following lengths:

    • Two 1.1 mm screws

    • One 1.5 mm screw

    • One 3.7 mm screw

    • Throughout this repair, keep track of each screw and make sure it goes back exactly where it came from to avoid damaging your iPhone.

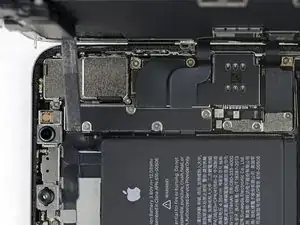
  2. G62FCvpLRGTCWaB5
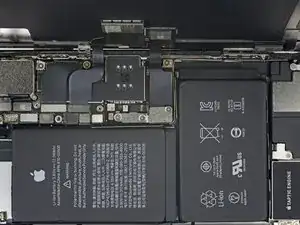
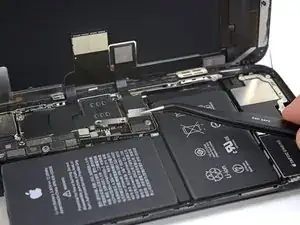
    • Remove the bracket.

    • The bracket may be lightly adhered in place. Lift gently but firmly to separate it.

    • During reassembly, this is a good point to power on your iPhone and test all functions before you seal the display in place. Be sure to power your iPhone back down completely before you continue working.

  3. 4CJtRQHCJdJnTQXU
    4CJtRQHCJdJnTQXU
    Dvq1GumBRbewcbYT
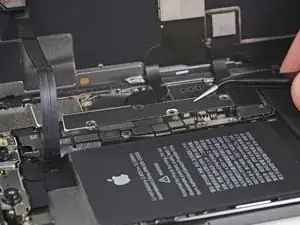
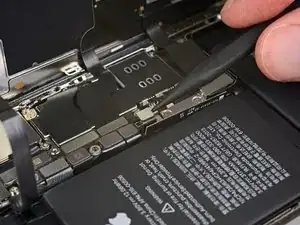
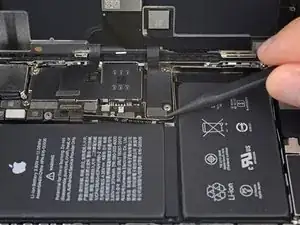
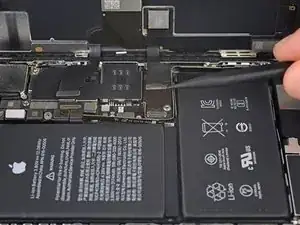
    • Use a spudger or a clean fingernail to pry the battery connector up from its socket on the logic board.

    • Try not to damage the black silicone seal surrounding this and other board connections. These seals provide extra protection against water and dust intrusion.

    • Bend the connector slightly away from the logic board to prevent it from accidentally making contact with the socket and providing power to the phone during your repair.

  4. kFBx36yybRbt4ene
    kFBx36yybRbt4ene
    dmoCxINdWdXgvQWr
    • Remove the three Y000 screws securing the display connector bracket:

    • Two 1.5 mm screws

    • One 1.1 mm screw

    I am replacing the screen for the 2nd time - the first repair was done by someone else, and the first 2 screws are 1.5mm and the last screw is 1.1mm… If I put the screw back in am I risking Long Screw Damage?

    Sarah Ybarra -

    I think that the outside screw (red one, one the right) is actually 1.5 mm or something longer than 1.1. Looked that way to me.

    Paul Key -

    From the top, the screws are: 2 x 1,5mm + 1 x 1,1mm

    serdev94 -

    I can confirm the above comments on the screw length. Pls correct it in the description!

    k_neuper -

    Thanks for all your comments! I'll amend this step.

    Arthur Shi -

    Hi, I just changed the screen on my XS Max and for this bracket I used 2 x 1.1 mm and 1 x 1.5 mm.

    Starting from left to right:

    - left 1.1 mm (I tried with 1.5 mm like in the above picture but I felt that it didn't wanted to go deeper so I didn't forced and I tried it in the middle and it fit perfectly)

    - middle 1.5 mm

    - right 1.1 mm

    For the two brackets I had 7 screws, I aligned them on the desk by length and I had 2 x 1.5 mm, 4 x 1.1 mm and 1 x 3.7 mm.

    Good luck and I hope it will help someone!

    Adrian Slabu -

  5. 1qRGSCYAJCHCGdPV
    • Remove the bracket.

  6. ERNHPFP6lZuchZCE
    ERNHPFP6lZuchZCE
    S6ekGfOmSEsrpLgY
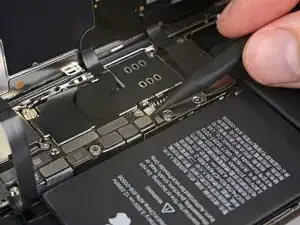
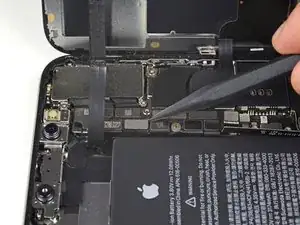
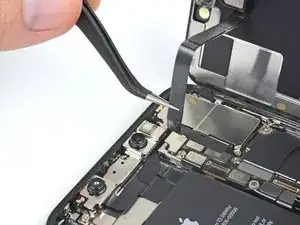
    • Use the point of a spudger or a fingernail to disconnect the front panel sensor assembly connector.

  7. L6fXcoghCZH2MMV1
    L6fXcoghCZH2MMV1
    TVPTLk2aj2kihWvT
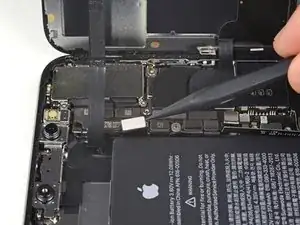
    • Use a spudger or a fingernail to disconnect the OLED panel cable connector.

    • To re-attach press connectors like this one, carefully align and press down on one side until it clicks into place, then repeat on the other side. Do not press down on the middle. If the connector is misaligned, the pins can bend, causing permanent damage.

  8. 4qW2r2RGlLa1H1Wv
    4qW2r2RGlLa1H1Wv
    ARJbNRJOyuL3uDjb
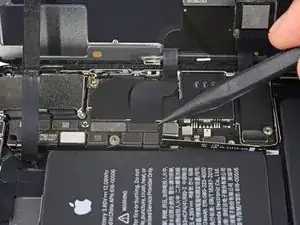
    • Use a spudger or fingernail to pry the digitizer cable connector up from its socket.

    • If any part of your screen doesn't respond to touch after your repair, disconnect the battery and then re-seat this connector, making sure it clicks fully into place and that there's no dust or other obstruction in the socket.

    Mine still won’t respond even after reseating any ideas? Ground issue?

    Jasom -

  9. mhRHh2htSTUovyWb
    mhRHh2htSTUovyWb
    YKTqIYc1ultNHsW3
    PTmKBNdlaMjMDDDY
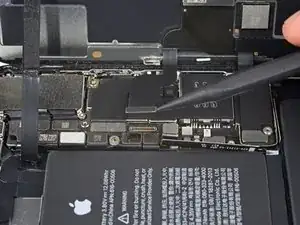
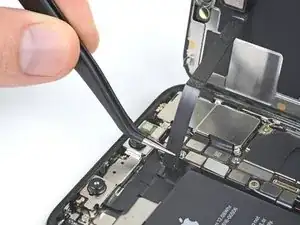
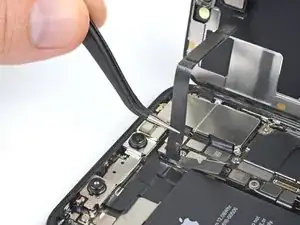
    • The front panel sensor assembly flex cable is lightly adhered in place.

    • Carefully lift the cable until the adhesive separates.

    What if that cable brakes how do u fix that?

    Kourtney Williams -

  10. QYkTkpjLWEUFjK21

    No olviden que para que pase el Face Id tienen q cambiar el flex que va encima de la camara delantera con mucho cuidado ya q si le ponen otro flex no funcionara.

    jeferson -

Conclusion

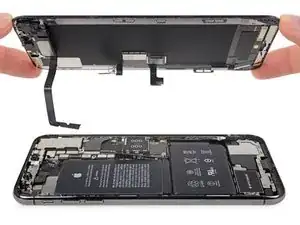
To reassemble your device, follow these instructions in reverse order.
Jeff Suovanen

Member since: 06/08/13

427153 Reputation

0 comments