Introduction
Use this guide to replace the home button ribbon cable containing the mechanical home button. To replace the plastic button cover, follow the home button guide.
-
-
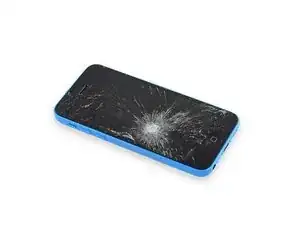
If your display glass is cracked, keep further breakage contained and prevent bodily harm during your repair by taping the glass.
-
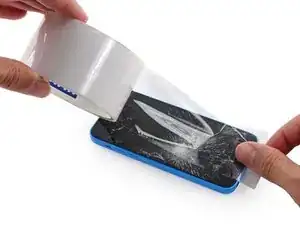
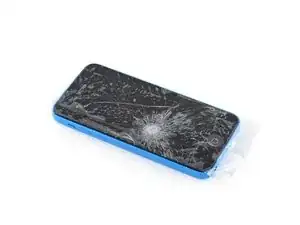
Lay overlapping strips of clear packing tape over the iPhone's display until the whole face is covered.
-
-
-
Power off your iPhone before beginning disassembly.
-
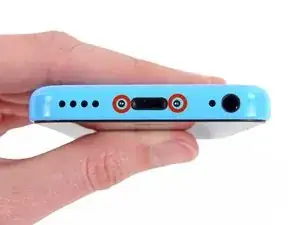
Remove the two 3.8 mm P2 Pentalobe screws on either side of the Lightning connector.
-
-
-
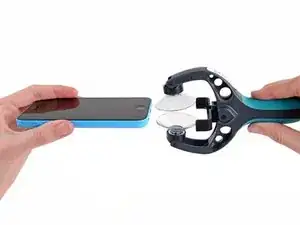
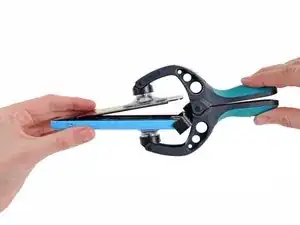
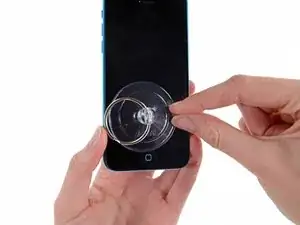
Close the handle on the iSclack, opening the suction-cup jaws.
-
Place the bottom of your iPhone in between the suction cups, against the plastic depth gauge.
-
The top suction cup should rest just above the home button.
-
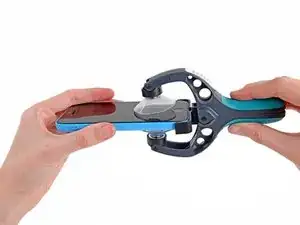
Open the handles to close the jaws of the iSclack. Center the suction cups and press them firmly onto the top and bottom of the iPhone.
-
-
-
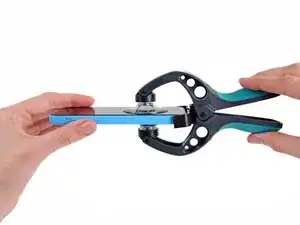
Hold onto your iPhone securely and close the handle of the iSclack to separate the suction cups, pulling the front panel up from the rear case.
-
The iSclack is designed to safely open your iPhone just enough to separate the pieces, but not enough to damage any cables.
-
Skip the next three steps and continue on to Step 8.
-
-
-
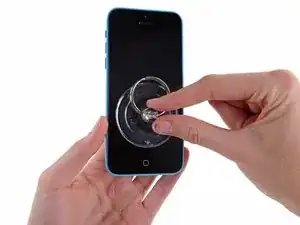
While holding the iPhone down with one hand, pull up on the suction cup to slightly separate the front panel assembly from the rear case.
-
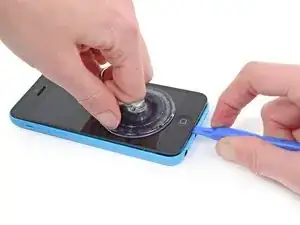
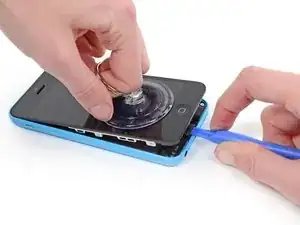
With a plastic opening tool, begin to gently pry the rear case down, away from the display assembly, while you pull up with the suction cup.
-
-
-
Pull the plastic nub to release the vacuum seal on the suction cup.
-
Remove the suction cup from the display assembly.
-
-
-
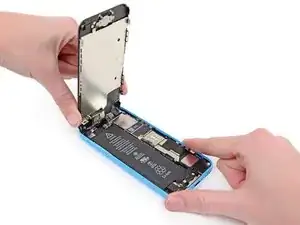
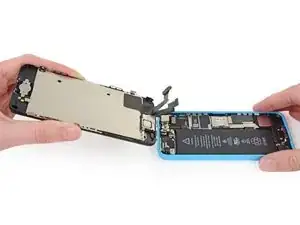
Lift the home button end of the front panel up to gain access to the connectors near the top of the phone.
-
Open the display to about a 90º angle, and lean it against something to keep it propped up while you're working on the phone.
-
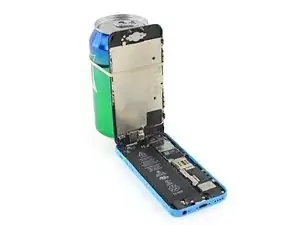
In a pinch, you can use an unopened canned beverage to hold the display.
-
Add a rubber band to keep the display securely in place while you work. This prevents undue strain on the display cables.
-
-
-
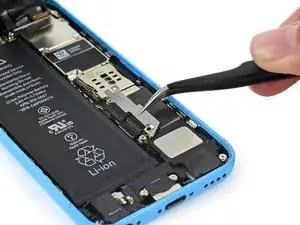
Remove the two 1.6 mm Phillips #000 screws securing the metal battery connector bracket to the logic board.
-
-
-
Use a spudger or a clean fingernail to gently pry the battery connector up from its socket on the logic board.
-
-
-
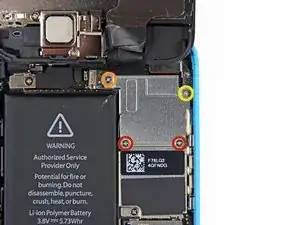
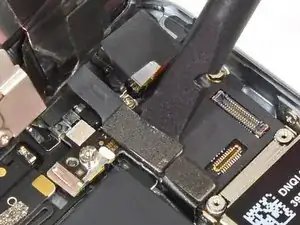
Remove the following Phillips #000 screws securing the front panel assembly cable bracket to the logic board:
-
Two 1.3 mm screws
-
One 1.7 mm screw
-
One 3.25 mm screw
-
-
-
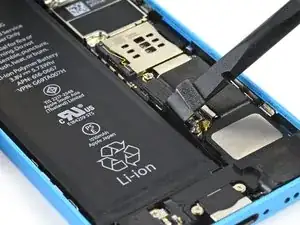
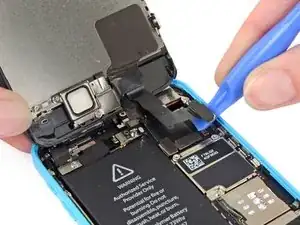
Use a plastic opening tool or a fingernail to disconnect the front-facing camera and sensor cable connector.
-
-
-
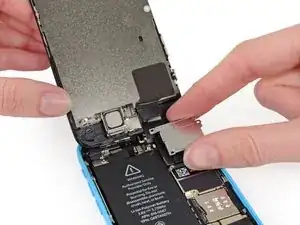
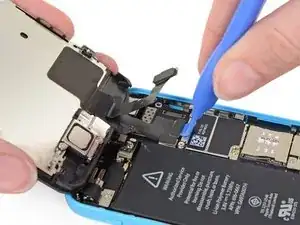
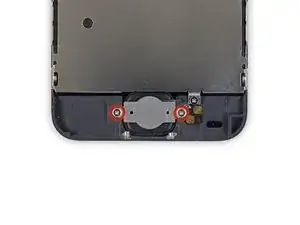
Remove the two 1.3 mm Phillips #000 screws securing the home button bracket to the display assembly.
-
-
-
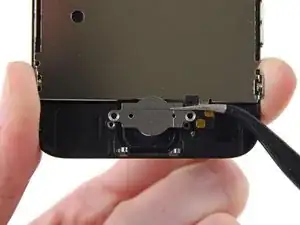
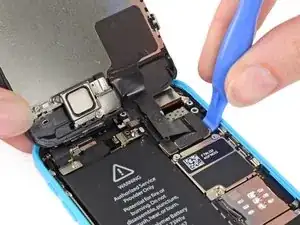
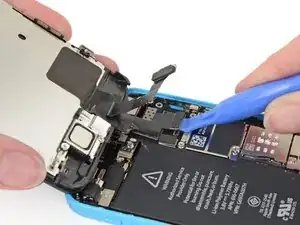
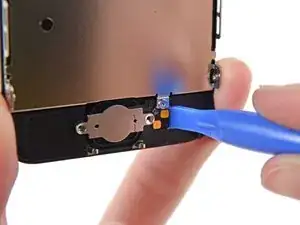
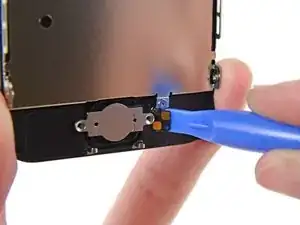
Use a plastic opening tool to pry the edge of the home button ribbon cable up from the display assembly.
-
Start under the contact points on the right and work to the left.
-


To reassemble your device, follow these instructions in reverse order.

7 comments
Good instructions; I did managed to disconnect the lcd connector, but easy enough to pop back in again. No luck on getting my home button to work though - maybe the button was the thing that needed replacing.
This guide should be named "How To Remove The Home Button Ribbon Cable". Saying that this guide is "How To Replace..." is misleading because there are no steps that show how to install a new home button which should include how to reinstall the cable while reapplying soft adhesive. Also, steps 9-16 are not relevant to this guide. Looks like the repair tech and the web developer need to talk to each other. The web developer should have required the tech to perform a dry run of the steps posted which is a standard web development process.
jjovanw -
As stated in the guide conclusion, installation/replacement is the reverse of removal. The replacement ribbon cable will already have the adhesive applied; there's no need to overcomplicate things with additional steps. Steps 9-11 are for disconnecting the battery, which is standard procedure for working on consumer electronics. Steps 12-16 can be skipped if you are comfortable working on the home button while the display is still attached, but you risk damaging your display ribbon cables if you're not careful, turning a $15 repair into a $75 repair.
The ribbon I received has a small white piece of paper on it. Do I have to remove that to get to the adhesive ?
Yes, you have to remove the piece of paper or plastic to install the new cable.
Skyynet -
to keep screws in order, buy some double sided tape and then affix the tape in small pieces to a sheet of paper. As you take the screws out, you can affix them to the tape (which is on the paper) and then write a description of what they are and where they go. quick, cheap and easy.
V. Jones -
I found that these screws did not remove easily. After turning several times and feeling the threads drop back, indicating they were loose, the heads did not extend far enough to grip with my fingernails to pull out. I had to use the tweezers and then it took a bit more force than expected to remove them.
Jim Thomas -
My iPhone 5c has P1 Pentalobe screws, not P2. This guide caused me to buy wrong tools so I thought I would share my experience. Perhaps they vary.
Cody Craven -
@codycraven01 These guides are created using iFixit tools, and P2 is definitely the correct driver. If you’re using tools you bought somewhere else, then yes, results may vary.
Jeff Suovanen -