Introduction
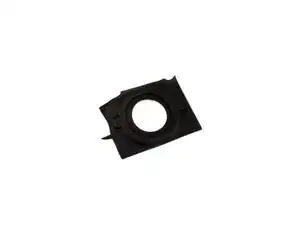
Use this guide to replace the home button gasket.
Tools
Parts
-
-
Power off your iPhone before beginning disassembly.
-
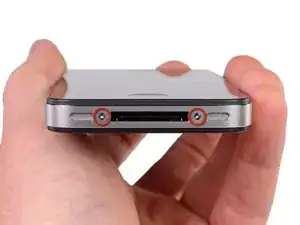
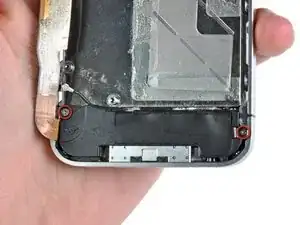
Remove the two 3.6 mm Pentalobe P2 screws next to the dock connector.
-
-
-
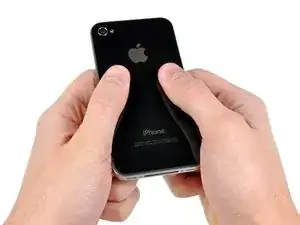
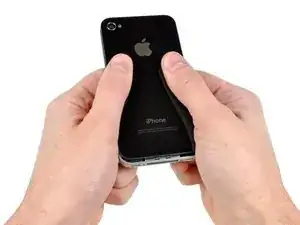
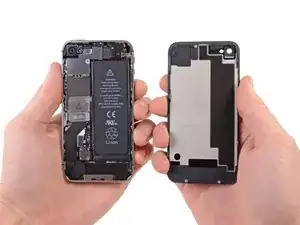
Pull the rear panel away from the back of the iPhone, being careful not to damage the plastic clips attached to the rear panel.
-
Remove the rear panel from the iPhone.
-
-
-
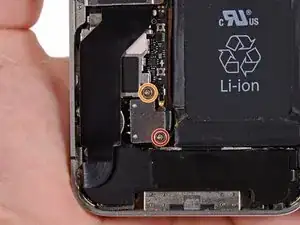
Remove the following screws securing the battery connector to the logic board:
-
One 1.7 mm Phillips screw
-
One 1.5 mm Phillips screw
-
-
-
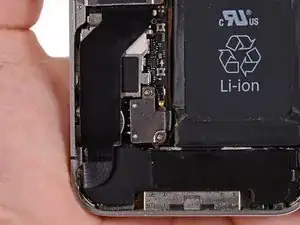
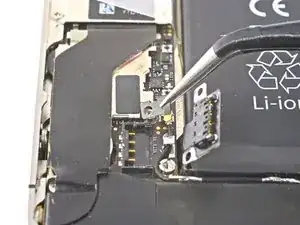
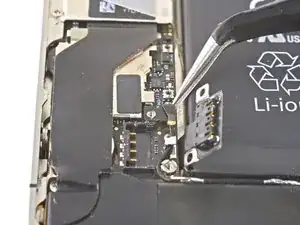
Carefully push the pressure contact away from the battery connector until it slides free from its position.
-
Remove the pressure contact.
-
-
-
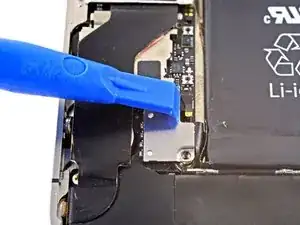
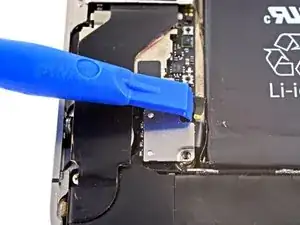
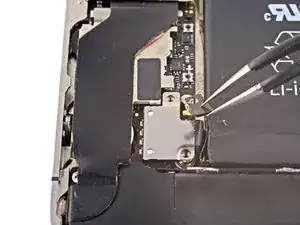
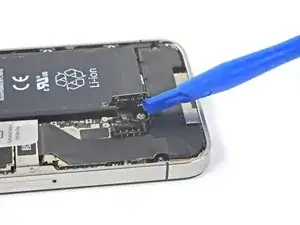
Use a plastic opening tool to gently pry up the battery connector from its socket on the logic board.
-
Place the tip of the tool between the loudspeaker enclosure and the metal cover of the connector, and lift the bottom edge of the connector first.
-
-
-
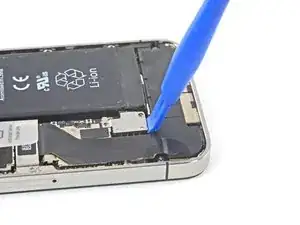
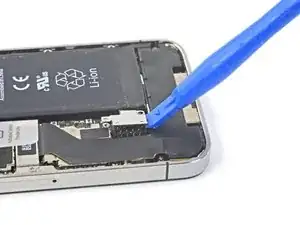
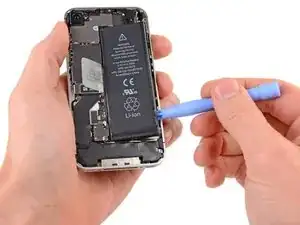
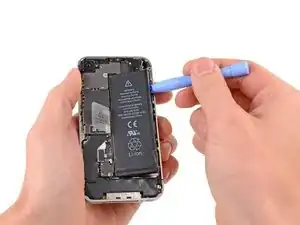
Insert the edge of a plastic opening tool between the battery and the outer case near the bottom of the iPhone.
-
Run the plastic opening tool along the right edge of the battery and pry up at several points to completely separate it from the adhesive securing it to the outer case.
-
Wait about one minute for the alcohol solution to weaken the adhesive.
-
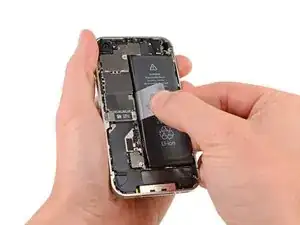
Use the flat end of a plastic opening tool to gently lift the battery.
-
-
-
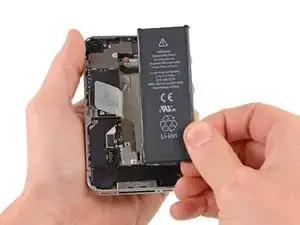
Use the exposed clear plastic pull tab to peel the battery off the adhesive securing it to the iPhone.
-
Remove the battery.
-
-
-
Remove the following screws securing the dock connector cable cover to the logic board:
-
One 1.5 mm Phillips screw
-
One 1.2 mm Phillips screw
-
Remove the metal dock connector cable cover.
-
-
-
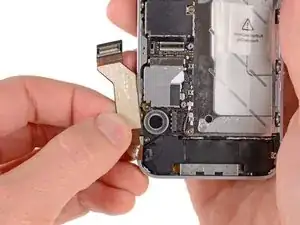
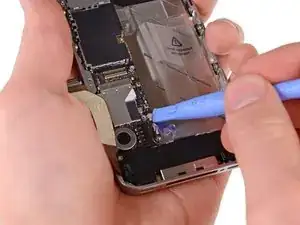
Use the edge of a plastic opening tool to pry the dock cable up from its socket on the logic board.
-
-
-
Peel the dock connector cable off the adhesive securing it to the logic board and the side of the speaker enclosure.
-
-
-
Use the edge of a plastic opening tool to pry the cellular antenna cable up from its socket on the logic board.
-
De-route the cellular antenna cable out from under the metal fingers attached to the logic board.
-
-
-
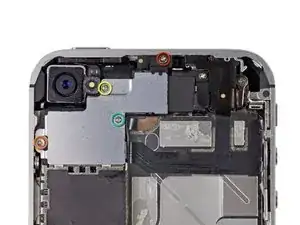
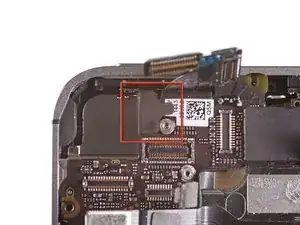
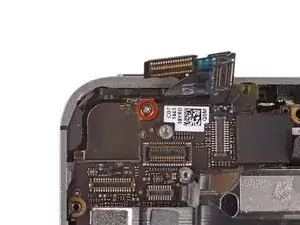
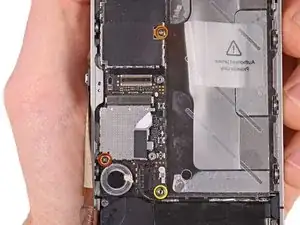
Remove the following four screws securing the cable cover to the logic board:
-
One 2.7 mm Phillips screw
-
One 2.6 mm Phillips screw
-
One 1.3 mm Phillips screw
-
One 1.2 mm Phillips screw
-
-
-
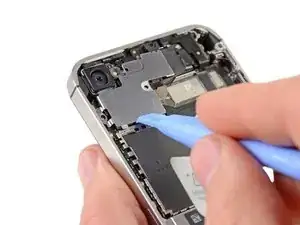
Use the edge of a plastic opening tool to pry the cable cover tabs out of their slots cut into the EMI shield on the logic board.
-
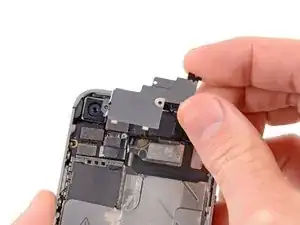
Lift the cable cover from its edge nearest the top and remove it from the iPhone.
-
-
-
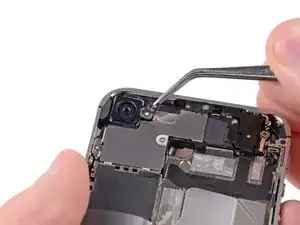
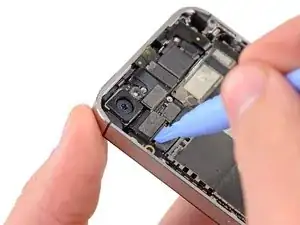
Use the edge of a plastic opening tool to pry the rear camera connector up from its socket on the logic board.
-
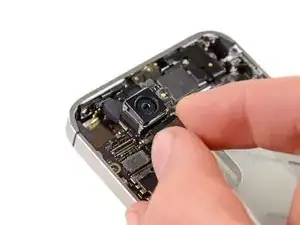
Remove the rear camera from the iPhone.
-
-
-
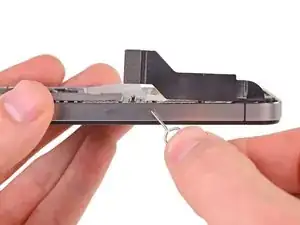
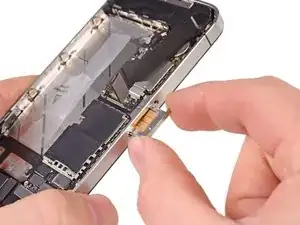
Use a SIM eject tool or a paperclip to eject the SIM and its tray.
-
Remove the SIM and its tray.
-
-
-
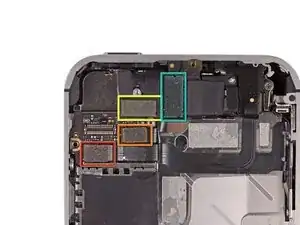
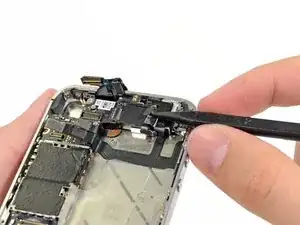
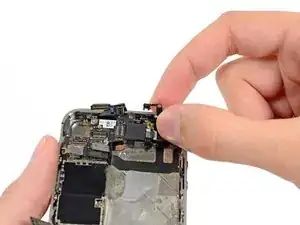
Remove the five cables near the top of the logic board in the following order:
-
Headphone jack/volume button cable
-
Front facing camera cable
-
Digitizer cable
-
Display data cable
-
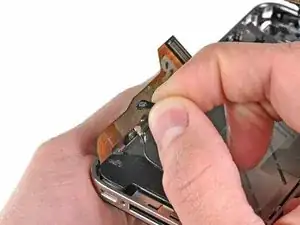
Power button cable (located underneath the headphone jack/volume button cable as shown in the second picture.)
-
-
-
Remove the 1.5 mm Phillips screw securing the grounding clip to the logic board near the headphone jack.
-
-
-
Use the tip of a spudger to pry the small grounding clip up off the logic board.
-
Carefully grasp the grounding clip and remove it from the iPhone.
-
-
-
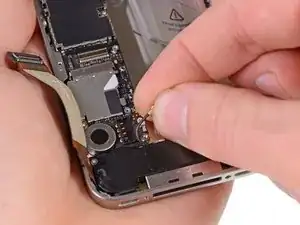
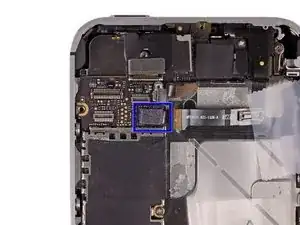
Use the edge of a plastic opening tool to disconnect the Wi-Fi antenna from the logic board.
-
-
-
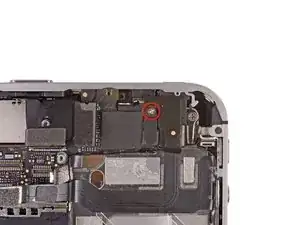
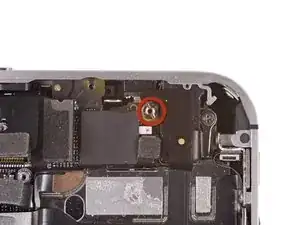
If present, peel the piece of black tape covering the hidden screw near the power button.
-
Remove the 2.6 mm Phillips screw securing the logic board near the power button.
-
-
-
Remove the following screws securing the logic board to the case:
-
One 2.5 mm Phillips screw near the vibrator motor
-
One 2.4 mm Phillips screw
-
One 3.6 mm standoff along the side of the logic board nearest the battery opening.
-
-
-
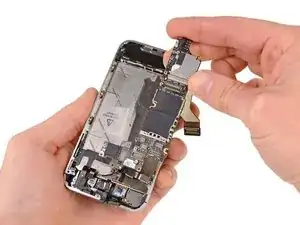
Carefully lift the logic board from the end closest to the speaker enclosure and slide it away from the top edge of the iPhone.
-
Remove the logic board.
-
-
-
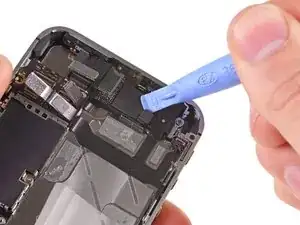
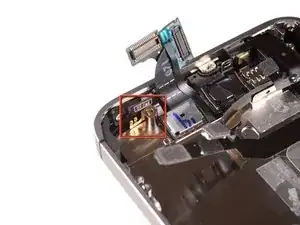
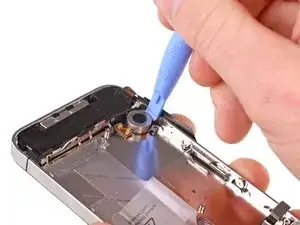
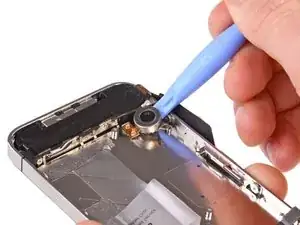
Wedge the plastic opening tool between the vibrator and the side of the iPhone.
-
Pry the vibrator up to release it from the adhesive securing it to the iPhone.
-
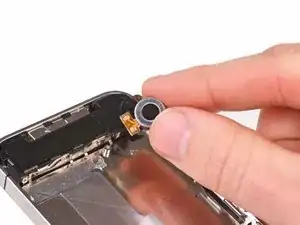
Remove the vibrator.
-
-
-
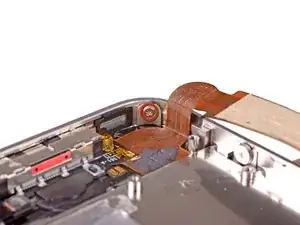
Remove the small plastic bracket that was installed under the screw closest to the dock connector cable.
-
-
-
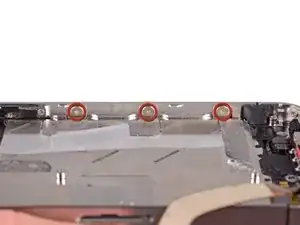
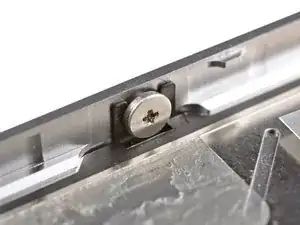
Loosen the three large-headed Phillips screws along the volume button side of the iPhone about one half turn.
-
-
-
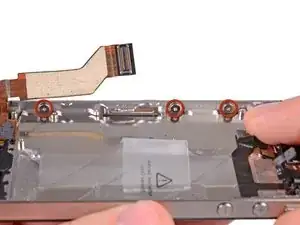
Loosen the three large-headed Phillips screws along the other side of the iPhone about one half turn.
-
-
-
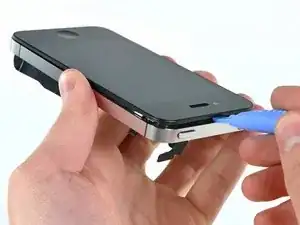
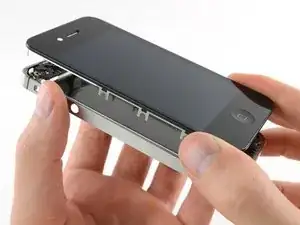
Use the edge of a plastic opening tool to gently pry up the display assembly around its perimeter.
-
-
-
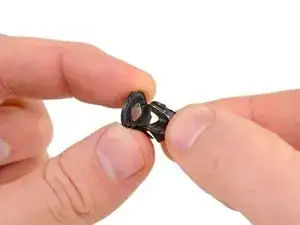
Remember to switch the home button from your old display to the new display (in most cases, this is not provided). The home button gasket is thin rubber, so care must be taken not to tear it. Also, check that the mesh for the speaker hole is present in the replacement; if not, move it over from the old display.
-
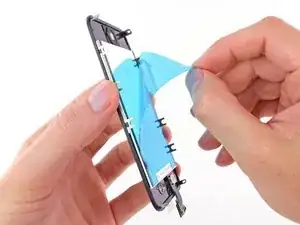
Be sure to peel off the protective backing (usually blue or pink) from the new panel before installing it.
-
If your replacement display does not come with a 7 mm clear plastic ring surrounding the front-facing camera, be sure to transfer it between the old and new display.
-
-
-
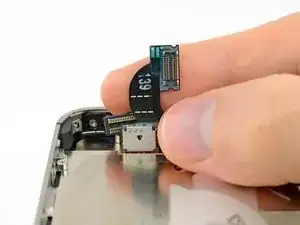
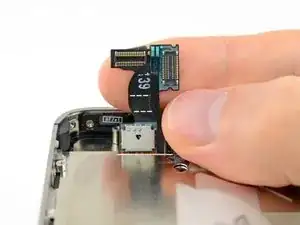
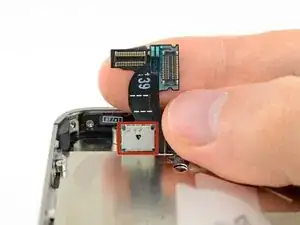
Carefully straighten the digitizer and LCD data cables, and feed them through the slot cut in the outer case.
-
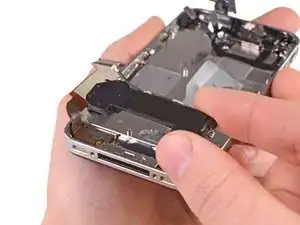
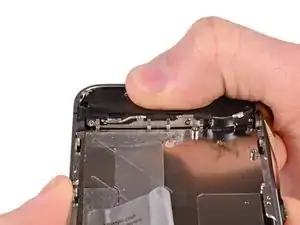
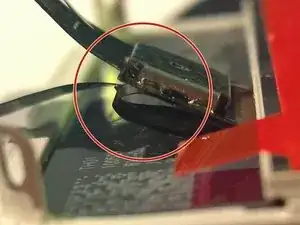
This photo shows the display assembly being installed incorrectly, with too much slack in the digitizer cable, which then forms a bend/loop that gets caught in the slot. The third photo also shows this loop.
-
-
-
During reassembly, do not touch the metallic area at the base of the LCD data cable, as this can cause problems with the LCD. If you do touch it accidentally, clean it gently with an alcohol wipe before continuing.
-
After reassembly, protect your new display from any scratches by installing a new screen protector.
-
-
-
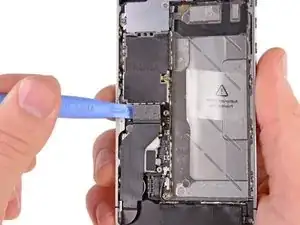
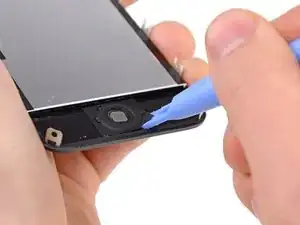
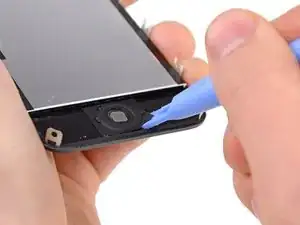
Use the edge of a plastic opening tool to gently peel the bottom right corner of the home button assembly from the display assembly.
-
-
-
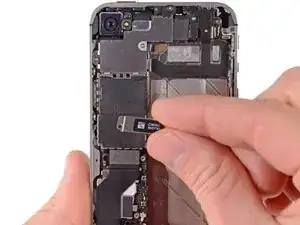
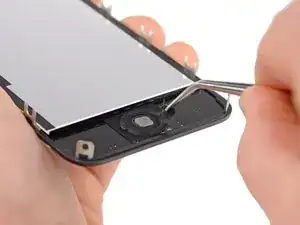
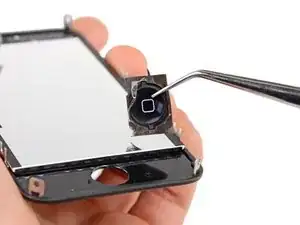
Use a pair of tweezers to peel the home button assembly off the adhesive securing it to the display assembly.
-
Remove the home button assembly from the display assembly.
-
To reassemble your device, follow these instructions in reverse order.
4 comments
I followed this guide to replace my home button ribbon and home button because it was slightly chipped. I left the original gasket. After going through 2 hours of work and assembling it back together i found that my button is not able to be pressed. it does not "spring" up when pressed. could i have placed the gasket wrong or something? what is your take? I have to take it apart again!!! :'(
Kurt -
Hello i had the same issue , did you find out what was wrong??? Please if you see please answer
Vasilis -
Can the rubber gasket be reused?
john -
I am also trying to figure out why my home button is now not able to be pressed after I place the screen back in. Does anyone have any ideas?
zzjneher -
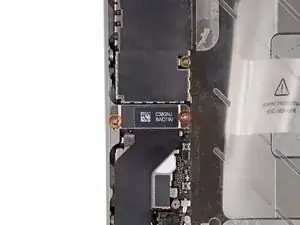
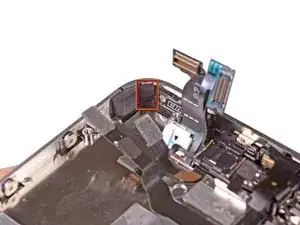
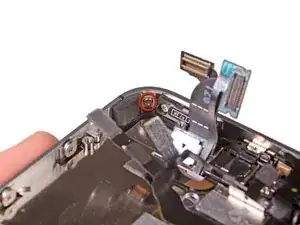
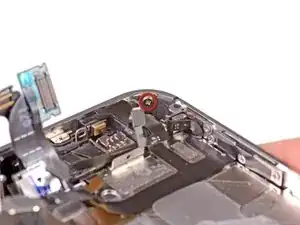
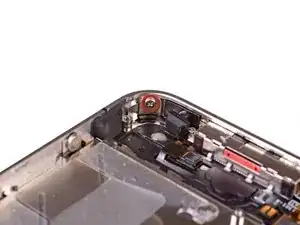

The Liberation Kit just stripped the screw. Now what.
nimpsy -
Had local iPhone repair shop remove the screw. Repair complete!
nimpsy -