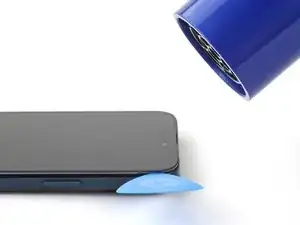
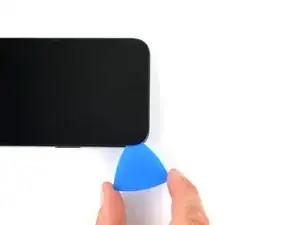
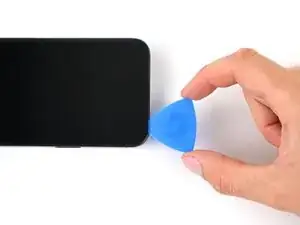
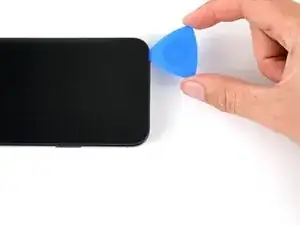
Introduction

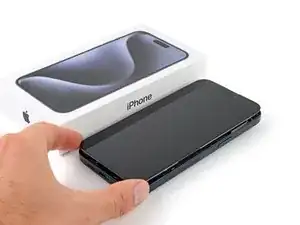
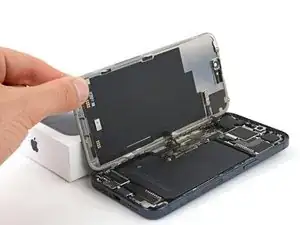
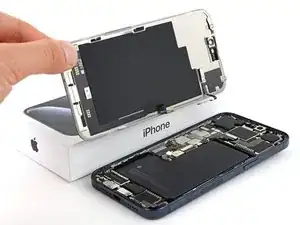
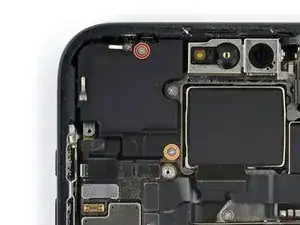
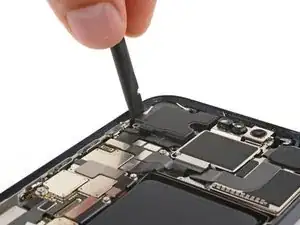
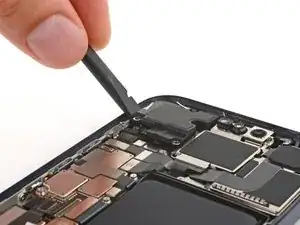
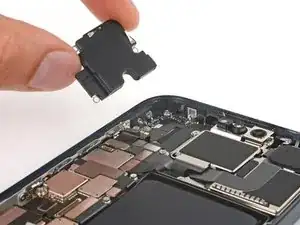
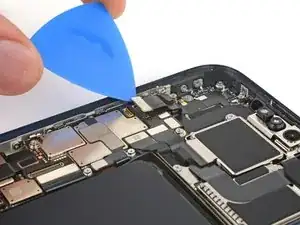
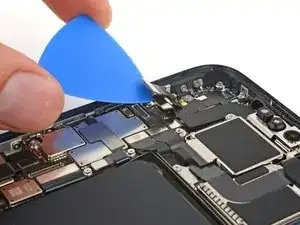
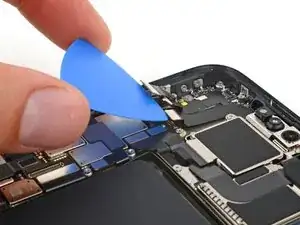
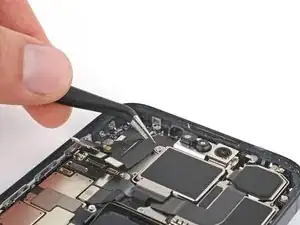
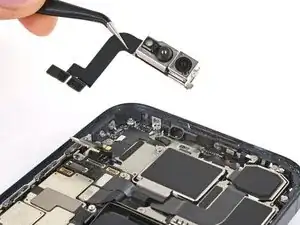
Use this guide to replace the front camera assembly in your iPhone 15 Pro Max.

If your front camera’s image looks fuzzy or has stopped working entirely along with your Face ID, you might need to replace the front camera assembly.

This assembly includes the front-facing camera and Face ID hardware. These parts come as one unit, and the sensors are uniquely paired to your logic board. Replacing them means you'll lose Face ID functionality and, as of iOS 17.0, may still experience issues using your front camera.

You'll need replacement screen adhesive to complete this repair.

  1. P2ocMdtYlP4HDj6j
    P2ocMdtYlP4HDj6j
    df4UNUmasaK5oQdk
    • Allow your phone's battery to drain below 25%, as a charged lithium-ion battery is a potential safety hazard.

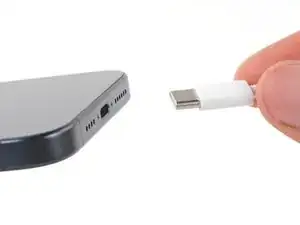
    • Unplug any cables from your phone.

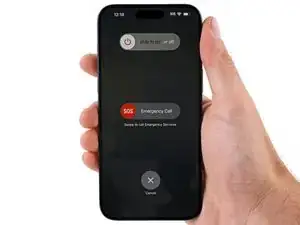
    • Hold the power and either volume buttons and slide to power off your phone.

  2. bVNPJnugAAtNWQkE
    bVNPJnugAAtNWQkE
    YJCWVBUwuixFPppC
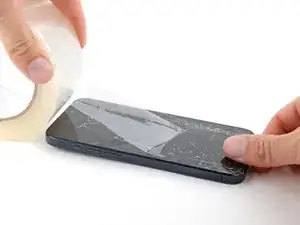
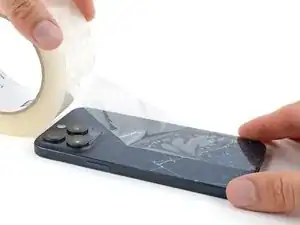
    • If your screen or back glass is badly cracked, lay overlapping strips of packing tape over the glass to protect yourself and make disassembly easier.

    • Make sure there's a smooth area near the bottom edge that's big enough for a suction cup to stick to.

  3. 6UPwoloGBO4tmVoS
    6UPwoloGBO4tmVoS
    BmSYPJmOy6dbHipF
    3EOdQPAGOmiuhoKU
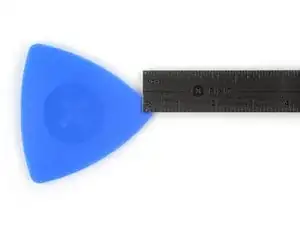
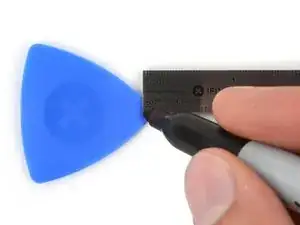
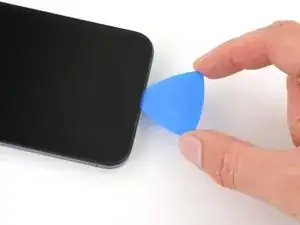
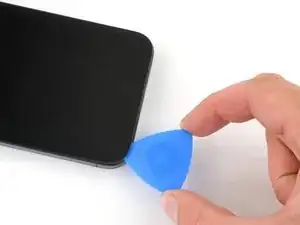
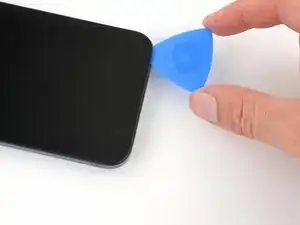
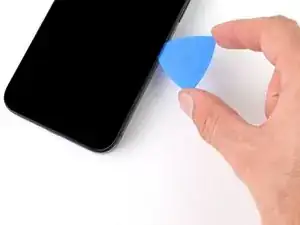
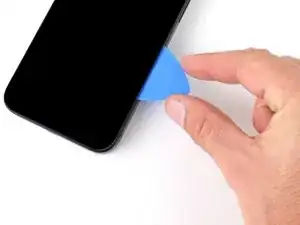
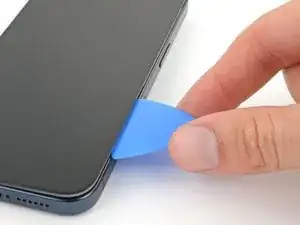
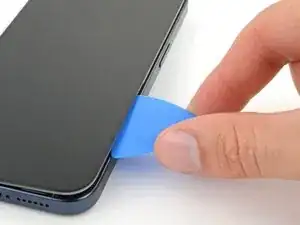
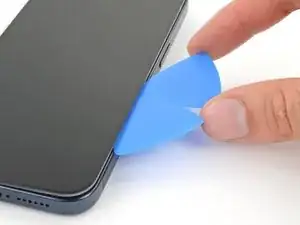
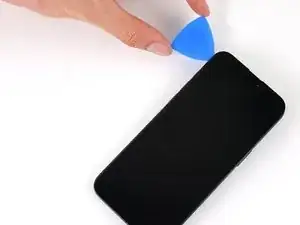
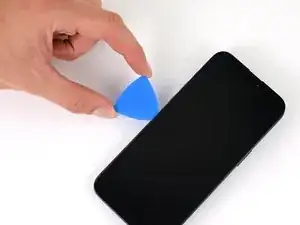
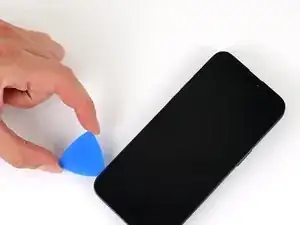
    • If inserted too far, an opening pick can damage your device. Follow this step to mark your pick and prevent damage.

    • Measure 3 mm from the tip and mark the opening pick with a permanent marker.

    • You can also mark the other corners of the pick with different measurements.

    • Alternatively, tape a coin to a pick 3 mm from the tip.

    Got to step 2 and realized the fix kit doesn't include an opening pick! Looks like a guitar pick, and I have those lying around. Is that expected? Looks like the pick is used in many steps below. There's a little blue crowbar that isn't mentioned in the instructions. Perhaps that replaces the opening pick?

    Sloan Looney -

    Hi! I can't see which guide you were using when writing this comment. Can you reply here with which guide and fix kit you used?

    Clay Eickemeyer -

    I see you posted this in Meta. I hope it's resolved soon! In the meantime, a guitar pick may work well enough for your repair.

    Clay Eickemeyer -

    what fix kit?

    Meow Purr -

    My fix kit didn't include an opening pick either

    WILLIAM HARRIS -

    Make sure you check inside the black boxes after emptying them. My pick was stuck inside one of the boxes.

    AndyF -

    My AliExpress refurbished screen came with a pick that has a coin-like circle that pops out, so no modification was necessary

    Gijs Leegwater -

  4. MLnUtEcnyThyT5mV
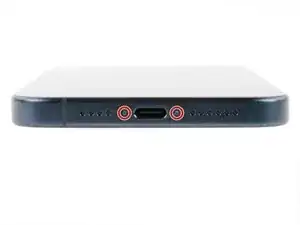
    • Use a P2 pentalobe driver to remove the two 7.2 mm-long screws on either side of the charging port.

  5. PTpINPgDVLIIUCfB
    PTpINPgDVLIIUCfB
    6ZlFXFqdJR4flUHQ
    mCg3poXICIr1LxON
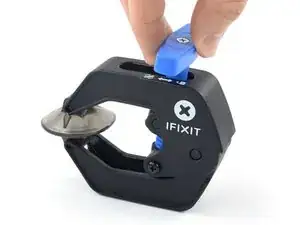
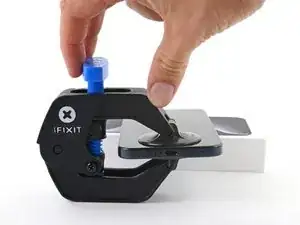
    • The next four steps demonstrate the Anti-Clamp, a tool we designed to make the opening procedure easier. If you aren't using the Anti-Clamp, skip down four steps for an alternate method.

    • For complete instructions on how to use the Anti-Clamp, check out this guide.

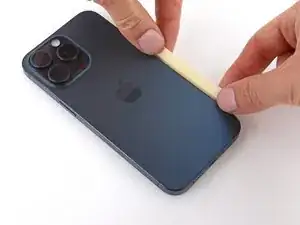
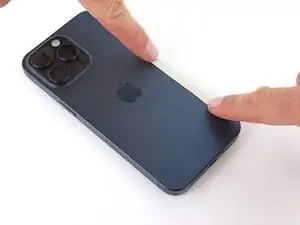
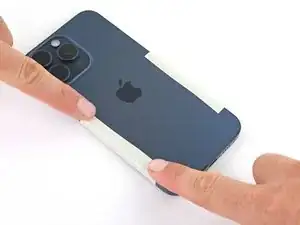
    • The Anti-Clamp applies suction to both the screen and the back glass. To open the screen, you need to secure the back glass with tape. You can also check out the full instructions on how to use this tape.

    • Cut two strips of tape, apply them along the long edges of the phone, and fold them over the back glass to secure it.

  6. pGSgI4lc1cxGhrFs
    pGSgI4lc1cxGhrFs
    SPykjtdEKshliiiB
    KRb1ixq2LbkaqAYm
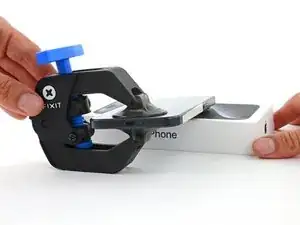
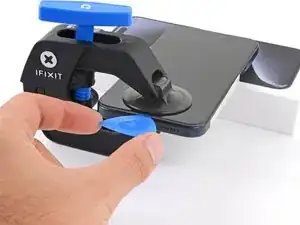
    • Pull the Anti-Clamp's blue handle backward to unlock the arms.

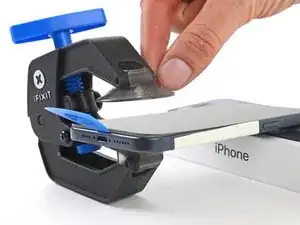
    • With the screen facing up, slide the arms over the left edge of your phone, with one suction cup on the screen and the other on the back glass. Center the suction cups near the bottom edge.

    • Support your phone so it rests level while between the Anti-Clamp's arms—a small box works well.

    • Squeeze the cups together to create suction.

    • If you find that the surface of your iPhone is too slippery for the Anti-Clamp to hold onto, use tape to create a grippier surface.

  7. v4ynj5CVlftF6qmM
    v4ynj5CVlftF6qmM
    p2w4pQYvyBDxUHAV
    LMftbPpCCJGLr55s
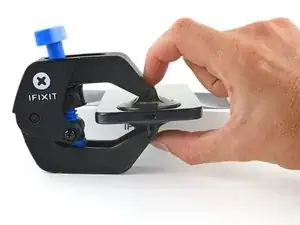
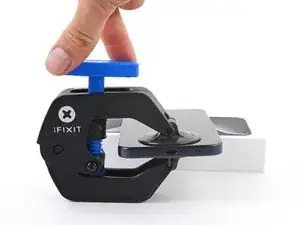
    • Pull the blue handle forward to lock the arms.

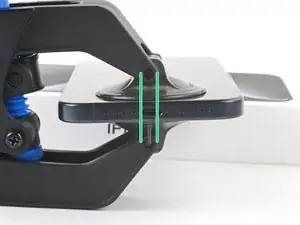
    • Turn the handle one full turn (360 degrees) or until the cups start to stretch.

    • As the cups stretch, make sure they stay vertically aligned with each other. If they tend to slip, remove the Anti-Clamp and apply tape for the cups to stick to.

    • If you don't have tape, you may use your hands to clean the suction cups and warm them up to help them stick.

  8. srijEOKkIHlhUwNY
    srijEOKkIHlhUwNY
    xuhSo4YZU3rfuMWX
    TLdJAfEpDkFA1LPM
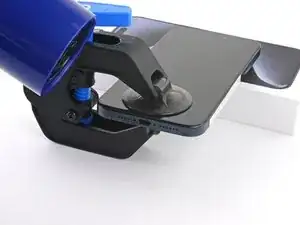
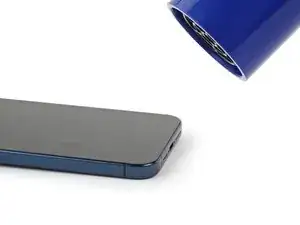
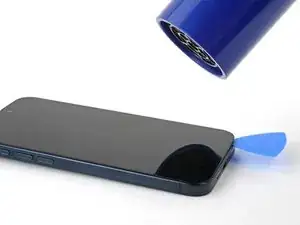
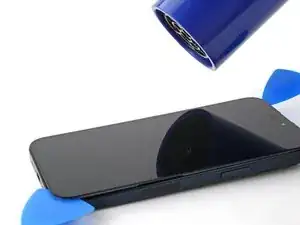
    • Use a hair dryer or heat gun to heat the bottom edge of the screen until it's hot to the touch.

    • Be careful not to heat the phone hotter than this—the battery is susceptible to heat damage.

    • Wait up to a minute for the adhesive to separate and a gap to form between the screen and the frame.

    • If a gap doesn't appear after one minute, apply more heat and rotate the handle a quarter turn. Let the Anti-Clamp and time do the work for you.

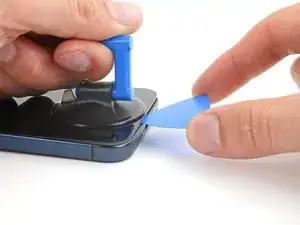
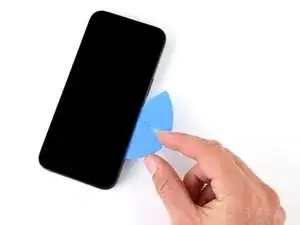
    • Insert an opening pick into the gap.

    • Remove the Anti-Clamp using the pull tabs on the suction cups.

    • Skip the next two steps.

  9. TH5khwsfMHmLaPmK
    • Use a hair dryer or heat gun to heat the bottom edge of the screen until it's hot to the touch.

    • Be careful not to heat the phone hotter than this—the battery is susceptible to heat damage.

  10. GO2dpwFvSdhIf2rW
    GO2dpwFvSdhIf2rW
    FMcGuCp1cGhBaVgv
    x3r6KkADxMpELn6U
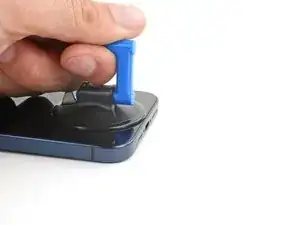
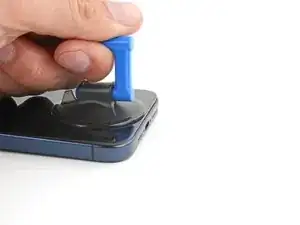
    • Apply a suction handle to the bottom edge of the screen.

    • Pull up on the handle with a strong, steady force to create a gap between the screen and the frame.

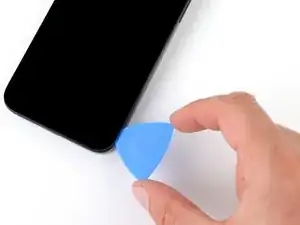
    • Insert the tip of an opening pick into the gap.

  11. bZB4Ol5MIwlDnAU3
    • As you slice the adhesive securing the screen in the next steps, be careful of the following areas:

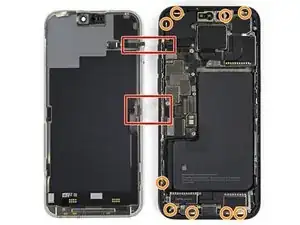
    • There are two delicate cables connecting the screen to the phone: one just above the action button, and the other near the middle of the left edge.

    • There are multiple spring contacts around the perimeter of the phone. Be extra careful not to insert your pick deeper than suggested in these locations to avoid bending the contacts.

  12. nkKFdichvsdyEMUI
    nkKFdichvsdyEMUI
    FUWuLjXMUudLqNaB
    5ZLxAmLCOXrBxKfa
    • Don't insert your opening pick deeper than 3 mm along the bottom edge.

    • Slide your pick back and forth along the bottom edge to separate the adhesive.

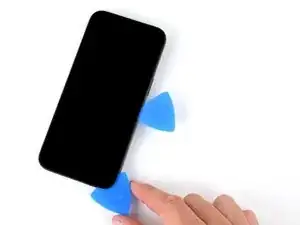
    • Leave your pick inserted in the bottom right corner to prevent the adhesive from re-sealing.

  13. Tp3g5oxoaMIRGahY
    • Heat the right edge of the screen until it's hot to the touch.

  14. AqRpIxEKrKSoUfUm
    AqRpIxEKrKSoUfUm
    u4aKEgyiYWnC5oRB
    DKxHELJQSI4WGEXA
    • Don't insert your pick deeper than 5 mm along the right edge.

    • Slide your pick around the bottom right corner of the screen and toward the power button until you feel a hard stop at a clip securing the screen.

    • Rotate your pick so the flat edge is under the screen.

  15. MxRBDZQGO1ile5AG
    MxRBDZQGO1ile5AG
    SADkdPp2t1GC5rUd
    2svbnSAdahq2vuPK
    • Twist the pick to increase the gap between the screen and the frame until the right clip releases.

    • Insert a second opening pick to the right of the first pick.

  16. FWBjd6I3b1l2kbWU
    FWBjd6I3b1l2kbWU
    FjjC66O3SowmLM3o
    SgyaWGBrlSOuU1rG
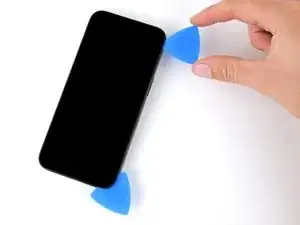
    • Slide the first pick back to the bottom right corner of the screen.

    • Slide the second pick to the top right corner of the screen to separate the adhesive.

    • Leave these picks inserted to prevent the adhesive from resealing.

  17. SK2TyLlQYJA6bGqT
    • Heat the top edge of the screen until it's hot to the touch.

  18. qlVOZVSJD5pUrMo2
    qlVOZVSJD5pUrMo2
    aCdFDZjkvsRCe1pK
    y1OrUX5xdFXRPbCo
    • Don't insert your pick deeper than 3 mm along the top edge.

    • Slide your pick around the top right corner and along the top edge to release the two clips and adhesive securing it.

  19. chDXbCQNc3lciIWi
    • Heat the left edge of the screen until it's hot to the touch.

  20. oND2s2nppurEKCoJ
    oND2s2nppurEKCoJ
    EgjkOsuMsfkTiX2D
    ABEwbmTcmjv1m6BY
    • Don't insert your pick deeper than 2 mm along the left edge to avoid the two cables connecting the screen to the phone.

    • Rotate your pick around the top left corner of the screen.

    • Slide your pick to the bottom left corner of the screen to separate the adhesive.

  21. x6UOMvOBtCg6Qpq2
    x6UOMvOBtCg6Qpq2
    HfFejW6lmdHwK5Ej
    tNirZrsWWR3JYgda
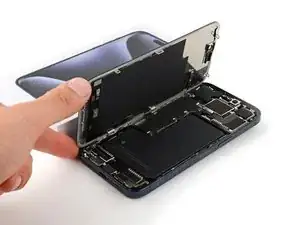
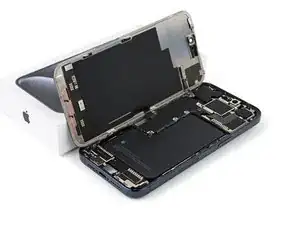
    • Gently swing open the screen to the left of the phone.

    • If the screen feels stuck, go back around the perimeter to check for missed sections of adhesive or stuck clips.

    • Rest the screen against a box or similar object so it doesn't strain the cables.

  22. MOFSEiePYwgaNWIR
    MOFSEiePYwgaNWIR
    xWEoMFoeho5LRCLv
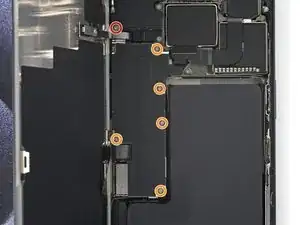
    • Throughout this repair, keep track of each screw and make sure it goes back exactly where it came from.

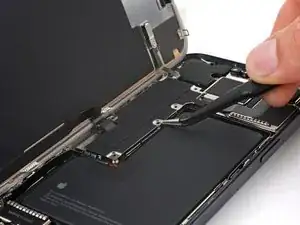
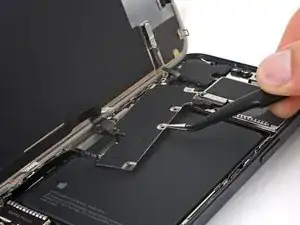
    • Use a tri-point Y000 driver to remove the six screws securing the logic board cover:

    • One 2.1 mm‑long screw

    • Five 1.5 mm‑long screws

  23. T4KTOdo5HREGNpBr
    T4KTOdo5HREGNpBr
    mPQxlswqOgdTGBG5
    GWROjn6RExKtHVel
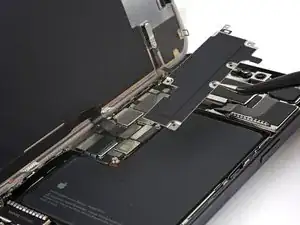
    • Use tweezers or your fingers to grab and slide the logic board cover toward the bottom of the phone to clear the sensor cable.

    • Remove the cover.

  24. jGusM5oxXhCKmmXQ
    jGusM5oxXhCKmmXQ
    IbOy6xlEPBqHs2eS
    2NwZuYUTTPJZFtFb
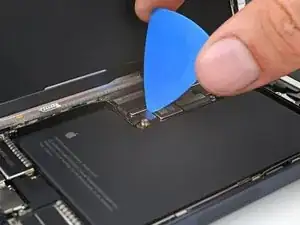
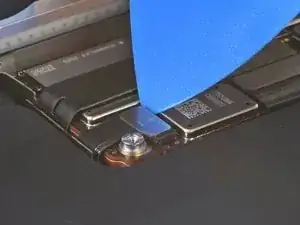
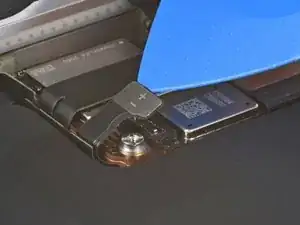
    • Use the tip of an opening pick to pry up and disconnect the battery press connector.

    • To reconnect a press connector, align it over its socket and gently press down on one side until it clicks into place, then press down on the other side. Make sure it sits flat, as the insulating rubber around the sockets might prevent it from connecting fully.

  25. CkimSLOkOMMuxleC
    CkimSLOkOMMuxleC
    pHH3kBs3gBMFbXUC
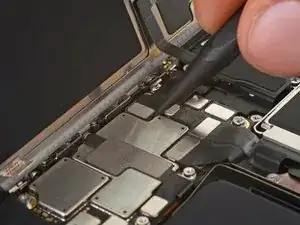
    • Use the point of a spudger to pry up and disconnect the ambient light sensor press connector from the top left of the logic board.

  26. LIBoTG3hSAAoEI1L
    LIBoTG3hSAAoEI1L
    ht4fwxhOGKA5h5jN
    • Disconnect the screen press connector.

  27. ThYmG2F1HJBwGx4P
    ThYmG2F1HJBwGx4P
    6DFqQZB3EEGnCtNh
    • Remove the screen.

    • During reassembly, stop here and use this guide to install new screen adhesive.

    • Be careful not to damage any of the spring contacts as you clean the frame.

  28. QNxZwOeEd3ZVNxWx
    • Use a Phillips #000 driver to remove the two screws securing the earpiece speaker:

    • One 1.8 mm screw

    • One 2.4 mm screw

  29. xwrJjB4NNaGaqffb
    xwrJjB4NNaGaqffb
    qMUHDWDYKggGVNT4
    oiA1yS6GPmETosUD
    • Insert the flat end of your spudger between the left edge of the earpiece speaker and the frame.

    • Pry up until you can grab the speaker with your fingers.

    • Remove the speaker.

    • During reassembly, insert the speaker at a downward angle so the gasket slides into its recess in the top edge of the frame.

  30. EJ3NXIKOQAUSbJGU
    EJ3NXIKOQAUSbJGU
    XaUlBJiP6oorXIV1
    OI5lhXK2viXgrETy
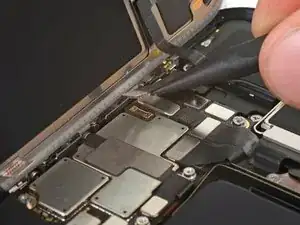
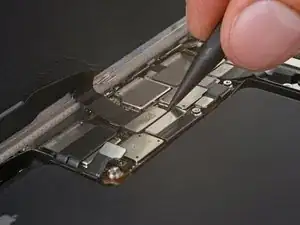
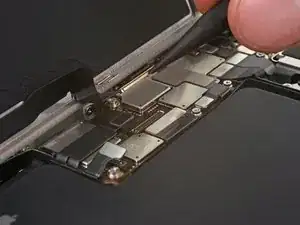
    • Use the tip of an opening pick to pry up and disconnect the microphone, front camera, and proximity sensor press connectors from the top of the logic board (three connectors in total).

  31. 1MAbfcyTcNXStXHC
    1MAbfcyTcNXStXHC
    mca5eGECtg2QSS4G
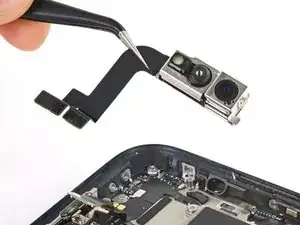
    • Use tweezers or your fingers to pull the front camera assembly out of its recess in the frame and remove it.

    • Be careful not to touch the camera or sensor lenses.

Conclusion

To reassemble your device, follow these instructions in reverse order.

Take your e-waste to an R2 or e-Stewards certified recycler.

Repair didn’t go as planned? Try some basic troubleshooting, or ask our Answers community for help.
Clay Eickemeyer

Member since: 19/09/22

65196 Reputation

0 comments