Introduction
If your iPhone 14 Plus screen is cracked, not responding to touch, or not showing a picture when your phone is powered on, use this guide to restore your iPhone to working order with a new screen, a.k.a. display assembly.
This guide was created using the A2886 (international) model. If you're fixing a different iPhone 14 Plus model, there may be some visual discrepancies, but the procedure should be the same.
Note: True Tone and auto brightness functionality are disabled after a screen replacement, even when using an original Apple screen. Face ID is also disabled unless the iPhone runs iOS 15.2 or newer.
You’ll need replacement adhesive to reattach the screen when reassembling the device. Your device will function normally, but will most likely lose its IP (Ingress Protection) rating.
Tools
Parts
-
-
Power off your iPhone before beginning disassembly.
-
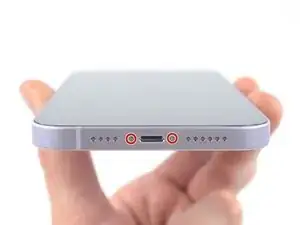
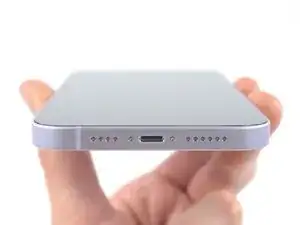
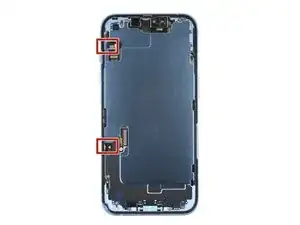
Remove the two 6.8 mm-long pentalobe P2 screws at the bottom edge of the iPhone.
-
-
-
Lay overlapping strips of clear packing tape over the iPhone's screen until the whole face is covered.
-
If you can't get the suction cup to stick in the next few steps, fold a strong piece of tape (such as duct tape) into a handle and lift the screen with that instead.
-
-
-
Follow this guide to secure your rear glass with the included tape.
-
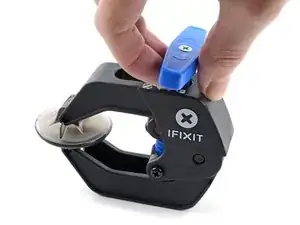
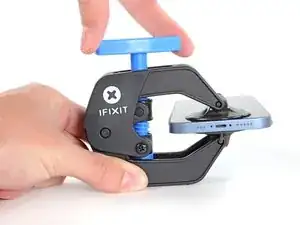
Pull the blue handle backwards to unlock the Anti-Clamp's arms.
-
Slide the arms over either the left or right edge of your iPhone.
-
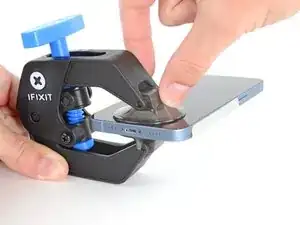
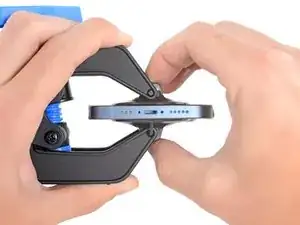
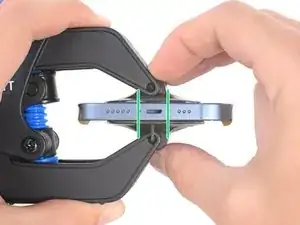
Position the suction cups near the bottom edge of the iPhone—one on the front, and one on the back.
-
Squeeze the cups together to apply suction to the desired area.
-
-
-
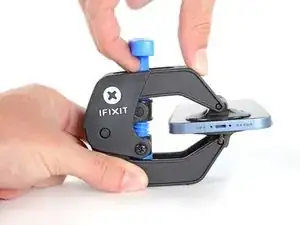
Pull the blue handle forward to lock the arms.
-
Turn the handle clockwise 360 degrees or until the cups start to stretch.
-
Make sure the suction cups remain aligned with each other. If they begin to slip out of alignment, loosen the suction cups slightly and realign the arms.
-
-
-
Support your iPhone on something sturdy such as a hardcover book so it rests hands-free and parallel to the ground; this makes it easier to work with in the following steps.
-
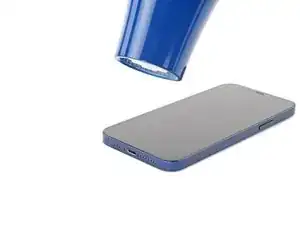
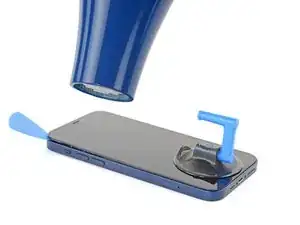
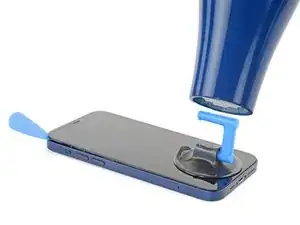
Use a hair dryer to heat along the bottom edge of the iPhone. The screen should feel slightly too hot to touch.
-
Wait one minute to give the adhesive a chance to release and present an opening gap.
-
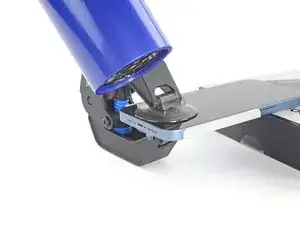
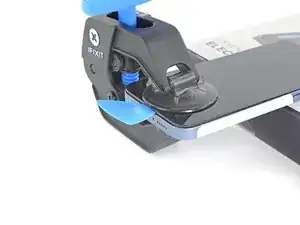
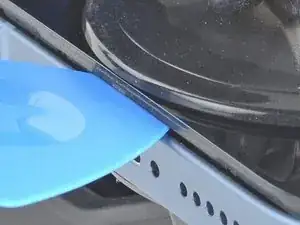
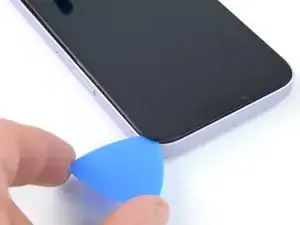
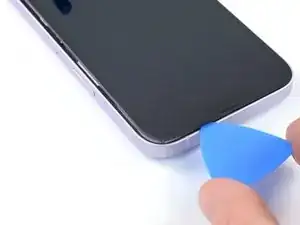
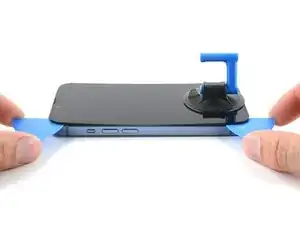
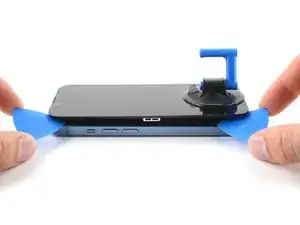
Insert an opening pick under the screen's plastic bezel when the Anti-Clamp creates a large enough gap.
-
Skip the next two steps.
-
-
-
Use a hair dryer or a heat gun to heat the bottom edge of the iPhone for 90 seconds or until the screen is slightly too hot to touch.
-
-
-
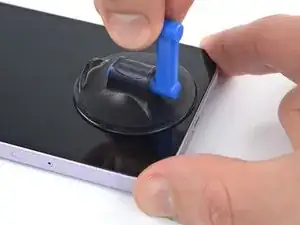
Apply a suction handle to the bottom edge of the phone, while avoiding the very edge of the glass.
-
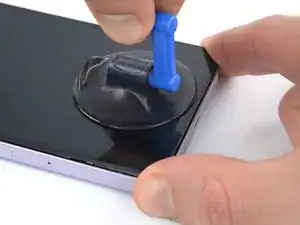
Pull up on the suction cup with firm, constant pressure to create a slight gap between the screen and the frame.
-
Insert an opening pick into the gap under the screen's plastic bezel.
-
-
-
Use a hair dryer to heat the right edge of the iPhone (the edge with the power button) for 90 seconds or until the screen is slightly too hot to touch.
-
-
-
Slide the opening pick around the bottom right corner of the iPhone to separate its adhesive.
-
Continue sliding up the right edge of the iPhone until you reach the top right corner.
-
Leave the pick in the top right corner before continuing.
-
-
-
Use a hair dryer to heat the top edge of the iPhone for 90 seconds or until the screen is slightly too hot to touch.
-
-
-
Slide the opening pick around the top right corner of the iPhone to separate the top adhesive.
-
Leave the pick in the top left corner before continuing.
-
-
-
Use a hair dryer to heat the left edge of the iPhone for 90 seconds or until the screen is slightly too hot to touch.
-
-
-
Insert a second opening pick in the bottom left corner of the iPhone.
-
Twist both picks simultaneously until the left edge clips release.
-
-
-
Remove your suction handle from the screen.
-
Rotate your iPhone so the right edge faces you.
-
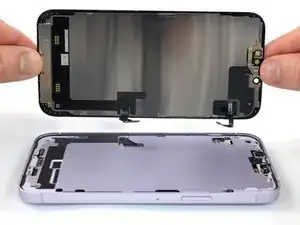
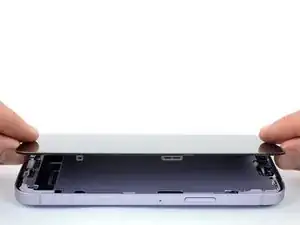
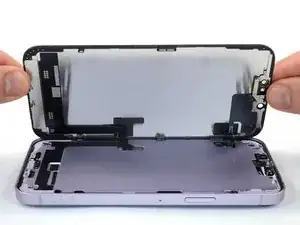
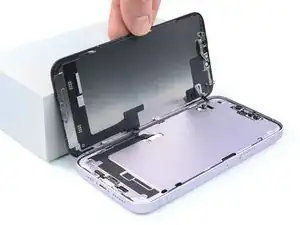
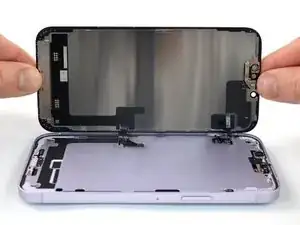
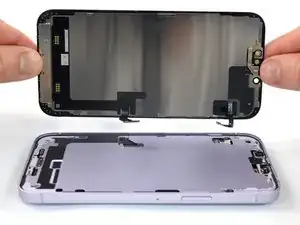
Open your iPhone by swinging the screen up from the right side, like the front cover of a book.
-
Lean the screen against something to keep it propped up while you're working on the phone.
-
-
-
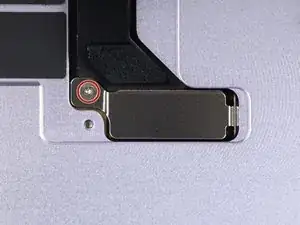
Use a Y000 screwdriver to remove the the 0.8 mm-long screw securing the display connector bracket.
-
-
-
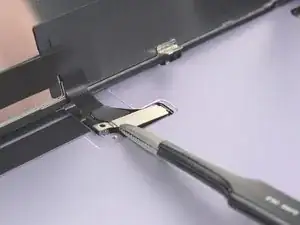
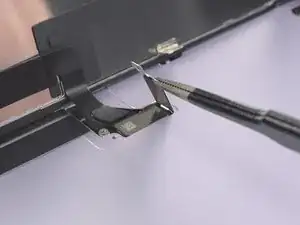
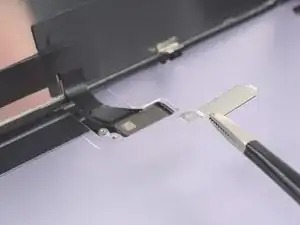
Grasp the screw hole end of the connector bracket with a pair of tweezers.
-
Lift the the bracket slightly to loosen the latch on the other edge.
-
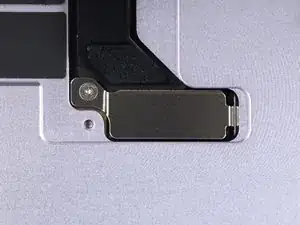
Remove the display connector bracket.
-
-
-
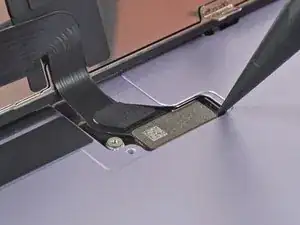
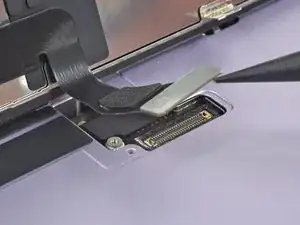
Use the pointed end of a spudger to disconnect the display cable by prying the connector straight up from its socket.
-
-
-
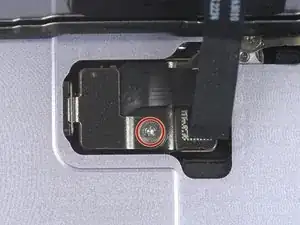
Use a Y000 screwdriver to remove the 1 mm-long screw securing the front sensor connector bracket.
-
-
-
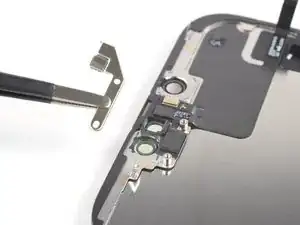
Grasp the screw hole end of the connector bracket with a pair of tweezers.
-
Lift the the bracket slightly to loosen the latch on the other edge.
-
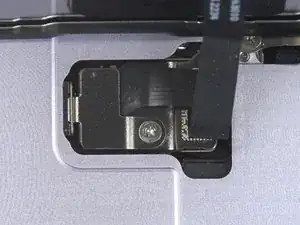
Remove the front sensor connector bracket.
-
-
-
Use the pointed end of a spudger to disconnect the front sensor cable by prying the connector straight up from its socket.
-
-
-
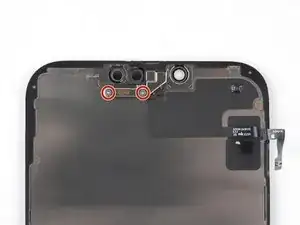
Use a Y000 screwdriver to remove the two 1.4 mm-long screws securing the sensor assembly bracket.
-
-
-
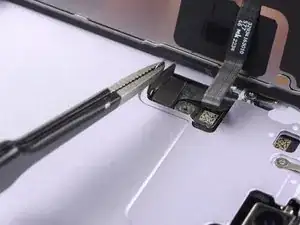
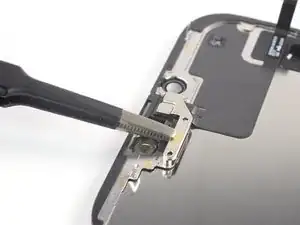
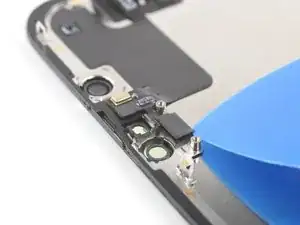
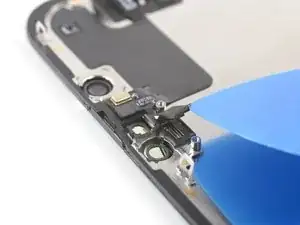
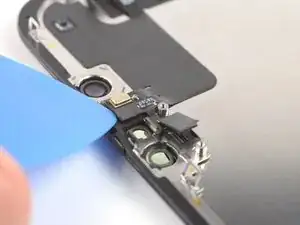
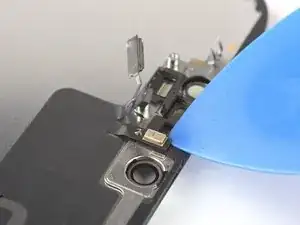
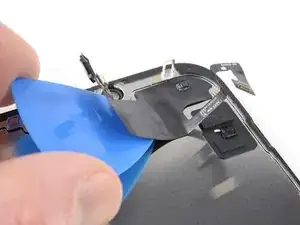
Insert an opening pick between the ambient light sensor and its recess on the screen.
-
Pry up with the pick to separate the ambient light sensor from the screen.
-
-
-
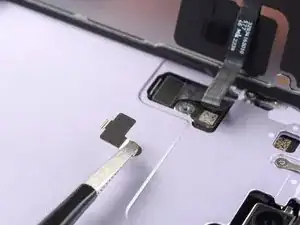
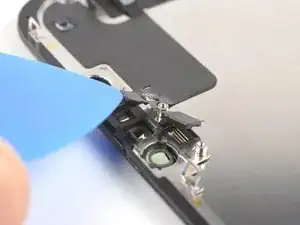
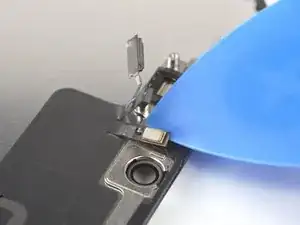
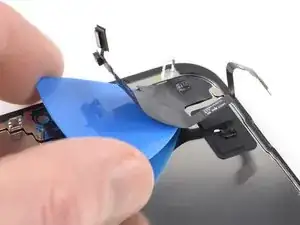
Insert an opening pick between the proximity sensor and its recess on the screen.
-
Pry up with the pick to separate the proximity sensor from the screen.
-
-
-
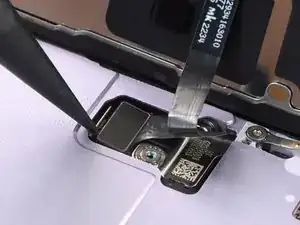
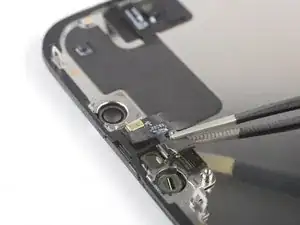
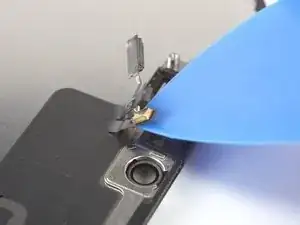
Insert an opening pick under the microphone cable, close to the microphone (the metal rectangle).
-
Slide the opening pick around the perimeter of the microphone to separate its adhesive.
-
-
-
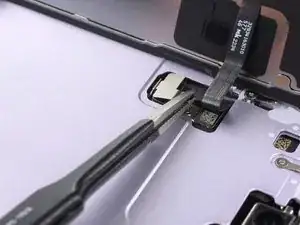
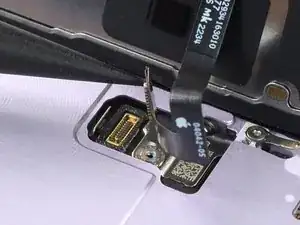
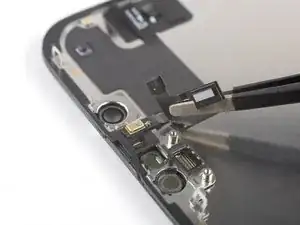
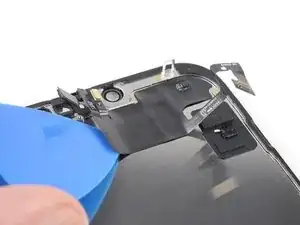
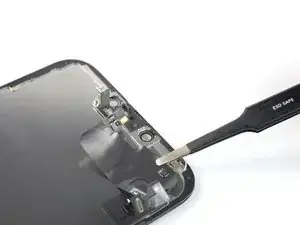
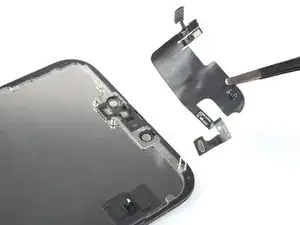
Insert an opening pick under the left side of the front sensor assembly.
-
Slide the pick under the assembly to separate it from the frame.
-
If possible, turn on your device and test your repair before installing new adhesive and resealing.
To reassemble your device, follow these instructions in reverse order.
The best way to secure the new screen is to apply a sheet of custom-cut double-sided tape to the frame and place the screen back in its original position.
Take your e-waste to an R2 or e-Stewards certified recycler.
Repair didn’t go as planned? Try some basic troubleshooting, or ask our Answers community for help.
2 comments
Is this safe without removing the back and unplugging the battery? Assuming the phone doesn't power on by mistake when you are handling it. Normal procedure has always been to unplug battery first but Apple clearly knows people are going to avoid removing the back if possible. No doubt connecting a new screen if the phone has powered on will damage the screen or at least the backlight in some way.
Svenpa -
There doesn't seem to be an issue with this anymore, seems Apple figured out the shorting issue. Also, if you fail to turn off the phone before taking screen off (due to broken touch or buttons) it seems to do so itself. Just remember to restart the phone by doing hard reset with Vol up-down and power if it doesn't work right away after replacing screen.
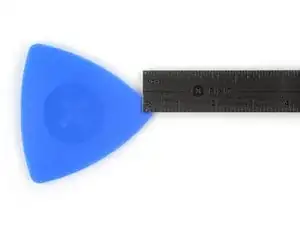
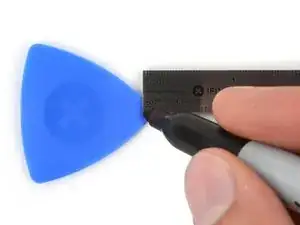

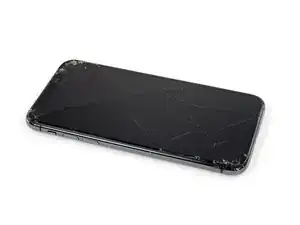
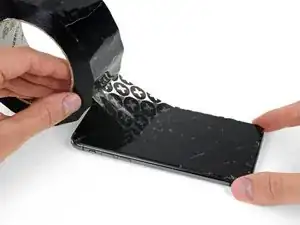
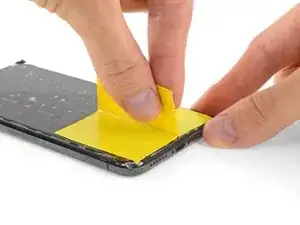
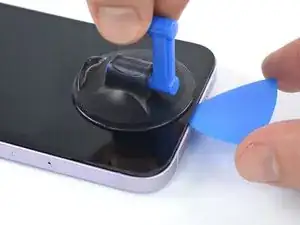
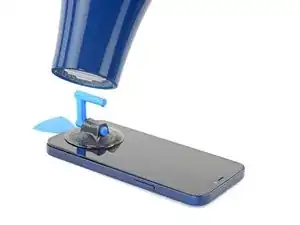
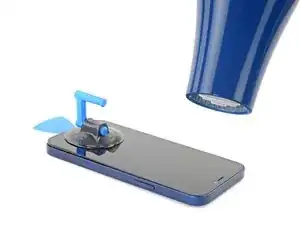
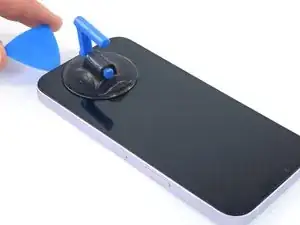
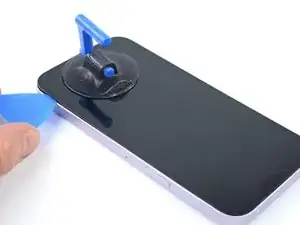
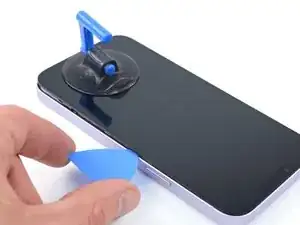
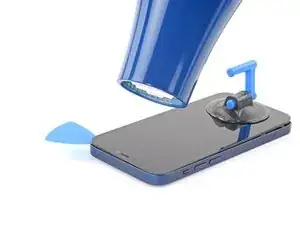
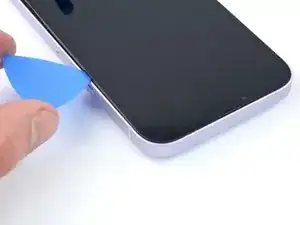
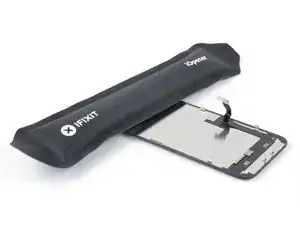

Got to step 2 and realized the fix kit doesn't include an opening pick! Looks like a guitar pick, and I have those lying around. Is that expected? Looks like the pick is used in many steps below. There's a little blue crowbar that isn't mentioned in the instructions. Perhaps that replaces the opening pick?
Sloan Looney -
Hi! I can't see which guide you were using when writing this comment. Can you reply here with which guide and fix kit you used?
Clay Eickemeyer -
I see you posted this in Meta. I hope it's resolved soon! In the meantime, a guitar pick may work well enough for your repair.
Clay Eickemeyer -
what fix kit?
Meow Purr -
My fix kit didn't include an opening pick either
WILLIAM HARRIS -
Make sure you check inside the black boxes after emptying them. My pick was stuck inside one of the boxes.
AndyF -
My AliExpress refurbished screen came with a pick that has a coin-like circle that pops out, so no modification was necessary
Gijs Leegwater -