Introduction
In the case of a damaged or malfunctioning front camera, it is possible although difficult to replace only the front camera.
As the front camera is part of an assembly together with the infrared camera and dot projector, it is necessary to replace the front camera separately if Face ID functionality is to be retained.
Replacing the front camera alone does not affect the function of the Face ID, while Face ID will be disabled when replacing the full front camera assembly.
Before attempting the actual replacement, a new camera should be plugged in and tested in order to verify that this repair will fix the problem.
-
-
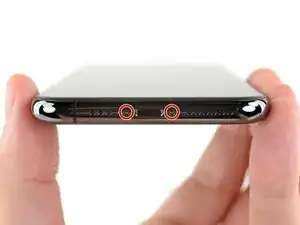
Power off your iPhone before beginning disassembly.
-
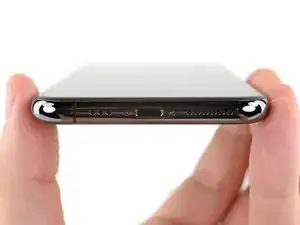
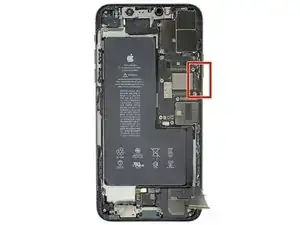
Remove the two 6.7 mm-long pentalobe screws at the bottom edge of the iPhone.
-
-
-
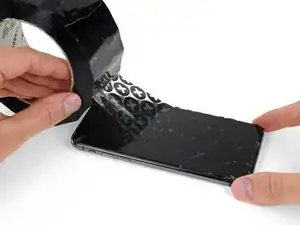
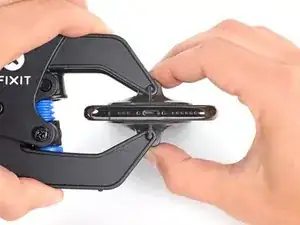
Lay overlapping strips of clear packing tape over the iPhone's screen until the whole face is covered.
-
If you can't get the suction cup to stick in the next few steps, fold a strong piece of tape (such as duct tape) into a handle and lift the screen with that instead.
-
-
-
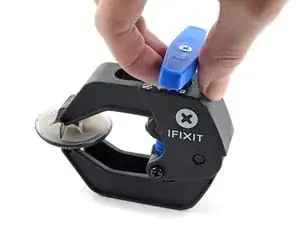
Pull the blue handle backwards to unlock the Anti-Clamp's arms.
-
Slide the arms over either the left or right edge of your iPhone.
-
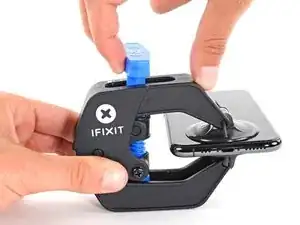
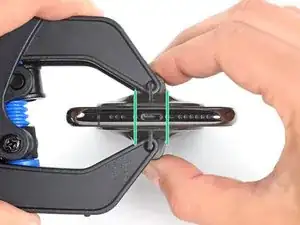
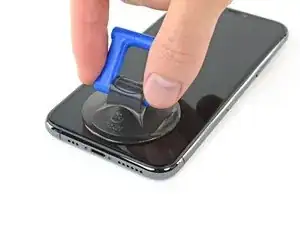
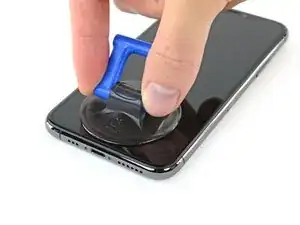
Position the suction cups near the bottom edge of the iPhone—one on the front, and one on the back.
-
Squeeze the cups together to apply suction to the desired area.
-
-
-
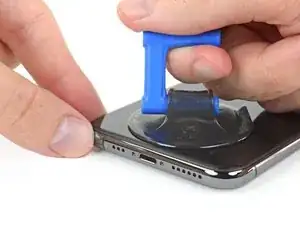
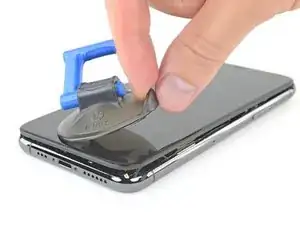
Pull the blue handle forward to lock the arms.
-
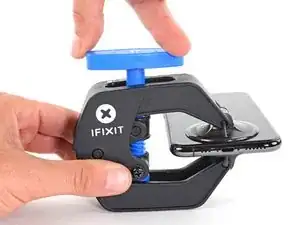
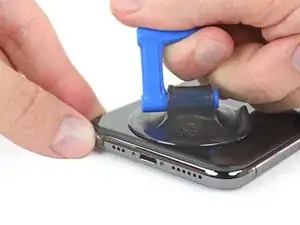
Turn the handle clockwise 360 degrees or until the cups start to stretch.
-
Make sure the suction cups remain aligned with each other. If they begin to slip out of alignment, loosen the suction cups slightly and realign the arms.
-
-
-
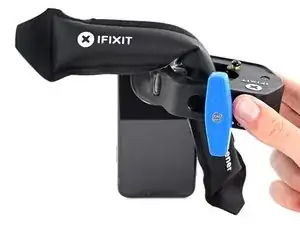
Heat an iOpener and thread it through the arms of the Anti-Clamp.
-
Fold the iOpener so it lays on the bottom edge of the iPhone.
-
Wait one minute to give the adhesive a chance to release and present an opening gap.
-
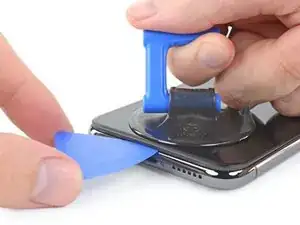
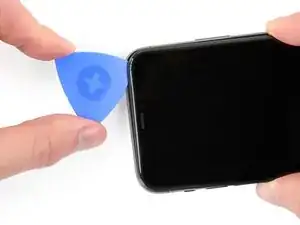
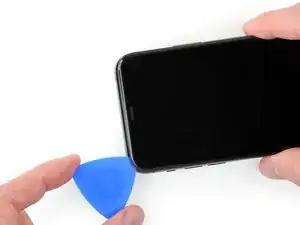
Insert an opening pick into the gap under the screen and the plastic bezel, not the screen itself.
-
Skip the next three steps.
-
-
-
Use a hairdryer or heat gun or prepare an iOpener and apply it to the lower edge of the iPhone for about a minute in order to soften up the adhesive underneath.
-
-
-
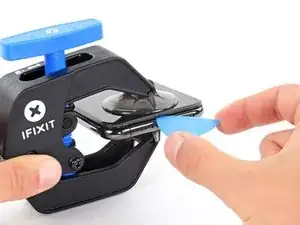
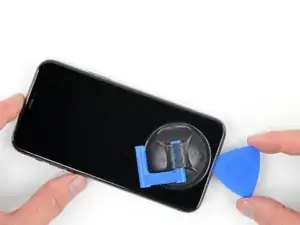
If you're using a single suction handle, apply it to the bottom edge of the phone, while avoiding the curved portion of the glass.
-
-
-
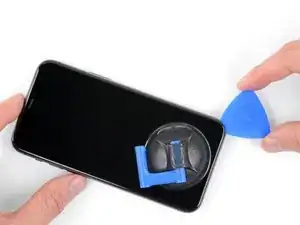
Pull up on the suction cup with firm, constant pressure to create a slight gap between the front panel and rear case.
-
Insert an opening pick into the gap under the screen and the plastic bezel, not the screen itself.
-
-
-
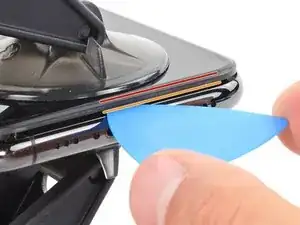
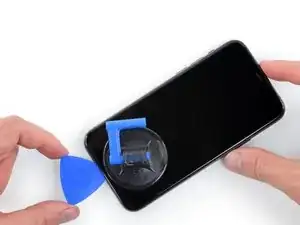
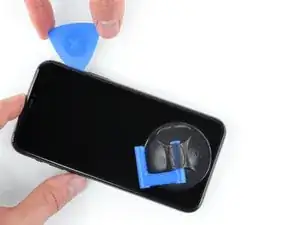
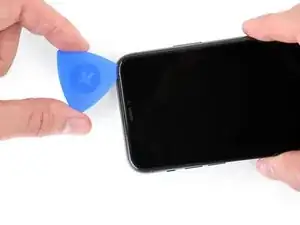
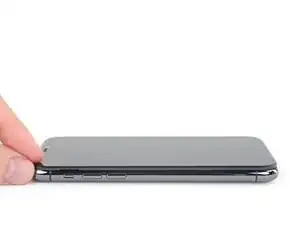
Slide the opening pick around the lower left corner and up the left edge of the iPhone, slicing through the adhesive holding the display in place.
-
-
-
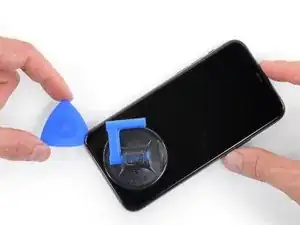
Re-insert your pick at the bottom edge of the iPhone, and slide it up the right side to continue separating the adhesive.
-
-
-
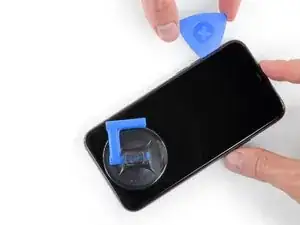
Gently pull the right edge of the display down slightly (in the direction of the Lightning port).
-
Insert your pick into the top-right corner of the phone.
-
-
-
Continue pulling the display down (toward the Lightning port) as needed in order to make a gap large enough for the pick.
-
Slide the pick to the top left corner and cut any remaining adhesive securing the display.
-
-
-
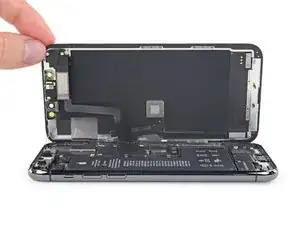
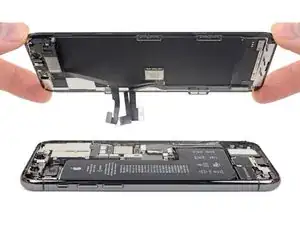
Open the iPhone by swinging the display up from the left side, like the back cover of a book.
-
Lean the display against something to keep it propped up while you're working on the phone.
-
-
-
Use a spudger or a clean fingernail to pry the battery connector up from its socket on the logic board.
-
Bend the connector slightly away from the logic board to prevent it from accidentally making contact with the socket and providing power to the phone during your repair.
-
-
-
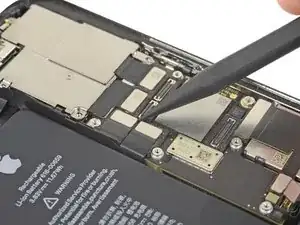
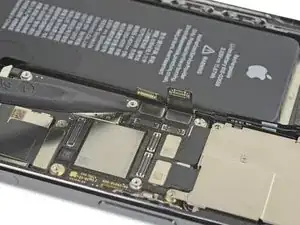
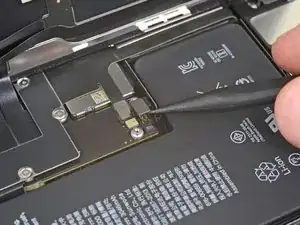
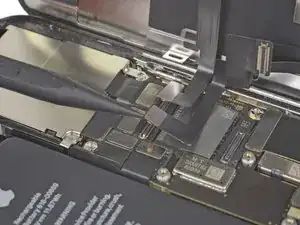
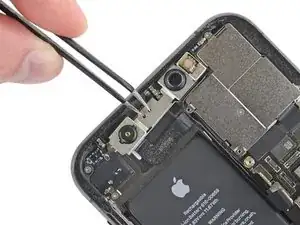
Use a spudger or a fingernail to disconnect the Face ID dot projector and sensor cables from their sockets on the logic board.
-
-
-
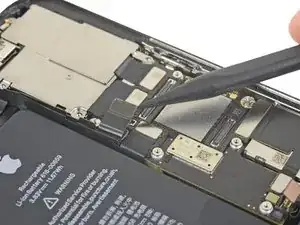
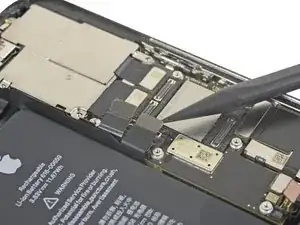
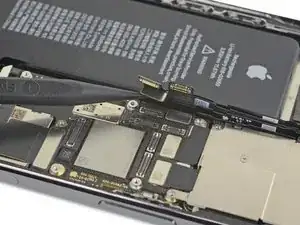
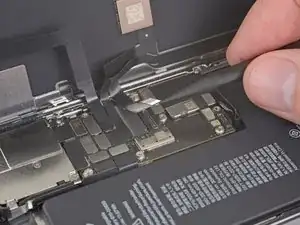
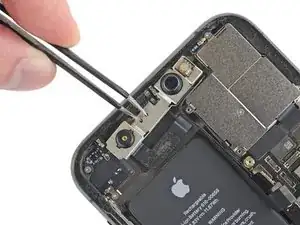
Gently push the Face ID cable connectors away from the logic board to access the selfie cam connector underneath.
-
Disconnect the selfie cam by prying its connector straight up.
-
-
-
In order to ensure replacing the camera will resolve the issue, it is strongly recommended that the replacement camera be tested first.
-
-
-
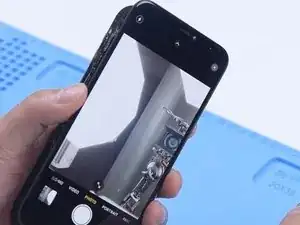
Turn on the phone and open the camera.
-
Verify that the front and rear cameras work correctly.
-
If they do, we can conclude that replacing the damaged front camera will resolve the issue and can proceed with this repair.
-
If the new camera does not fix the problem then the rest of this procedure will be of no help. Stop here and reassemble your phone.
-
-
-
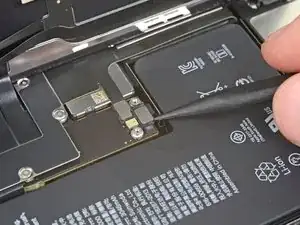
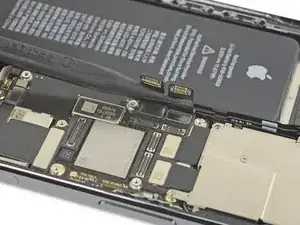
Use a spudger or a clean fingernail to pry the battery connector up from its socket on the logic board.
-
Bend the connector slightly away from the logic board to prevent it from accidentally making contact with the socket and providing power to the phone during your repair.
-
-
-
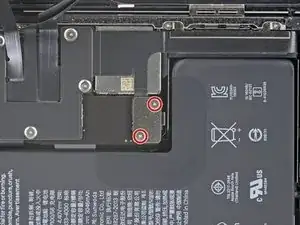
Use a spudger or a fingernail to disconnect the front sensor assembly cable connector.
-
Use a spudger or a fingernail to disconnect the digitizer cable connector.
-
-
-
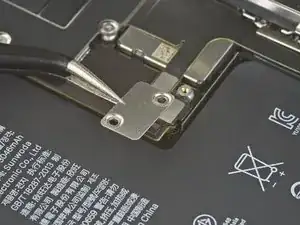
Gently push the Face ID cable connectors away from the logic board to access the selfie cam connector underneath.
-
Disconnect the selfie cam by prying its connector straight up.
-
-
-
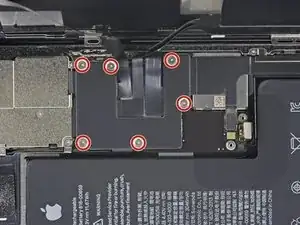
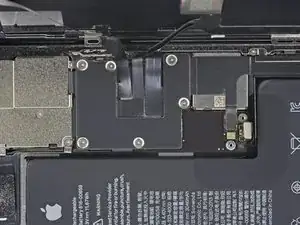
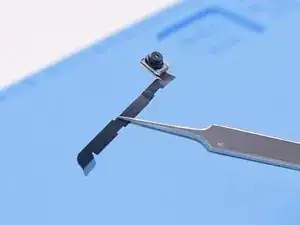
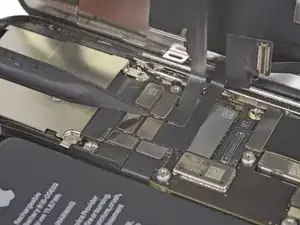
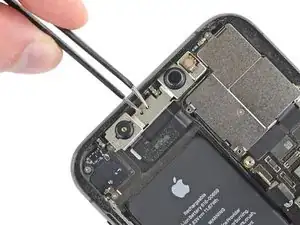
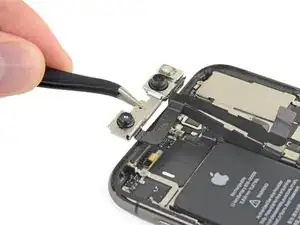
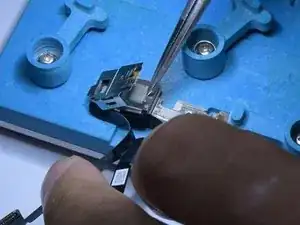
Slide the front camera assembly slightly down and to the left to free it from the enclosure.
-
-
-
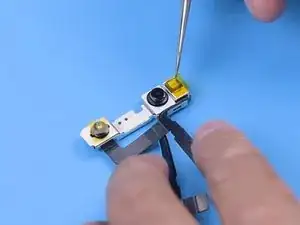
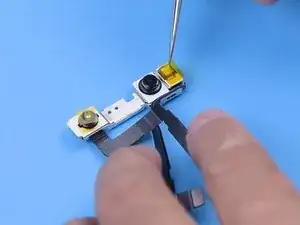
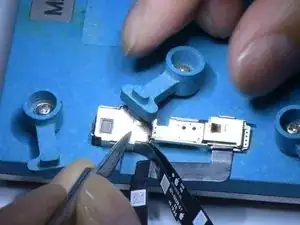
In order to prevent damage the infrared camera and dot projector, apply Kapton tape to both parts.
-
-
-
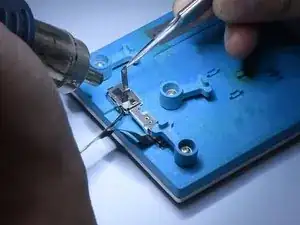
Turn the front camera module over and attach the assembly to a holder. Heat with a hot air gun at 100 °C to remove the tape.
-
-
-
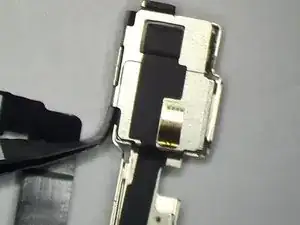
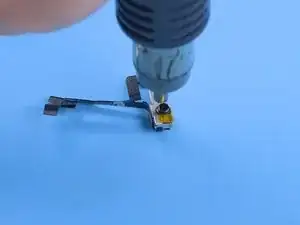
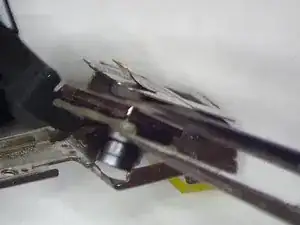
Grind the corner of the metal plate away with a Polishing & Grinding Pen or a Dremel multitool.
-
Pry up the metal plate with tweezers.
-
-
-
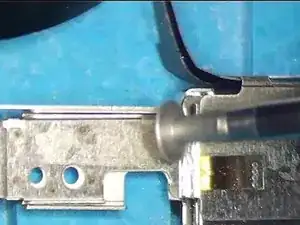
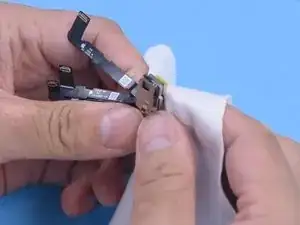
Heat the front camera with a hot air gun at 100 °C for 30 seconds to loosen the adhesive bonding it to the frame.
-
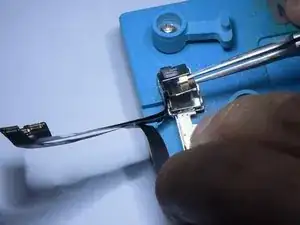
Cover the front camera with a lint-free wipe and press gently.
-
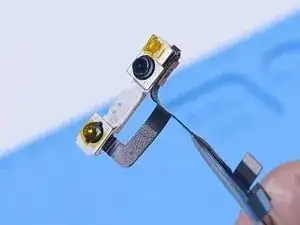
Remove the damaged front camera.
-
-
-
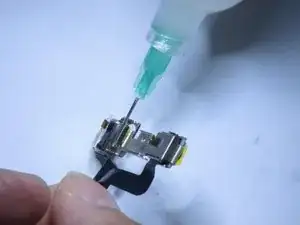
Apply adhesive to the edges of the frame surrounding the camera opening. Use it sparingly.
-
Install the new front camera, being careful to insert it squarely into the hole to avoid getting adhesive on the lens.
-
-
-
Apply adhesive to the back of the camera and press the frame firmly down onto the camera.
-
Place the front camera in the holder with a retainer placed on top of the glued assembly to hold it in place as the adhesive dries.
-
-
-
After an hour, remove the front camera module. The front camera has been successfully replaced. Remove the Kapton tape from the IR camera and dot projector.
-
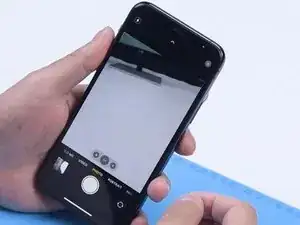
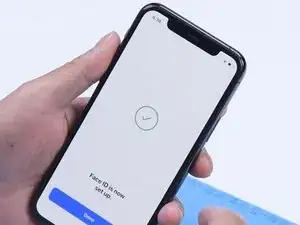
Install the front camera module and test. Turn on the phone. Both the front and rear cameras should work. Face ID should function too.
-


To reassemble your device, follow these instructions in reverse order.

4 comments
Really great and detailed! The pictures do an amazing job in aiding with understanding what to do! Thank you!
ShamelaJ -
So can you replace FaceID parts like the dot projector and IR camera with aftermarket or third-party FaceID parts and use FaceID?
Austin G -
Short answer: no. Replacing either will result in Face ID being disabled.
What’s the best software to replace Face ID to the logic board after replacing the camera?