Introduction

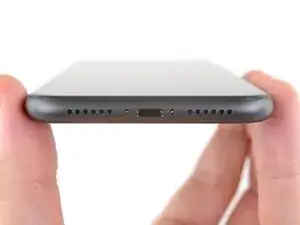
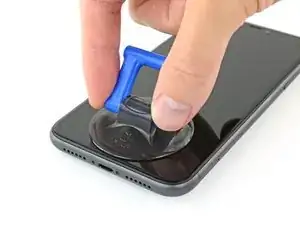
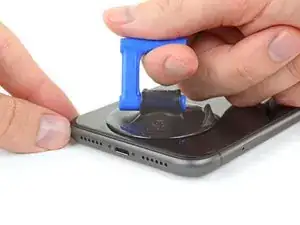
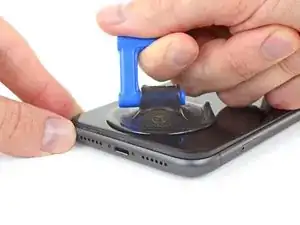
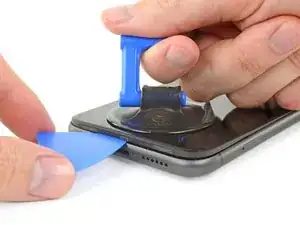
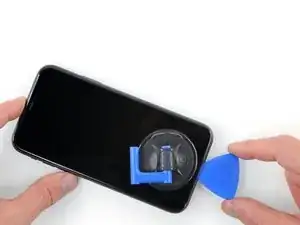
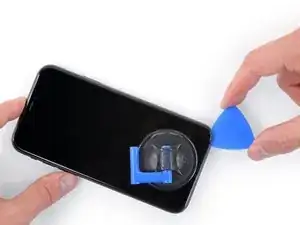
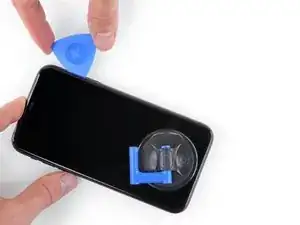
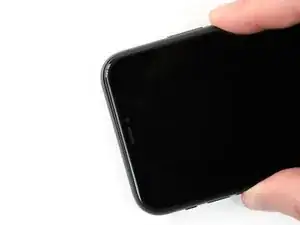
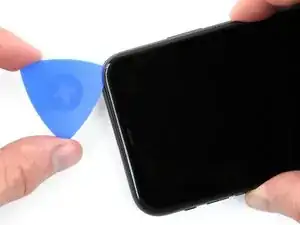
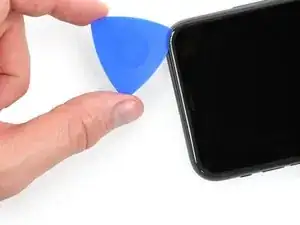
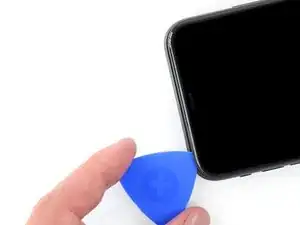
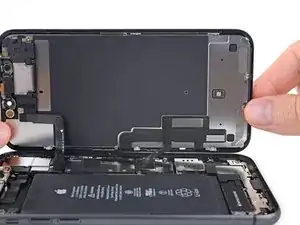
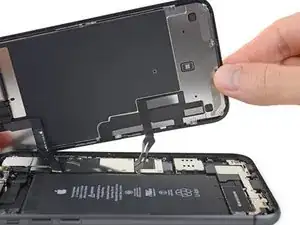
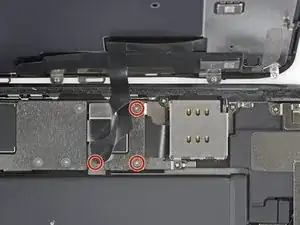
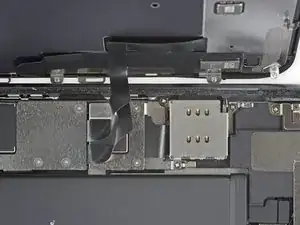
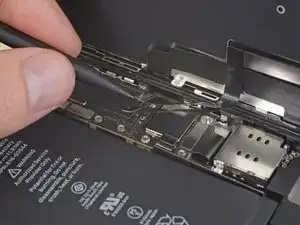
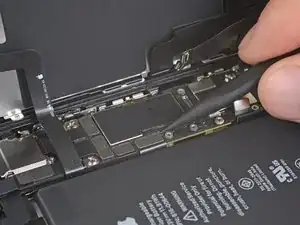
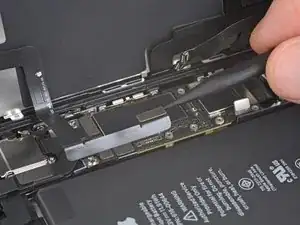
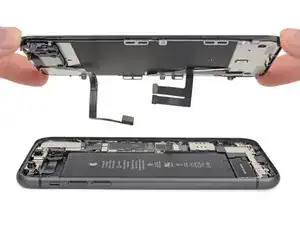
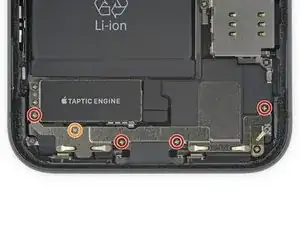
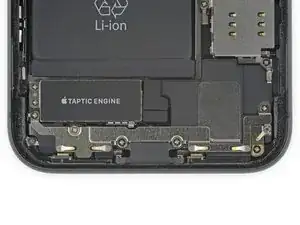
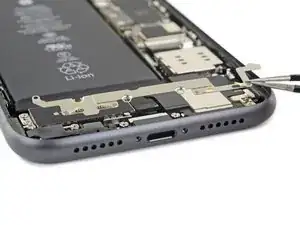
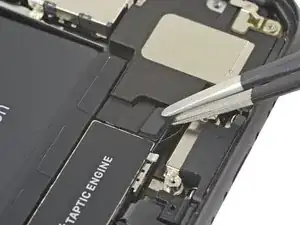
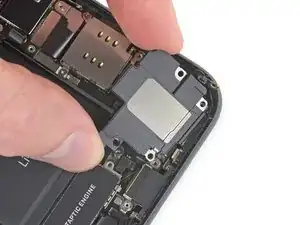
Use this guide to replace the primary loudspeaker at the bottom of the iPhone 11. (To replace the earpiece speaker, use this guide instead.) Replacing this speaker can help resolve issues such as loss of sound, poor sound quality, and distorted sound.

  1. T2yIKTYtWTOpeGir
    T2yIKTYtWTOpeGir
    1BRQlG3vB6hGYvKS
    • Before you begin, discharge your iPhone battery below 25%. A charged lithium-ion battery can catch fire and/or explode if accidentally punctured.

    • Power off your iPhone before beginning disassembly.

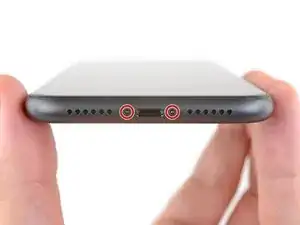
    • Remove the two 6.7 mm-long pentalobe screws at the bottom edge of the iPhone.

    • Opening the iPhone's display will compromise its waterproof seals. Have replacement seals ready before you proceed past this step, or take care to avoid liquid exposure if you reassemble your iPhone without replacing the seals.

    the right screws wouldn’t come off

    Yusef San Inocencio -

    ok one came of but my right wont come of either!!!!

    Aisa Jawara -

    Hello guys, I still haven't found away to power off the iphone without using the screen. Cheers!

    danielaguirre93 -

    You can try this.

    Quickly Press and release the volume up button.

    then Quickly Press and release the volume down button.

    then press and hold the power button and wait until it turns off.

    worked for me :D

    Benóný Egilson -

    Where does one get replacement seals? Is this the same as the display assembly adhesive?

    Brian Baker -

    not of the screwdrivers i have seem to be able to turn the screws

    Aisa Jawara -

  2. 6UPwoloGBO4tmVoS
    6UPwoloGBO4tmVoS
    BmSYPJmOy6dbHipF
    3EOdQPAGOmiuhoKU
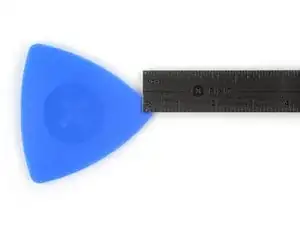
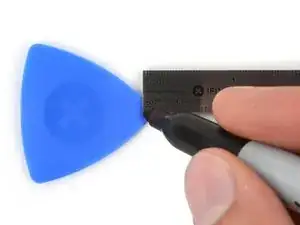
    • If inserted too far, an opening pick can damage your device. Follow this step to mark your pick and prevent damage.

    • Measure 3 mm from the tip and mark the opening pick with a permanent marker.

    • You can also mark the other corners of the pick with different measurements.

    • Alternatively, tape a coin to a pick 3 mm from the tip.

  3. FLq6W2khWOq4uAQr
    FLq6W2khWOq4uAQr
    2XIfBVvS5Ty5QtZF
    4Df24ZLS6kBFTyVU
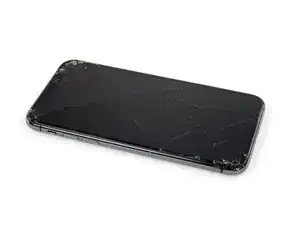
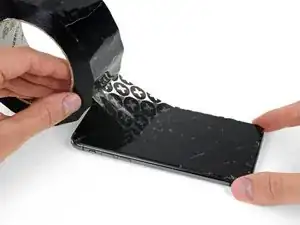
    • If your iPhone has a cracked screen, keep further breakage contained and prevent bodily harm during your repair by taping over the glass.

    • Lay overlapping strips of clear packing tape over the iPhone's screen until the whole face is covered.

    • Wear safety glasses to protect your eyes from any glass shaken free during the repair.

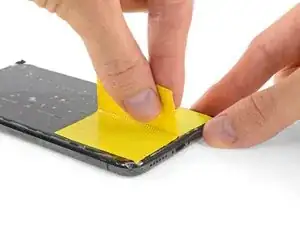
    • If you can't get the suction cup to stick in the next few steps, fold a strong piece of tape (such as duct tape) into a handle and lift the screen with that instead.

    • If all else fails, you can superglue the suction cup to the screen.

  4. 4fhdeZSxwgTn4VgI
    4fhdeZSxwgTn4VgI
    BxknskOQsXXo6dog
    NEQnchvrYpEJPYKS
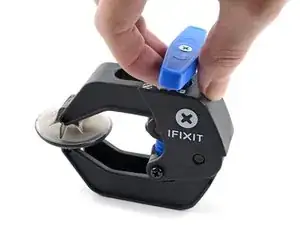
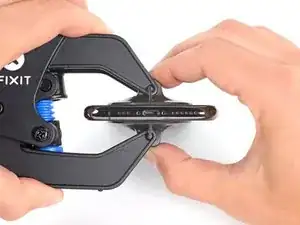
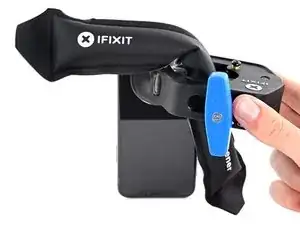
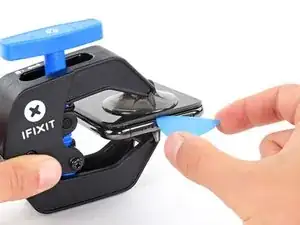
    • The next three steps demonstrate the Anti-Clamp, a tool we designed to make the opening procedure easier. If you aren't using the Anti-Clamp, skip down three steps for an alternate method.

    • For complete instructions on how to use the Anti-Clamp, check out this guide.

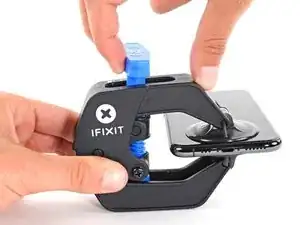
    • Pull the blue handle backwards to unlock the Anti-Clamp's arms.

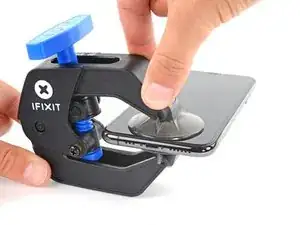
    • Slide the arms over either the left or right edge of your iPhone.

    • Position the suction cups near the bottom edge of the iPhone—one on the top, and one on the bottom.

    • Squeeze the cups together to apply suction to the desired area.

    • If you find that the surface of your iPhone is too slippery for the Anti-Clamp to hold onto, you can use tape to create a grippier surface.

  5. DtDpThOATcyQb4yT
    DtDpThOATcyQb4yT
    MAGI2JXwXnS5LvCO
    NgpQQ6M1sP5xBcXQ
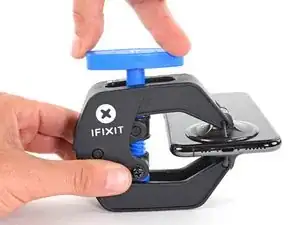
    • Pull the blue handle forward to lock the arms.

    • Turn the handle clockwise 360 degrees or until the cups start to stretch.

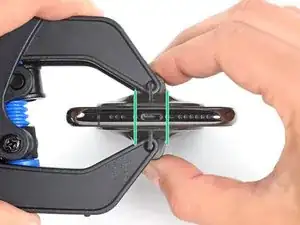
    • Make sure the suction cups remain aligned with each other. If they begin to slip out of alignment, loosen the suction cups slightly and realign the arms.

  6. oRZ6AXaleqoRTKND
    oRZ6AXaleqoRTKND
    bDhAC4ImHIc3XQdf
    HTQodvWRCjulrPCR
    • Heat an iOpener and thread it through the arms of the Anti-Clamp.

    • You can also use a hair dryer, heat gun, or hot plate—but extreme heat can damage the display and/or internal battery, so proceed with care.

    • Fold the iOpener so it lays on the bottom edge of the iPhone.

    • Wait one minute to give the adhesive a chance to release and present an opening gap.

    • Insert an opening pick into the gap under the screen and the plastic bezel, not the screen itself.

    • If the Anti-Clamp doesn't create a sufficient gap, apply more heat to the area and rotate the handle a quarter turn.

    • Don't crank more than a quarter turn at a time, and wait one minute between turns. Let the Anti-Clamp and time do the work for you.

    • Skip the next three steps.

  7. yQbwAmoITNyEmrSn
    • Heating the lower edge of the iPhone helps soften the adhesive securing the display, making it easier to open.

    • Use a hairdryer or heat gun or prepare an iOpener and apply it to the lower edge of the iPhone for about a minute.

  8. aJCRTiaUBHVMoAUV
    aJCRTiaUBHVMoAUV
    YhJejcEpMhlQpvWX
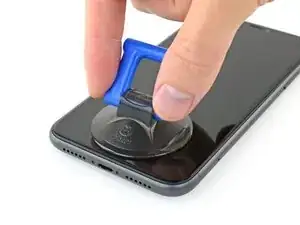
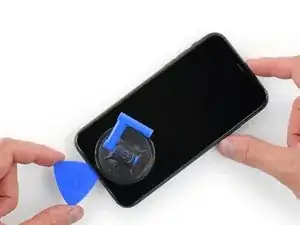
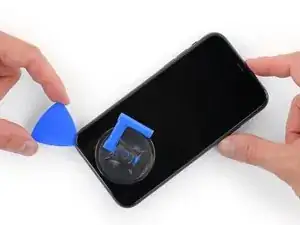
    • If you're using a single suction handle, apply it to the bottom edge of the phone, while avoiding the curved portion of the glass.

  9. MKShqPOGkjD2vOPp
    MKShqPOGkjD2vOPp
    dJknkSwVsVBaZabR
    XgeYpSK2b4NpndCh
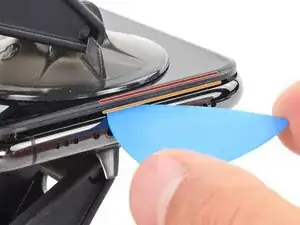
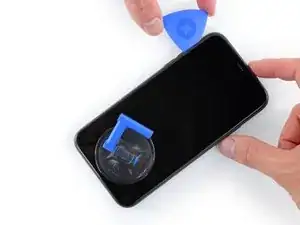
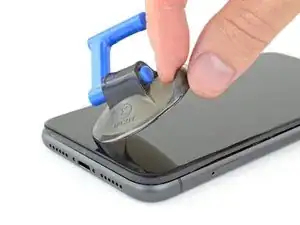
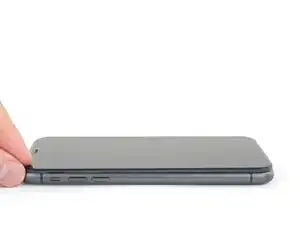
    • Pull up on the suction cup with firm, constant pressure to create a slight gap between the front panel and rear case.

    • Insert an opening pick into the gap under the screen and the plastic bezelnot the screen itself.

    • The watertight adhesive holding the display in place is very strong; creating this initial gap takes a significant amount of force. If you're having a hard time opening a gap, apply more heat, and gently rock the screen up and down to weaken the adhesive until you create enough of a gap to insert your tool.

    This turned out to be the most difficult part for me. My old ifixit suction cup didn't suck hard enough to generate enough force to pry the display from the case. I ended up applying heat at least a dozen times, and I had to pull up on the suction cup forcefully over and over and over while repositioning it several times. I finally had success inserting my pick into the tiny gap after 30 or so rapid tugs on the suction cup.

    matthew r -

    I pulled the screen by accident instead of the bottom layer, now what?

    Alvaro -

    I have the same question

    Konstantinos Solakoglou -

  10. BiTGA23MOOmtexSG
    BiTGA23MOOmtexSG
    l5NWMTOshIlqjNtG
    IfJRwFLPwsBL4klh
    • Slide the opening pick around the lower left corner and up the left edge of the iPhone, slicing through the adhesive holding the display in place.

    • Don't insert your pick more than 3 mm, as you may damage internal components.

  11. FCPAxbSlJhdAIRLG
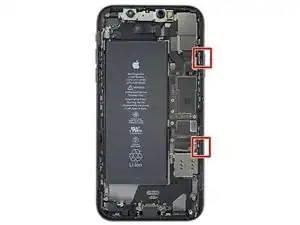
    • There are delicate cables along the right edge of your iPhone. Don't insert your pick here, as you may damage the cables.

  12. K5iUxKTkELONJBVf
    K5iUxKTkELONJBVf
    ZhlLOMfaksHRxZJV
    yy5WtAu2UqSpCUTX
    • Re-insert your pick at the bottom edge of the iPhone, and slide it up the right side to continue separating the adhesive.

    • Don't insert your pick more than 3 mm, as you may damage the display cables.

    Instructions are confusing as the last step says not to insert at certain points, while this says to slide all the way up the right side - is it that sliding is ok but inserting isn't (whatever that might mean) or just not more than 3mm?

    Peter Hill -

    Just slide slightly and the display will rise without problems on all iPhone models, sometimes if I have long nails I even insert a fingernail and lift the display.

    Tonynox -

  13. J1ZVUrqQ61e4NOZ1
    J1ZVUrqQ61e4NOZ1
    HsxeMCkPLyCeHKpI
    tegZUpHyY4wGd2Ww
    • The top edge of the display is secured with both glue and clips.

    • Gently pull the right edge of the display down slightly (in the direction of the Lightning port).

    • Insert your pick into the top-right corner of the phone.

  14. 5mKceYJffKEaQo4L
    5mKceYJffKEaQo4L
    kQQD2XkOMWjrOjMu
    • Continue pulling the display down (toward the Lightning port) as needed in order to make a gap large enough for the pick.

    • Slide the pick to the top left corner and cut any remaining adhesive securing the display.

    • Don't insert your pick more than 3 mm, as you may damage the Face ID sensor array.

  15. 24nVgAyDKPTICLhV
    • Pull the small nub on the suction cup to detach it from the front panel.

  16. IDOegN1rKCFFJMBF
    IDOegN1rKCFFJMBF
    QcgYHgKIt6XMTsnK
    xVdpJyR6i213HsJ2
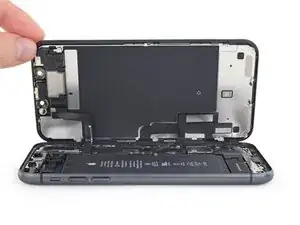
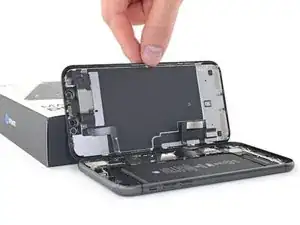
    • Open the iPhone by swinging the display up from the left side, like the back cover of a book.

    • Don't try to fully separate the display yet, as several fragile ribbon cables still connect it to the iPhone's logic board.

    • Prop the display up against something sturdy.

    • During reassembly, lay the display in position, align the clips along the top edge, and carefully press the top edge into place before snapping the rest of the display down. If it doesn't click easily into place, check the condition of the clips around the perimeter of the display and make sure they aren't bent.

  17. KxoYscx1ItVaLely
    KxoYscx1ItVaLely
    ZA5AX6xqq3r5qUNN
    • To access the screws in the following step, tilt the display by slightly lifting its lower edge.

    • Be careful not to strain or tear the display cables.

  18. fPaVWtYy3NJ53YvD
    fPaVWtYy3NJ53YvD
    jFRf1tI5V4hicZKU
    • Use a Y000 driver to remove the three 1.1 mm-long screws securing the battery connector bracket.

    • Throughout this repair, keep track of each screw and make sure it goes back exactly where it came from.

    • During reassembly, this is a good point to power on your iPhone and test all functions before you seal the display in place. Be sure to power your iPhone back down completely before you continue working.

    During reassembly, I had to connect my phone to the charger before it would power up.

    Austin Culberson -

    Die Schrauben sind wahnsinnig kurz, tatsächlich winzig klein. Nach dem Herausdrehen könnte es im ersten Moment so aussehen, als habe man die Schrauben ausgebohrt anstatt herauszudrehen, sie sind jedoch sehr schnell gelöst und liegen dann entweder im Gehäuse oder sind neben dem Gehäuse herausgefallen. In jedem Fall sollten sie nie auf den Boden fallen, da sie dann kaum mehr auffindbar wären.

    Bernd Sonneck -

  19. HKBUYhWeIUlYLqdG
    • Remove the bracket.

  20. XN1PHiCYxtERqDgF
    XN1PHiCYxtERqDgF
    XKgOIM6e2mmR1ecq
    • Use a spudger or a clean fingernail to pry the battery connector up from its socket on the logic board.

    • Try not to damage the black silicone seal surrounding this and other board connections. These seals provide extra protection against water and dust intrusion.

    • Bend the connector slightly away from the logic board to prevent it from accidentally contacting the socket.

  21. kMZitLQGk2hTRk6G
    kMZitLQGk2hTRk6G
    Cdvg2fNT2Lf21uEE
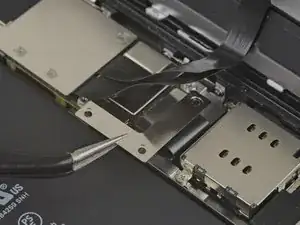
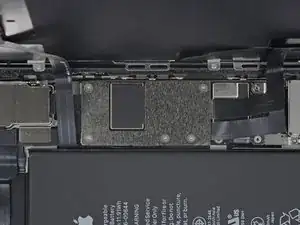
    • Use a Y000 driver to remove the five 1.1 mm screws securing the logic board cover bracket.

    Die Schrauben sind wahnsinnig kurz, tatsächlich winzig klein. Nach dem Herausdrehen könnte es im ersten Moment so aussehen, als habe man die Schrauben ausgebohrt anstatt herauszudrehen, sie sind jedoch sehr schnell gelöst und liegen dann entweder im Gehäuse oder sind neben dem Gehäuse herausgefallen. In jedem Fall sollten sie nie auf den Boden fallen, da sie dann kaum mehr auffindbar wären.

    Bernd Sonneck -

  22. hwCpiXUDeKoMTWEh
    • Remove the bracket.

  23. IFoKtCq1UVwNZXJv
    IFoKtCq1UVwNZXJv
    FRZEdrhrUWadPZFT
    iT2xWjWSHH5EdMbq
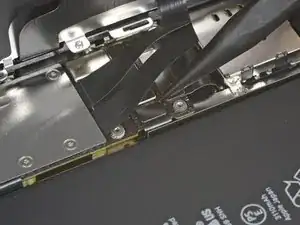
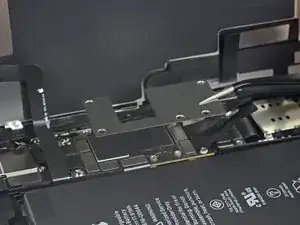
    • Use a spudger or a fingernail to disconnect the LCD panel cable connector.

    • Disconnect the digitizer connector next to it.

    Be mindful when reconnecting LCD panel connector and digitizer connector. It’s looks very similar. These 2 ribbon connectors a slightly different.

    Pay attention.

    Josmaknolavic -

    내 아이폰이 디스플레이 분리 단계를 거친 후, 전원이 들어오지 않습니다. 층전기를 꽂아도 배터리에 미세한 전기 반응이 느껴지지 않고, 탭틱 엔진도 작동하지 않게 되었습니다. cpu 온도는 여전히 뜨껍습니다. 내 마더보드가 디스플레이 분리 후 갑자기 고장난건가요?

    Protoncal -

    Hast Du das Problem gelöst?

    Bernd Sonneck -

  24. FXVmdXMPZpEU2F5j
    FXVmdXMPZpEU2F5j
    BxKUHpGvITeIEOQL
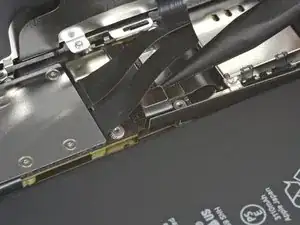
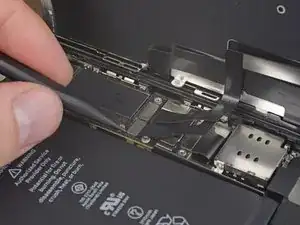
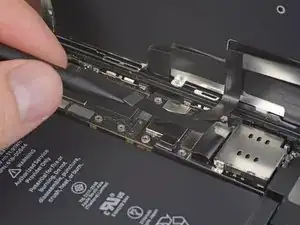
    • Use the point of a spudger or a fingernail to disconnect the front panel sensor assembly connector.

  25. VoZNhVF2Va3NVwit

    After this step its probably a good idea to test the new screen (you dont have to plug in the front camera assembly)

    Richard Kraus -

    Not a technician, so correct me if I'm wrong: I think that it's at this step of reassembly (before you reattach the screen) that you apply waterproof glue, if you have it.

    Athanasius Pernath -

  26. yZRBM6ZtRaGNF4jK
    yZRBM6ZtRaGNF4jK
    SMjp1TlAuqKnIFVl
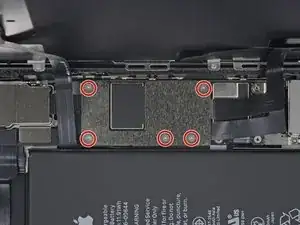
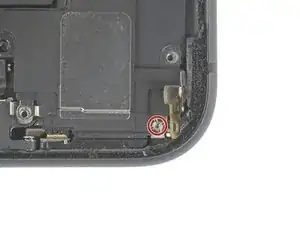
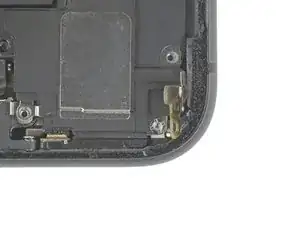
    • Using a Phillips driver, remove the five screws securing the bracket below the Taptic engine and speaker:

    • Four 1.6 mm screws

    • One 1.3 mm screw

    The top right screw (1.6 mm marked red) is actually different from the other three 1.6mm screws as it's thread is slightly thicker.

    Florian -

    yep same experience here

    Kai Mcpherson -

    Yes, same here. The guide should be updated.

    Maximilien Tirard -

  27. ydEhP2JTEbDrBPuv
    • Remove the lower bracket.

  28. KP6DPRmDF32jHKV3
    KP6DPRmDF32jHKV3
    QtBrI2gwDmpWimgT
    USvJnpNQOEYyZfDD
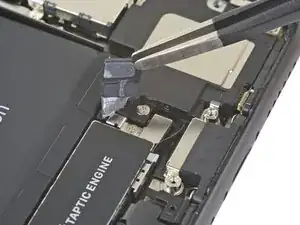
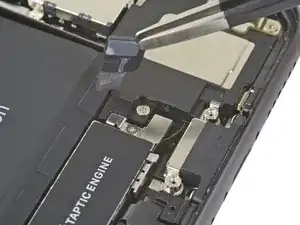
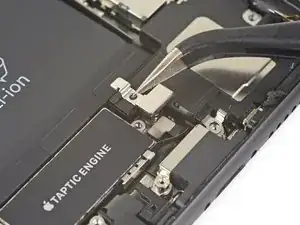
    • Use tweezers to lift and remove the black tape and rubber pad covering the Taptic Engine connector.

    • Use a little heat from a hair dryer or iOpener to make the tape easier to peel up and re-adhere later.

  29. iFAnZMX3QqYc2s1G
    iFAnZMX3QqYc2s1G
    LjNFDjKuFbktSKDW
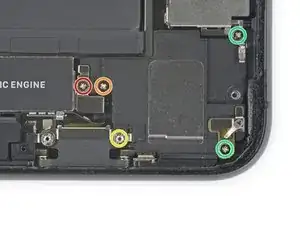
    • Remove the five screws securing the speaker and brackets:

    • One 1.9 mm Phillips screw

    • One 2.3 mm Phillips screw

    • One 3.1 mm standoff screw

    • Two 1.6 mm Phillips screws

    In my experience, the two green screws are not interchangeable

    PJ McConnell -

    the two green srews are not equally thic

    TheDi TV -

    Wtf? I buy a repair kit and it doesn’t have all the screwdrivers I need?

    JMD -

    The repair kit does not have bits for all the screws

    marios -

    The battery kit includes the bit for the standoff screw marked in yellow.

    marc -

    The green screw for the ground clip is longer than the second green screw. Keep the ground clip with that screw

    marc -

  30. UMXLsP2ehkjhqWNp
    UMXLsP2ehkjhqWNp
    tVXWOPwMGRxBun1Z
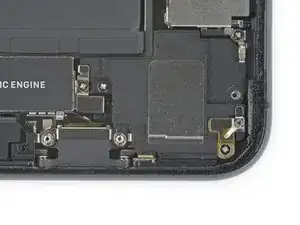
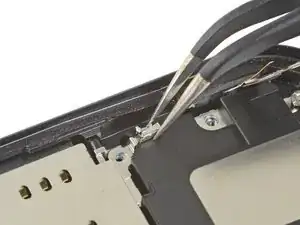
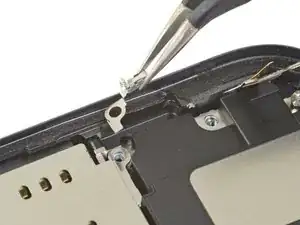
    • Remove the small grounding clip on the top right corner of the speaker.

    Salut comment je peux trouver cette pièce ?

    kenyfaya973 -

  31. MucviRMLO6q6abSl
    • Remove the Taptic Engine connector cover.

  32. gMFHLgaaLCUeRIns
    gMFHLgaaLCUeRIns
    mriX6Zgd54t4bXVM
    HCleOVgeM5iMRmyD
    • Lift and push aside the small board covering the remaining speaker screw in the bottom right corner of the iPhone.

    • Remove the 2.4 mm standoff screw underneath.

    Use the standoff bit that should be in the box with the battery and adhesive.

    marc -

  33. OOh3JmxasPZLaFua
    OOh3JmxasPZLaFua
    FMONch21PkoDoDYI
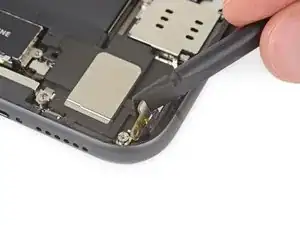
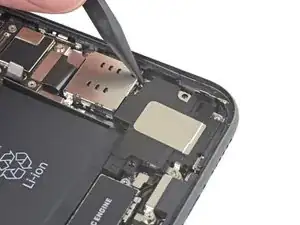
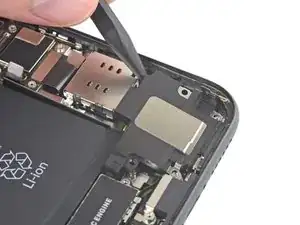
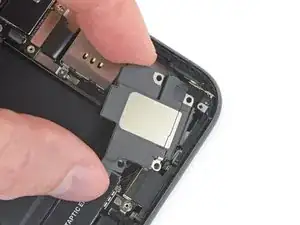
    • Insert a spudger under the top edge of the speaker, near the edge of the iPhone's case.

    • Gently pry up and lift the top edge of the speaker.

  34. nYei2bKBFNBP1F6D
    nYei2bKBFNBP1F6D
    yPC5MfiamNdJN6q6
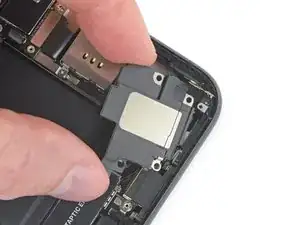
    • Hold the speaker by its side edges and rock it side-to-side, separating the adhesive securing it to the bottom edge of the iPhone.

    • Pull the speaker away from the bottom edge of the iPhone until the adhesive gasket separates.

  35. 2jASMaPDajnTHWZ4
    2jASMaPDajnTHWZ4
    GuXANUuxA4IOiAJw
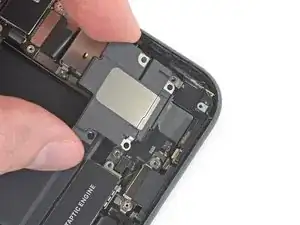
    • Remove the speaker.

    • Optionally, to help protect against water and dust intrusion, replace the speaker's adhesive gasket during reassembly:

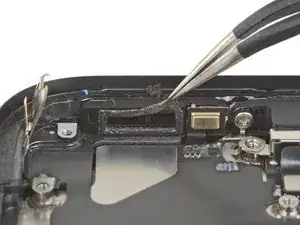
    • Peel away any remaining adhesive with tweezers.

    • Prep the area underneath by cleaning it with a bit of isopropyl alcohol and a lint-free cloth or coffee filter so that the gasket adheres properly.

    • Install a new gasket onto the speaker, and then install the speaker.

    It seems that a bracket which held a screw to the charging port is holding the part to the phone even though adhesive and all screws are removed, not sure why but I can't remove the speaker. I had this same problem with another bracket of the speaker which held a screw but ripped it off the lower speaker part as i couldn't get it unattached from the screw port. All screws and adhesive were removed, I don't understand what is wrong

    Daniel Frey -

    do you sell the speaker's adhesive gasket replacement?

    thuan nguyen -

    Do you sell the speaker adhesive? It's unfortunate to have gotten this far and feel ill prepared to replace something that seems very important. You guys should have included it or indicated it as a highly recommended option.

    stevenalias -

    Im Reparatur-Kit ist keine Ersatzdichtung für den Lautsprecher enthalten! 😢

    Bernd Sonneck -

Conclusion

Compare your new replacement part to the original part—you may need to transfer remaining components or remove adhesive backings from the new part before installing.

To reassemble your device, follow these instructions in reverse order.

Repair didn’t go as planned? Try some basic troubleshooting, or ask our iPhone 11 Answers community for help.
Jeff Suovanen

Member since: 06/08/13

427153 Reputation

0 comments