Introduction
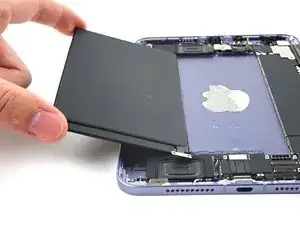
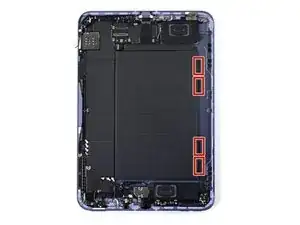
Use this guide to replace the battery in your iPad mini 6.
This iPad uses both stretch-release and normal adhesives to hold the battery in place. Use plenty of high concentration isopropyl alcohol to help remove the battery and to clean any adhesive residue.
For your safety, discharge the battery below 25% before disassembling your tablet. This reduces the risk of fire if the battery is accidentally damaged during the repair. If your battery is swollen, take appropriate precautions.
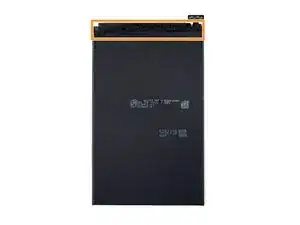
You'll need replacement adhesive in order to complete this repair.
-
-
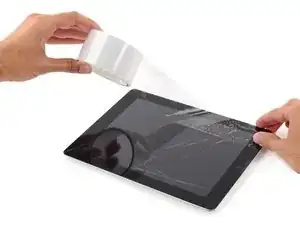
If your display glass is cracked, keep further breakage contained and prevent bodily harm during your repair by taping the glass.
-
Lay overlapping strips of clear packing tape over the iPad's display until the whole face is covered.
-
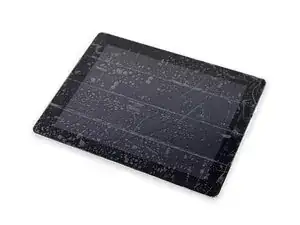
Do your best to follow the rest of the guide as described. However, once the glass is broken, it will likely continue to crack as you work, and you may need to use a metal prying tool to scoop the glass out.
-
-
-
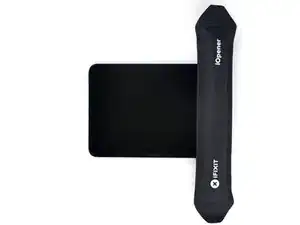
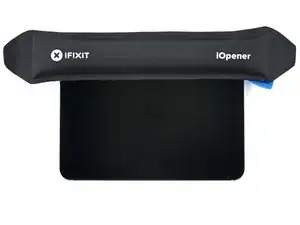
Apply a heated iOpener to the bottom edge of the device for 90 seconds to loosen the adhesive underneath.
-
-
-
While you're waiting for the adhesive to loosen, note the following:
-
The areas at the top and bottom of the screen are sensitive to prying.
-
There's a long circuit board attached to the screen that sits parallel to the left edge.
-
-
-
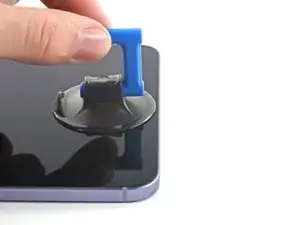
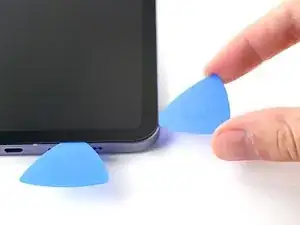
Once the screen is warm to touch, apply a suction handle to the bottom edge of the screen and as close to the edge as possible.
-
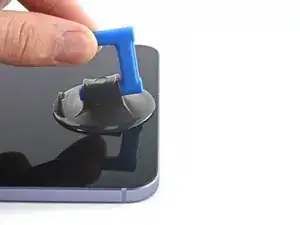
Lift the screen with the suction handle to create a small gap between the screen and the frame.
-
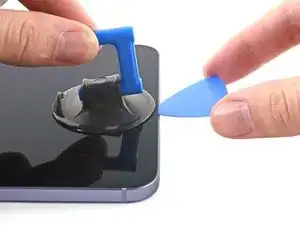
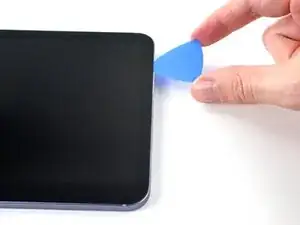
Insert an opening pick into the gap between the frame and the screen.
-
Leave the opening pick in place to prevent the adhesive from resealing.
-
-
-
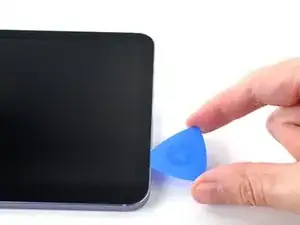
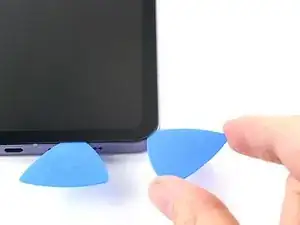
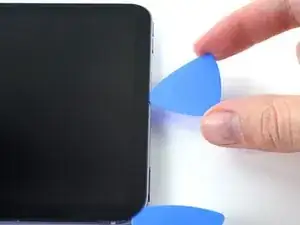
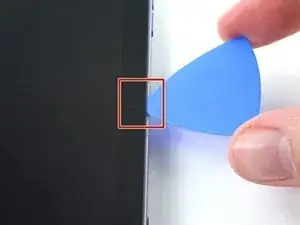
Slide the pick along the bottom edge of the device towards the bottom-right corner.
-
Leave the pick in to prevent the adhesive from resealing.
-
-
-
Apply a heated iOpener to the right edge of the device for 90 seconds to loosen the adhesive underneath.
-
-
-
Repeat the heating, slicing, and leaving opening picks for the remaining edges of the device.
-
-
-
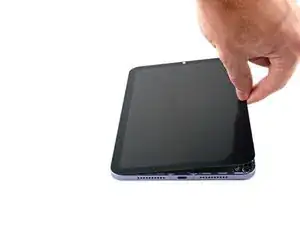
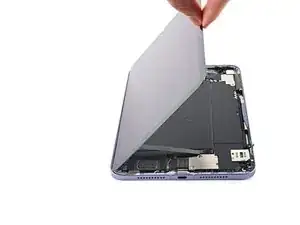
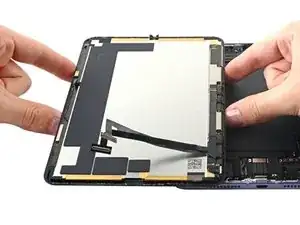
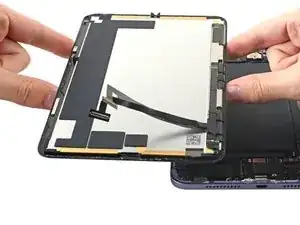
With the bottom of the device facing you, pull the right edge of the screen up and towards the left edge of the device.
-
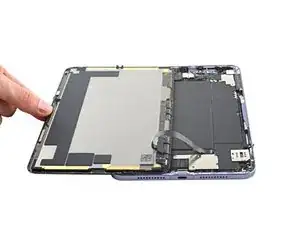
Rest the screen upside down and parallel to the frame before continuing.
-
-
-
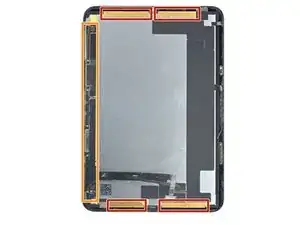
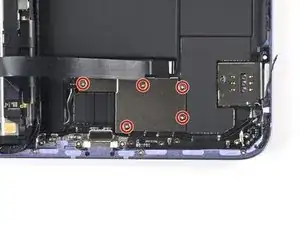
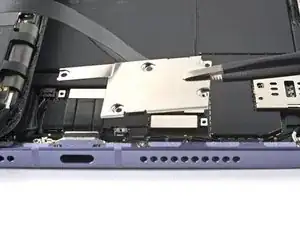
Use a Phillips #000 screwdriver to remove the five 1.2 mm-long screws securing the frame bracket to the frame.
-
-
-
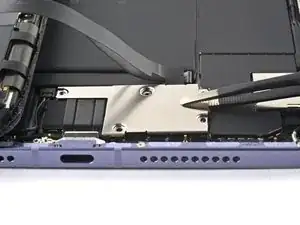
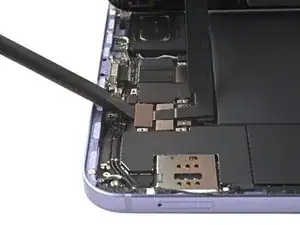
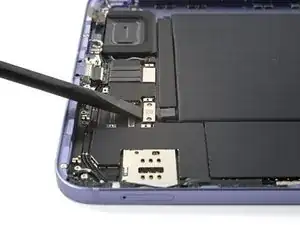
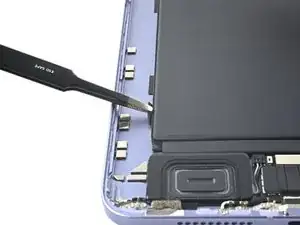
Use the flat end of a spudger to pry up and disconnect the display cable's two press connectors secured to the frame.
-
-
-
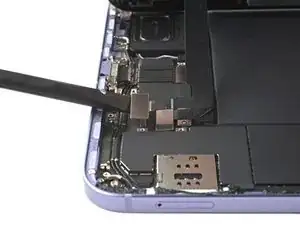
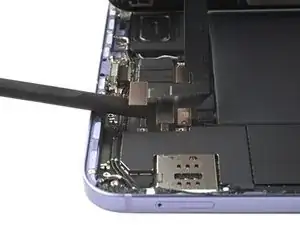
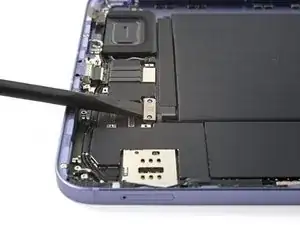
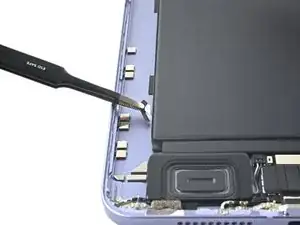
The the flat end of a spudger to pry up and disconnect the battery's press connector secured to the frame.
-
-
-
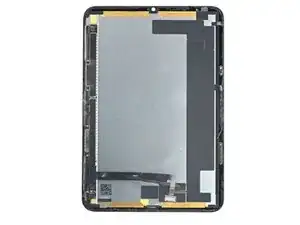
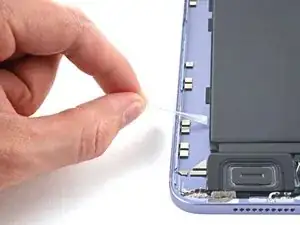
There are four stretch release adhesive pull tabs that have to be removed to separate the adhesive underneath the battery.
-
The remainder of the adhesive is located on the top edge of the battery, near the connector; keep this in mind when inserting a plastic card.
-
-
-
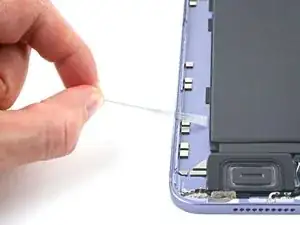
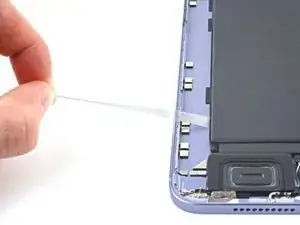
Pull the strip out slowly and steadily at a low angle. Give it plenty of time to stretch and un-stick from under the battery.
-
If the adhesive strip breaks off, try to retrieve it using your fingers or blunt tweezers, and continue pulling—but do not pry under the battery.
-
Repeat the process on all four stretch release adhesive strips.
-
-
-
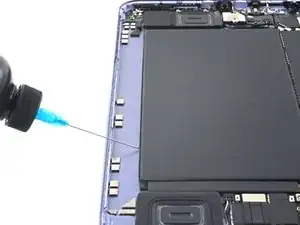
Apply a few drops of high concentration (over 90%) isopropyl alcohol to the gaps surrounding the battery's top edge.
-
-
-
Tilt the top edge of the device upward to allow the isopropyl alcohol to work its way underneath the battery.
-
Hold for 1–2 minutes to allow time for the isopropyl alcohol to weaken the adhesive.
-
-
-
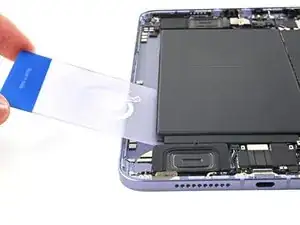
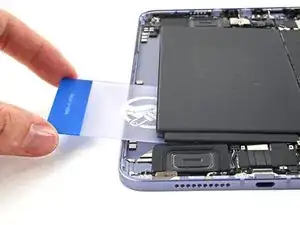
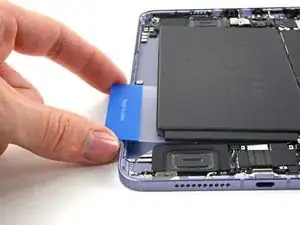
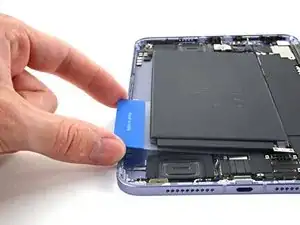
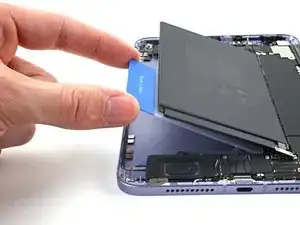
Insert a plastic card into the gap between the battery's top edge and the frame.
-
Use the plastic card to slice the adhesive underneath the battery.
-


To reassemble your device, follow these instructions in reverse order.
For optimal performance, calibrate your newly installed battery after completing this guide.
Compare your new replacement part to the original part—you may need to transfer remaining components or remove adhesive backings from the new part before you install it.
Take your e-waste to an R2 or e-Stewards certified recycler.
Repair didn’t go as planned? Try some basic troubleshooting, or ask our iPad mini 6 Answers community for help.

One comment
I hope you add a video to this amazing guide on replacing the battery and add a link on where to buy the battery. Thank you a million Macs!