Introduction
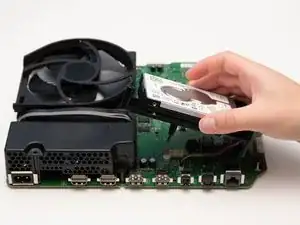
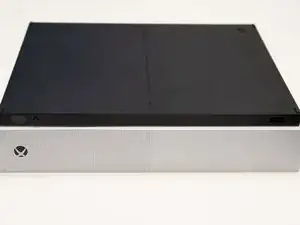
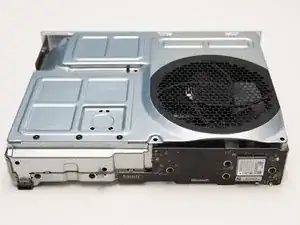
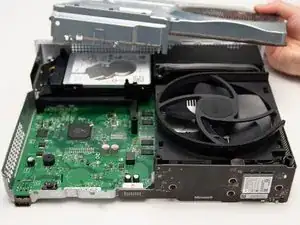
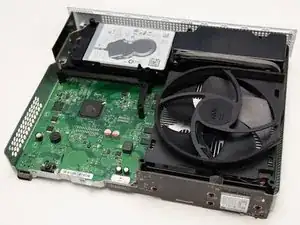
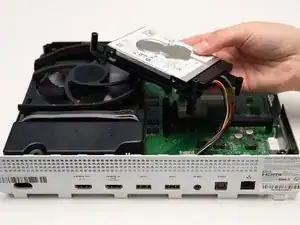
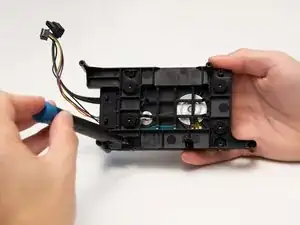
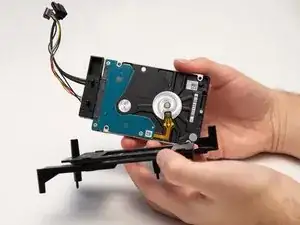
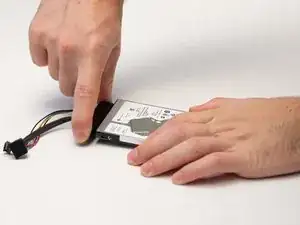
This replacement guide provides a step by step process on replacing the Hard Drive of the Xbox One S All Digital Edition (Model 1681). The Hard Drive is responsible for storing games or any downloadable content. Symptoms of a broken Hard Drive are if a user is unable to download or access downloaded games or content. Disconnect all cables prior to disassembly.
Tools
Parts
-
-
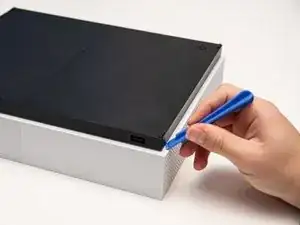
Position the iFixit Opening Tool's riveted edge in between the top and bottom cover of the plastic enclosure.
-
Apply downward pressure on the iFixit Opening Tool until the security clip unlocks.
-
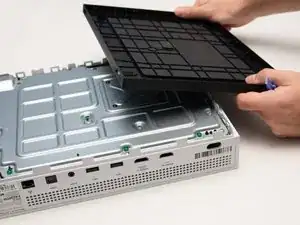
Repeat on different points of the plastic enclosure until the bottom cover is removed.
-
-
-
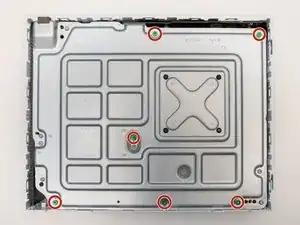
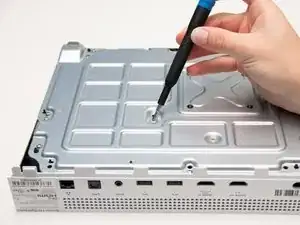
Remove the six 50 mm green screws (labeled F1-F6) from the metal chassis using a Torx 10 screwdriver.
-
-
-
Apply pressure to peel off the sides of the casing.
-
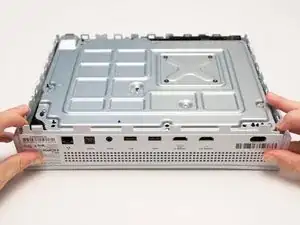
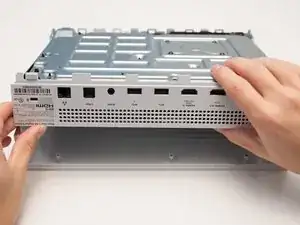
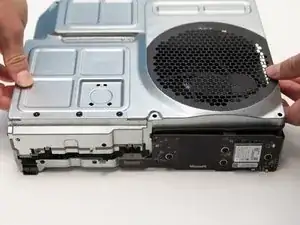
Separate the metal chassis from the top cover, lifting the back of the chassis up and away from the top cover.
-
-
-
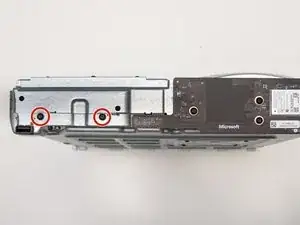
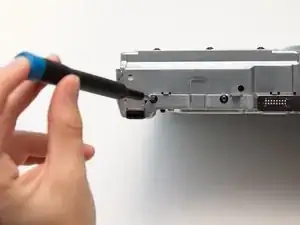
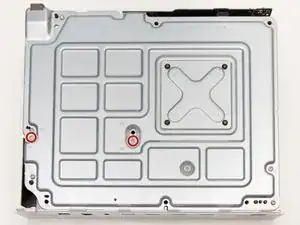
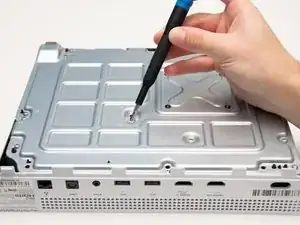
Remove the two 10mm screws, labeled C3 and C4, attaching the plastic hard drive case to the metal chassis with the Torx T10 Security screwdriver.
-
-
-
Lift the hard drive and the black plastic casing from the chassis.
-
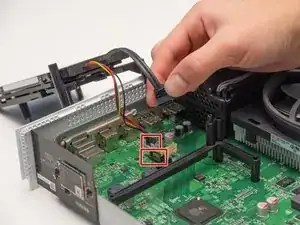
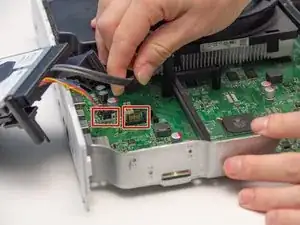
Remove the two sets of wires from the motherboard by gently pulling them directly upward.
-
-
-
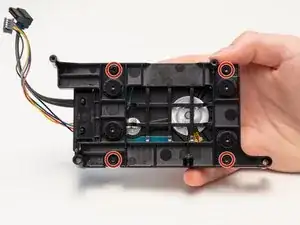
Remove the four 10mm screws attaching the hard drive to the plastic casing with the Torx T8 Security screwdriver.
-
-
-
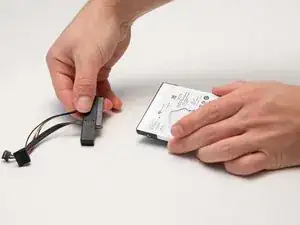
Carefully remove the black wire connection from the hard drive by gently pulling away from the hard drive.
-
To reassemble your device, follow these instructions in reverse order.
One comment
Great guide, did though run into problems when using a SSD under 500GB (Kioxia 480GB), seems that the drive must be 500+GB because it did work with Kioxia 960GB. Use the official link for software reinstallation not the broken links in the guide.
Peter H -
