Introduction
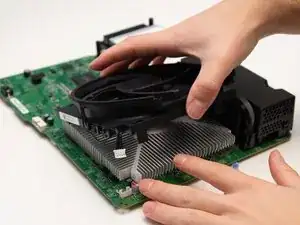
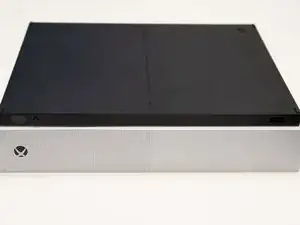
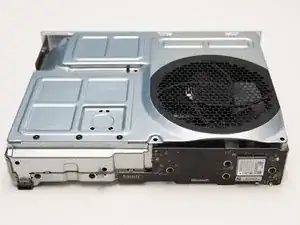
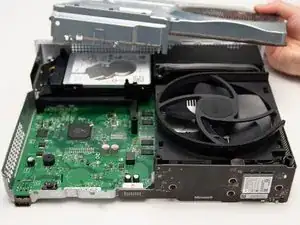
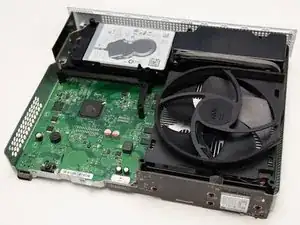
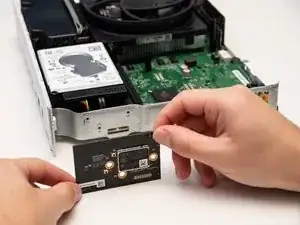
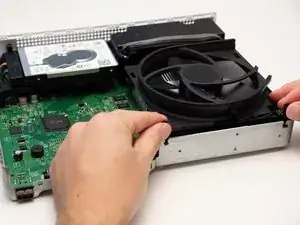
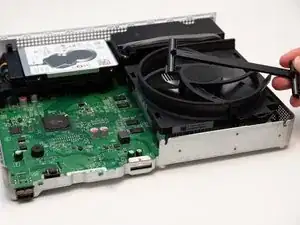
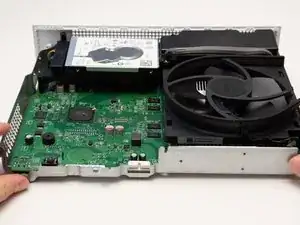
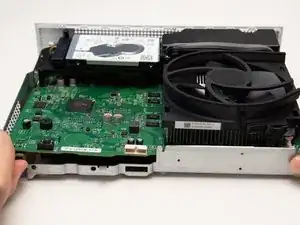
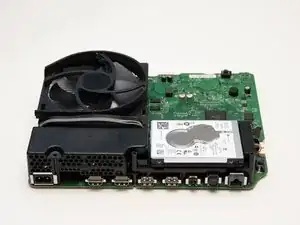
This guide explains the steps required to replace the fan inside the Xbox One S All Digital Edition (Model 1681). If the Xbox has symptoms such as producing noise or cooling issues, the fan might need to be replaced. While the disassembly is straightforward, some force might be required by the end of the procedure. Note that the entire console will need to be disassembled to properly remove the fan. Disconnect all cables prior to disassembly.
Tools
Parts
-
-
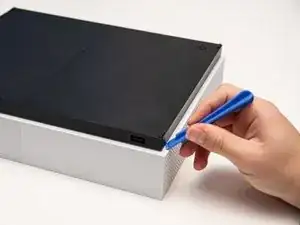
Position the iFixit Opening Tool's riveted edge in between the top and bottom cover of the plastic enclosure.
-
Apply downward pressure on the iFixit Opening Tool until the security clip unlocks.
-
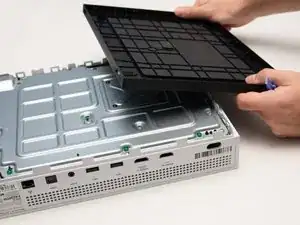
Repeat on different points of the plastic enclosure until the bottom cover is removed.
-
-
-
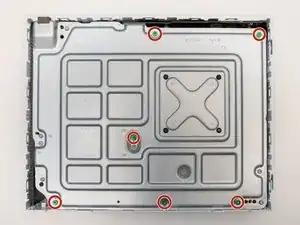
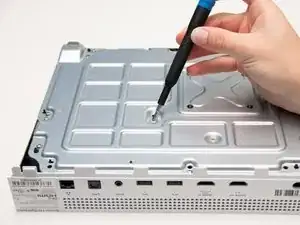
Remove the six 50 mm green screws (labeled F1-F6) from the metal chassis using a Torx 10 screwdriver.
-
-
-
Apply pressure to peel off the sides of the casing.
-
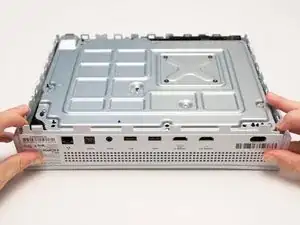
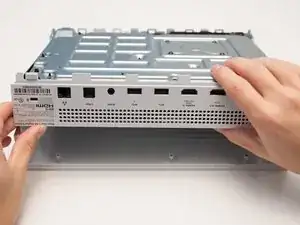
Separate the metal chassis from the top cover, lifting the back of the chassis up and away from the top cover.
-
-
-
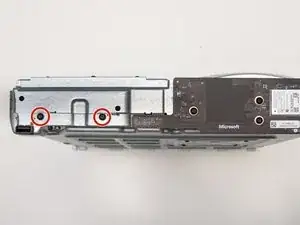
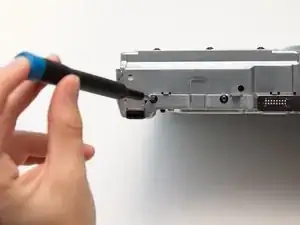
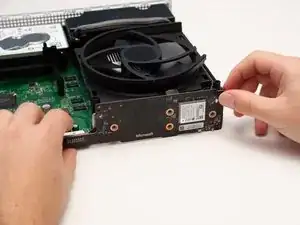
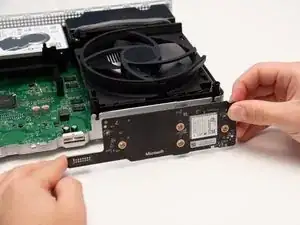
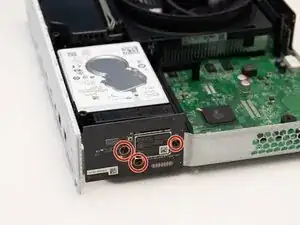
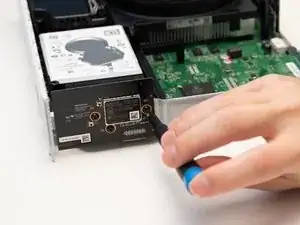
Remove the four 15mm screws attaching the IR Blaster to the metal chassis with the Torx T8 Security screwdriver.
-
-
-
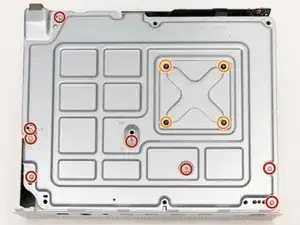
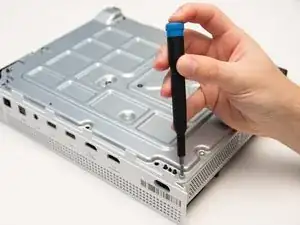
Remove the eight 10mm screws from the bottom of the metal casing using the Torx T9 screwdriver.
-
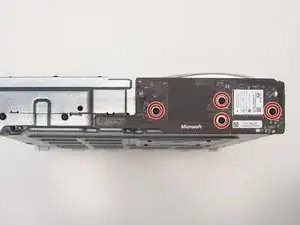
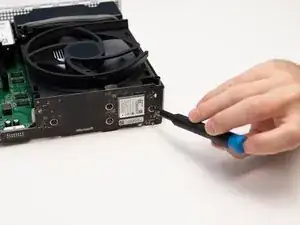
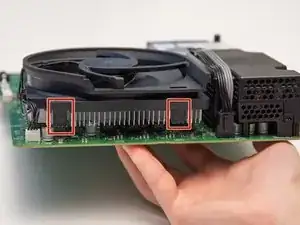
Remove the four 15mm screws from the bottom of the heatsink fastener using the Torx T8 screwdriver.
-
-
-
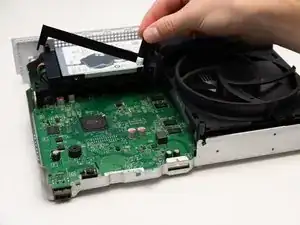
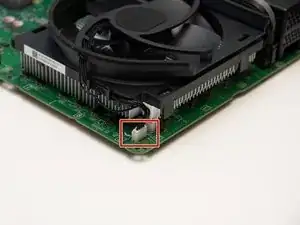
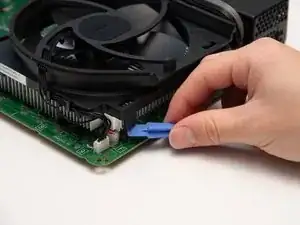
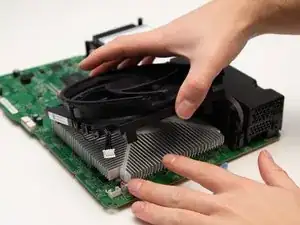
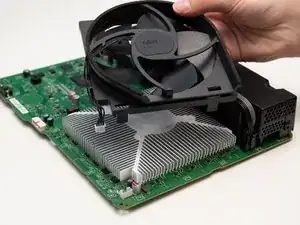
Locate the 4-pin connector on the side of the fan assembly.
-
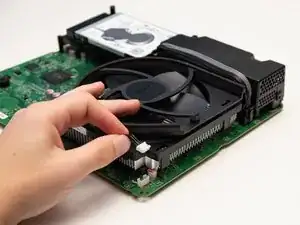
Disconnect the cable from the motherboard.
-
To reassemble your device, follow these instructions in reverse order.
