Introduction

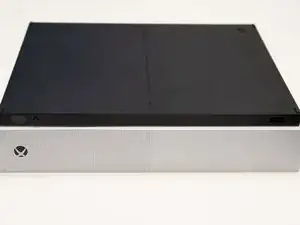
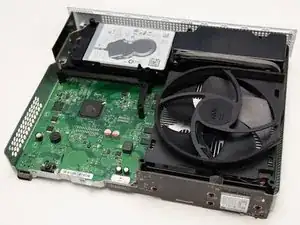
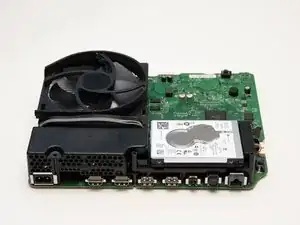
This guide shows the steps necessary to get the motherboard separated from the bottom part of the metal chassis of the Xbox One S All Digital Edition (Model 1681). The chassis might need to be replaced in the console experiences power issues or if the unit has fallen on the ground in the past. Disconnect all cables prior to disassembly.

  1. pQOTEpEZdGFtnU43
    pQOTEpEZdGFtnU43
    4AxKp1UNjhFsaaoC
    fXDtF2XrbZKCsQcr
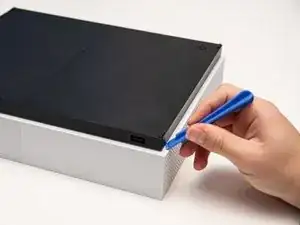
    • Position the iFixit Opening Tool's riveted edge in between the top and bottom cover of the plastic enclosure.

    • Apply downward pressure on the iFixit Opening Tool until the security clip unlocks.

    • Repeat on different points of the plastic enclosure until the bottom cover is removed.

  2. PZgrJYjK2NxpISY1
    PZgrJYjK2NxpISY1
    jMOFSSw4qSCfPmAi
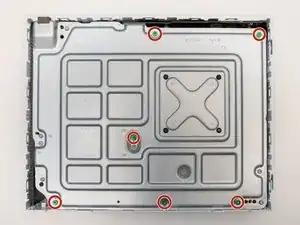
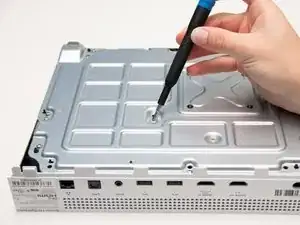
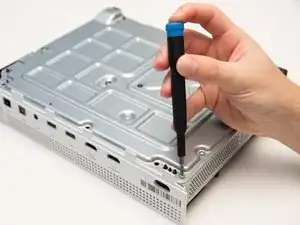
    • Remove the six 50 mm green screws (labeled F1-F6) from the metal chassis using a Torx 10 screwdriver.

    • These screws hold the top cover of the plastic enclosure to the chassis.

  3. INKa3TY3oQ2KBNhj
    INKa3TY3oQ2KBNhj
    rOtHrWrrFSEHA41u
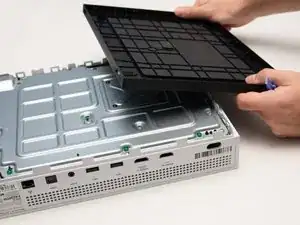
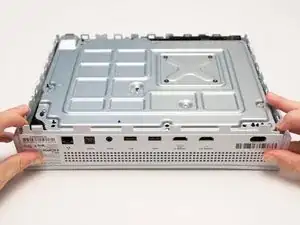
    • Apply pressure to peel off the sides of the casing.

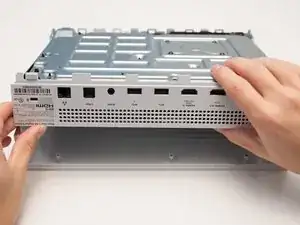
    • Separate the metal chassis from the top cover, lifting the back of the chassis up and away from the top cover.

    • The plastic back panel is meant to stay attached to the metal chassis.

  4. rX4AYhcYIAOLKTHY
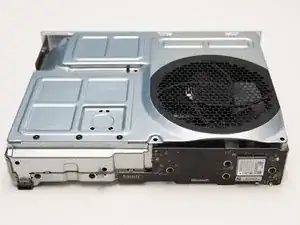
    • Flip the metal enclosure so that the fan cover is on top.

  5. uHZC6KVdZAItFmSi
    uHZC6KVdZAItFmSi
    lEH54BlQTFmZwGDx
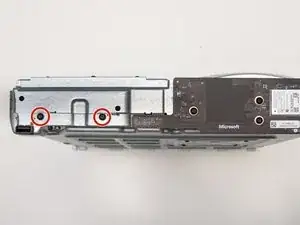
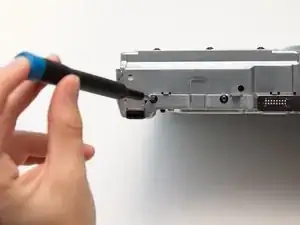
    • Remove the two 15mm screws from the front panel using the Torx T8 screwdriver.

  6. IOlnJ1k3CN6qdiMl
    IOlnJ1k3CN6qdiMl
    DKxqD4WS1XEVkIgj
    i2fdWxw3rRmwrUWo
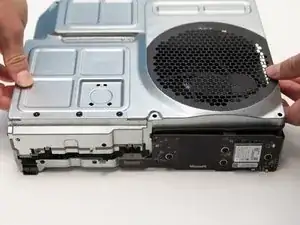
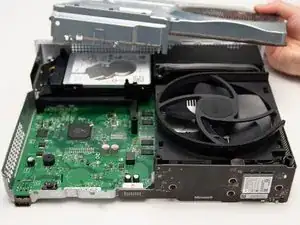
    • Carefully slide the top metal case off the frame.

    • This may require shifting the case side to side as you slide up.

  7. 2CUFWgLMTuE6iYHg
    2CUFWgLMTuE6iYHg
    ve6cGoAFv2EXehV2
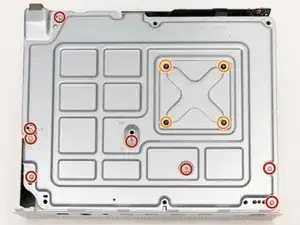
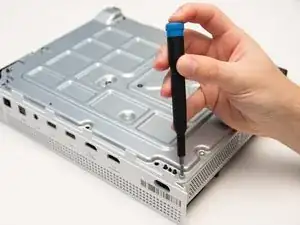
    • Remove the eight 10mm screws from the bottom of the metal casing using the Torx T9 screwdriver.

    • Remove the four 15mm screws from the bottom of the heatsink fastener using the Torx T8 screwdriver.

  8. bVGBPhFXAjV4BNrQ
    bVGBPhFXAjV4BNrQ
    iuJpTTEFDoFE2YRy
    IE1F6LIMBoNOIeca
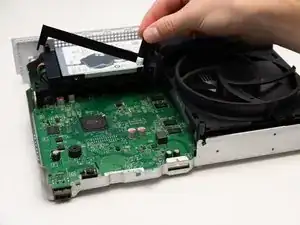
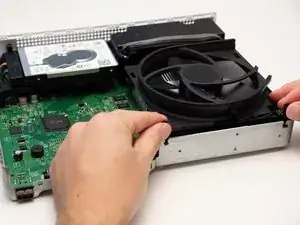
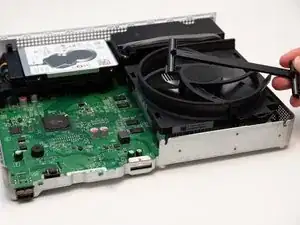
    • Remove the two plastic pieces from the motherboard.

  9. 26Q1woeyNdGijsgE
    26Q1woeyNdGijsgE
    OIY1FXeEXd1cRRcT
    WLUvwGl5lMVWxghm
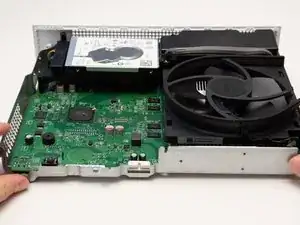
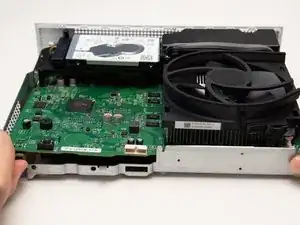
    • Lift the motherboard up from the metal chassis.

    • The motherboard should easily separate from the metal chassis.

Conclusion

To reassemble your device, follow these instructions in reverse order.
Jules Hajjar

Member since: 10/10/19

1531 Reputation

0 comments