Introduction
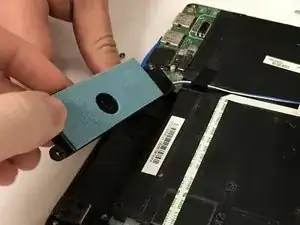
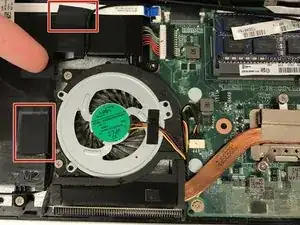
With this guide you will be able to remove both left and right speakers and replace them.
Tools
-
-
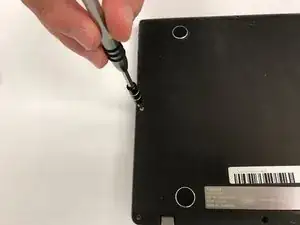
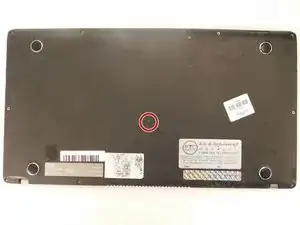
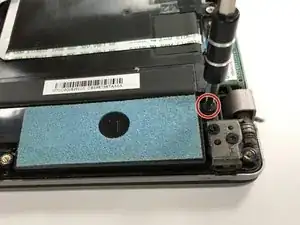
There are ten 5mm screws surrounding the edge of the cover.
-
A rubber cap covers the eleventh 5mm screw (in the center).
-
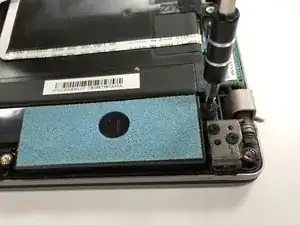
Remove the screws using a Phillips #00 screwdriver.
-
-
-
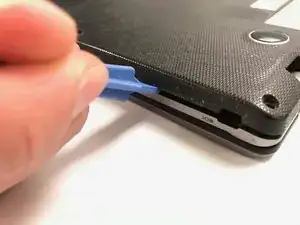
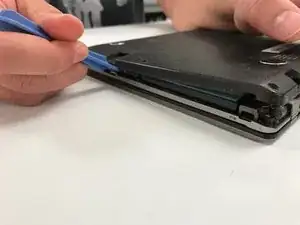
Pry between the casing and cover using a plastic wedge tool.
-
Use the wedge tool to move along the case & slowly pry it open.
-
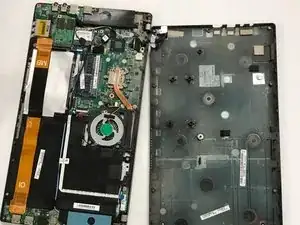
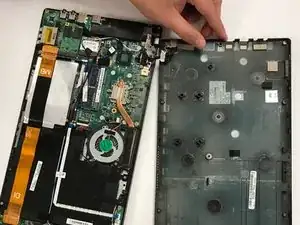
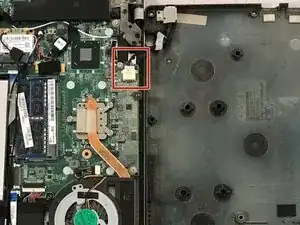
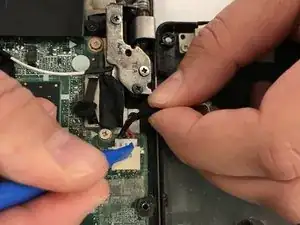
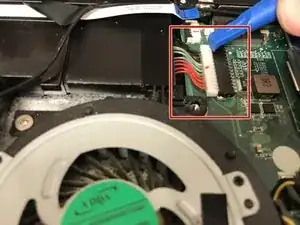
The wire for the 12v charging port connects the cover to the casing.
-
-
-
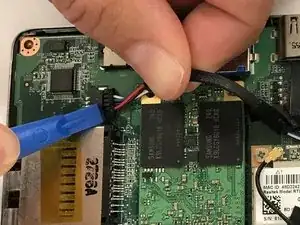
Disconnect this connector from the motherboard to avoid damaging the motherboard or charging port cable.
-
-
-
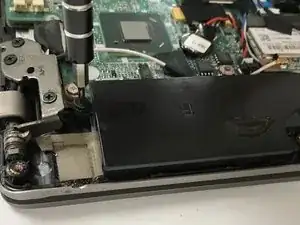
Disconnect the battery.
-
Hold down the power button for ~10 seconds to discharge any stored electricity from the motherboard.
-
-
-
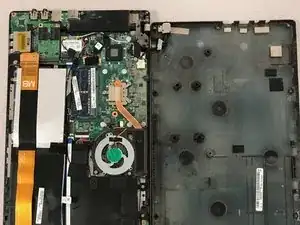
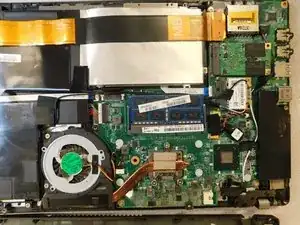
At this point you should be able to:
-
-
-
-
-
-
-
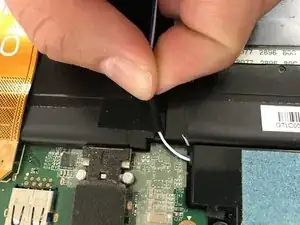
Remove tape holding the speaker wire.
-
Follow length of wire to the connector while removing the tape.
-
Remove connector.
-
To reassemble your device, follow these instructions in reverse order.
In the introduction specify what part.
Add how to take off rubber part
Thomas Marlett -